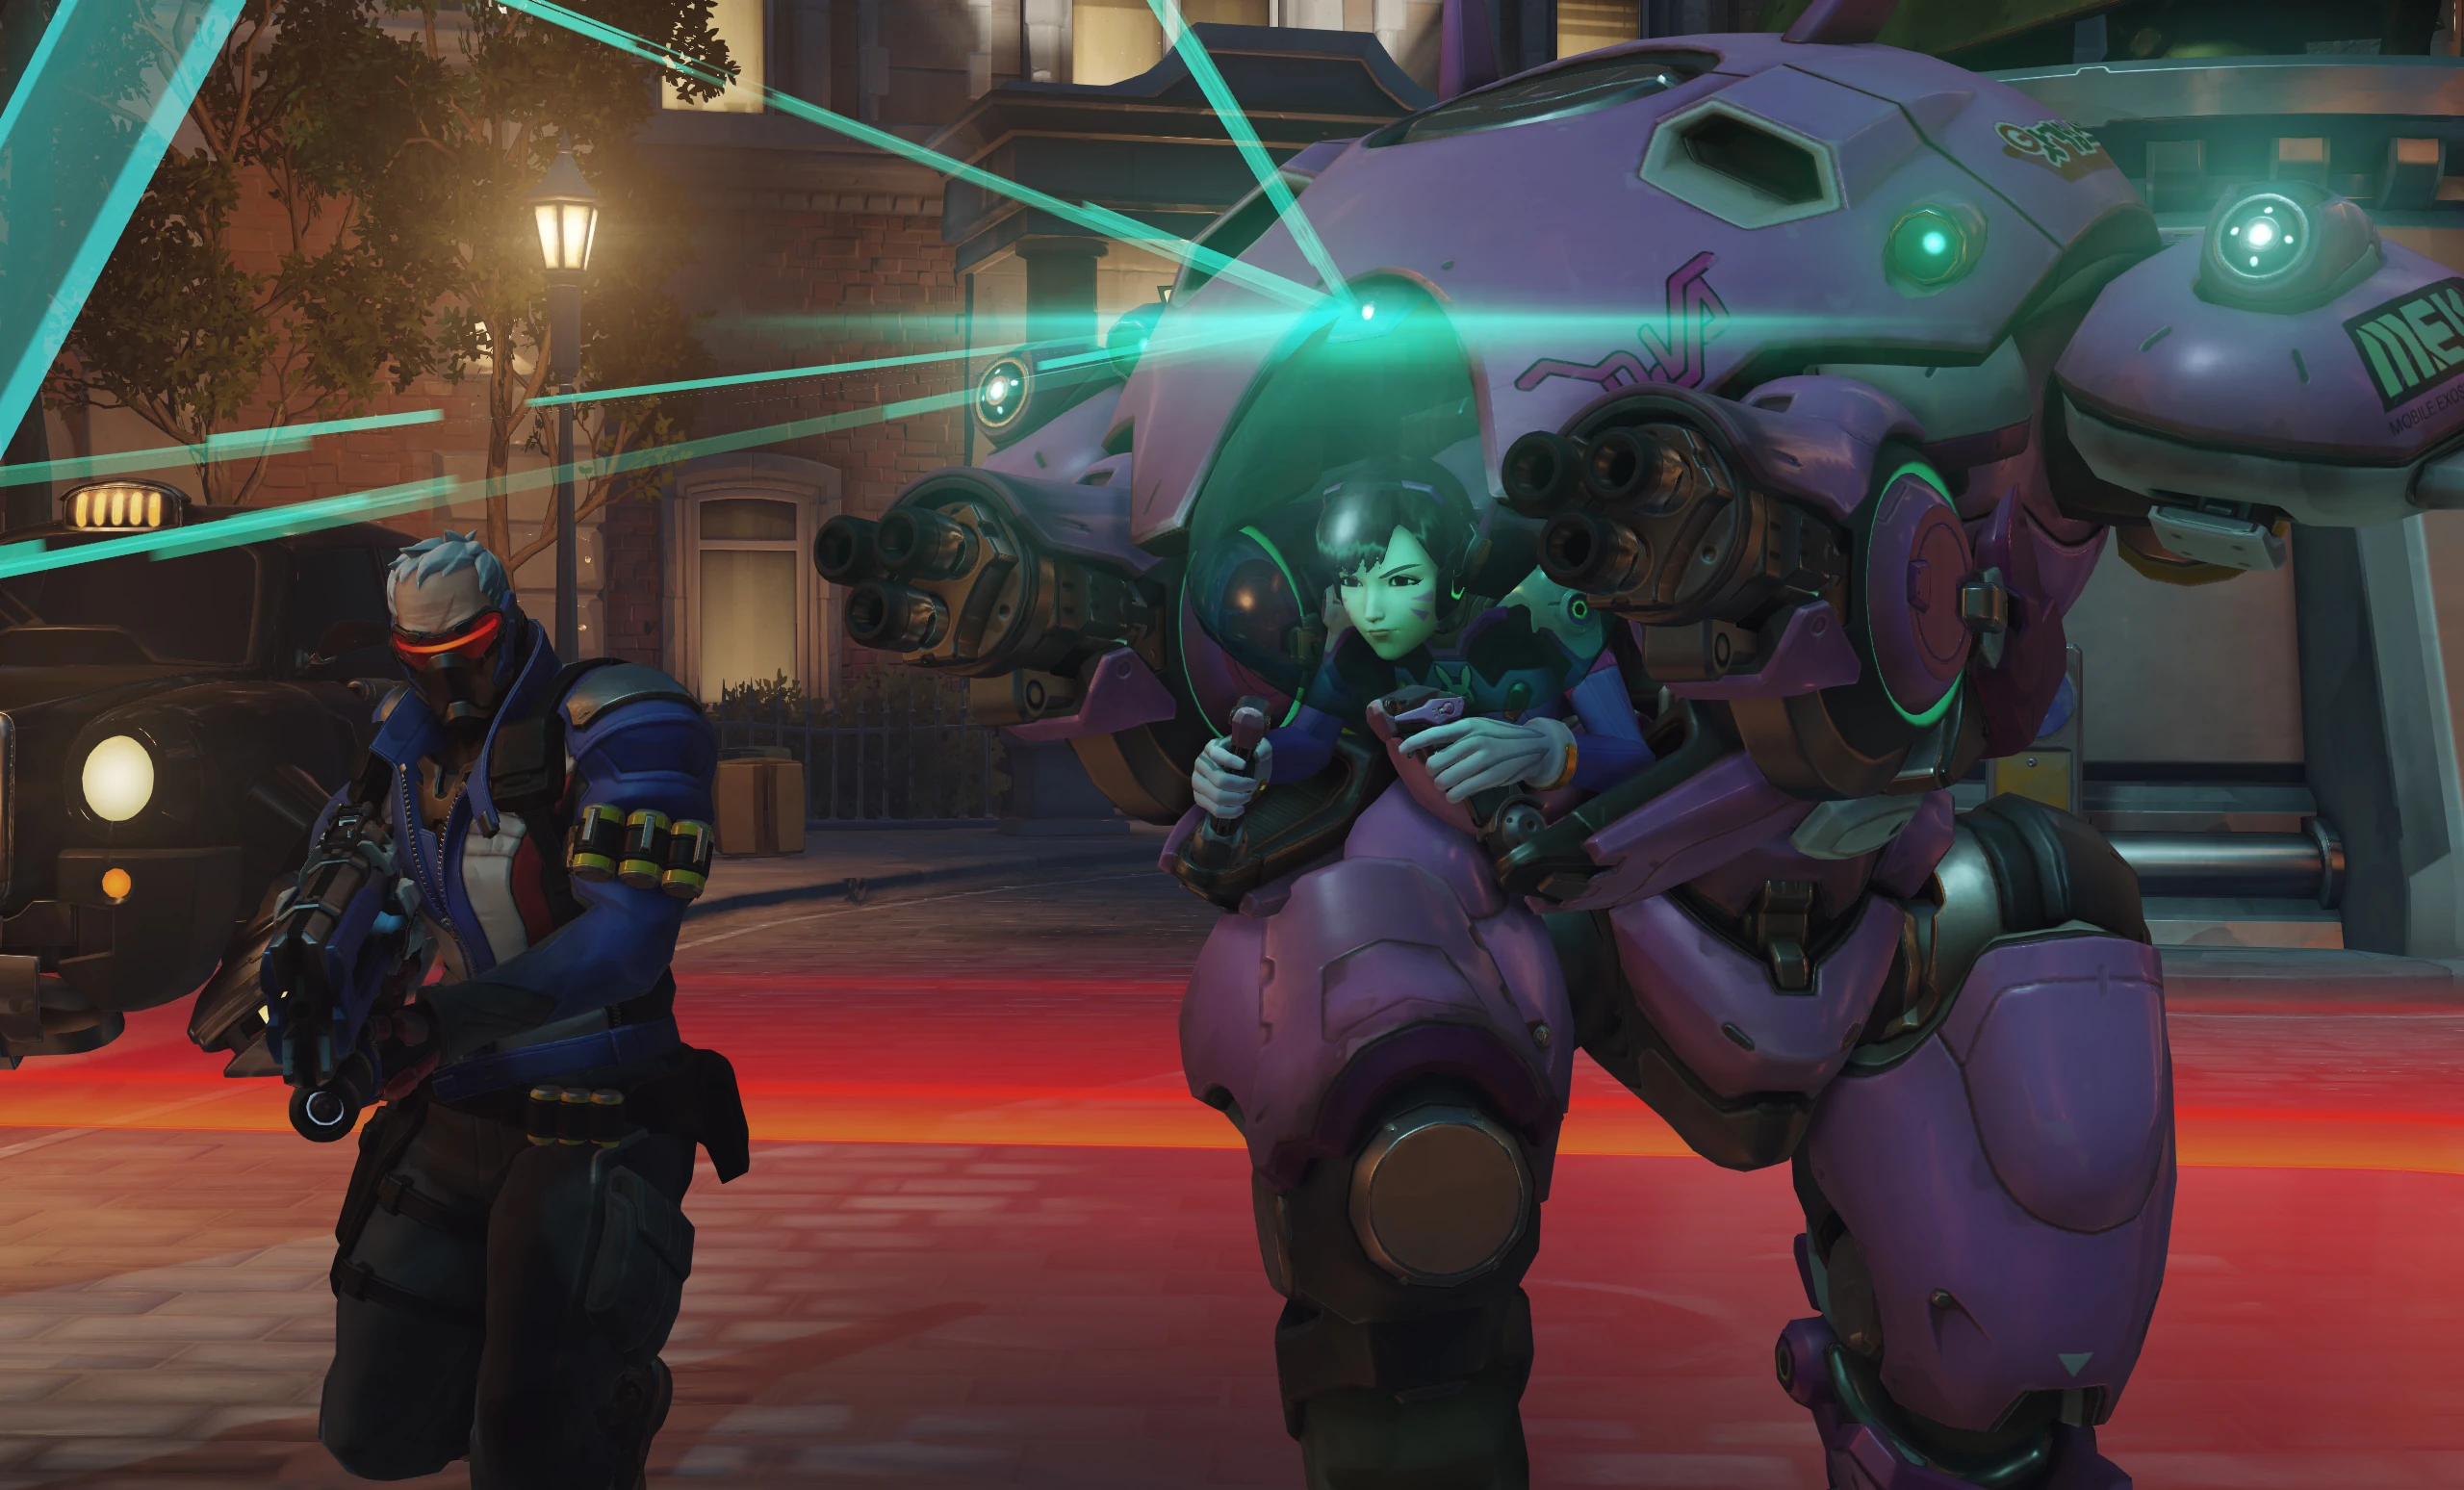
D.Va is an Initiator Tank hero in Overwatch. She is one of the 21 heroes included in the game's release on 24 May 2016.
Overview
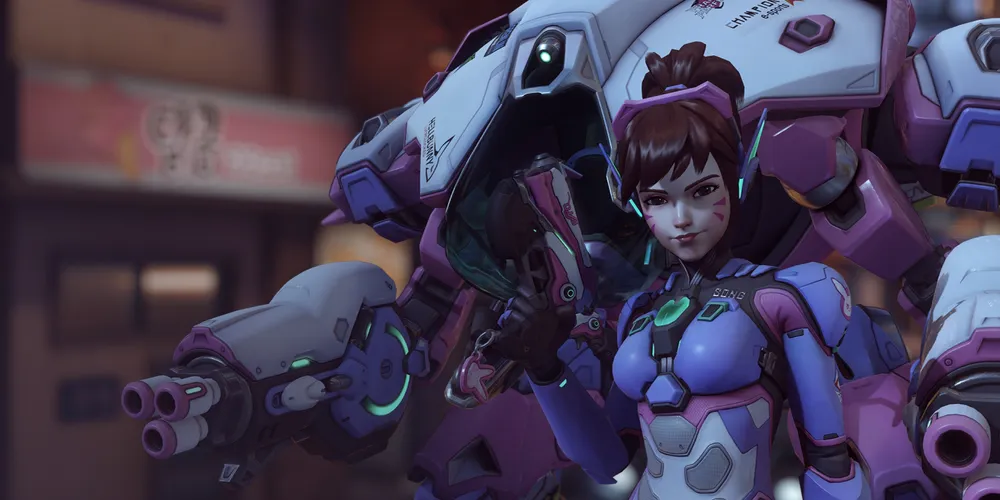
D.Va Hero Selection
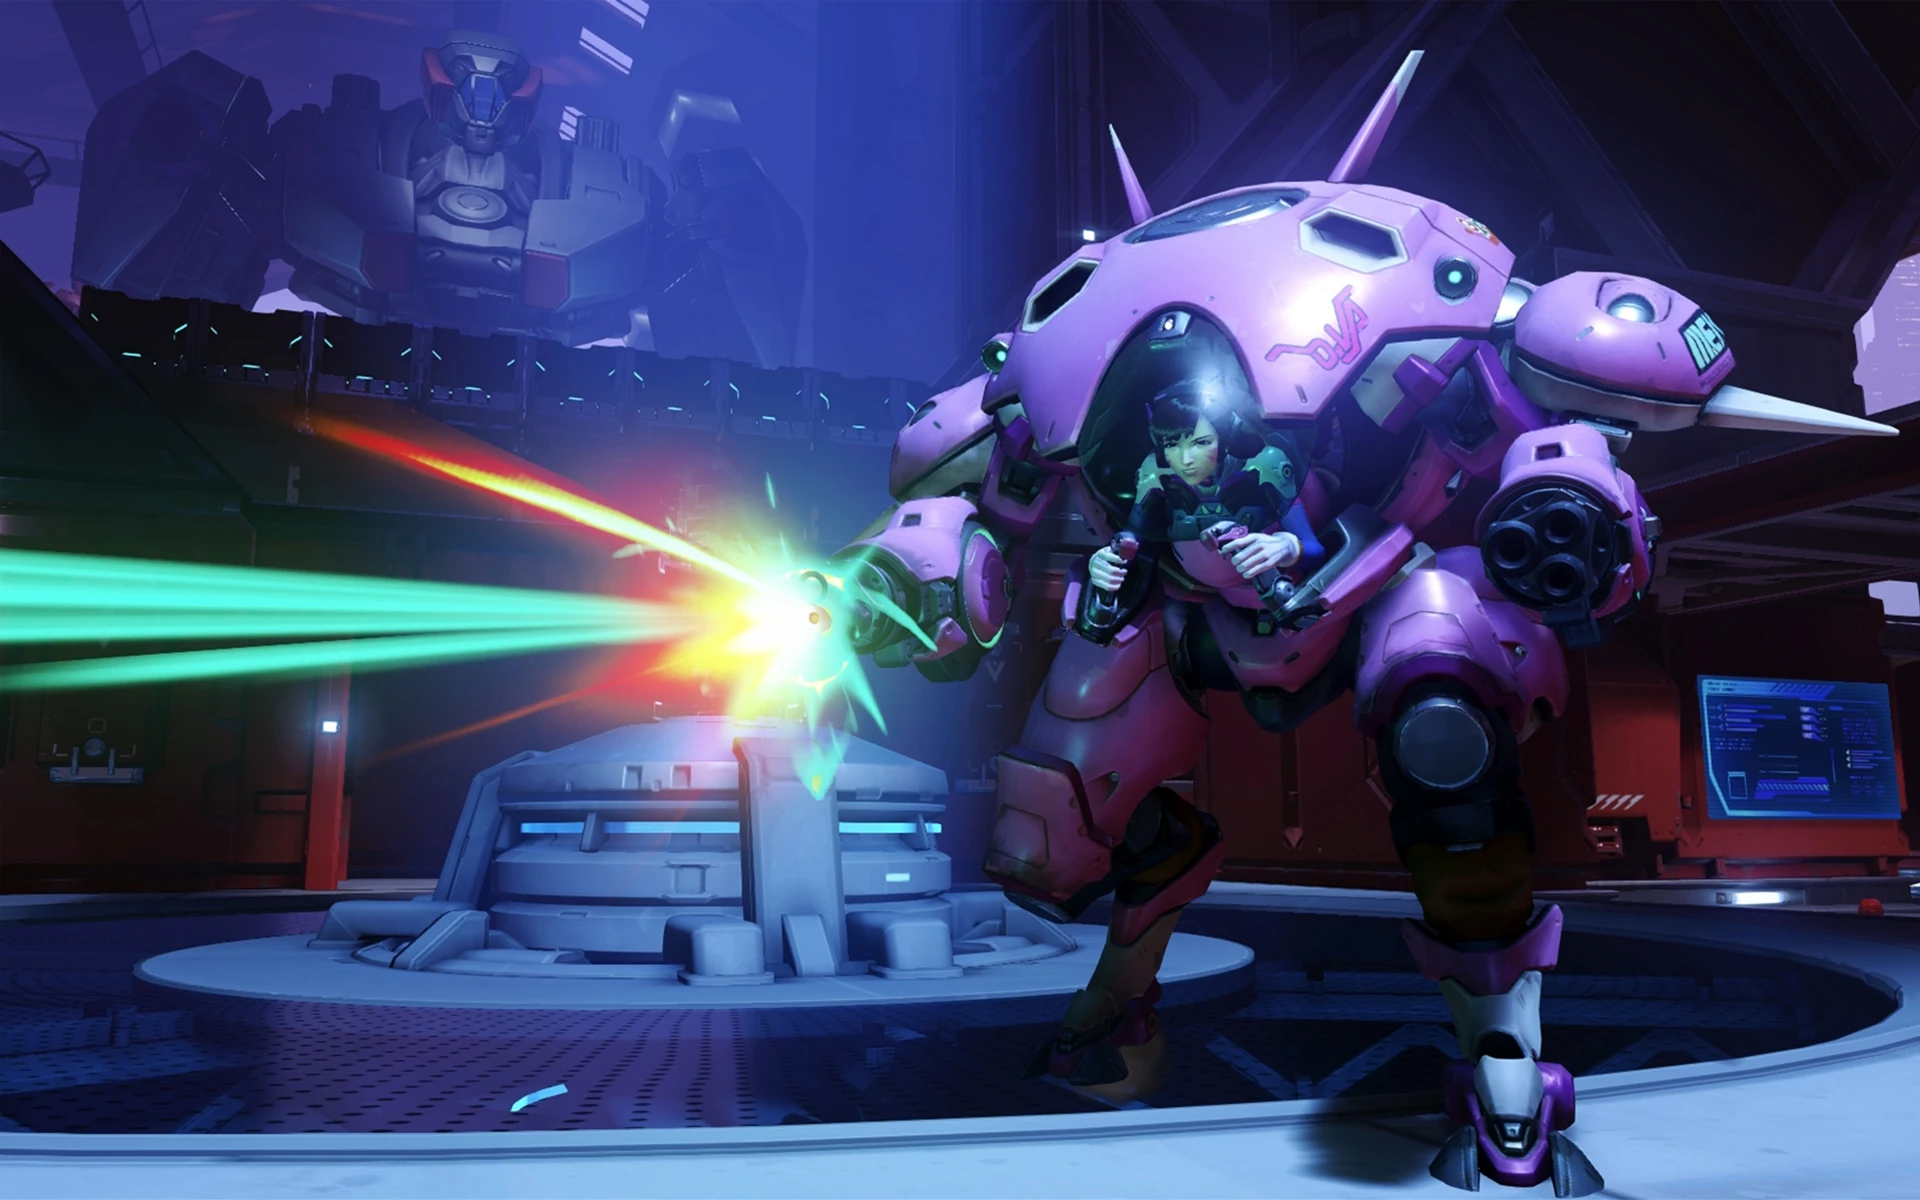
D.Va’s mech is nimble and powerful — its twin ![]() Fusion Cannons blast away with autofire at short range, and she can use its
Fusion Cannons blast away with autofire at short range, and she can use its ![]() Boosters to barrel over enemies and obstacles, or absorb attacks with her projectile-destroying
Boosters to barrel over enemies and obstacles, or absorb attacks with her projectile-destroying ![]() Defense Matrix.
Defense Matrix.
-
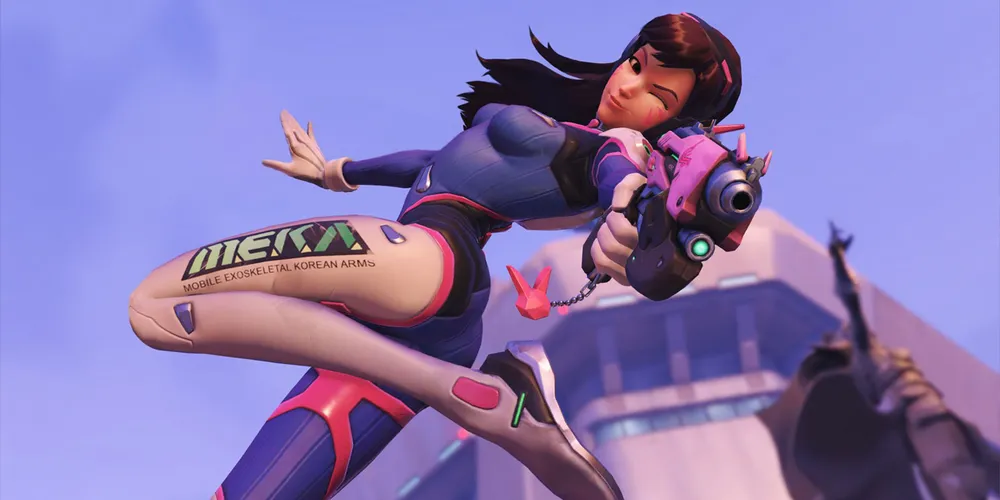
 Overwatch 2 Key Art
 -
 Overwatch 1 Key Art
-
 3D Portrait
 -
 2D Portrait

Abilities
Passive Abilities


- Ultimate charge and perk progress generation from damage and healing dealt to heroes with the Role: Tank passive is reduced by 40%.
- All tanks have 150 more health in Role Queue. The amount of armor and/or shields remains the same.
- No longer grants increased base health.
- Ultimate charge generation reduction reduced from 40% to 20%.

- Triggers when using certain movement abilities:
- Winston:
 Jump Pack
 - D.Va:
 Boosters
 - Hazard:
 Violent Leap
 - Wrecking Ball:
 Grappling Claw (with fireball)
 - Doomfist:
 Rocket Punch
- Winston:
- Lasts for 1 second with a 5 second cooldown. This is seperate from the cooldown of the ability.
- Once triggered, all 50 healing will be granted, even if the hero takes damage mid-heal.
- The passive doesn't activate if the hero is full health.

- D.Va can use
 Self-Destruct while ejecting.
 - D.Va is invulnerable while ejecting for 1.8 seconds.
- If D.Va falls off the map while still in her mech, she will be instantly eliminated.
- D.Va is only able to crouch while in Pilot form; Mech form cannot crouch.
- If using an emote while in Pilot form, D.Va will do a single emote unique to Pilot form rather than any selected emote.
Weapons


22 - 6.6 (per volley)
- Damage per second: 146 while firing
- No movement speed penalty while Boosters are active.
- Weapon spread increased from 3.375 to 4 degrees.

- Damage per second: 98 while firing (65.77 overall w/ reload)
Special Abilities

16% per second (regen rate)
3 seconds (max)
0.75 seconds (energy regen delay)
- D.Va cannot fire
 Fusion Cannons or use quick melee while channeling Defense Matrix.
 - Can be used simultaneously with Boosters and
 Micro Missiles.
 - Defense Matrix has a resource meter which depletes while it is active and recharges when not in use.
- The meter takes 6 seconds to recharge from 0% to 100%.
- The following interactions cannot be negated:
- Strong projectiles:
 Chain Hook,
  Pummel,
  Accretion, Grappling Claw,
  Minefield,
  Steel Trap,
  Translocator,
  Sentry Turret,
  Deploy Turret,
  Immortality Field,
  Petal Platform,
  Whip Shot,
  Hyper Ring,
  Binding Chain and
  Anchor Drone.
 - Attacks classified as Beam, Melee, Shockwave or Area of Effect.
- Abilities that create an AoE or leave a deployable, but travel as a projectile can be blocked before they land.
- Strong projectiles:
- Changing the direction of the character's gaze (and hence the matrix zone) takes time. It takes ~0.14 seconds to be able to matrix something that was exactly behind you.
- Maximum duration reduced from 3 to 2 seconds.
- Recharge rate reduced by 15%.

2 seconds (max)
- Can be used simultaneously with Fusion Cannons, quick melee, Micro Missiles, and/or
 Defense Matrix.
 - Does not affect Fusion Cannons or Micro Missiles accuracy. Although reticles with the 'show accuracy' option enabled suggest a spread increase when using the Boosters, it is a purely cosmetic change.
- Boosters movement speed is unaffected by gravity, but is affected by slowing effects.
- Boosters movement speed buff doesn't count towards global movement speed buff cap.

5.5 - 1.375 (splash, enemy)
5.5 - 1.375 (splash, self)
- Damage per second: 82.5 while firing
- Deals up to a total of 135 damage with direct hits.
- Cannot be manually cancelled.
- If the ability is interrupted before the end of the casting time, the cooldown will not start.
- The projectile can be destroyed while in midair by Defense Matrix,
 Kinetic Grasp,
  Javelin Spin,
  Power Matrix and
  Kekkai Sanctuary and reflected by
  Deflect, but the splash is unaffected.
  Amplification Matrix affects all damage dealt if the projectile passes through it. Splash damage alone going through is not amplified.
- Cooldown increased from 7 to 8 seconds.
Ultimate Ability

22.4 m/s (max)
- Enemies hit by the explosion are also knocked back.
- If Self-Destruct was activated while Boosters were on, they will remain active for their remaining duration.
- The moving mech can be stopped by any ability that would interrupt Boosters.
- Automatically reloads the
 Light Gun.
 - Using Self-Destruct allows (pilot) D.Va to escape
 Gravitic Flux, leaving the exploding mech in the suspension.
  Life Grip cannot be used on the exploding mech.

- Enemies hit by Call Mech take damage and are knocked back.
- Becomes completely charged after Self-Destruct detonates, or if D.Va is
 Resurrected.
 - Has to be grounded to activate.
- Call Mech can be interrupted during its cast if D.Va is stunned, knocked down, or hacked, including subsidiary effects, consuming the ultimate charge.
- Entering the mech will allow D.Va to escape Gravitic Flux; however, it must be activated beforehand, as the ability will be disabled once Gravitic Flux takes effect.
- D.Va cannot be pulled by Life Grip during Call Mech.
- It is possible to gain massive ultimate charge from Boosters with environmental kill before mech destroyed.
Perks
Minor Perks
A Minor Perk is unlocked at level 2.

- At the end of the duration, overhealth starts to decay at rate of 25/s.

Major perks
A Major Perk is unlocked at level 3.

25% of damage absorbed (recharging)
- Health conversion does not affect Pilot form.
- Healing shields does not grant ultimate charge.

22 - 6.6 → 11 - 3.3 (per volley)
- Cooldown starts when the effect ends.
Hero-specific options
| Setting name | Options | Description |
|---|---|---|
| Toggle Defense Matrix | Off (default) | Defense Matrix deactivates when player stops holding the button. |
| On | Defense Matrix deactivates when player presses the button again. | |
| Hold to use Boosters | Off (default) | Boosters deactivates when player presses the button again. |
| On | Boosters deactivates when player stops holding the button. | |
| Hide Boosters cancel text | Off (default) | Cancel text UI element is displayed to the left of the crosshair. |
| On | Cancel text UI element is hidden. | |
| Hide Boosters timer | Off (default) | Timer UI element is displayed around the crosshair. |
| On | Timer UI element is hidden. | |
| Light Gun input | Primary Fire (default) | Pressing Primary Fire fires Light Gun. |
| Secondary Fire | Pressing Secondary Fire fires Light Gun. | |
| Both | Pressing either Primary Fire or Secondary Fire fires Light Gun. | |
| Relative Light Gun aim sensitivity | 1% ... 500% (default: 100%) | Multiplier to base aim sensitivity in Pilot Form. |
Stadium
D.Va is a playable hero in Stadium game mode. See D.Va/Stadium for a list of hero-specific Items and Powers.
Strategy
D.Va is a unique tank with some mobility. With very high health and ![]() Boosters, she can close a gap to the enemy with ease. She has high damage output at close-range, making her a strong fighter in a 1-on-1 match. Her
Boosters, she can close a gap to the enemy with ease. She has high damage output at close-range, making her a strong fighter in a 1-on-1 match. Her ![]() Defense Matrix is useful against all incoming projectiles regardless of DPS, protecting her teammates from enemy fire. The
Defense Matrix is useful against all incoming projectiles regardless of DPS, protecting her teammates from enemy fire. The ![]() Micro Missiles deal high amount of damage when used in close range. She is a dangerous flanker in the Tank class, dealing consistent damage to the enemy.
Micro Missiles deal high amount of damage when used in close range. She is a dangerous flanker in the Tank class, dealing consistent damage to the enemy. ![]() Self-Destruct will wipe all opponents within the blast area. However, she doesn't have an extended barrier to properly protect her team like Reinhardt. She is also slow while firing, allowing the enemy to outrun her to disengage or move around her to distract her aiming. Both
Self-Destruct will wipe all opponents within the blast area. However, she doesn't have an extended barrier to properly protect her team like Reinhardt. She is also slow while firing, allowing the enemy to outrun her to disengage or move around her to distract her aiming. Both ![]() Fusion Cannons and
Fusion Cannons and ![]() Micro Missiles are ineffective against anything further than medium-range, meaning she can be outranged by the enemy before she even has a chance to close a gap with
Micro Missiles are ineffective against anything further than medium-range, meaning she can be outranged by the enemy before she even has a chance to close a gap with ![]() Boosters.
Boosters.
Weapons & Abilities
- Fusion Cannons: D.Va's main weapons on the mech. Her mech can fire consistent shotgun-like bullets onto the targeted point. She can rapidly fire her bullets without needing to reload, but suffers from slow movement while firing.
- While firing her Fusion Cannons, D.Va's movement speed is reduced by 40%, down to 3.3 m/s.
- Fusion Cannons have 11 bullets per shot and large spreading; position yourself to the closest of the targets so that they won't be able to escape from you while firing.
- Aiming for the upper-body is recommended due to the nature of spread in combination with infinite ammo.
- Spraying the bullets at mid-to-long range has little to no effect, but it can pressure the enemy and sometimes interrupt some certain abilities when hit, like supports' self-healing passive and Sombra's
 Stealth.
 - The Light Gun does not have damage falloff, and is actually more effective than the Fusion Cannons at long range.
- While firing her
- Defense Matrix: D.Va's primary defensive ability. When activated, the targeting-array will pop up from the front of her mech, reaching up to 10 meters away. All incoming projectiles will be shot down mid-air when they come into range of this ability. D.Va cannot attack with her Fusion Cannons while using it.
- While Defense Matrix has infinite "health" and can block any number of projectiles, it only lasts for 3 seconds when used continuously, and requires 1 second before beginning a recharge, which takes 6 seconds until it is fully recharged. Try to use it as a quick-burst protection instead of as a main blocking tool like the barriers of Reinhardt or Sigma.
- If some hero rushes into a group of enemies, use Defense Matrix to cover your allies when needed. For example, cover Winston when he jumps in or cover Pharah when she is using her ultimate. You can protect your teammates with Defense Matrix without needing to be right next to them thanks to its long range. Keep its short duration in mind; try not to spend all of its charge and leaving yourself as the enemy's main target.
- Defense Matrix only blocks fire from the front, and cannot negate incoming projectiles from other directions, making it ineffective against flankers and less viable when used as a barrier to protect her team or herself.
- Keep playing a mind game; try to lure some heroes like Zarya or Mei into thinking that you have run out of Defense Matrix so that you can use it to block their Ultimate. D.Va's Defense Matrix is very useful to erase a powerful ultimate if timed properly.
- When retreating from a group of enemies, activating Defense Matrix while moving backward will greatly help D.Va to survive a strong attack.
- While
- Boosters: When activated, D.Va's mech will launch into the air. She will move forward with faster movement speed and be able to adjust her momentum for 2 seconds. Deals damage and knockback to enemies when collided with. Fusion Cannons are available to use during Boosters.
- The cooldown triggers after the Boosters ability ends.
- Despite its small damage, it can still be used with a melee combo to guarantee a strong knockback and decent damage dealt.
- Using Boosters in combination with Fusion Cannons can guarantee a kill on injured enemies who are trying to retreat.
- D.Va can activate Defense Matrix during the flight to protect herself from enemy fire.
- Boosters can be stopped mid-use by a melee attack or Boosters' key again.
- The cooldown triggers after the
- Micro Missiles: When activated, D.Va's mech will launch a volley of missiles after a short cast time. The missiles will travel in a straight line and hit the first solid target. The ability can be activated in all actions and can't be stopped until D.Va is stunned or the mech is destroyed. The missiles can damage the D.Va who fired them.
- Combining the ability with primary fire can ensure a kill on an isolated enemy. It is less effective when used on a group of enemies, but still provides a strong pressure and enough damage to gain a great amount of ultimate charge.
- Since it can be activated at any time, consider using it when Defense Matrix is activated. This will render the enemy's attack useless and hurt them with a bunch of missiles.
- Try not to waste the ability on a hero with a stun attack, since a stun effect can interrupt the missiles immediately.
- It's better not to use missiles apart from close range. The missiles travel at a slow speed and only deal small damage upon impact. Additionally, the enemy team can easily see it coming from afar and walk a step back to dodge it.
- Self-Destruct: (Ultimate): The ultimate of D.Va's mech. D.Va will eject from her mech, which will detonate after 3 seconds. It deals massive damage upon explosion in a very large area around it.
- The mech will receive any momentum from Boosters if they were used prior to activating Self-Destruct. Use this to launch it in the right direction, and even to stall its travel around corners and catch enemies by surprise.
- The blast creates a strong knockback effect on any opponents that survive, sometimes launching them into a pit or off a cliff.
- Any cover will block the damage from Self-Destruct entirely; even a light post that is large enough to cover the hero's size will allow them to survive the blast.
- Succeeding in using Self-Destruct's explosion will fully charge D.Va's
 Call Mech ability. However, if your mech is blown off a cliff while the countdown is still going, you will not gain any ultimate charge.
 - After her mech takes critical damage, there is a brief window between the damage being taken and her ejecting from the cockpit where an ultimate can be used to cause the mech to detonate rather than simply being destroyed. This will also give her a full Call Mech ultimate charge.
- The mech will receive any momentum from
- Light Gun: D.Va's main weapon after her mech is destroyed. The Light Gun deals considerable damage with fast (but not hitscan) projectile bullets.
- The weapon is very accurate at most ranges. D.Va can use while kiteing enemies and charge her ultimate meter to call a new mech.
- With her small hitbox, D.Va can dance around and kite the enemy, using the weapon's projectile nature to cut off the enemy's escape routes. Keep in mind that you have low survivability and lack movement options in pilot form, though.
- The Light Gun does not have damage falloff, and is actually more effective than the Fusion Cannons at long range.
- Call Mech: (Ultimate): D.Va can call a new mech after her previous one is destroyed.
- The mech will deal considerable damage around it upon impact, killing any low health character. However, you must make sure that you can safely return to the mech.
- The ability creates a strong knockback upon cast. It can launch the enemy to an environmental kill.
- Both D.Va and her mech can be damaged or killed while she is entering the mech.
- When not fully operating the mech, any damage being dealt to you will not transfer to ultimate charge for your enemies.
General Strategies
- While D.Va is considered a Tank, a lot of successful D.Va players use her like Reaper. Flanking and harassing are some of D.Va's strong suits. Her high damage output at close range coupled with her Boosters movement ability makes it easy for her to get "shotgun-like" damage in and escape with ease.
- Defense Matrix is especially strong against most damage dealers. It can even negate a dangerous bullet from Cassidy's
 Deadeye or even Pharah's
  Barrage.
 - You can close the gap on most heroes with Boosters, but you will be susceptible to enemy fire while airborne. Defense Matrix can be used during Boosters, so activate it while flying towards a target that's shooting at you.
- You need to prioritize protecting the team from flankers and snipers, potentially by rushing them down at close range. Snipers are your first target since they are vulnerable at close range followed by other damage dealers depending on the situation and their position.
- Strategize where and when to place a Self-Destructing mech. The 3 seconds countdown of Self-Destruct is long enough for your enemies to find cover or get behind a friendly Barrier. One effective tool is to use Boosters before Self-Destruct to send the Ultimate out from a blind spot towards a place where there is less cover.
- D.Va's high damage in her mech is useful against Tanks. Due to their large size and slow speed, the burst damage of Micro Missiles and Fusion Cannons can chew through a lot of health.
- Even though Defense Matrix will destroy all projectiles, it will not absorb beams such as Zarya's
 Particle Cannon, Mei's
  Endothermic Blaster, Moira's
  Biotic Grasp, or Symmetra's
  Photon Projector.
 - D.Va has a large critbox in front of her mech (the cockpit). You will receive critical damage easier than most heroes, so avoid turning your mech to face oncoming fire without Defense Matrix active.
- Ramming an enemy with Boosters deals damage in addition to mild knockback, which may be enough to finish off a low-health opponent.
- When out of the suit, D.Va's primary goal is to score as many headshots as possible, as fast as possible, to call her next mech. You may want to target a distant, large enemy such as Roadhog or an enemy D.Va to regain your ultimate charge.
Match-Ups and Team Synergy
Tank
| Hero | Match-Up | Team Synergy |
|---|---|---|
 D.Va |
D.Va mirror matches are extremely bizarre. Both of you are going to try to act smart and fight around each others' |
This Synergy can only occur in Gamemodes with no role-locks or if an Echo is present.
Double D.Va is a deadly duo. With 2 |
 Doomfist |
Be careful with using | |
 Hazard |
Against a Hazard, you've got a tricky game ahead of you. At close range, Hazard's |
As a teammate, Hazard and D.Va can be a deadly duo. He can use his |
 Junker Queen |
With no barriers to block your attacks, fighting Junker Queen is a breath of fresh air compared to other Tanks. That being said, |
With a Junker Queen by your side, you can more easily focus on diving opponents and catching opponents off angling than front-lining for your team. She's a deadly brawler who can hold her ground without much trouble, but be sure to keep an eye on her incase she needs your |
 Mauga |
Mauga is the bane of all Tank's. With the combination of his |
A friendly Mauga is a deadly ally. His |
 Orisa |
Orisa can use |
A sturdy Orisa as your teammate frees you up to play as a more aggressive Tank. With that in mind, don't leave her to fend for herself; once you've picked off any flankers or lone enemies, try to stay by your Orisa to make sure she isn't ambushed, since she's not as handy as you are in a close range fight. |
 Ramattra |
Ramattra is one of the more difficult Tanks for D.Va to deal with. When in Omnic Form, he can spam his |
Ramattra is a flexible front-line tank. He does great damage at range and up close, with a barrier and block to protect him and allies around him. As such, there isn't much he needs from D.Va that he can't do himself. If he's caught off-guard and nearly eliminated, it may be worth using |
 Reinhardt |
Your quick mobility, ramming potential, and burst-fire capabilities allow you to chase down a lone Reinhardt and quickly finish him off. Conversely, if Reinhardt is chasing after you, fly away and he will be incapable of catching up. Using |
As D.Va lacks any capability to produce shields, a friendly Reinhardt can cover your role as a primary Tank while you block large-impact attacks and chase after enemies Reinhardt is incapable of pursuing. The stun of |
 Roadhog |
Roadhog fights are extremely unfortunate, because your |
Teaming up a D.Va and Roadhog will result in your team lacking heavily in protection. However, among the Tanks, D.Va and Roadhog are also arguably the most offensively powerful. With the right team comp that focuses more on barreling through an enemy line rather than slowly pushing and protecting your team, you can pick off key targets while your Damage allies finish off any stragglers. |
 Sigma |
Sigma's |
With a friendly Sigma on your team, you'll have an incredibly easy time negating incoming projectiles and covering each other's bases. That being said, you'll have a much greater difficulty against beam weapons such as those of Zarya and Symmetra. Try to do your fair share of absorbing projectiles and don't put the burden of protection on your friendly Sigma; if his |
 Wrecking Ball |
If you and Wrecking Ball both stay put and fire away at one another, you're almost certain to come out on top. Unfortunately, due to his high mobility, this will rarely be the case. While it's unlikely that Wrecking Ball will ever land a kill on you unless he's supported by his allies, his primary asset against you is being a nuisance who will refuse to die. Ramming him with your |
If your team decides to run both D.Va and Wrecking Ball as your tanks, you're offering your team extremely minimal protection. That being said, if your team is filled with heroes who prefer to stay mobile and fend for themselves, such as Genji, Tracer and Lúcio, this may be an acceptable, aggressive team composition. |
 Winston |
Out of your mech, Winston is a nightmare, because he'll just |
The classic "dive comp" combo, D.Va and Winston both have the ability to quickly move towards, or "dive", an enemy. This is especially helpful to ambush foes that wish to remain on the backline, such as Widowmaker or Support heroes. Try to coordinate with a friendly Winston so you both ambush the same target simultaneously. |
 Zarya |
Zarya is among D.Va's greatest enemies, as she can build lots of charge from the fire of D.Va's |
While having a Zarya as a second tank will cost your team traditional barriers, you each have unique ways to negate incoming fire. As long as you keep constant awareness of your teammates, you can both keep them safe from enemy fire. Zarya's Ultimate, |
Damage
| Hero | Match-Up | Team Synergy | |
|---|---|---|---|
 Ashe |
You excel at taking down snipers, and Ashe is no exception. |
A friendly Ashe is hardly a concern for you. They'll often by occupying a mid-to-long range distance from the fight, while you'll be up-close to opponents in the front. If a friendly Ashe gets dived though, it's worth falling back and protecting them so they can survive the encounter and resume the fight. If you catch a low-health opponent in fire from Ashe's | |
 Bastion |
You can negate an enemy Bastion's |
While D.Va isn't as well-suited to protect a friendly Bastion as Reinhardt or Orisa, her | |
 Cassidy |
Cassidy is a close-to-mid range hero, excelling at protecting his allies from divers and quickly deleting opponents with his shots. As such, he himself can often be vulnerable from attacks, so keep an eye on him, as he'll make your job easier if he's alive. During his | ||
 Echo |
D.Va is a very complimentary tank for Echo. You're both capable of large amounts of burst damage, so you should have no trouble securing a kill or two when you dive. Follow her calls and keep close to her, as you can shield her with |
||
 Freja |
Freja is a deadly assassin, but a squishy one. All her projectiles can be blocked by your |
Freja is a great teammate, dealing consistent, high damage at range. Her smaller health pool makes her vulnerable though, so if she's being dived, prepare to go in and protect her with | |
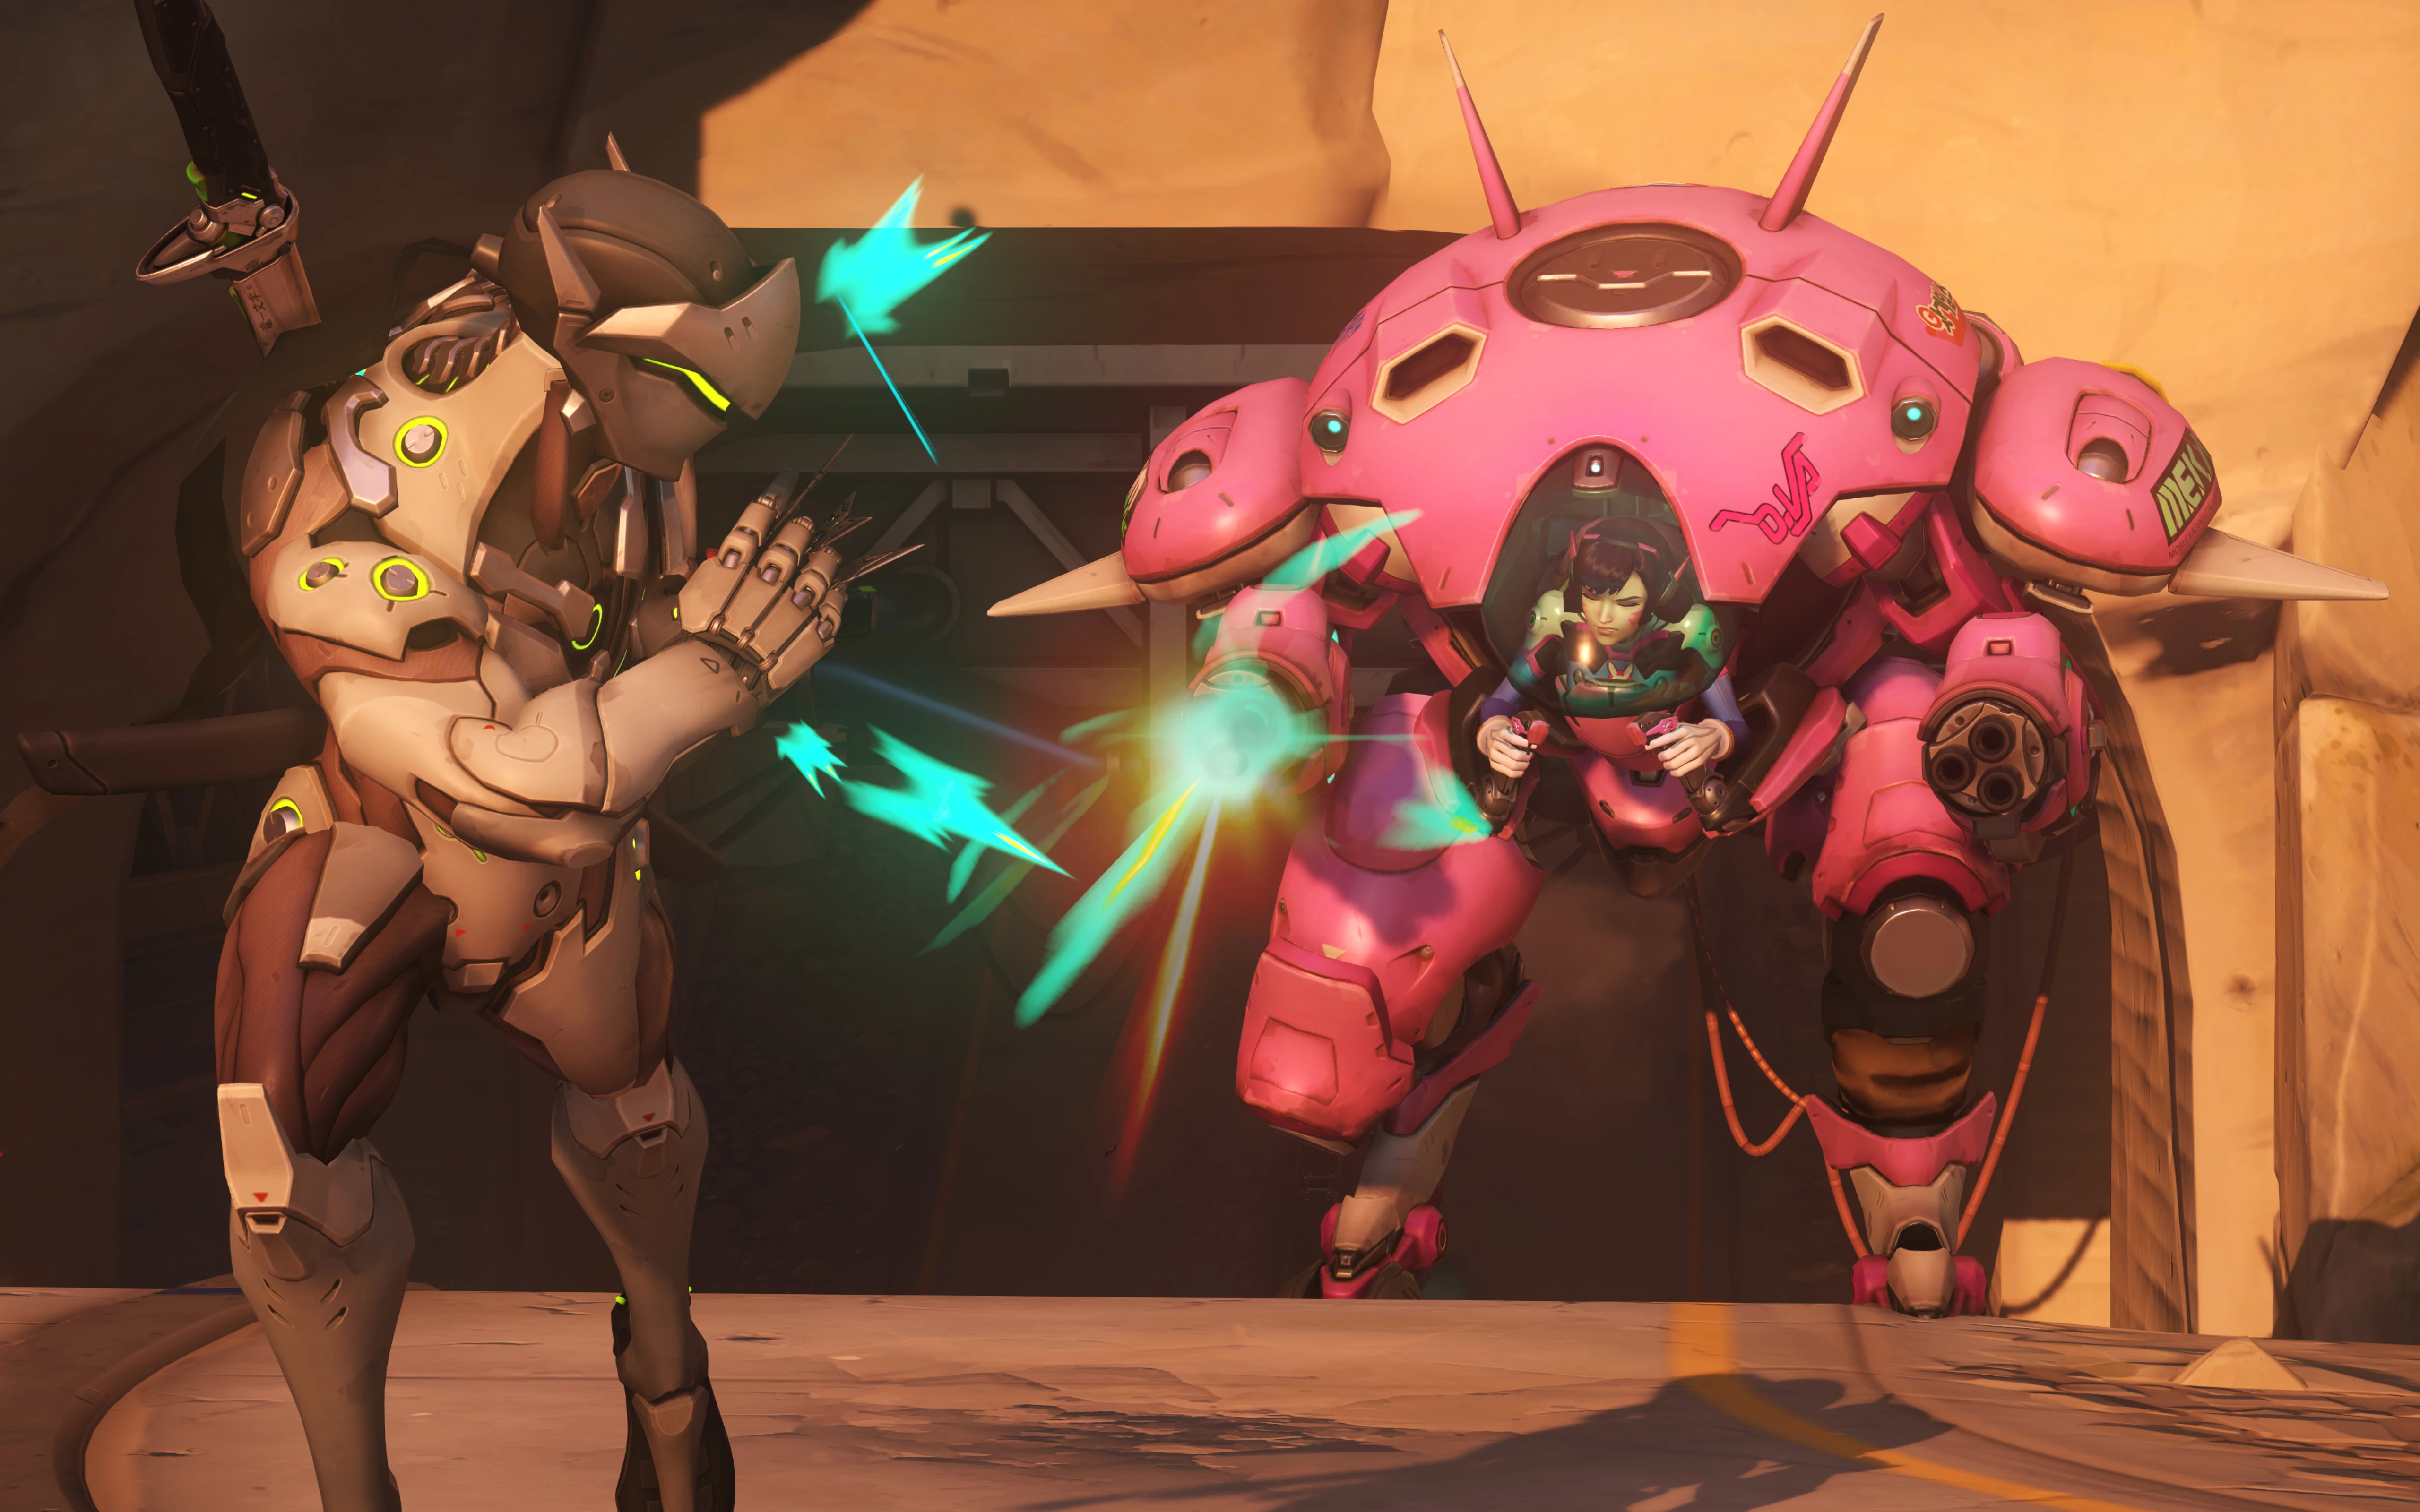
 Genji |
Due to Genji's constant mobility, he can be extremely difficult to pin down as D.Va, and his |
Genji is a classic "dive" hero. He works exceptionally well with D.Va, as they can coordinate dives and catch opponents off-guard by quickly going in, securing eliminations, then getting out before being run down themselves. Be wary not to use your | |
 Hanzo |
Your |
Hanzo is notably best at mid-to-long range, so you won't be seeing him often a fight. His shots are deadly, but have a charge time between shots. If he does get dived, keep an eye on him and consider falling back to him to protect him with | |
 Junkrat |
D.Va is able to combo her | ||
 Mei |
As Mei's primary fire is a beam attack, it cannot be absorbed with |
Mei's | |
 Pharah |
Your |
You and Pharah tend to be the most airborne heroes. You can take advantage of this by both taking control of the skies, especially if you have a friendly Mercy on your team. Pharah's primary counters are hitscan and sniper heroes, which happen to be some of your easiest targets; you can cover her counters, while her powerful rockets can help keep flankers off your back. | |
 Reaper |
Both you and Reaper need close range to effectively deal damage, and at close range Reaper will rip through you in seconds. While negating his |
Since both Reaper and D.Va excel at close-range damage, you can both team up to quickly destroy opponents why get too close to you. Additionally, you can use your | |
 Sojourn |
Sojourn is a deadly damage hero, but all of her abilities are absorbed by your |
Sojourn does well at range, with her primary fire projectiles and Railgun in combination being capable of bursting opponents down easily. Her | |
 Soldier: 76 |
Soldier: 76 is a typical poke hero, who deals damage at a distance rather than up-close like D.Va. His | ||
 Sombra |
With a well-timed |
A well-timed | |
 Symmetra |
Because you can't block Symmetra's primary fire with |
Symmetra can create a teleporter through which D.Va can send her mech during | |
 Torbjörn |
In addition to blocking an enemy Torbjörn's |
D.Va's | |
 Tracer |
Like Reaper, you and Tracer both excel when fighting at close range, and also like Reaper, Tracer will outdamage you in most circumstances. While Reaper has |
Tracer excels at flanking and can help you take out targets when you are diving the enemy backline. She's a fast, hard-to-hit target for opponents, but keep track of her | |
 Venture |
In a one-on-one fight, Venture demolishes D.Va. Whilst their |
Venture excels at dealing bursts of damage, quickly eliminating opponents then burrowing away before being caught. Paired with D.Va, they can be more aggressive. When working together, you can both burn down opponents one-by-one, escaping when the situation turns south. While Venture doesn't need much protection, it may be worth using | |
 Vendetta |
Vendetta is a deadly opponent for D.Va. Their high-burst Melee-based damage quickly burns down your health until you're de-meched, with her high mobility and |
Vendetta is a tricky ally to work with. Her playstyle forces her to be close-up to opponents to get the most value, which is often deadly for both her and them. If she's caught off guard and in trouble, using | |
 Widowmaker |
With her high mobility and ability to negate incoming fire, D.Va is an incredibly strong counter for Widowmaker. A common Widowmaker tactic is for her to fall to a lower altitude, wait for you to chase her, then use |
D.Va can work great in tandem with Widowmaker. She's able to distract potential targets, leaving them open to easier shots from an allied Widowmaker. Widowmaker is extremely vulnerable to divers though, so if she's caught by multiple divers, it may be worth going for the rest of their team rather than falling back, as it may be too late to save her. |
Support
| Hero | Match-Up | Team Synergy |
|---|---|---|
 Ana |
Ana is both a Support hero and a sniper, making her one of your highest-priority targets. With |
You may be a large target for your friendly Ana to heal, but you're also a mobile one. Make sure you're always in your Ana's line of sight to stay at full health. While a |
 Baptiste |
Fighting a Baptiste one-on-one isn't too difficult for D.Va. However, his |
When Baptiste activates |
 Brigitte |
Due to her |
Brigitte is one of the best anti-dive supports. If she's in your backline, you can be certain they're safe from the likes of Genji or Doomfist. Her |
 Illari |
Illari has all the tools to be a troublesome opponent for D.Va. Her |
Having Illari on your team can be a blessing or a curse. Illari's tend to keep a distance from the fight, while her healing requires her to be mid-to-close range to get the most out of it. Thankfully, you're big hitbox makes her beam-based healing easy to hit, quickly providing you with a lot of sustain when you need it. Additionally, as |
 Juno |
Juno is a speedy support that D.Va can quickly burst down. Her lower health pool makes her vulnerable to dives, but her quick mobility and |
Juno is an amazing support to have as D.Va. Using |
 Kiriko |
Despite normally excelling at taking out Support Heroes, dealing with Kiriko can prove to be a massive headache for D.Va. So long as a single teammate is anywhere nearby, Kiriko can use |
When a friendly Kiriko uses |
 Lifeweaver |
Lifeweaver's lack of self-preservation tools compared to other Support Heroes make him easier to deal with than others. Even if he tries to flee with |
When a friendly Lifeweaver uses |
 Lúcio |
Due to Lúcio's high mobility and self-heal, it can be very difficult to definitively finish him off, even with your |
Lúcio's speed is his main utility for the team. It allows you to quickly engage opponents and catch anyone trying to escape, but be wary as his healing is sub-par compared to other supports. If your friendly Lúcio uses |
 Mercy |
When an enemy Mercy is in sight, you need to be decisive on whether or not you're going to focus on her. If you damage her somewhat but let her fly away, she'll simply heal back to full health due to her self-healing passive. In particular, while Pharah is one of your greatest targets, she becomes far more difficult to deal with if she has a Mercy attached at the hip. If she's well-protected in the rear of the enemy team, don't barrel in after her unless you have other teammates who are coming with you, otherwise she'll fly from teammate to teammate to avoid your attacks while her teammates promptly rip you to shreds. That being said, if you do have another dive hero on your side, you can safely dive in and focus her down. If you catch Mercy alone, her lack of mobility and puny firepower makes her an easy target; just kill her quickly, because if one teammate shows up, she can fly to them and use them as a shield. Also, if you eliminate an opponent nearby, be wary of her |
Like Pharah, D.Va's flight provides a massive boon to a friendly Mercy's aerial mobility. If a friendly Mercy is willing to pocket you, you can withstand most fights thanks to your impressive health and close-range damage output. If the situation is dire, though, be willing to flee from the fight; you might survive a group fight, but if your Mercy is killed because you weren't protecting her, she'll be much less inclined to pocket you in the future. By flying away from a fight, you're giving your friendly Mercy the out she needs. If your Mercy intends to |
 Moira |
Moira's only real tool to escape D.Va is |
Moira's |
 Wuyang |
Wuyang is deadly at range, but vulnerably close-up. His water orbs from |
Having Wuyang as a support can be great. While his passive |
 Zenyatta |
Zenyatta can shut you down in a number of ways. His |
Because she has high damage output at close range (as well as medium to long range with her |
Map Strategies
Control
| Map | Strategy & Stage Tips |
|---|---|
 Overall Strategy |
TBA RATING | TBA FEATURE
Map strategy details for Overall Strategy are currently missing. You can help the Overwatch Wiki by adding them!
|
 Antarctic Peninsula |
TBA RATING | TBA FEATURE
Map strategy details for Antarctic Peninsula are currently missing. You can help the Overwatch Wiki by adding them! Labs
Strategy details missing.
Sublevel
Strategy details missing.
Icebreaker
Strategy details missing.
|

|
TBA RATING | TBA FEATURE
Map strategy details for Busan are currently missing. You can help the Overwatch Wiki by adding them! Downtown
Strategy details missing.
Sanctuary
Strategy details missing.
MEKA Base
Strategy details missing.
|

|
TBA RATING | TBA FEATURE
Map strategy details for Ilios are currently missing. You can help the Overwatch Wiki by adding them! Lighthouse
Strategy details missing.
Well
Strategy details missing.
Ruins
Strategy details missing.
|

|
TBA RATING | TBA FEATURE
Map strategy details for Lijiang Tower are currently missing. You can help the Overwatch Wiki by adding them! Control Center
Strategy details missing.
Garden
Strategy details missing.
Night Market
Strategy details missing.
|

|
TBA RATING | TBA FEATURE
Map strategy details for Nepal are currently missing. You can help the Overwatch Wiki by adding them! Village
Strategy details missing.
Shrine
Strategy details missing.
Sanctum
Strategy details missing.
|

|
TBA RATING | TBA FEATURE
Map strategy details for Oasis are currently missing. You can help the Overwatch Wiki by adding them! City Center
Strategy details missing.
Gardens
Strategy details missing.
University
Strategy details missing.
|

|
TBA RATING | TBA FEATURE
Map strategy details for Samoa are currently missing. You can help the Overwatch Wiki by adding them! Beach
Strategy details missing.
Downtown
Strategy details missing.
Volcano
Strategy details missing.
|
Escort
| Map | Strategy & Stage Tips |
|---|---|
 Overall Strategy |
TBA RATING | TBA FEATURE
Map strategy details for Overall Strategy are currently missing. You can help the Overwatch Wiki by adding them!
|

|
TBA RATING | TBA FEATURE
Map strategy details for Circuit Royal are currently missing. You can help the Overwatch Wiki by adding them! Attack
Strategy details missing.
Defense
Strategy details missing.
|

|
TBA RATING | TBA FEATURE
Map strategy details for Dorado are currently missing. You can help the Overwatch Wiki by adding them! Attack
Strategy details missing.
Defense
Strategy details missing.
|

|
TBA RATING | TBA FEATURE
Map strategy details for Havana are currently missing. You can help the Overwatch Wiki by adding them! Attack
Strategy details missing.
Defense
Strategy details missing.
|

|
TBA RATING | TBA FEATURE
Map strategy details for Junkertown are currently missing. You can help the Overwatch Wiki by adding them! Attack
Strategy details missing.
Defense
Strategy details missing.
|

|
TBA RATING | TBA FEATURE
Map strategy details for Rialto are currently missing. You can help the Overwatch Wiki by adding them! Attack
Strategy details missing.
Defense
Strategy details missing.
|

|
TBA RATING | TBA FEATURE
Map strategy details for Route 66 are currently missing. You can help the Overwatch Wiki by adding them! Attack
Strategy details missing.
Defense
Strategy details missing.
|

|
TBA RATING | TBA FEATURE
Map strategy details for Shambali Monastery are currently missing. You can help the Overwatch Wiki by adding them! Attack
Strategy details missing.
Defense
Strategy details missing.
|

|
TBA RATING | TBA FEATURE
Map strategy details for Watchpoint: Gibraltar are currently missing. You can help the Overwatch Wiki by adding them! Attack
Strategy details missing.
Defense
Strategy details missing.
|
Hybrid
| Map | Strategy & Stage Tips |
|---|---|
 Overall Strategy |
TBA RATING | TBA FEATURE
Map strategy details for Overall Strategy are currently missing. You can help the Overwatch Wiki by adding them!
|
 Blizzard World |
TBA RATING | TBA FEATURE
Map strategy details for Blizzard World are currently missing. You can help the Overwatch Wiki by adding them! Attack
Strategy details missing.
Defense
Strategy details missing.
|

|
TBA RATING | TBA FEATURE
Map strategy details for Eichenwalde are currently missing. You can help the Overwatch Wiki by adding them! Attack
Strategy details missing.
Defense
Strategy details missing.
|

|
TBA RATING | TBA FEATURE
Map strategy details for Hollywood are currently missing. You can help the Overwatch Wiki by adding them! Attack
Strategy details missing.
Defense
Strategy details missing.
|

|
TBA RATING | TBA FEATURE
Map strategy details for King's Row are currently missing. You can help the Overwatch Wiki by adding them! Attack
Strategy details missing.
Defense
Strategy details missing.
|

|
TBA RATING | TBA FEATURE
Map strategy details for Midtown are currently missing. You can help the Overwatch Wiki by adding them! Attack
Strategy details missing.
Defense
Strategy details missing.
|
 Numbani |
TBA RATING | TBA FEATURE
Map strategy details for Numbani are currently missing. You can help the Overwatch Wiki by adding them! Attack
Strategy details missing.
Defense
Strategy details missing.
|

|
TBA RATING | TBA FEATURE
Map strategy details for Paraíso are currently missing. You can help the Overwatch Wiki by adding them! Attack
Strategy details missing.
Defense
Strategy details missing.
|
Push
| Map | Strategy & Stage Tips |
|---|---|
 Overall Strategy |
TBA RATING | TBA FEATURE
Map strategy details for Overall Strategy are currently missing. You can help the Overwatch Wiki by adding them!
|

|
TBA RATING | TBA FEATURE
Map strategy details for Colosseo are currently missing. You can help the Overwatch Wiki by adding them! Pushing
Strategy details missing.
Defending
Strategy details missing.
|

|
TBA RATING | TBA FEATURE
Map strategy details for Esperança are currently missing. You can help the Overwatch Wiki by adding them! Pushing
Strategy details missing.
Defending
Strategy details missing.
|

|
TBA RATING | TBA FEATURE
Map strategy details for New Queen Street are currently missing. You can help the Overwatch Wiki by adding them! Pushing
Strategy details missing.
Defending
Strategy details missing.
|

|
TBA RATING | TBA FEATURE
Map strategy details for Runasapi are currently missing. You can help the Overwatch Wiki by adding them! Pushing
Strategy details missing.
Defending
Strategy details missing.
|
Flashpoint
| Map | Strategy & Stage Tips |
|---|---|
 Overall Strategy |
TBA RATING | TBA FEATURE
Map strategy details for Overall Strategy are currently missing. You can help the Overwatch Wiki by adding them!
|

|
TBA RATING | TBA FEATURE
Map strategy details for Aatlis are currently missing. You can help the Overwatch Wiki by adding them! Station
Strategy details missing.
Garden
Strategy details missing.
Town Center
Strategy details missing.
Bazaar
Strategy details missing.
Resort
Strategy details missing.
|

|
TBA RATING | TBA FEATURE
Map strategy details for New Junk City are currently missing. You can help the Overwatch Wiki by adding them! Arena
Strategy details missing.
The Ducts
Strategy details missing.
Refinery
Strategy details missing.
Junkyard
Strategy details missing.
Bomb Flats
Strategy details missing.
|

|
TBA RATING | TBA FEATURE
Map strategy details for Suravasa are currently missing. You can help the Overwatch Wiki by adding them! Market
Strategy details missing.
Garden
Strategy details missing.
Palace
Strategy details missing.
Temple
Strategy details missing.
Ruins
Strategy details missing.
|
Achievements
| Name | Icon | Description | Reward |
|---|---|---|---|
|
|
Prevent 1250 damage with a single use of D.Va's Defense Matrix in Quick or Competitive play. |  | |
|
|
Kill 4 enemies with a single use of D.Va's Self-Destruct in Quick or Competitive play. |  |
Trivia
- Self-Destruct: In line with D.Va's ultimate voice line, "Nerf this!", which can be interpreted as a challenge to the developers to nerf her ultimate, as of March 8, 2024, Self-Destruct has never been nerfed.
- In the Shooting Star cinematic, it is shown how Self-Destruct works compared to in-game: By ejecting and then firing the light pistol on the exposed reactor with one overloading it.
- D.Va's suit has sponsors all over it, which is a reference to the same advertising style of sponsors in Korean esports.
- D.Va's mech is named Tokki (토끼), which means rabbit.[2]
- Hana is a fan of Lúcio's music, and has apparently bought his album. He in turn also knows enough of the pro-gaming scene to be a fan of hers.
- D.Va is the youngest launch hero, and was the youngest hero overall until Orisa was introduced. D.Va is sometimes teased by others because of her age, such as when Widowmaker mockingly says, "This is no place for children."
- D.Va is the fifth playable Overwatch character in Heroes of the Storm,[3] and is a purchasable announcer, along with Genji.
- Defense Matrix has D.Va manually shoot down incoming projectiles, counting towards her APM. In-game, D.Va is able to reach an APM of 84,480 in a best-case scenario by blocking the combined 1,408 pellets per second of 11 simultaneous
 Whole Hogs.
 - D.Va is the first hero to use randomized "Quick Melee" attacks with both arms (in mech mode). Outside of her mech, she uses her right hand for "Quick Melee" attacks.
Cultural Impact
- D.Va is used as the symbol for the National D.Va Association, now called FAMERz, a progressive feminist movement composed of Overwatch fans. The group achieved international notability after a photograph of their flag—featuring D.Va's bunny-ears logo—was photographed in a news report for an international Women's March event in Seoul on January 21st, 2017. Based in South Korea, the group chose D.Va as its symbol owing to an earlier incident where professional teenage Overwatch player Geguri was accused of cheating owing to an eighty percent win rate; which some believed was "impossible" for girls to achieve. The group distributes stickers of D.Va's bunny logo, among other paraphernalia. It plans on finding new ways to use Overwatch as a tool for spreading its message.[4]
- Charlet Chung, who is D.Va's English voice actor, has commented positively on her character, commenting "in terms of representation of Asian-American characters in video games, particularly women, they might be over-sexualized - and I don't know if I'm being too candid here - I feel like D.Va is more of a real person. She happens to have some sex appeal, but that's not why she's in the game. She's not there to be an exotic lotus."[5]
- D.Va's Police Officer skin was released in 2017, leading a number of players to vow to never play D.Va, linking the skin with police brutality.[6]
Etymology
- D.Va's name is a play on the word "Diva", meaning a female celebrity.
- The stylization of her name is reminiscent of Korean pop idols, who often adopt pseudonyms to stand out. In the Korean version of the game, D.Va's name is the only name not in Hangul, reflective of the romanization of these idols' names. This makes sense considering D.Va is a Korean idol through her fame as a pro-gamer.
- The way her name has a prefix "D." is reminiscent of the way esports players have an abbreviated team tag before their names. This is supported by how she and D.Mon played on the same team.
- D.Va's given name Hana (하나) is the same as the Korean number 1. This parallels her personality, as she is a world champion and self-proclaimed "Number One."
- D.Va's jersey number when she was a pro player was also the number 1.[7]
Development
D.Va was first announced through the official PlayOverwatch Twitter account, which linked to a mock-up page on the official StarCraft II World Championship site.[8][9] She had previously been depicted in posters in the attacking team's starting area in Hanamura. Her StarCraft page was later taken down and the link instead redirects to the StarCraft II home page.
The StarCraft WCS web page first introduced D.Va as a former professional StarCraft player. Michael Chu later clarified on February 1, 2018 that this was not intended to be canon and was just a fun way to tease the character. He also explained that the unnamed game that she was best known for in her career was one that best matched the skills needed to pilot her mech.[10]
D.Va's design and kit seems to take inspiration from Brit, one of the hero concepts created for the Overwatch pitch meeting.
Removed abilities

- Replaced by
 Bunny Power in Season 16.

- Replaced by
 Extended Boosters in Season 16.
 - At the end of the duration, overhealth starts to decay at rate of 25/s.

22 - 6.6 (splash, enemy)
22 - 6.6 (splash, self)
- Removed in Season 18.
- Damage per second: 162
- Deals up to 189 damage per use.
- Does not affect the radius of projectile itself, only the explosion.
Merchandise
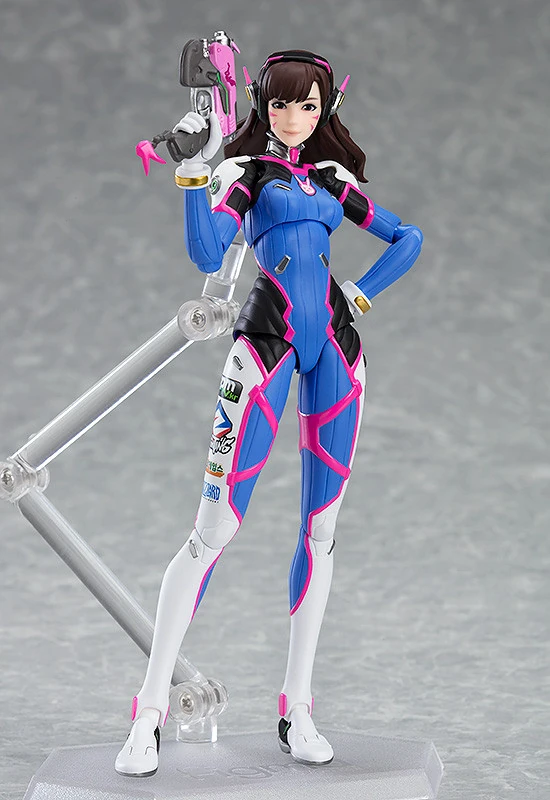
The Figma D.Va statue
- A StarCraft II portrait and announcer for D.Va was available for those who attended BlizzCon 2016 or bought a Virtual Ticket for the event.[11] The announcer has since been made available for regular purchase.
- A D.Va statue is available.[12]
- A Funko Pop D.Va statue is available for purchase from the Blizzard Store.[13]
- A D.Va-themed hoodie is available from JINX.[14]
- A Figma D.Va statue is available.[15]
- D.Va will appear in LEGO Overwatch, as part of a set shared with Genji.[16]
Media
Images
- Former Portrait
-
 Overwatch 1 Hero portrait

- Promotional


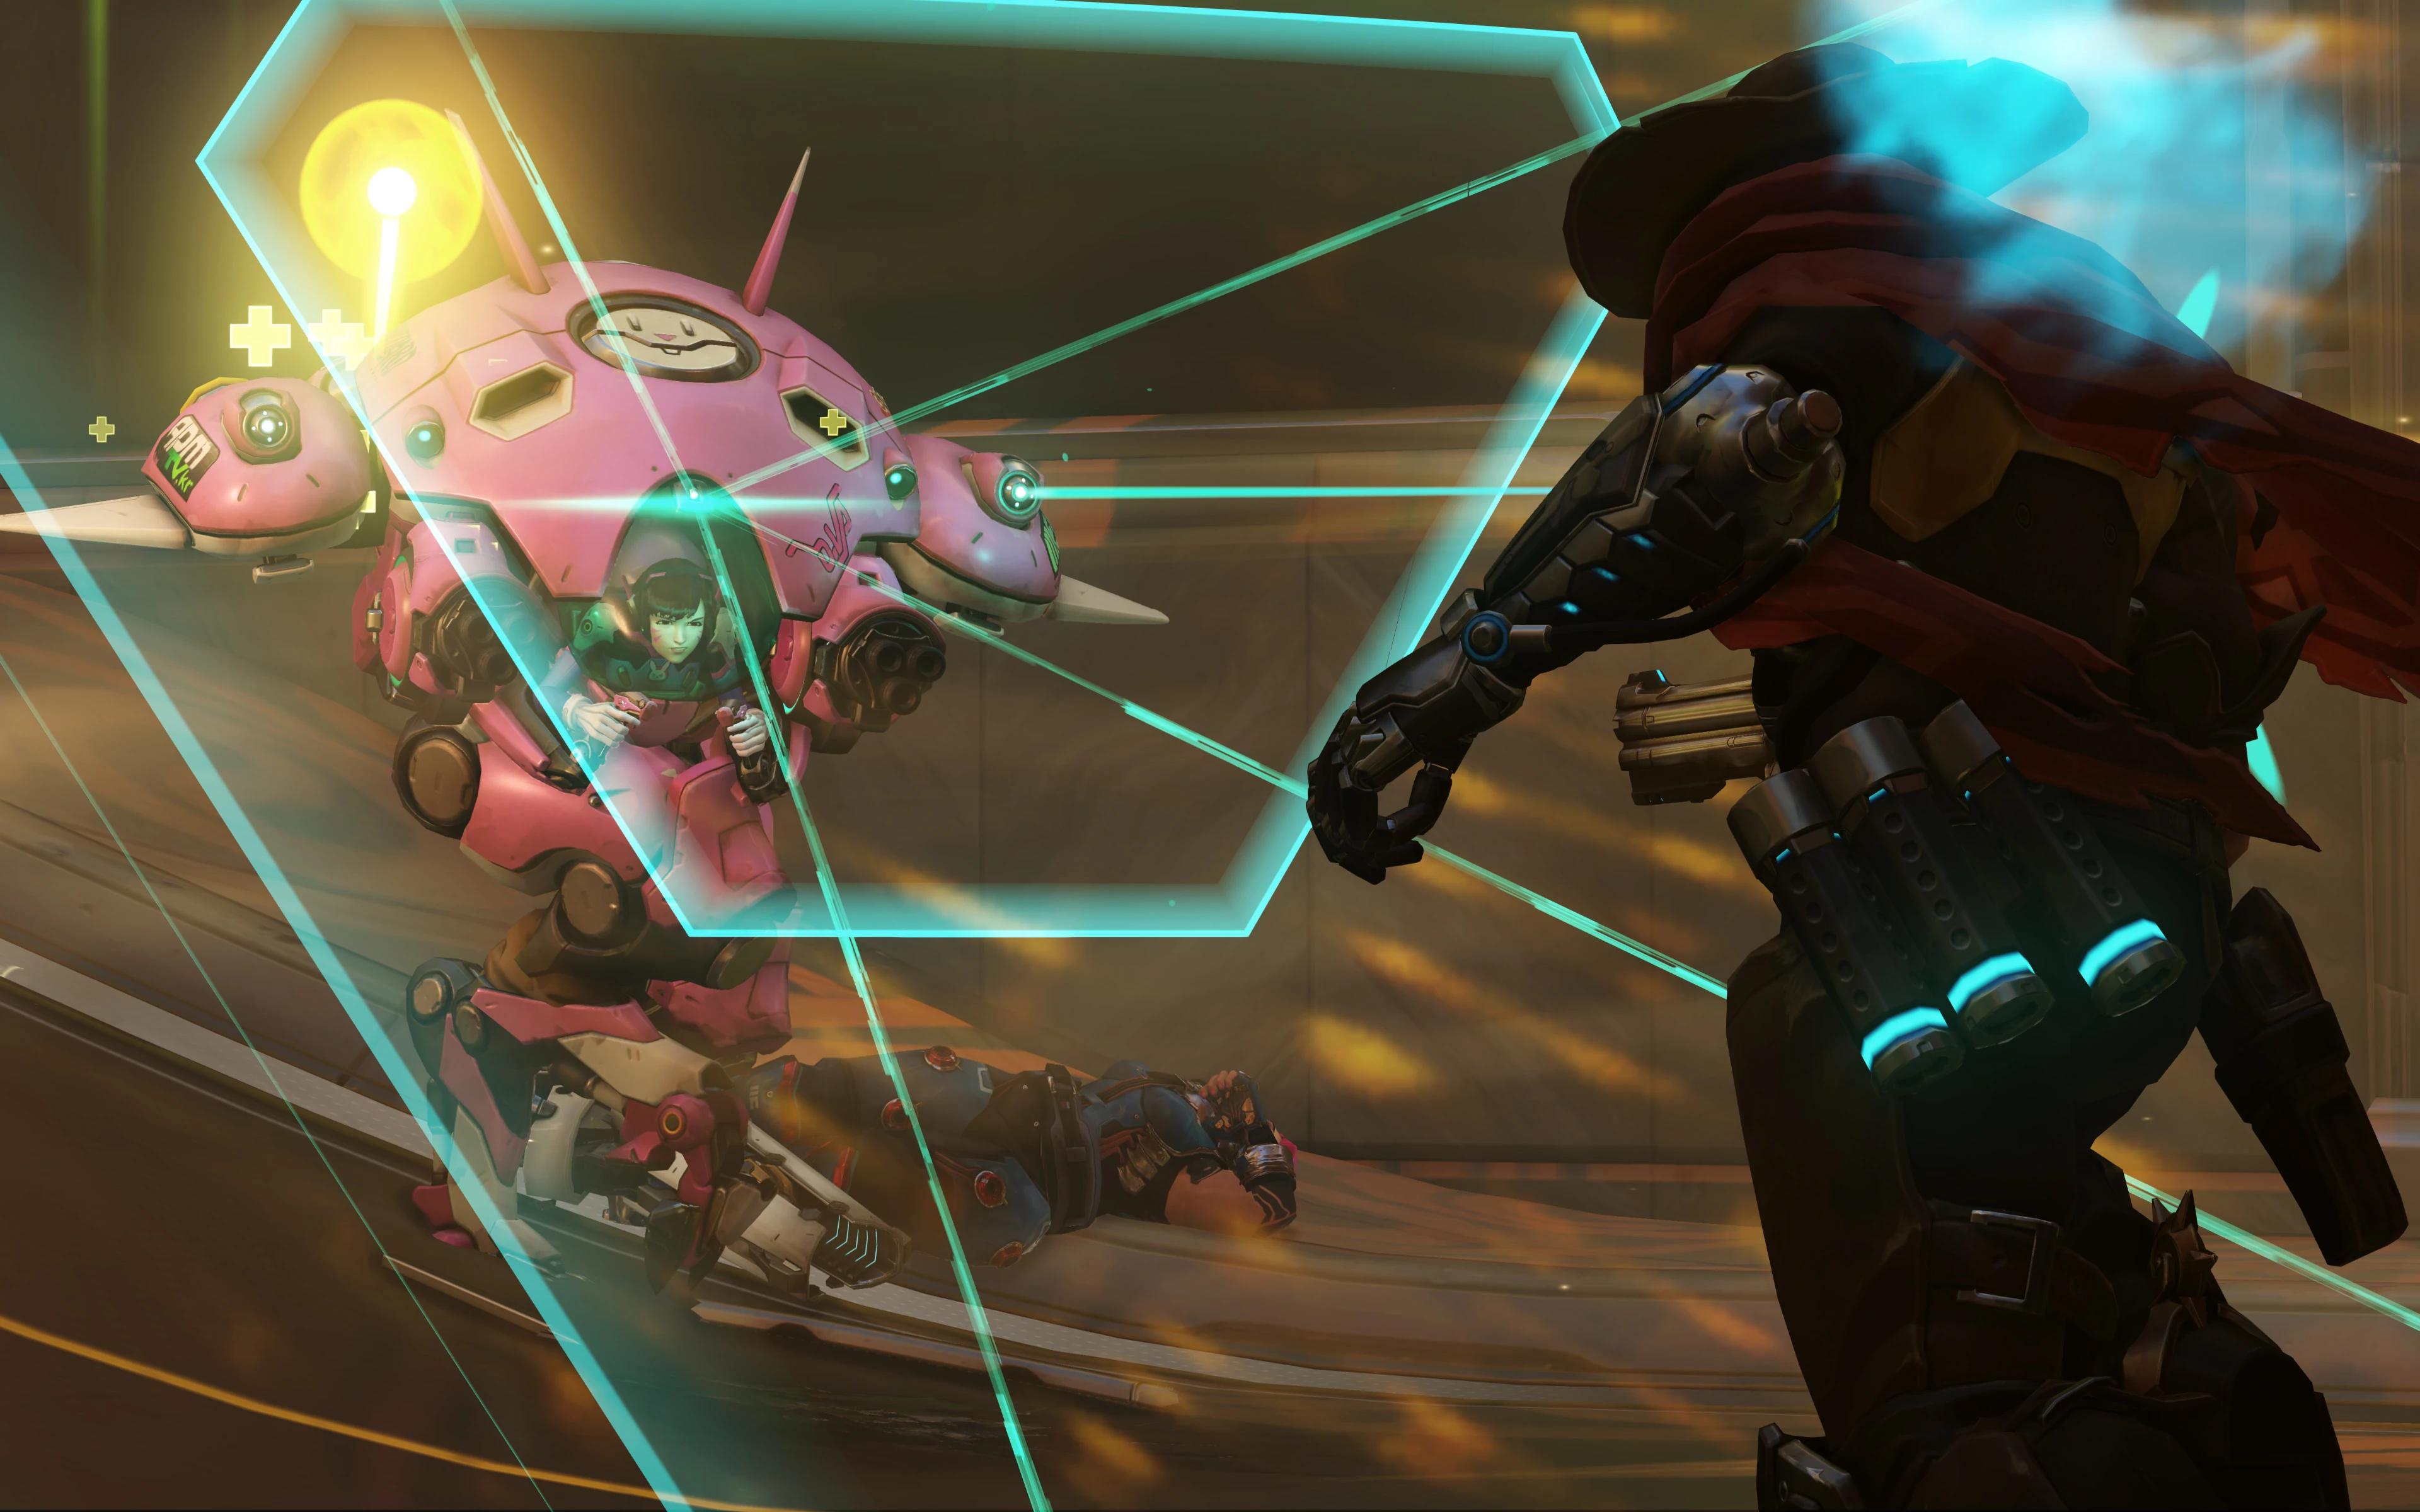
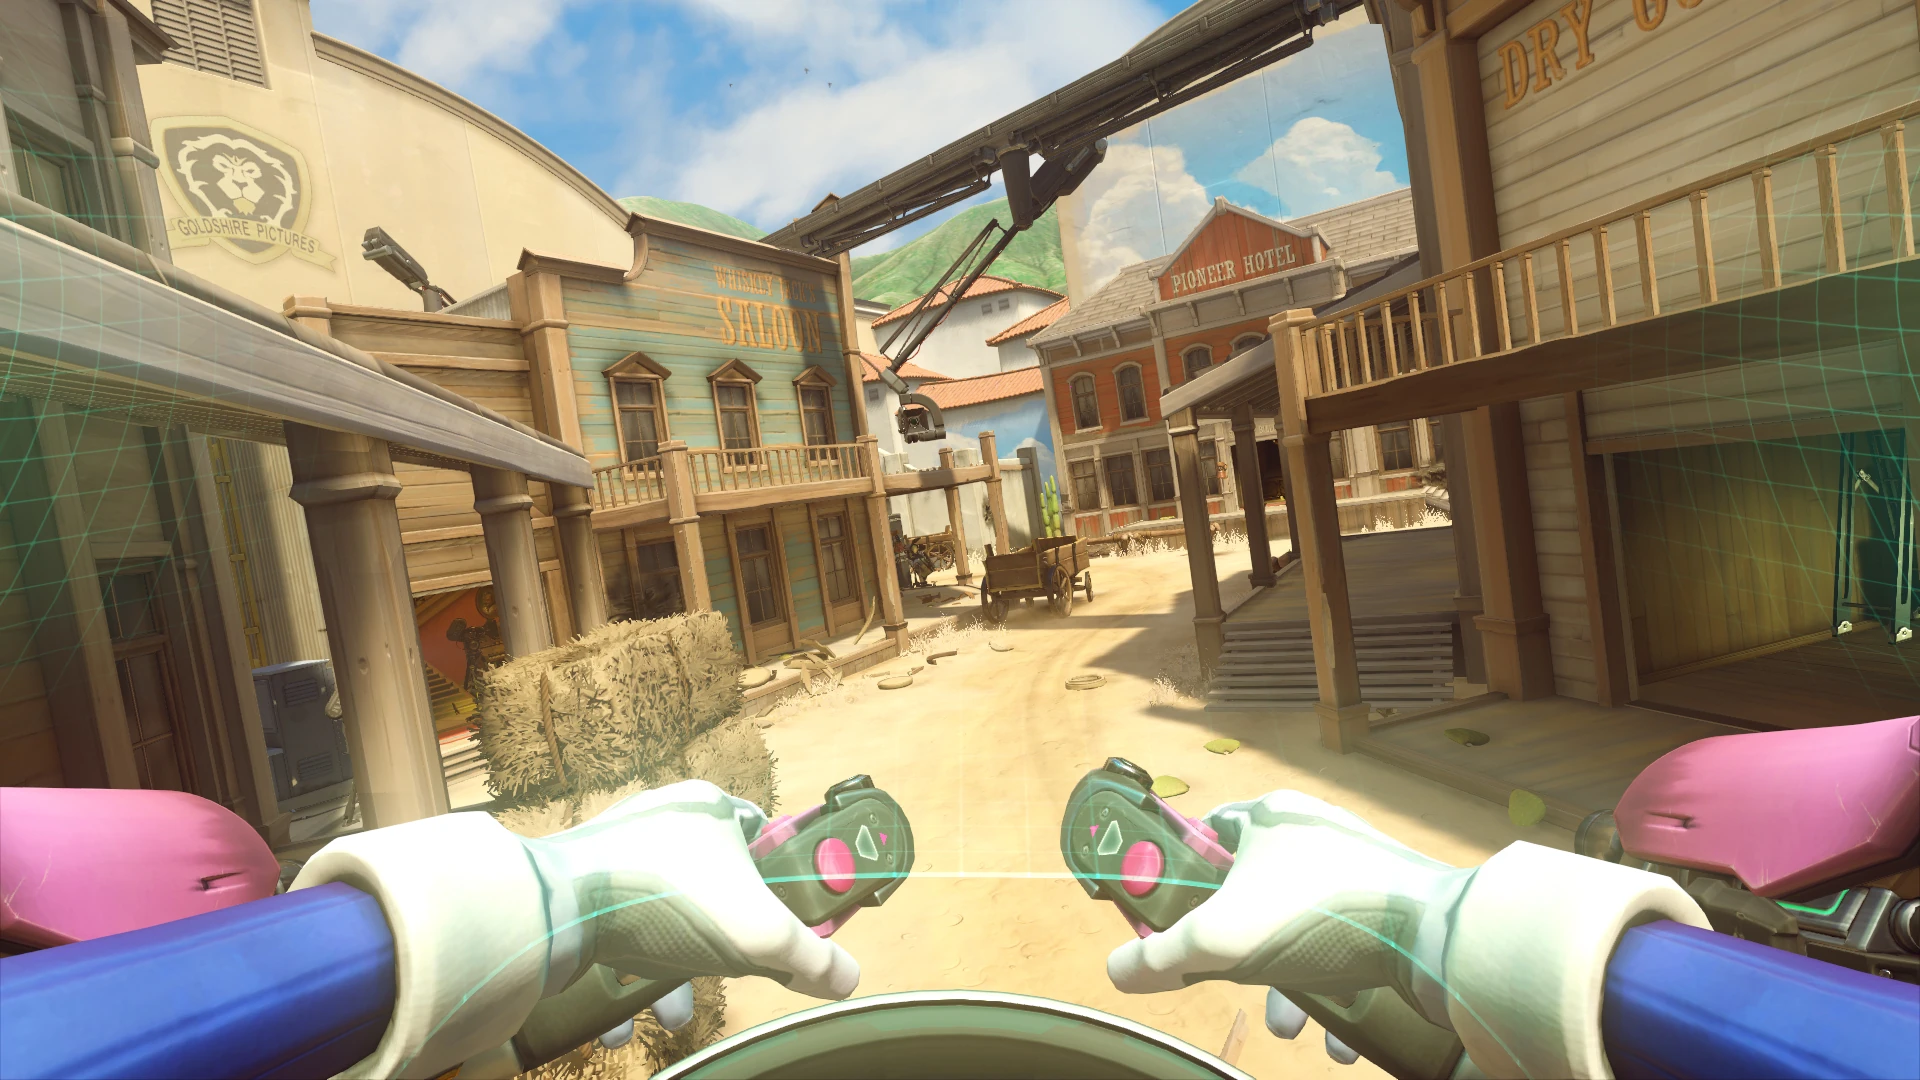
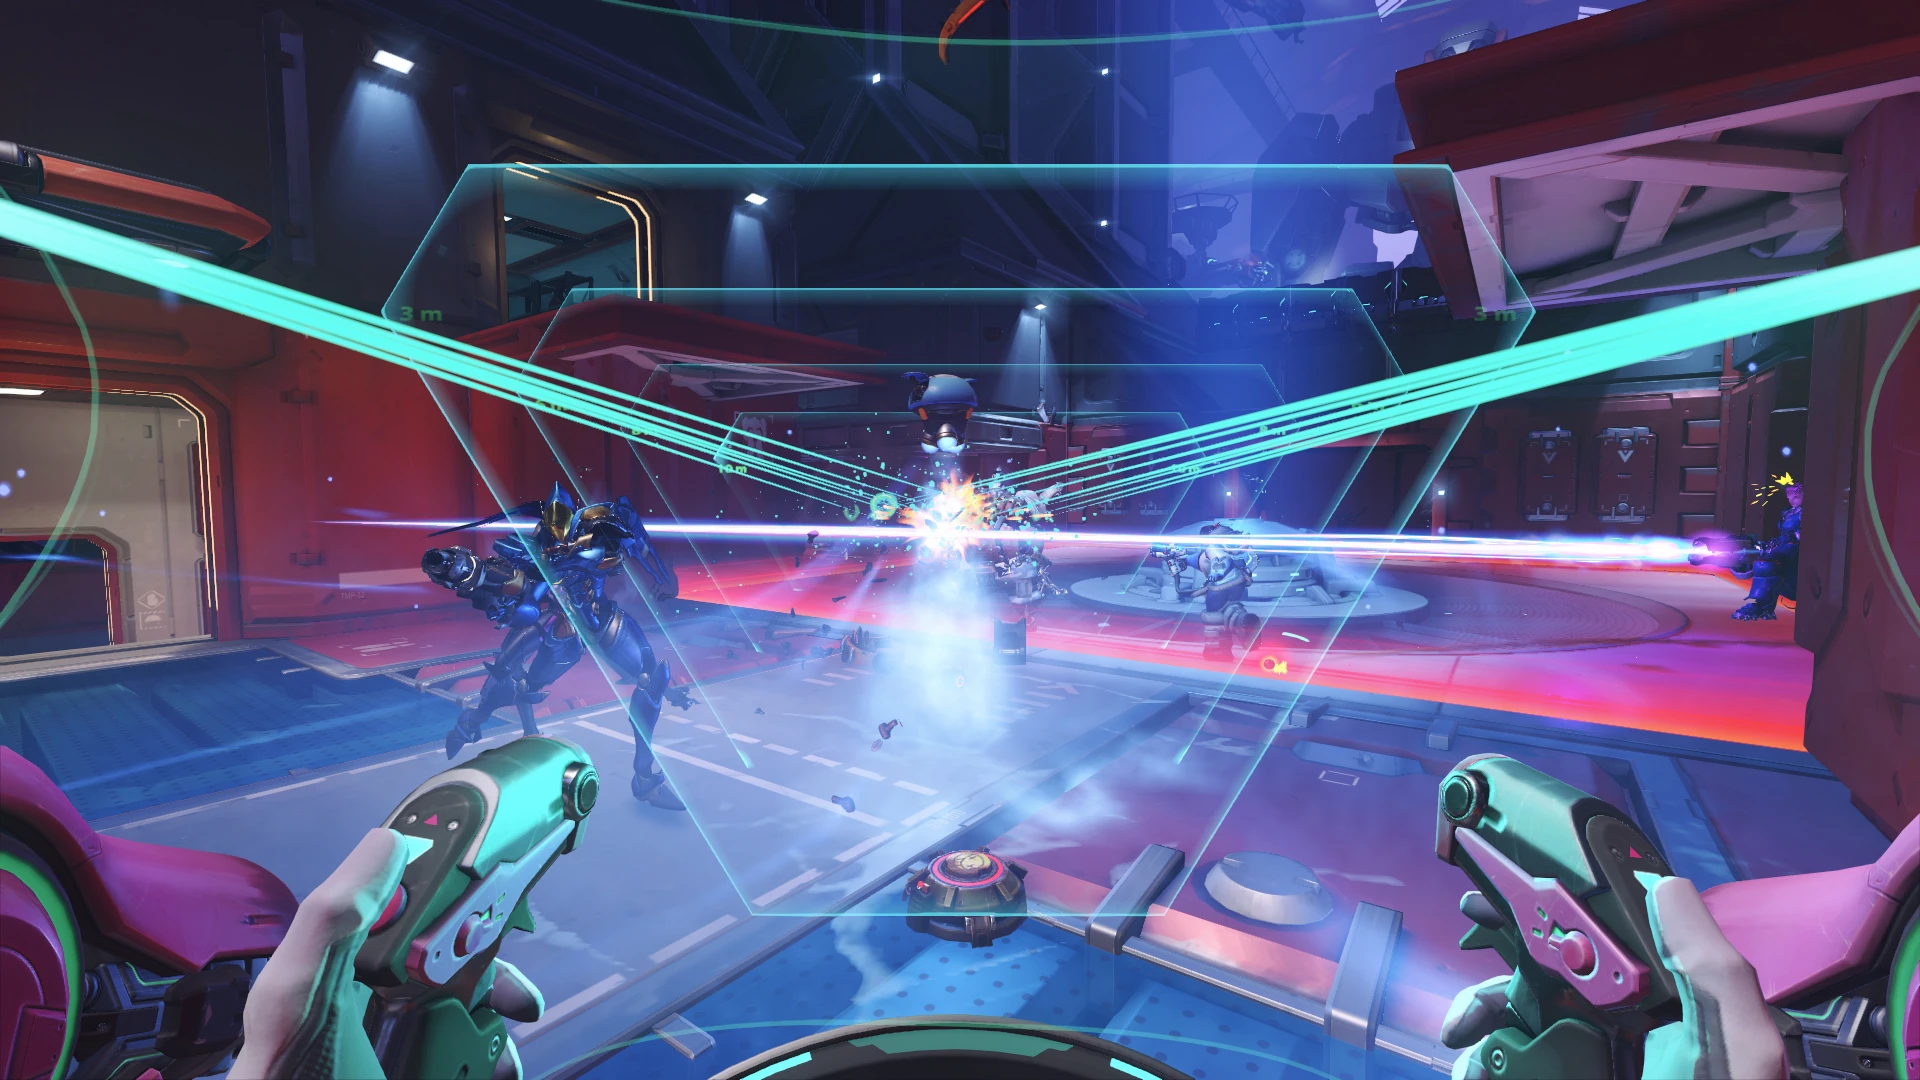
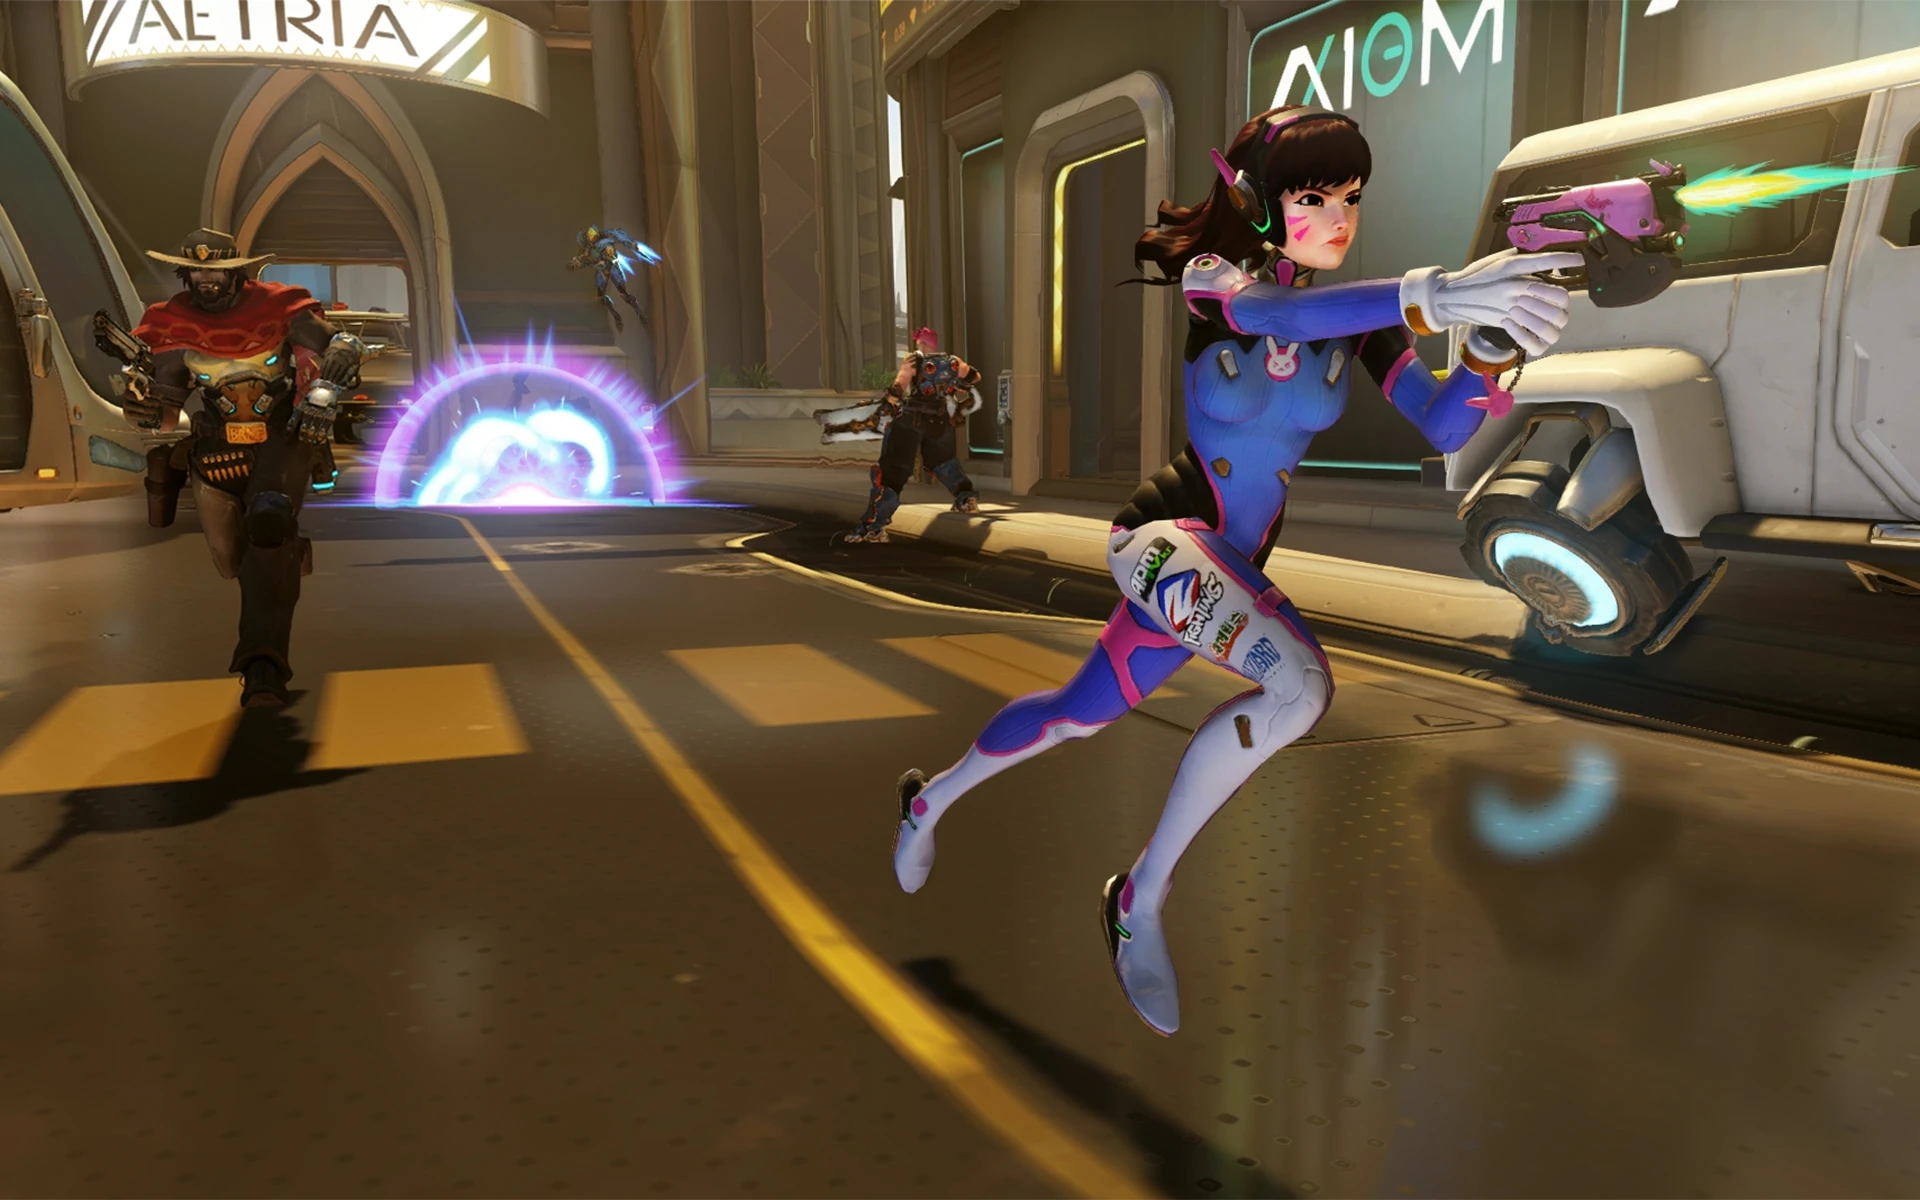
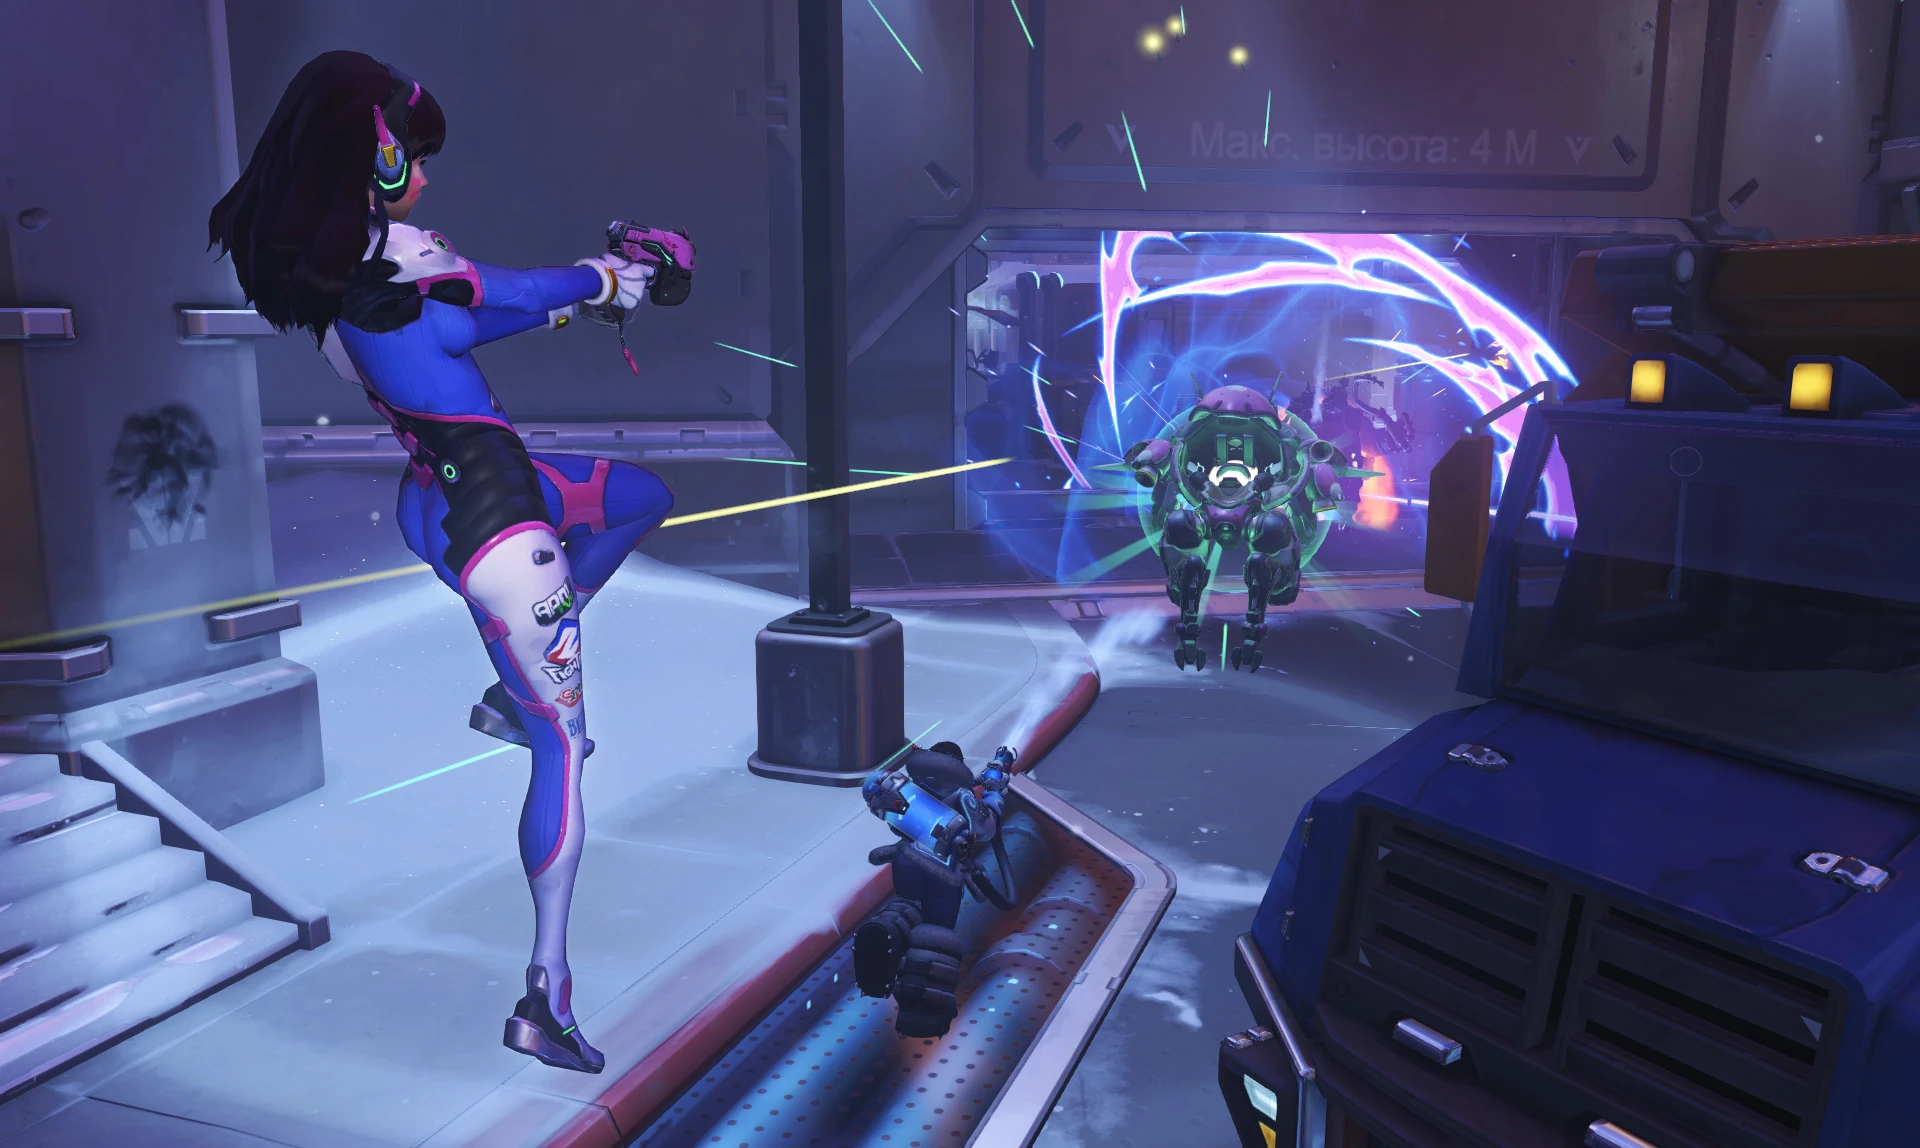
- Gameplay Screenshots


- Concept Art
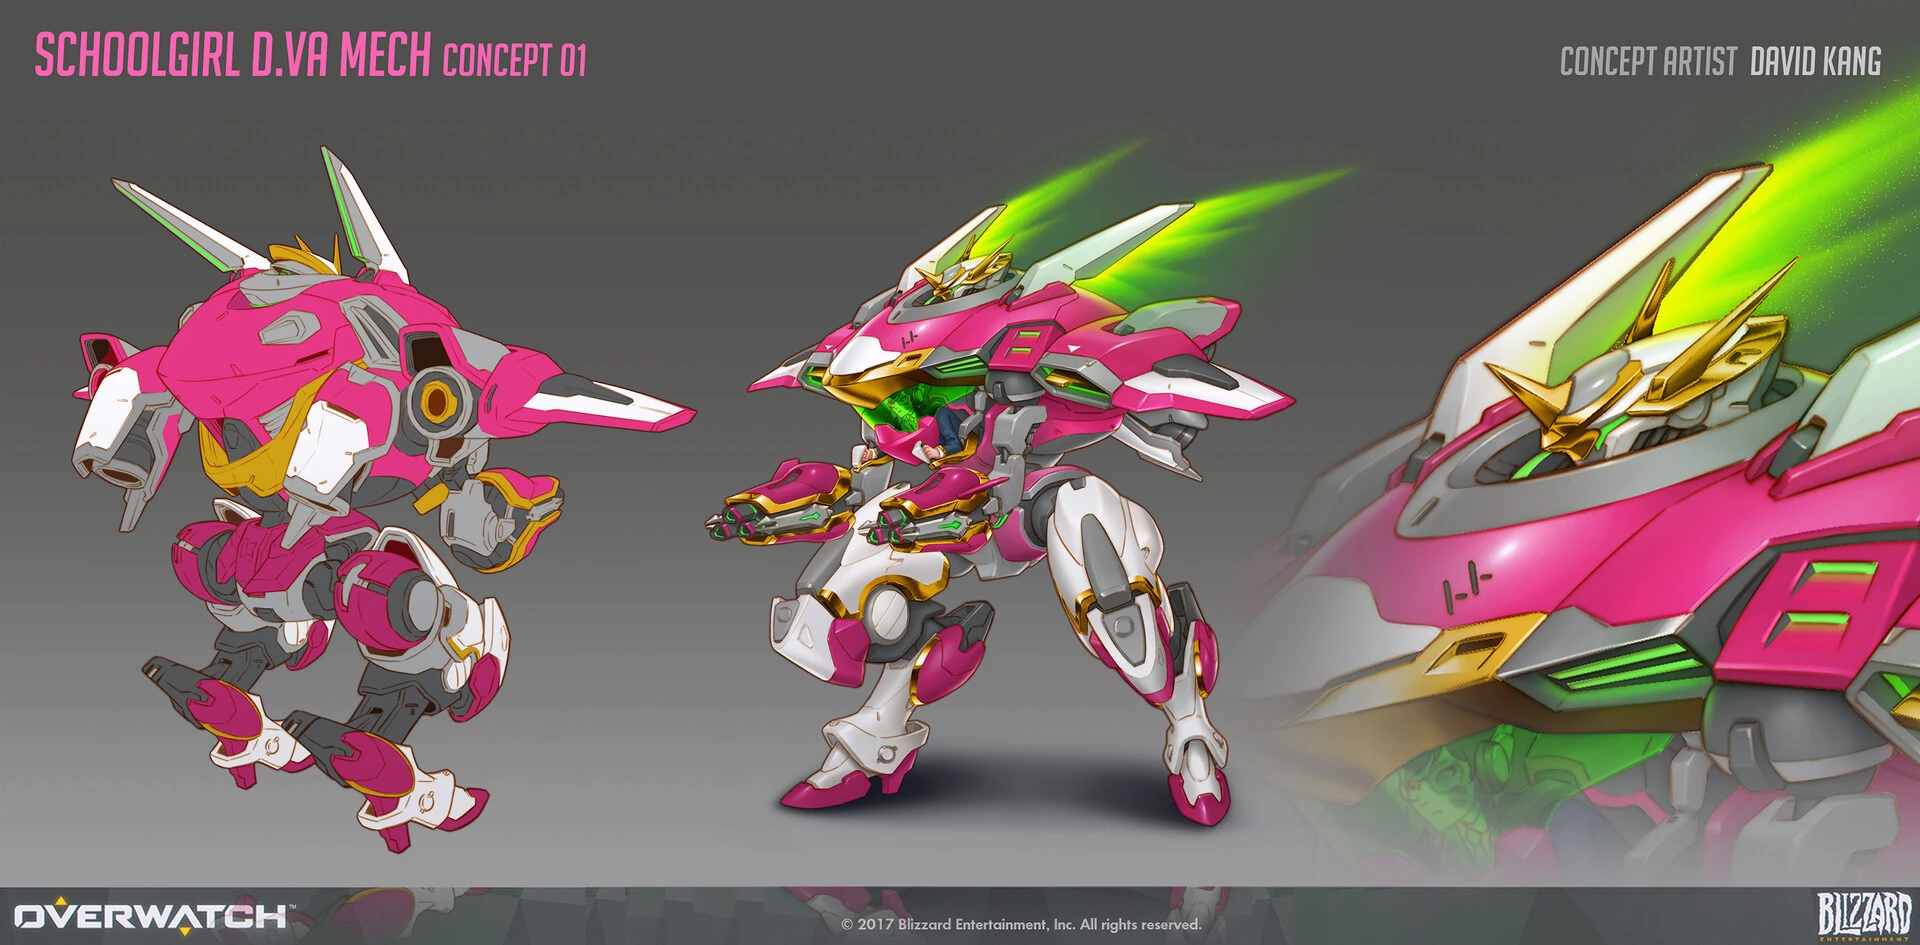
-
 Overwatch 2 skin Weapon concept art
 -
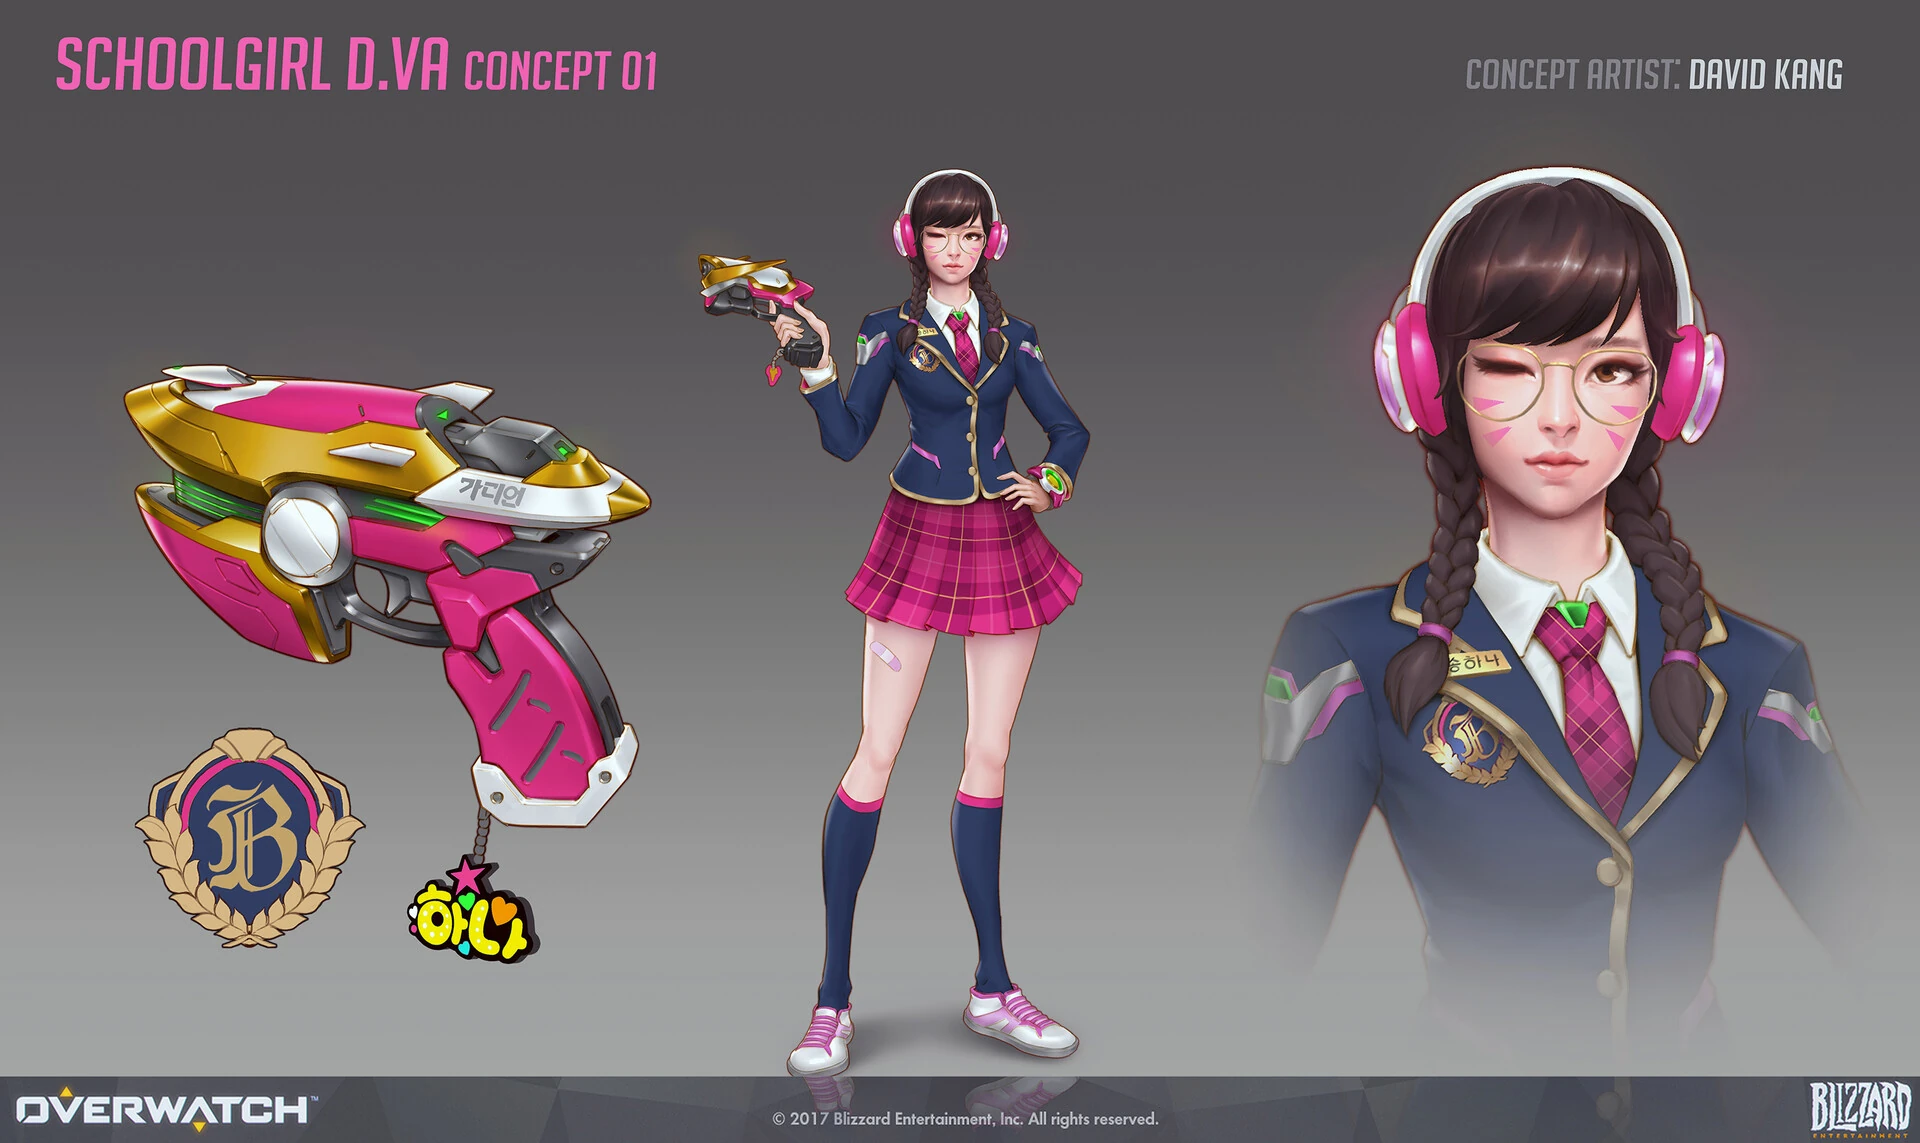
 Academy skin Mech concept art
 -
 Academy skin pilot and pistol concept art
 -
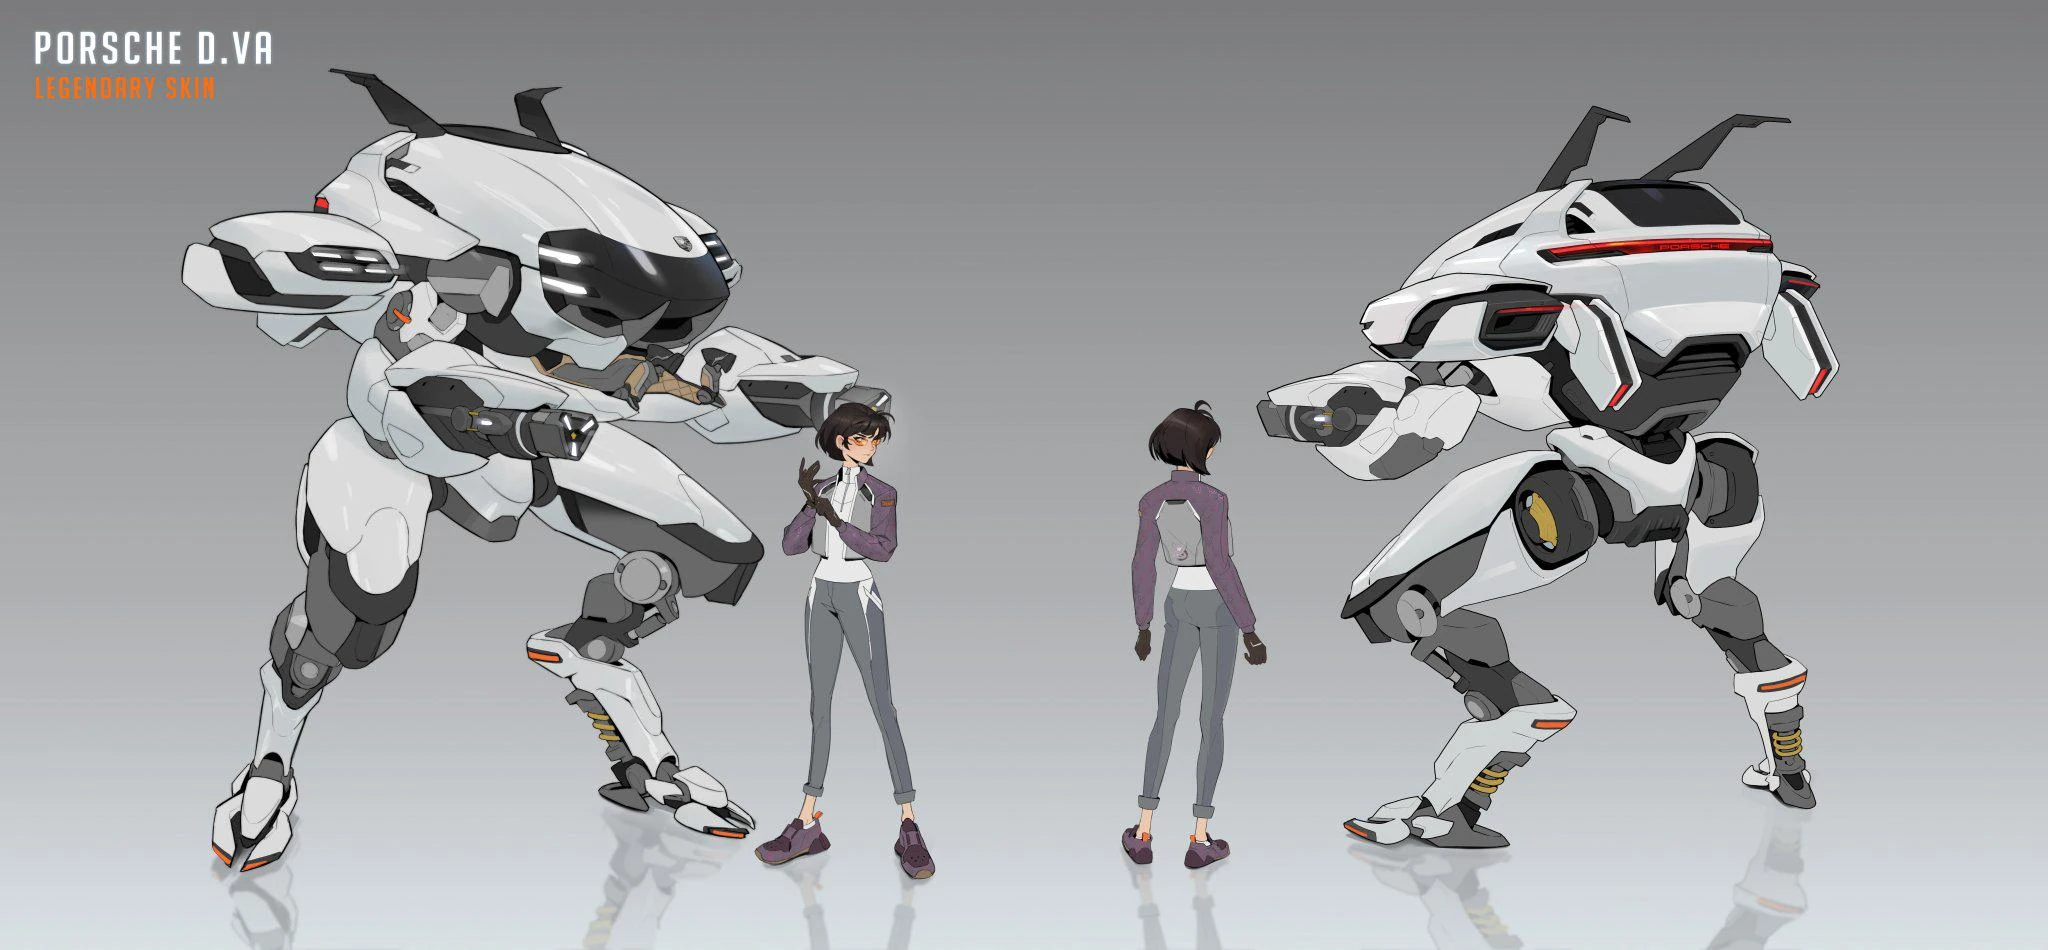
 Porsche skin concept art
 -
 Porsche skin early concept art
 -


Videos
Balance Change Log
- For more information, see Patch Notes.
- Impact damage reduced from 3 to 2.
- Cooldown increased from 3.5 to 4 seconds.
Base Health reduced from 375 to 325. (5v5)
- Total reduced from 700 to 650
![]() Extended Boosters perk
Extended Boosters perk
- Additional Booster damage reduced from 100% to 40%.
- Boosters now deal 100% additional damage.
![]() Heavy Rockets - Major Perk
Heavy Rockets - Major Perk
- Removed.
![]() Precision Fusion - Major Perk
Precision Fusion - Major Perk
- New Major Perk.
- Press Reload to reduce Fusion Cannon's spread by 75% for 3 seconds.
![]() Heavy Rockets - Major Perk
Heavy Rockets - Major Perk
- Number of rockets reduced from 8 to 7.
- Impact damage reduced from 7 to 5.
- Explosion damage increased from 14 to 22.
- Explosion radius increased from 2.75 to 3 meters.
- Projectile gravity increased.
- Now combined with Ejection Suit.
- New Minor Perk
- Eject grants 75 temporary overhealth and Call Mech’s damage radius is increased by 50%.
- New Minor Perk
- Hitting an enemy with Boosters increases the duration by 0.5 seconds.
- Hero Perks
- Call Mech's damage radius is increased by 50%.
- Eject grants 75 temporary overhealth.
- Convert 150 health to shields. Defense Matrix restores shields based on 25% of its damage absorbed.
- Micro Missiles are swapped for Heavy Rockets which fire fewer projectiles with increased damage and explosion size.
- Global Projectile Size Bonus
- Hitscan radius small reduced from 0.05 to 0.04 meters.
- Mech armor health reduced from 375 to 325.
- Mech base health increased from 200 to 225.
- Maximum duration reduced from 3.5 to 3 seconds.
- Maximum duration increased from 3 to 3.5 seconds.
- Explosion damage increased from 4 to 5.5 damage (from 126 to 153 max damage with direct impacts).
- Weapon spread reduced from 3.75 to 3.375 degrees.
- Impact damage increased from 15 to 25.
- General updates
- Global projectile size modifier for travel time projectiles with a speed greater than 50 meters per second reduced from 0.1 to 0.075 meters.
- Base projectile size reduced from 0.25 to 0.2 meters. Total projectile size is now 0.3 meters.
- General updates
Most damage-dealing projectile sizes have been increased by a new global modifier added to their base size.
- +0.05 meters for hitscan projectiles with a high rate of fire or spread (e.g., Tracer's Pulse Pistols or Reaper's Hellfire Shotguns).
- +0.08 meters for hitscan projectiles that are more precise (e.g., Cassidy's Peacekeeper or Soldier:76's Heavy Pulse Rifle).
- +0.05 meters for travel time projectiles that are shotguns or have a very high rate of fire (e.g., Roadhog's Scrap Gun or Ramattra's Void Accelerator).
- +0.10 meters for travel time projectile with a speed greater than 50 meters per second (e.g., Zenyatta's Destruction Orb).
- +0.15 meters for travel time projectile with a speed less than or equal to 50 meters per second (e.g., Pharah's Rocket Launcher).
- Very large projectiles with a base size greater than 0.5 meters have been excluded from these increases (e.g., Orisa's Energy Javelin or Reinhardt's Fire Strike).
Hero combined HP (base health/armor/shields) increased by 15-25%.
- 150-175 HP heroes increased by 25 HP.
- 200-300 HP heroes increased by 50 HP.
- 300+ HP (Tanks) increased by 75-100 HP.
- Each hero's precise health increases are listed in their patch notes below.
Ultimate Charge
- All Ultimate ability costs increased by 10%.
Regenerative Passive for All Heroes
- All heroes now regenerate 20 health per second after 5 seconds of not taking damage.
Quick Melee
- Damage increased from 30 to 40.
- Hero Updates
- Pilot health increased from 150 to 175.
- Mech armor increased from 300 to 375.
- Explosion maximum damage increased from 900 to 1000.
- Inner explosion radius (range for maximum damage before falloff begins) increased from 4 to 6 meters.
- Movement speed penalty reduced from 40 to 30%.
- Projectile speed increased from 40 to 50.
- Cooldown reduced from 4 to 3.5 seconds.
- Pilot is now damage immune for 0.4 seconds while ejecting.
- Mech base health in Role Queue modes remains the same at 350
- Mech base health in non-Role Queue modes reduced from 350 to 200
- Spread increased from 3.5 to 3.75
- Damage reduced from 25 to 15
- Fixed in last update - Ultimate cost decreased by 12%
- Impact damage increased from 10 to 25
- Cooldown reduced from 8 to 7 seconds
- Ultimate cost reduced by 12%
(beta)
- Mech Armor increased from 200 to 300
- Mech Health decreased from 450 to 350
(beta)
- Base Health increased from 300 to 450
- Base Armor reduced from 300 to 200
- Primary Fire movement penalty reduced from 50% to 40%
- Weapon spread reduced from 4 to 3.5
Base Health reduced from 300 to 250. (6v6)
- Total reduced from 600 to 550
- Movement speed penalty reduced from 40% to 30%. (undocumented)
- Base health increased from 225 to 350.
- Base armor reduced from 325 to 300.
- Weapon spread increased from 3.375 to 4 degrees.
- Movement speed penalty increased from 30% to 40%.
- Maximum duration reduced from 3 to 2 seconds.
- Cooldown increased from 3.5 to 4 seconds.
- Cooldown increased from 7 to 8 seconds.
![]() Ignition Burst - Power
Ignition Burst - Power
- Redesigned: [Boosters] knockback applies burn that deals 60 damage over 3s.
![]() Facetanking - Power
Facetanking - Power
- Healing decreased to 30% (Down from 40%).
![]() Multi-Task Mod - Epic Weapon Hero Item
Multi-Task Mod - Epic Weapon Hero Item
- Weapon power decreased to 10% (Down from 20%).
![]() Tokki Slam - Power
Tokki Slam - Power
- Decreased damage to 25% (Down from 30%).
![]() Face Tanking - Power
Face Tanking - Power
- Decreased healing to 40% (Down from 50%).
![]() Countermeasures - Power
Countermeasures - Power
- Increased damage required to mitigate to 150 (Up from 100).
![]() Tokki Slam - Power
Tokki Slam - Power
- Now the damage scales from both armor and shield combined.
![]() Facetanking - Power
Facetanking - Power
- Increased healing scalar to 50% (up from 30%).
![]() Refraction Armor - Normal Survival Hero Item
Refraction Armor - Normal Survival Hero Item
- New Hero Item
- +25 Armor
- While you have Armor, gain 15% damage reduction against beams.
- Cost: 2000
![]() Tokki Slam - Power
Tokki Slam - Power
- Increased Tokki Slam's damage scalar to 30% (Up from 20%).
![]() MEKA Punch - Power
MEKA Punch - Power
- Booster elimination also resets cooldown of boosters.
- During boosters, quick melee now gains 50% attack speed (instead of 75% damage).
![]() Dae-Hyun's Detonator - Rare Ability Hero Item
Dae-Hyun's Detonator - Rare Ability Hero Item
- Now shows danger warning sign to the enemy if the enemy is within the blast radius.
- Decreased radius to 100% (down from 200%).
![]() Nano Cola™ Nitrous - Epic Survival Hero Item
Nano Cola™ Nitrous - Epic Survival Hero Item
- Increased health stat to 50 (up from 25).
- Removed stat: health increase 5%.
![]() Focused Fusion - Power
Focused Fusion - Power
- Decreased Fusion Cannon spread to 50% (Down from 66%).
![]() Ignition Burst - Power
Ignition Burst - Power
- Increased Lava damage to 80 (Up from 30).
![]() Vesuvius Protocol – Rare Ability Hero Item
Vesuvius Protocol – Rare Ability Hero Item
- Increased Lava damage to 80 (Up from 30).
![]() Countermeasures – Power
Countermeasures – Power
- Decreased mitigation requirement to 100 (down from 150).
![]() Mastermind's Mitigator – Rare Ability Hero Item
Mastermind's Mitigator – Rare Ability Hero Item
- Decreased damage mitigation requirement to 200 (down from 300).
![]() Stat Boost – Power
Stat Boost – Power
- Increased Defense Matrix recovery rate to 125% (up from 100%).
![]() Ultrawide Matrix – Power
Ultrawide Matrix – Power
- Defense Matrix duration increased to 25% (up from 20%).
![]() Multi-Task Mod – Epic Weapon Hero Item
Multi-Task Mod – Epic Weapon Hero Item
- Increased Weapon Power to 20% (up from 10%).
![]() Singijeon's Pulse Plating – Epic Survival Hero Item
Singijeon's Pulse Plating – Epic Survival Hero Item
- Increased Ultimate Charge gain to 10% (up from 5%).
![]() Plot Armor – Rare Survival Hero Item
Plot Armor – Rare Survival Hero Item
- Damage reduced now gets counted as damage mitigated by Defense Matrix.
![]() Nano Cola™ Nitrous – Epic Survival Hero Item
Nano Cola™ Nitrous – Epic Survival Hero Item
- Health reduced to 25 (down from 50).
- Reduced Max Life increase to 5% (down from 25%).
- Reduced duration of Nano Boost to 4 seconds (down from 8 seconds).
![]() Busan Blaster – Epic Ability Hero Item
Busan Blaster – Epic Ability Hero Item
- No longer generates Ultimate Charge.
![]() Plot Armor – Rare Hero Survival Item
Plot Armor – Rare Hero Survival Item
- Increased damage reduction against Beams to 65% (up from 30%).
- Introducing Stadium
- Tank Heroes: D.Va, Junker Queen, Orisa, Reinhardt, and Zarya.
- Damage Heroes: Ashe, Cassidy, Genji, Mei, Reaper, and Soldier: 76.
- Support Heroes: Ana, Juno, Kiriko, Lucio, Mercy, and Moira.
- Damage area reduced from 3 to 2.5 meters
- No longer builds ultimate charge while using Self Destruct until after her mech detonates
No longer building ultimate charge in the window of time between using Self Destruct and when it detonates is targeted at Echo's Duplicate ability when copying D.Va. Echo's accelerated ultimate charge enabled her to have Call Mech available before the Self Destruct explosion went off, making it very difficult for enemies to find a safe place to hide.
- Damage increased from 50 to 250
Developer Comment: D.Va's respawn is often intentionally delayed by the enemy team if she is the last player alive from her team and without her mech. This change will make it more dangerous to be near the Call Mech arrival area for low health heroes.
- Mech Armor/Health has been redistributed from 200/400 to 300/300
Developer Comment: We're increasing the ratio of armor to health that D.Va's mech has to enable it to withstand more damage from shotguns, beams, and weapons with a high rate of fire.
General
- Shotgun patterns no longer apply random rotation. This will affect the following heroes:
- Ashe
- Doomfist
- D.Va
- Reaper
- Roadhog
- Torbjörn
- Movement penalty reduced from 50 to 40%
- Cooldown reduced from 1.5 to 1 second
- Activation delay reduced from 0.5 to 0.25 seconds
Developer Comment: These buffs are aimed at making D.Va feel more fluid and responsive to play.
- Restored functionality allowing D.Va to maintain her current aim pitch when de-meching
- Cooldown increased from 3 to 4 seconds
- Cooldown decreased from 5 to 3 seconds
Developer Comment: The lower cooldown on her mobility will enable D.Va to more readily swap between playing offensively and defensively.
- Defense Matrix cooldown decreased from 2 seconds to 1.5 seconds
Developer Comment: With role locks in place there is some room to improve D.Va’s impact as a tank, so we’re partially reverting a previous change which increased Defense Matrix’s cooldown.
- Regeneration rate increased from 12.5% to 16% per second
- Delay before regeneration begins lowered from 1 second to 0.75 seconds
Developer Comment: This change will allow D.Va to absorb more damage over time, while still keeping the maximum duration she can absorb at one time the same.
- Pilot ultimate cost reduced by 12%
Developer Comment: This change is just meant to counteract the global increase in ultimate cost. The time it takes to generate a D.Va’s ultimate when out of her mech should remain the same as it was before this update.
- Reduced length of Defense Matrix from 15 meters to 10 meters.
Developer Comments: Defense Matrix is a very powerful defensive ability and can often feel oppressive from far away. Reducing the range on it will require D.Va to position herself more carefully to take advantage of its effects.
- Knockback distance is now more consistent
- Heroes that are flying can now be knocked back and slowed
Developer Comments: Knockbacks are now less affected by how the enemy was moving when they were hit. Instead of having small or large knockbacks that depend on chance, knockbacks will feel similar regardless of the enemy’s movement leading up to the knockback. Allowing flying heroes, like Mercy when using her Valkyrie ability or D.Va using her Booster ability, to be properly knocked back makes for more fluid, realistic gameplay.
- Cooldown increased from 1 second to 2 seconds
Developer Comments: This change allows D.Va’s enemies to play around her Defense Matrix by increasing its downtime between uses.
- Explosive damage reduced from 6 to 4
- Impact damage reduced from 25 to 10
Developer Comments: D.Va’s burst potential is a bit too high, so we’re reducing the damage of her Micro Missiles and Boosters impact. Prior to this change, each missile dealt 3 impact damage and 6 explosive damage. We’re reducing explosive damage from 6 to 4 but leaving the impact damage the same, the net result being 21% damage reduction.
- An option to manually hold down D.Va’s boosters rather than toggling them has been added under Options > Controls > D.Va
- D.Va fires a barrage of small rockets that detonate on impact, dealing damage in a limited radius around each explosion. These can be fired while D.Va is using any other ability or firing her Fusion Cannons
- Defense Matrix's resource meter will now deplete twice as quickly
- Energy regeneration per second has been increased to 12.5% (formerly 10%)
- Fusion Cannons can now be fired while flying
Developer Comment: D.Va’s Defense Matrix uptime has proven to be too strong, but simply reducing it without making other changes would make her too weak (and far less interesting to play). Instead, we’re adding a new ability and giving her the ability to fire while flying. These changes give D.Va new options while maintaining Defense Matrix’s ability to shut down big enemy attacks.
- New sound effects and voice lines have been added, indicating when Defense Matrix has absorbed an enemy’s ultimate ability
- Enemy shots no longer need to travel a minimum distance before they can be blocked
Developer Comment: Previously, there was a minimum distance a projectile had to travel before it could be destroyed by Defense Matrix. This made it nearly worthless in situations where an enemy was right next to your teammate, such as when Roadhog hooks your ally. This change removes that restriction so Defense Matrix should now reliably destroy projectiles regardless of how far they have traveled.
- Health increased from 200 to 400
- Armor decreased from 400 to 200
- Bullet damage decreased from 3 to 2
- Number of bullets per shot has been increased from 8 to 11
Developer Comment: D.Va’s armor often made her feel like she had no weaknesses, even against heroes that are typically effective against bigger targets (like Reaper). The changes to her primary fire will result in a small overall decrease in damage, but her Fusion Cannons should feel more consistent now.
- Ultimate cost has been decreased by 20%
- Mech health increased to 200 (formerly 100). Armor remains at 400
- Movement speed while firing has been increased by 25%
Developer Comment: We reduced the cost of the Call Mech ultimate ability to compensate for the increased ultimate cost across all heroes (detailed above). D.Va players shouldn’t experience a noticeable change. The rest of these changes help D.Va’s withstand attacks, which will allow her to keep pressuring enemies.
- After being activated, Defense Matrix will begin regenerating following a 1-second delay (formerly .5 seconds)
Developer Comment: Defense Matrix was too efficient when tapped repeatedly, instead of being held. Now, the recovery delay matches the ability cooldown.
- Cooldown decreased from 10 seconds to 1 second
- A new resource meter has been added. This meter will deplete while Defense Matrix is active and then recharge when it’s not in use.
- Defense Matrix takes 10 seconds to reach full charge from empty
- At a full charge, Defense Matrix will last for 4 seconds
- Defense Matrix will now remain active as long as its assigned hotkey is held
- Defense Matrix has been reclassified as an alternate fire and is now bound to RMB (by default)
- An option to "Toggle Defense Matrix" has been added under Options > Controls > D.Va
- Ultimate cost decreased by 15%
- Explosion delay reduced from 4 seconds to 3 seconds
- Explosion no longer damages D.Va (the player who activates it)
Developer Comment: D.Va isn't being selected as often as our other tanks, and we feel a lot of that stems from the underperformance of her damage absorption abilities. So, we've reconfigured her Defensive Matrix, making it more flexible and giving players the ability to use it more often. We’ve also given Self-Destruct a little more oomph, because it felt slightly underwhelming when compared to many of Overwatch's other ultimate abilities.
References
- ↑ 2015-11-24, "I AM D.VA". 'Facebook. Accessed on 2016-05-18
- ↑ Michael Chu's Twitter
- ↑ Heroes of the Storm 2.0 – Hanamura Showdown
- ↑ 2017-1-26, Overwatch’s gamer girl hero inspires a feminist movement Polygon.com, accessed on 2017-1-27
- ↑ 2016-09-17, OVERWATCH: A WORLD FANS BUILT. IGN, accessed on 2016-09-18
- ↑ 2017-05-03, Latest 'Overwatch' Controversy Gives New Meaning To The Phrase Police Drama. Forbes, accessed on 2022-11-29
- ↑ Michael Chu's Twitter, Accessed on 2018-08-24
- ↑ PlayOverwatch Twitter
- ↑ D.Va (Archive), WCS. Accessed on 2015-11-12
- ↑ 2018-02-01, Michael Chu on Battle.net Battle.net forums. Accessed on 2018-02-01.
- ↑ 2016-10-17, BlizzCon In-Game Goodies: D.Va Announcer and Portrait! Battle.net, accessed on 2016-11-17
- ↑ 2017-06-29, NEW STATUE D.Va | Pre-Order Now! | Overwatch. YouTube, accessed on 2017-07-03
- ↑ 2017-08-22, Gamescom 2017 swag and more, including new Blizzard exclusives. Blizzard Watch, accessed on 2017-08-23
- ↑ 2017-11-22, Overwatch Hoodies. Blizzplanet, accessed on 2017-11-23
- ↑ 2020-02-24, Toy Fair NY 2020: Figma Overwatch Action Figures. Blizzplanet, accessed on 2020-04-10
- ↑ 2018-10-02, Blizzard teases new Overwatch LEGO sets. Shack News, accessed on 2018-10-08
External links
| Heroes in Overwatch
| ||||||||
|---|---|---|---|---|---|---|---|---|
Tank |
 Bruiser |
|||||||
Initiator |
 D.Va |
|||||||
 Stalwart |
||||||||
Damage |
 Flanker |
|||||||
 Recon |
||||||||
 Sharpshooter |
||||||||
 Specialist |
||||||||
Support |
 Medic |
|||||||
 Survivor |
||||||||
 Tactician |
||||||||


