Mei is a Specialist Damage hero in Overwatch. She is one of the 21 heroes included in the game's release on 24 May 2016.
Overview
Mei’s weather-altering devices slow opponents and protect locations. Her Endothermic Blaster unleashes damaging icicles and frost streams, and she can Cryo-Freeze herself to guard against counterattacks, or obstruct the opposing team's movements with an Ice Wall.
-
 3D portrait
 -
 2D portrait

Abilities
Passive Abilities


- Reload speed is 1.5x faster after an elimination. This only lasts for 3 seconds, but is refreshed if another elimination is earned.
- An indicator is shown to the right of the crosshair to show when the reload increase is active.
Weapons


- Damage per second: 110 while firing (90.58 overall w/reload)

- Damage per second: 106.25 while firing (94.44 overall w/reload)
- Recovery stops while using melee.
- Even if there is less than 10 ammo left, the next icicle will be fired as normal before reloading.
Special Abilities

4 seconds max. duration
0.24 seconds recovery
- Restores 15 ammo per second (max. 60).
- The cooldown starts only after the effect wears off.
- The ability can be cancelled prematurely.
- Mei becomes immune to damage and is cleared of all cleansable status effects.
- Heals 250 health total, if not cancelled early.
- The ice block behaves like a physical wall, and blocks line of sight for both enemies and allies. [3]
- This means healers will not be able to heal Mei until this expires.
- The ice block can block damaging abilities that require line of sight. For instance, a small ally or enemy could hide directly behind Mei's ice block to avoid D.Va's Self-Destruct.
- Mei can be lifted by
 Petal Platform (allied or enemy) while in Cryo-Freeze.

5 pillars
0.5 seconds recovery
- Can be manually destroyed by pressing the ability key again, including while dead.
- Before casting, the Ice Wall's placement from the player's line of sight can be toggled from perpendicular to parallel by pressing the hotkey again.
- The cooldown starts immediately, not when the wall destroyed.
- Ice Wall can be placed on Petal Platform or payload.
- Petal Platform, however, cannot be placed on top of Ice Wall. It will bounce off and deploy on ground.
- Ability is stationed wherever it's placed. So, if placed on top of a temporary or moving surface, like Payload, it will remain in midair, even after the surface expires or moves.
 Tree of Life destroys any pillar of Ice Wall if placed on it, and will also prevent pillars from rising if Ice Wall is placed intersecting an existing tree.
- Destroys fences and other breakables that collide with the pillars.
Ultimate Ability

-25% per second (ramping)
-75% (max)
- Deals up to 85 damage over the duration.
- The first tick results in a 50% progress towards the freeze (also inflicts a 50% slow effect), then it continues at a rate of 25% per second (also slows at a rate of 25% per second). (The slow effect is capped at 75%.) At 100% or higher freeze progress, the very next tick freezes the target; therefore, it takes about 2 seconds in order to freeze.
- This means that (using Blizzard alone), targets will only be frozen for 2.25 seconds.
- Using Endothermic Blaster's primary fire greatly speeds up the freezing process (and will allow targets to be frozen for a little more than 2.25 seconds).
- The Area of Effect is based off line of sight from the deployed drone and blocked by terrain and terrain-like objects, such as Tree of Life.
- Pierces barriers, payloads, and
 Ice Wall.
 - If Tree of Life is placed on top of the drone at the center, the drone will be displaced.
- Pierces barriers, payloads, and
- The drone can be placed on and lifted by Petal Platform.
- The projectile that deploys the drone acts as a standard barrier-piercing projectile.
- It can be absorbed by Negate Projectile abilities (such as
 Defense Matrix and
  Kekkai Sanctuary) and reflected by
  Deflect.
 - If the projectile passes through
 Amplification Matrix, all damage dealt by the ability will be amplified.
- It can be absorbed by Negate Projectile abilities (such as
- Once deployed by the projectile, the drone functions as an indestructible deployable (similar to Amplification Matrix), and cannot be negated or damaged.
- The only exception is Sombra's
 EMP, which destroys the deployable if hit.
- The only exception is Sombra's
Perks
Minor Perks
A Minor Perk can be chosen at level 2.

- Healing is only affected by Amplification Matrix if the drone passes through it. Area of effect healing alone is not amplified.

- Glacial Propulsion is not silenced or interrupted by hinder. It can be activated as long as Mei is airborne and less than 3 meters above ground.
- The pillar is a terrain-like deployable similarly to Ice Wall.
- The pillar shortly disappears afterwards, as Mei reaches the apex of the jump.
- The pillar can launch Mei approximately up to 6.5 meters in the air, whereas you can only get 5.39 meters using ice wall and a jump.
Major perks
A Major Perk can be chosen at level 3.

- Freeze triggers when the enemy has been hit 30 times versus Damage and Support roles (1.5 seconds of continuous fire) and 46 times versus a Tank role (2.3 seconds of continuous fire).
- The counter resets if the enemy has not been hit for 0.5 seconds. Enemies cannot be frozen more than once without resetting the counter

Hero-specific options
| Setting name | Options | Description |
|---|---|---|
| Hold to use Cryo-Freeze | Off (default) | Cryo-Freeze deactivates when player presses the button again. |
| On | Cryo-Freeze deactivates when player stops holding the button. | |
| Ice Wall confirmation input | Primary Fire (default) | Ice Wall is activated by pressing Ability 2 then Primary Fire. Secondary Fire to cancel. Ability 2 to rotate. |
| Secondary Fire | Ice Wall is activated by pressing Ability 2 then Secondary Fire. Primary Fire to cancel. Ability 2 to rotate. | |
| Ability 2 press | Ice Wall is activated by pressing Ability 2 twice. Secondary Fire to cancel. Primary Fire to rotate. | |
| Ability 2 release | Ice Wall is activated by pressing and releasing Ability 2. Secondary Fire to cancel. Primary Fire to rotate. | |
| Cryo-Freeze cancel input | All | Cryo-Freeze deactivates when any of the buttons under are pressed. |
| Ability 1 | Cryo-Freeze deactivates when Ability 1 is pressed. | |
| Primary fire | Cryo-Freeze deactivates when Primary fire is pressed. | |
| Secondary fire | Cryo-Freeze deactivates when Secondary fire is pressed. | |
| Hide Cryo-Freeze timer | Off (default) | Cancel text UI element is displayed to the left of the crosshair. |
| On | Cancel text UI element is hidden. | |
| Hide Cryo-Freeze cancel text | Off (default) | Cancel text UI element is displayed to the left of the crosshair. |
| On | Cancel text UI element is hidden. | |
| Default Ice Wall rotation | Horizontal | Ice Wall is deployed perpendicular to the direction the player is facing by default. |
| Vertical | Ice Wall is deployed along the direction the player is facing by default. |
Stadium
Mei is a playable hero in Stadium game mode. See Mei/Stadium for a list of hero-specific Items and Powers.
Strategy
Mei is a fighter who is good in 1-on-1 fights. Her slowing effect from Endothermic Blaster will give her an advantage with most fights. Icicle deals heavy damage when used correctly, making her a threat at both short and long ranges. Ice Wall can be used to trap or distract the enemy, as it can completely block the enemy's vision, or split some of the enemies from the others. Mei's Cryo-Freeze creates thick ice around herself, restoring her health and rendering her invulnerable, allowing her to play like a semi-tank. Blizzard is a very strong Ultimate, able to turn the tide of battle when used correctly. Not being a true tank, Mei can still be outdamaged and killed easily. Her primary fire deals moderate damage. Due to lacking raw killing power and mobility tools, playing Mei well is challenging.
Weapons & Abilities
- Endothermic Blaster: Mei's primary weapon. The primary fire, when held down, launches a beam that will deal continuous damage on the enemy. Affected targets will move slower. The secondary fire will launch an icicle-projectile on a linear trajectory, consuming more ammo than primary fire but dealing heavy damage. Icicle has a short cast time, making it a bit harder to hit moving targets.
- The Endothermic Blaster's two firing modes make a simple combo. Slow the target with primary fire at close-range, then launch an Icicle at the enemy's head. This combo will kill most non-tank heroes.
- The primary fire deals moderate damage per second compared to other stream-type weapons.
- The primary fire of Mei's weapon has travel time, meaning that she has to lead the target when firing on a moving enemy.
- The first hit will create an initial slowing effect on the enemy, which is useful to slow a mobile hero.
- The slowing effect only influences standard movement speed, not movement abilities. Enemies like Tracer, Genji, Junkrat, or Pharah will be able to quickly escape Mei's attack unless their movement ability is on cooldown.
- While Icicle no longer has a damage falloff restriction, keep in mind that fighting mid- to long-range hitscan heroes is unfavorable due to their high damage at maximum range.
- Cryo-Freeze: Mei's personal defensive ability. She will create a thick ice coating around herself which makes her invulnerable, but immobile for 4 seconds. She will ignore most debuffs and recover health while the skill is active (150 total if the full duration is used), and the ice will disappear after the end of the duration. Mei can manually cancel this ability early.
- Cooldown triggers after the Cryo-Freeze ends.
- Mei acts as an obstacle during Cryo-Freeze, which can prevent some abilities from going through her to affect her allies, such as Reinhardt's Earth Shatter, Roadhog's Hook, or D.Va's Self-Destruct.
- Instead of using the full duration, it can be useful to use Cryo-Freeze in a short burst to avoid damage (like from D.Va's self-destruct) and then cancel it. It's also useful to cancel Cryo-Freeze early if you want to only heal a small amount of damage and start your cooldown timer or rejoin a fight as soon as possible.
- Combined with Ice Wall, good timing can allow Mei to survive in many situations, even when outnumbered.
- Ice Wall: When activated, Mei will create a wall of five ice pillars at the targeted location. By re-pressing the ability button, she can switch the wall's orientation between side-to-side and front-to-back. The wall will be generated upon pressing normal attack, becoming an obstructing object which can block all line of sight for allies and enemies alike. Ice Wall can be ended several ways; it can be destroyed by enemies or a moving payload, its duration can expire, and Mei can melt it herself with the ability button.
- This is a useful, powerful ability, but also has a lot of potential to cause more harm than good. This requires you to be aware of the situation.
- Use Ice Wall with great care, the downside is that it completely blocks Mei's allies as well as her enemies. Beware of cutting your own allies off from support or retreat, or cutting off their ultimates.
- Each pillar has its own health. While most heroes can fit between them when only 1 is destroyed, some (like Reinhardt or D.Va's mech) are too big to fit.
- Mei cannot cancel her Ice Wall while stunned.
- Blizzard (Ultimate): Mei's Ultimate ability. Mei deploys her drone at the targeted point. The drone will travel toward the point as a slow projectile with a small arc. After the drone is on the ground, it will unleash the frostbite and wind in a wide area. The storm will deal some damage and slow the enemy's movement speed. If the enemy lingers in the area for 2.5 seconds, they will become frozen solid for some time.
- As a projectile, Blizzard can be countered by D.Va's Defense Matrix and Genji's Deflect.
- The drone can go through an enemy's Barrier.
- While the Blizzard has very large area, it doesn't go through environment objects (even though the visual effect does). It still goes through the enemy's obstructing abilities, like Mei's Ice Wall.
- The storm has a surprisingly high vertical area, so even heroes like Pharah will have trouble escaping vertically.
General strategies
- Mei is a great fighter in 1-on-1 match-ups. Her Endothermic Blaster can slow the enemy and finish it with an Icicle projectile. She can block the enemy's attempt to escape by placing Ice Wall to block the escape route. However, she has low killing power against groups of enemies, since her Icicle has a cast time.
- If you are surrounded, a Cryo-Freeze and/or a well-placed Ice Wall can get you out of many sticky situations. Placing an ice wall beneath yourself allows you to quickly dodge an attack, or retreat to cover while the enemy navigates around the new obstacle.
- Icicle's long cast time can make it difficult to hit moving opponents, though as a projectile, it can be used as suppressing fire against targets in cover.
- Mei's Icicle projectile is a viable long-range weapon, and can be used in combination with Ice Wall to disable or distract snipers; however, fights against heroes with accurate long-ranged attacks still won't be in her favor.
- Mei's Ice Wall is her key ability. It can be dangerous to the enemy team when used correctly. It's most effective when she communicates with her teammates before setting up her Ice Wall, as it can backfire on her team when used in the wrong time or place.
- Mei can use the Ice Wall to block off enemies from leaving spawn at the beginning of the game, giving some extra time to hold them away from objectives. It can also be used to split the enemy team in half, ideally allowing your team to fight two consecutive 6 versus 3 fights, rather than engage in a 6 versus 6.
- A well placed Ice Wall can be used to disable or block certain Ultimates, such as Reinhardt's Earthshatter, which will not contact the ground when Reinhardt is on top of the Ice Wall.
- Since Ice Wall and Cryo-Freeze's cooldown timers start after the effect ends, Mei can shield herself with Cryo-Freeze to stay safe while Ice Wall's timer counts down.
- Be ready to melt your Ice Wall if it becomes a disadvantage to your team. (Press the Ice Wall ability button again to destroy it. This can be done even if you are dead.)
- Mei can afford to be more aggressive than other Damage heroes due to her higher hit points and defensive abilities. She excels at pushing payloads, since the payload can carry an ice wall with it.
- If Mei is guaranteed to die soon and only has Cryo-Freeze to defend herself, don't use it. You'll only give the enemy more Ultimate charge with those extra hit points, and delay your own respawn by a few seconds.
- Blizzard is a powerful Ultimate that can freeze enemies in very large area. However, it needs 2.5 seconds to successfully freeze the enemy, which won't be enough against enemies with good movement abilities or who are near the edge of the AoE. Try to combo with more immediately-effective movement-impairing Ultimates from teammates such as Zarya's Graviton Surge or Reinhardt's Earthshatter, so she can guarantee a successful freeze more easily. You can also use Ice Wall to block an enemy from escaping in one direction. You can also briefly use her primary fire at the start of her Ultimate, which will slow the enemy even faster, helping to prevent escape (though it won't cause them to freeze faster).
- You should mainly use Mei’s Cryo-Freeze to bait enemy abilities, such as Cassidy’s flashbang, Ana’s sleep dart or biotic grenade or Roadhog’s hook. This gives Mei the upper advantage in 1v1 fights, as many heroes are reliant on their abilities to defend themselves from Mei, usually giving Mei an easy kill. You should only use Cryo-Freeze to heal yourself when absolutely necessary.
Match-Ups and Team Synergy
Tank
| Hero | Match-Up | Team Synergy |
|---|---|---|
 D.Va |
D.Va's Defense Matrix can't block your Endothermic Blaster's slowing. If a D.Va does try to approach you or your team, you should make her a slowing priority while also positioning yourself to shoot her cockpit, which serves as her critical hit area while in her Mech. Be ready for D.Va to use her Boosters to attempt to flee from you; if you can hit her with an Icicle or two while she's flying off, you might be able to destroy her Mech before she can regroup with her team. You can also use your Ice Wall to block off her retreat and force her to keep fighting you. If D.Va uses Self-Destruct, you can use Cryo-Freeze to protect yourself, or you can use Ice Wall to protect your team (and yourself if you're with them). Watch out for D.Va when getting ready to use Blizzard, as that's one of the few things her Defense Matrix can negate from you. | D.va Can be considered a main damage dealer, so helping her to get on flanks without her boosters is crucial for team synergy. If necessary, Give D.va a high ground to dive in from, especially for self destruct. |
 Doomfist |
Doomfist is an easy target, with his cooldowns for his mobility high. If he dives into you, he is rendered useless, considering he already used Seismic Slam to get to your back lines. An ice wall or 2 can easily negate his Primary fire and his punch, he is usually a bad pick against Mei. If you hear Doomfist during his Ultimate, then wait for the Marker to show where he's landing. Don't use Cryo-Freeze immediately and wait until he's reached the ground to immediately Unfreeze. His block, on the other hand, negates your Secondary fire, so don't get too greedy. | You can get him to an easier vantage point with your Ice wall, and making it so the more distance he is from the ground, the more damage he gets from Seismic Slam. |
 Junker Queen |
(To be added) | (To be added) |
 Orisa |
Even though Orisa's fortify will nullify your slowing Debuff, Orisa can still be headshotted,and to actually slow her, try baiting out fortify with headshots, wall off her escape route, and try closing in with your team. If she uses Terrasurge, you need to use Cryofreeze, or Ice Wall yourself up to safety. | Blizzard can be paired with Terra Surge. Orisa's pulls enemies to the center (which is her) and with Blizzard, will become frozen and unable to survive the impact damage. |
 Ramattra |
(To be added) | (To be added) |
 Reinhardt |
Reinhardt's high health will allow him to survive multiple Icicle headshots. Both of you will struggle to kill each other due to your respective survival abilities. Although you can't attack Reinhardt through his barrier, you can still throw Blizzard behind it; as his team will often be hiding behind him, this could result in you freezing a good bulk of his team at once. Splitting him from his team with Ice Wall is also an option if you're trying to kill him. Be ready to quickly use either Cryo-Freeze or Ice Wall to defend yourself and your team from his Charge or Earthshatter. | If Reinhardt's shield breaks, then Using an Ice wall to give him time will be more than enough for him to get some regeneration in, along with a break for a second for everyone else to reload. |
 Roadhog |
Should you and Roadhog end up in a fight with no team assistance, it will often result in a stalemate. Your Cryo-Freeze will help you withstand his Chain Hook combo and your Ice Walls can keep you safe from his attacks; meanwhile, he can use Take a Breather to restore any damage he takes from your Icicle headshots. You should try to smartly use Cryo-Freeze and Ice Wall to gradually disengage from Roadhog and regroup with your team. If you can place an Ice Wall in front of him during Whole Hog, his Ultimate will be less effective. Roadhog's low mobility also makes him an easy target to get stuck in your Blizzard. | If you get Roadhog onto high ground, he can disrupt the enemy team, and possibly hook someone onto your team's frontline so your DPS can finish them off |
 Sigma |
Sigma is a hard matchup, considering the moving barrier, but his Kinetic grasp will do nothing against your primary fire. be warned if you throw Blizzard at him, though, as he can and will negate snowball from touching the ground. His Kinetic Grasp also negates headshots, but doesn't negate the slowing effect. | Just like most other shield characters, letting an Ice wall up after his barrier was broken allows him to regenerate his shield and protect your team one more. If you both use your Ultimates, It is a deadly combo that can solo many heroes and turn the tide of the game. |
 Wrecking Ball |
If Wrecking Ball comes into flank, he has high mobility when he's grappled, but he's slow in every other way. He makes a prime slowing target, since he is a tank, and can easily be melted by the rest of your team. Proximity mines are easy to clear with Blizzard as well, so try making that apriority if you think we will use them. | Wrecking ball can easily generate fire from ice wall, and definitely could use the high ground for him to smash the enemy to bits. Blizzard can be paired with Minefield as frozen targets can be blown up easily by his proximity mines. |
 Winston |
Winston's Tesla Cannon will barely chip away at your higher than average health. While it's hard to escape from him, he'll have difficulty killing you if you use your abilities wisely. As long as you make sure he isn't protected by his Barrier Projector, his large size makes him an easy target for your Endothermic Blaster. Be careful of his Primal Rage Ultimate, though; if you're knocked off a cliff, you'll have no way to save yourself. | Winston can be a powerful ally, as his electricity, does sadly, not stack with your slowing, but he can stille deal high damage output with you in tow,considering that your slow will take effect instead of his, making it so any enemy you face together will probably melt. |
 Zarya |
Zarya's Particle Barrier will completely blocks the slowing effect and damage of Endothermic blaster while increasing her own damage output. A fully charged Zarya can chase you down and kill you very quickly, especially if you are alone, as the cooldown for Particle Barrier is shorter than that of Cryo-Freeze. Use smart Ice Wall deployments to keep Zarya at a distance while retreating or waiting for backup to arrive. When Zarya's barrier is on cooldown, you can frustrate and weaken her by slowing her; you should still be using this opportunity to retreat, though, as it will be difficult to kill her before she thaws out. | Giving her a moment of clarity with Ice wall can definitely las long enough so she can use another barrier on herself, making it so she can generate charge faster and faster. Her Graviton Surge makes a great partner with Blizzard, allowing for most, if not all players in her Ultimate be frozen, allowing your team to dogpile and eliminate all of them. |
Damage
| Hero | Match-Up | Team Synergy |
|---|---|---|
 Ashe |
With Ashe being a scoped sniper, she will primarily stay in one place. If she is focusing on another person, headshot her and she will be easily eliminated. She does lots of damage up close though, and if you are lit on fire, then Cryo Freeze can cleanse you, even for just a second, to keep slowing her down. If she uses Coach Gun, try predicting where she will move next so a body shot, or a headshot can finish her before she can fall back, or Use an Ice wall to stop her movement if she id moving horizontally | WIth Ashe, using an ice wall to get to higher ground for her is a top priority for a scoped sniper. If you coordinate with your ashe, She can place Bob where your Ice Wall is, making some awesome damage in the process |
 Bastion |
While Ice Wall can be quickly destroyed by Bastion's massive fire rate, it provides time for you and your team to try to advance and flank Bastion around the wall. With the right distractions, a single Icicle into Bastion's weak spot is enough to put it at dangerously low health, nearly enough to melee it to death. Despite this, Bastion can still overpower you if you are its sole focus, or if you give it a chance to heal by entering Cryo-Freeze yourself, so never engage Bastion alone. If Bastion is set up in a hunkered-down position, a Blizzard can easily ensnare him and any nearby allies, rendering them easy pickings. | Using him to get to higher ground, or covering him during his ultimate, he is definitely a top pick for getting him inot position. Other than that, he isn't all that for synergizing with Mei. |
 Cassidy |
While you and Cassidy have similar, adaptable styles of play, your focus on close range anti-mobility makes you a liability against Cassidy's mid-range shots and higher overall damage output. At long ranges, you can deal much higher poke damage with your secondary fire as it does not have damage falloff, unlike Cassidy's Peacekeeper. While you dominate at short range, a grenade into a Fan the Hammer can bring you to the brink of death, if not kill you. If Cassidy gets you with his combo, be ready to quickly use Cryo-Freeze to heal the damage you've taken and to stop him from following up and quickly killing you. Once you're at higher health, if Cassidy is alone, you may be able to slow and headshot him before he can kill you or get his grenade back. You can harass Cassidy with ice walls, limiting his range and potentially wasting his Deadeye Ultimate if it's in use, but this is rarely effective in the long run. | If you can make it so Cassidy is on a high place during Dead-eye, then he can easily pick off any squishy character. Slowing targets down makes it easier for him to headshot the enemy. |
 Echo |
With her sticky Bombs as her main for of damage, it's easy for her to be rendered useless, and can be picked off easily if the Enemy is greedy. If she transforms into you, (See Match-Up Mei). Until she is back to her original self. Her most useful ability, is her flight, but if she is slowed down enough, and is blocked by Ice wall, then she is useless and can be eliminated easily. | With Echo, having a higher vantage point for her to start her ascent is crucial. Paired with blizzard, her sticky bombs can be a huge threat. |
 Genji |
Genji's greatest strengths are his mobility and close range damage, both of which fall apart due to Mei's slowing ability at close range. While both your Icicle and Blizzard Ultimate can be Deflected, your Endothermic Blaster's primary fire can only be blocked and your Ultimate's area of effect damage cannot be blocked nor deflected. Ice Wall can be used to trap Genji in small rooms where he can't dodge effectively. Genji's only advantage is his ability to use Swift Strike or Cyber-Agility to quickly escape from Blizzard or being blocked in larger passages. If Genji is heckling you or your teammates, make him a priority to slow and kill. | For Genji, Mei can deploy and Ice wall for his Cyber Agility passive, allowing him to scale more ground and flank easier. Also, A good Blizzard and a Dragon blade work pretty well. |
 Hanzo |
Hanzo's range advantage and vertical mobility allows him to avoid you entirely by setting up on high roofs or overhangs and firing at you from a distance that your Icicles won't be able to accurately reach. On the other hand, Ice Wall can allow you and your team to approach Hanzo, and though it gives him a clear idea of where to place a Sonic Arrow, it can still give you enough time to close and execute him. Be ready for Hanzo to attempt a Lunge to escape your range; so long as you keep your Endothermic Blaster on him, you should be able to finish him off. | Hanzo's vertical agility makes him a perfect candidate for an Ice wall for him to scale to get him to high ground, allowing him to snipe targets from above with ease. |
 Junkrat |
Junkrat's Frag Grenades are deadly as you have no evasive ability or ability to move to higher ground other than placing an Ice Wall under your feet. Ice Wall can block his grenades, but he can easily destroy it or choose to fire grenades in another direction (such as over the wall). While immobile in Cryo-Freeze, Junkrat is capable of placing his Concussion Mine and/or a Steel Trap right next to you, allowing for easy damage or immobilization. If you attempt to slow Junkrat in close-range combat, his Frag Grenades can make short work of you, or conversely he can use Concussion Mine to make a quick getaway. Try to deal with Junkrat in long-range combat if you can, since your long-range capabilities are far stronger than his. If you must fight him in close-quarters, stick to your team and let them take the lead against him. | Junkrat's Rip-tire can scale Mei's Ice wall. for better vertical coverage. |
 Mei |
Cryo-Freeze plays a large role when engaging Mei in close-range. Which Cryo-Freeze can gradually nullify the slowing effect from the enemy Mei, the fight will be decided by who is using Cryo-Freeze. After Cryo-Freeze ends, Mei can be easily killed if her Ice Wall is on cooldown. In long range, a headshot from Icicle is deadly; act evasive while shooting Icicles at the enemy, bobbing and weaving out of cover to avoid the enemy Mei's shots. If the fight is turning in her favor, use Ice Wall to block her field of vision and flee. | If you have another Mei on your team, consecutive Blizzards are the key for destroying the enemy's defenses. |
 Pharah |
Pharah is a strong counter to Mei because of her long-range, high damage rockets and aerial mobility, with allow her to utilize hit-and-run tactics, peaking above buildings or other obstacles to fire and returning to cover to avoid your Icicles. Pharah is also usually too high or far away to touch with Endothermic Blaster; given the chance, if you can lead your shot well, you can snipe Pharah out of the air, but with your poor firing rate, this will often leave you vulnerable in the open for Pharah's rockets and Concussive Blasts. An Ice Wall is all but completely useless against your flying opponent, potentially even granting Pharah further cover if used poorly. Blizzard will only be useful if Pharah is somehow grounded while she's waiting for Jump Jet to cool down; while this is unlikely to happen, you should take advantage of the occasion should it arise. | Having Phara get more Vertical Mobility with a well placed ice wall can have Pharah stay n the air longer, making her very useful to prioritize. |
 Reaper |
Because of his brutally strong close-range damage, Reaper will often consider you easy prey. However, in practice, Reaper may not be able to finish you off, and his lack of mobility makes him easily trapped by Ice Walls. While he can use Wraith Form to escape your slowing effect, you can go right back to slowing him once he materializes, and you can take that time to heal yourself with Cryo-Freeze if you wish, or create an Ice Wall to block him off from you and your team. Furthermore, your Icicles grant you a much higher damage output at any other range, and good flanking tactics will often cause Reaper to waste Wraith Form prematurely. Ultimately, while Reaper can rush you for a quick kill, you can easily counter most of Reaper's combat and escape tactics. | If you can be sneaky with Reaper, and place a stealthy ice wall while flanking, thank can work in wondrous ways, having a vertical advantage for Death Blossom can be very Vital for a sneak attack. |
 Sojourn |
(To be added) | (To be added) |
 Soldier: 76 |
By nullifying his mobility and overpowering him at most ranges, you will typically find Soldier: 76 to be an easy target. However, he can easily Sprint out of your Endothermic Blaster's range if he hasn't been hit by it yet, and while your Icicles are powerful at a distance, his Heavy Pulse Rifle is far more consistent at dealing damage to you. If at any point you use Cryo-Freeze, Soldier: 76 will be able to escape to his ideal range or heal up with Biotic Field to continue the chase. Always try to finish off Soldier: 76 if he enters your range, otherwise use Ice Walls and cover to avoid his attacks. | (To be added) |
 Sombra |
You'll be in trouble if Hacked by a Sombra, losing both your Cryo-Freeze and Ice Wall defensive tools. While you tend to have the advantage at close range due to your Endothermic Blaster's slowing, with proper timing, Sombra can usually escape being slowed with her Translocator. While your high fire-rate may make you ideal for canceling Sombra's Stealth, you'll never hit her unless she's invisible directly in front of you. Your best bet to stop Sombra from Hacking you is to either quickly enter Cryo-Freeze or deploy an Ice Wall to cut off her view of you. | (To be added) |
 Symmetra |
Symmetra's Sentry Turrets can be deadly, as your only means of killing them are with Icicles one at a time, and if you're caught by a cluster of them, you could end up dead before you destroy them all, let alone if Symmetra shows up to check on her nest. If you catch Symmetra without her Sentry Turrets, though, you'll have the upper hand with your Endothermic Blaster so long as you weave in and out of her Photon Projector. If Symmetra drops a Teleporter behind you, you won't be able to destroy it before an entire enemy team comes out; instead, drop an Ice Wall so you can retreat and group up with your team or, if you're feeling extra devious, drop a Blizzard as soon as her whole team emerges. | (To be added) |
 Torbjörn |
Blocking Torbjörn's Turret with Ice Wall can allow your team to safely move forward without worrying about it. You can also pelt the Turret from a distance with Icicles while hiding behind cover to avoid the Turret's counterattack. If you run into Torbjörn himself, don't underestimate his Rivet Gun. His shotgun fire will tear you apart and force you to use Cryo-Freeze, especially when he has Overload active. Should you blizzard Torbjörn while he's using Overload, he will most likely survive the following Icicle headshot, so be ready to drop an Ice Wall and escape./small> | (To be added) |
 Tracer |
Between Tracer's low health, very close effective range, and mobility-dependent play, most of her tactics when fighting you will revolve around running away and hoping she doesn't get an Icicle through the brain. Though she has a small hitbox, flicking your view her way will often land an Icicle hit, instantly killing her if it's a headshot. You may have some trouble landing consistent Endothermic Blaster hits, but once you start effecting her with your slowing, you should have no trouble keeping Tracer under control unless she has a Blink ready. Even if she escapes you, though, Tracer will almost never be able to kill you without being killed first. If Tracer hits you with her Pulse Bomb, quickly go into Cryo-Freeze to survive its explosion. | (To be added) |
 Widowmaker |
As Widowmaker usually remains well out of the range of your Endothermic Blaster, Widowmaker can pick you off in relative safety. However, your Ice Wall can annoy Widowmaker by blocking off her sights, forcing her to either wait it out or move to another sniping location. When Ice Wall is on cooldown, always hide in corridors and behind cover to avoid Widowmaker's fire. If you catch Widowmaker at close-range when her Grappling Hook is on cooldown, you can easily kill her.
Tank Heroes |
(To be added) |
Support
| Hero | Match-Up | Team Synergy |
|---|---|---|
 Ana |
Ana will usually stay behind the enemy lines and far out of your effective range. Her Biotic Grenade will nullify your Cryo-Freeze's healing; if you're hit by it, use Ice Walls to protect yourself instead until the effect wars off. When Ana Nano-Boosts an opponent try to use Ice Wall to block the Nano-Boosted hero from attacking your team, potentially wasting a good amount of Nano-Boost's duration. Ice Wall can also split the enemy team from Ana, making her or her team easy targets. If you can sneak up on Ana at close-range, if she fails to hit you with Sleep Dart, you can easily kill her. | (To be added) |
 Baptiste |
(To be added) | (To be added) |
 Brigitte |
(To be added) | (To be added) |
 Kiriko |
(To be added) | (To be added) |
 Lifeweaver |
(To be added) | (To be added) |
 Lúcio |
Lúcio can keep you away from his team and himself with Soundwave. Other than that, Lúcio will have a lot of difficulty killing you outside of pushing you into an environmental kill. His speed will be negated by Endothermic Blaster's slowing effect, making him a prime target to slow down and kill. His Amp It Up can sometimes help his teammate survive from your headshots or help them escape you with a speed boost. Don't worry too much if Lúcio uses Sound Barrier in response to Blizzard; any frozen enemies will still be easy targets regardless of how much health they have. | (To be added) |
 Mercy |
If you catch Mercy out on her own, consider her a primary target, as she is practically defenseless against you. Mercy will try to use Guardian Angel to flee from you; while her flying speed with Guardian Angel won't be slowed by your primary fire, as long as you keep tabs on where she's flying, you should have little difficulty finishing her off. You have few means of pursuing or flanking Mercy, though, meaning unless Mercy is out of position, you'll need to ambush her from side routes or by getting above her/blocking her escape route with Ice Wall. Keep in mind that the healing from Mercy's Caduceus Staff will outheal her ally from Mei's Icicle headshot, so targeting Mercy should always be prioritized over her patient. | (To be added) |
 Moira |
(To be added) | (To be added) |
 Zenyatta |
Even with his low mobility, don't underestimate Zenyatta. His Orb of Discord can help him or an ally kill you before you can finish him off. You should be able to slow him before shooting him in the head. Both of you have long range projectiles, but your Icicles suffer more from damage falloff. Fighting Zenyatta in long range will usually end in Zenyatta's favor due to his incredible fire power and Orb of Discord. Try to kill Zenyatta before using Blizzard, otherwise he can simply use Trancendence to protect his team while they are vulnerable. | (To be added) |
Map Strategies
Control
| Map | Strategy & Stage Tips |
|---|---|
 Overall Strategy |
TBA RATING | TBA FEATURE
Map strategy details for Overall Strategy are currently missing. You can help the Overwatch Wiki by adding them!
|
 Antarctic Peninsula |
TBA RATING | TBA FEATURE
Map strategy details for Antarctic Peninsula are currently missing. You can help the Overwatch Wiki by adding them! Labs
Strategy details missing.
Sublevel
Strategy details missing.
Icebreaker
Strategy details missing.
|

|
TBA RATING | TBA FEATURE
Map strategy details for Busan are currently missing. You can help the Overwatch Wiki by adding them! Downtown
Strategy details missing.
Sanctuary
Strategy details missing.
MEKA Base
Strategy details missing.
|

|
TBA RATING | TBA FEATURE
Map strategy details for Ilios are currently missing. You can help the Overwatch Wiki by adding them! Lighthouse
Strategy details missing.
Well
Strategy details missing.
Ruins
Strategy details missing.
|

|
TBA RATING | TBA FEATURE
Map strategy details for Lijiang Tower are currently missing. You can help the Overwatch Wiki by adding them! Control Center
Strategy details missing.
Garden
Strategy details missing.
Night Market
Strategy details missing.
|

|
TBA RATING | TBA FEATURE
Map strategy details for Nepal are currently missing. You can help the Overwatch Wiki by adding them! Village
Strategy details missing.
Shrine
Strategy details missing.
Sanctum
Strategy details missing.
|

|
TBA RATING | TBA FEATURE
Map strategy details for Oasis are currently missing. You can help the Overwatch Wiki by adding them! City Center
Strategy details missing.
Gardens
Strategy details missing.
University
Strategy details missing.
|

|
TBA RATING | TBA FEATURE
Map strategy details for Samoa are currently missing. You can help the Overwatch Wiki by adding them! Beach
Strategy details missing.
Downtown
Strategy details missing.
Volcano
Strategy details missing.
|
Escort
| Map | Strategy & Stage Tips |
|---|---|
 Overall Strategy |
TBA RATING | TBA FEATURE
Map strategy details for Overall Strategy are currently missing. You can help the Overwatch Wiki by adding them!
|

|
TBA RATING | TBA FEATURE
Map strategy details for Circuit Royal are currently missing. You can help the Overwatch Wiki by adding them! Attack
Strategy details missing.
Defense
Strategy details missing.
|

|
TBA RATING | TBA FEATURE
Map strategy details for Dorado are currently missing. You can help the Overwatch Wiki by adding them! Attack
Strategy details missing.
Defense
Strategy details missing.
|

|
TBA RATING | TBA FEATURE
Map strategy details for Havana are currently missing. You can help the Overwatch Wiki by adding them! Attack
Strategy details missing.
Defense
Strategy details missing.
|

|
TBA RATING | TBA FEATURE
Map strategy details for Junkertown are currently missing. You can help the Overwatch Wiki by adding them! Attack
Strategy details missing.
Defense
Strategy details missing.
|

|
TBA RATING | TBA FEATURE
Map strategy details for Rialto are currently missing. You can help the Overwatch Wiki by adding them! Attack
Strategy details missing.
Defense
Strategy details missing.
|

|
TBA RATING | TBA FEATURE
Map strategy details for Route 66 are currently missing. You can help the Overwatch Wiki by adding them! Attack
Strategy details missing.
Defense
Strategy details missing.
|

|
TBA RATING | TBA FEATURE
Map strategy details for Shambali Monastery are currently missing. You can help the Overwatch Wiki by adding them! Attack
Strategy details missing.
Defense
Strategy details missing.
|

|
TBA RATING | TBA FEATURE
Map strategy details for Watchpoint: Gibraltar are currently missing. You can help the Overwatch Wiki by adding them! Attack
Strategy details missing.
Defense
Strategy details missing.
|
Hybrid
| Map | Strategy & Stage Tips |
|---|---|
 Overall Strategy |
TBA RATING | TBA FEATURE
Map strategy details for Overall Strategy are currently missing. You can help the Overwatch Wiki by adding them!
|
 Blizzard World |
TBA RATING | TBA FEATURE
Map strategy details for Blizzard World are currently missing. You can help the Overwatch Wiki by adding them! Attack
Strategy details missing.
Defense
Strategy details missing.
|

|
TBA RATING | TBA FEATURE
Map strategy details for Eichenwalde are currently missing. You can help the Overwatch Wiki by adding them! Attack
Strategy details missing.
Defense
Strategy details missing.
|

|
TBA RATING | TBA FEATURE
Map strategy details for Hollywood are currently missing. You can help the Overwatch Wiki by adding them! Attack
Strategy details missing.
Defense
Strategy details missing.
|

|
TBA RATING | TBA FEATURE
Map strategy details for King's Row are currently missing. You can help the Overwatch Wiki by adding them! Attack
Strategy details missing.
Defense
Strategy details missing.
|

|
TBA RATING | TBA FEATURE
Map strategy details for Midtown are currently missing. You can help the Overwatch Wiki by adding them! Attack
Strategy details missing.
Defense
Strategy details missing.
|
 Numbani |
TBA RATING | TBA FEATURE
Map strategy details for Numbani are currently missing. You can help the Overwatch Wiki by adding them! Attack
Strategy details missing.
Defense
Strategy details missing.
|

|
TBA RATING | TBA FEATURE
Map strategy details for Paraíso are currently missing. You can help the Overwatch Wiki by adding them! Attack
Strategy details missing.
Defense
Strategy details missing.
|
Push
| Map | Strategy & Stage Tips |
|---|---|
 Overall Strategy |
TBA RATING | TBA FEATURE
Map strategy details for Overall Strategy are currently missing. You can help the Overwatch Wiki by adding them!
|

|
TBA RATING | TBA FEATURE
Map strategy details for Colosseo are currently missing. You can help the Overwatch Wiki by adding them! Pushing
Strategy details missing.
Defending
Strategy details missing.
|

|
TBA RATING | TBA FEATURE
Map strategy details for Esperança are currently missing. You can help the Overwatch Wiki by adding them! Pushing
Strategy details missing.
Defending
Strategy details missing.
|

|
TBA RATING | TBA FEATURE
Map strategy details for New Queen Street are currently missing. You can help the Overwatch Wiki by adding them! Pushing
Strategy details missing.
Defending
Strategy details missing.
|

|
TBA RATING | TBA FEATURE
Map strategy details for Runasapi are currently missing. You can help the Overwatch Wiki by adding them! Pushing
Strategy details missing.
Defending
Strategy details missing.
|
Flashpoint
| Map | Strategy & Stage Tips |
|---|---|
 Overall Strategy |
TBA RATING | TBA FEATURE
Map strategy details for Overall Strategy are currently missing. You can help the Overwatch Wiki by adding them!
|

|
TBA RATING | TBA FEATURE
Map strategy details for Aatlis are currently missing. You can help the Overwatch Wiki by adding them! Station
Strategy details missing.
Garden
Strategy details missing.
Town Center
Strategy details missing.
Bazaar
Strategy details missing.
Resort
Strategy details missing.
|

|
TBA RATING | TBA FEATURE
Map strategy details for New Junk City are currently missing. You can help the Overwatch Wiki by adding them! Arena
Strategy details missing.
The Ducts
Strategy details missing.
Refinery
Strategy details missing.
Junkyard
Strategy details missing.
Bomb Flats
Strategy details missing.
|

|
TBA RATING | TBA FEATURE
Map strategy details for Suravasa are currently missing. You can help the Overwatch Wiki by adding them! Market
Strategy details missing.
Garden
Strategy details missing.
Palace
Strategy details missing.
Temple
Strategy details missing.
Ruins
Strategy details missing.
|
Achievements
| Name | Icon | Description | Reward |
|---|---|---|---|
|
|
Block 1000 damage with a single use of Mei's Ice Wall in Quick or Competitive play. |  | |
|
|
Freeze 4 enemies at once with Mei in Quick or Competitive play. |  |
Trivia
Etymology
- The name Mei-Ling translates to "beautiful" and "spirit" in Chinese, and thus together "beautiful spirit".
- "Mei-Ling" is Mei's actual given name, not "Mei"; there is no middle name convention in traditional Chinese names. (The layout of 周美灵 in English is 'Zhou, Mei-Ling'.)
- Mei is the ninth playable Overwatch character in Heroes of the Storm. She is also a purchasable announcer. Additionally, an image of Mei appears on the shoulder pad of Rexxar when using his Fire Raider skin.
- From a development standpoint, Mei is more of a "normal" hero, designed to show that anyone can rise to be a hero. Michael Chu has joked that her 'superpower' is being optimistic in the face of overwhelming odds.[4]
- Mei became a symbol of the 2019 Hong Kong protests. She was chosen ironically, being a Blizzard character, following the suspension and penalization of a Hearthstone e-Sports player blitzchung (Wai Chung Ng), after he publicly advocated for the Free Hong Kong movement. Fans of Blizzard and Overwatch have produced numerous images of Mei depicting her protesting the Hong Kong government or advocating for human rights, in the hopes that the Chinese version of Overwatch would be banned from the market.[5]
Misc. Character Information
- Mei's biological age, 31, does not include her time spent in cryostasis.[1] Her chronological age was roughly 40 at the time of Overwatch.[2]
- Mei's favourite drink is tea (also with boba [the tapioca pearls in bubble tea]).[6]
- Mei is a fan of Lúcio's music.[7]
- Mei apologizes a lot. In her words, "there's a lot I feel sorry about."[8]
- Mei likes penguins.[8]
- At some point, Mei wrote a report on cryogenically preserving severed appendages.[8]
- Mei likes spices.[8]
Development
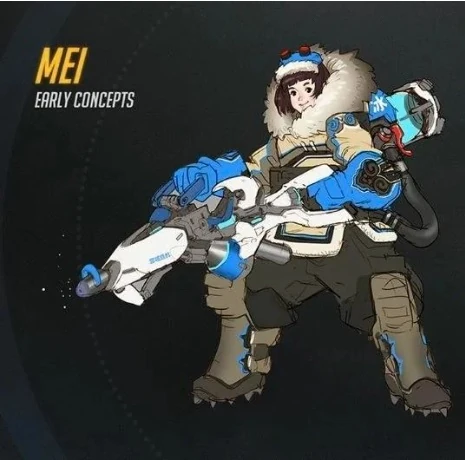
Concept art
- Mei's placeholder name during development was Frostbite. Early versions of the character were an explorer outfitted with climbing gear and bounty hunter who used an ice gun to freeze captured bounties in cryostasis.[9]
- Earlier ideas for ice-based characters were included in an early pitch for the game: Frost, a man with a white fur-lined jacket and a visored helmet, envisioned as using an Ice Axe and abilities named Ice Patch and Ice Wall; another yeti-themed character named Yetzi was envisioned as having an Ice Storm ability.[10]
- Early concepts for Mei were revised as they were too close to Zarya.[11]
- Mei was temporarily disabled from 31st October to 15th of November 2022 due to an issue. Using her wall, players could push themselves into tight spaces. The bug allowed Mei to use her wall to get her to locations outside the gameplay boundaries, which frequently resulted in players being able to hide out of sight from opponents and earn easy damage and kills.[12] The delay was extended to November 17th.[13]
Removed abilities

- Introduced in Season 5 and removed at the start of Season 7 of Overwatch 2.
- Deep Chill builds up after 26 continuous hits from Endothermic Blaster.
- Further hits do not extend the duration of the effect. Deep Chill starts building up again from nothing once it ends.
- Deep Chill can also be triggered by hitting the target with Quick Melee.
- The damage is dealt in a separate instance after the damage from secondary fire's projectile/melee, and it cannot critical hit.

- Replaced by
 Deep Freeze in Season 16.

- Removed in Season 18.

- Removed in Season 18.
- Increases max wall uptime from 42% to 58%.
Media
Former Portrait
-
 Overwatch 1 Hero portrait

Concept Art
-
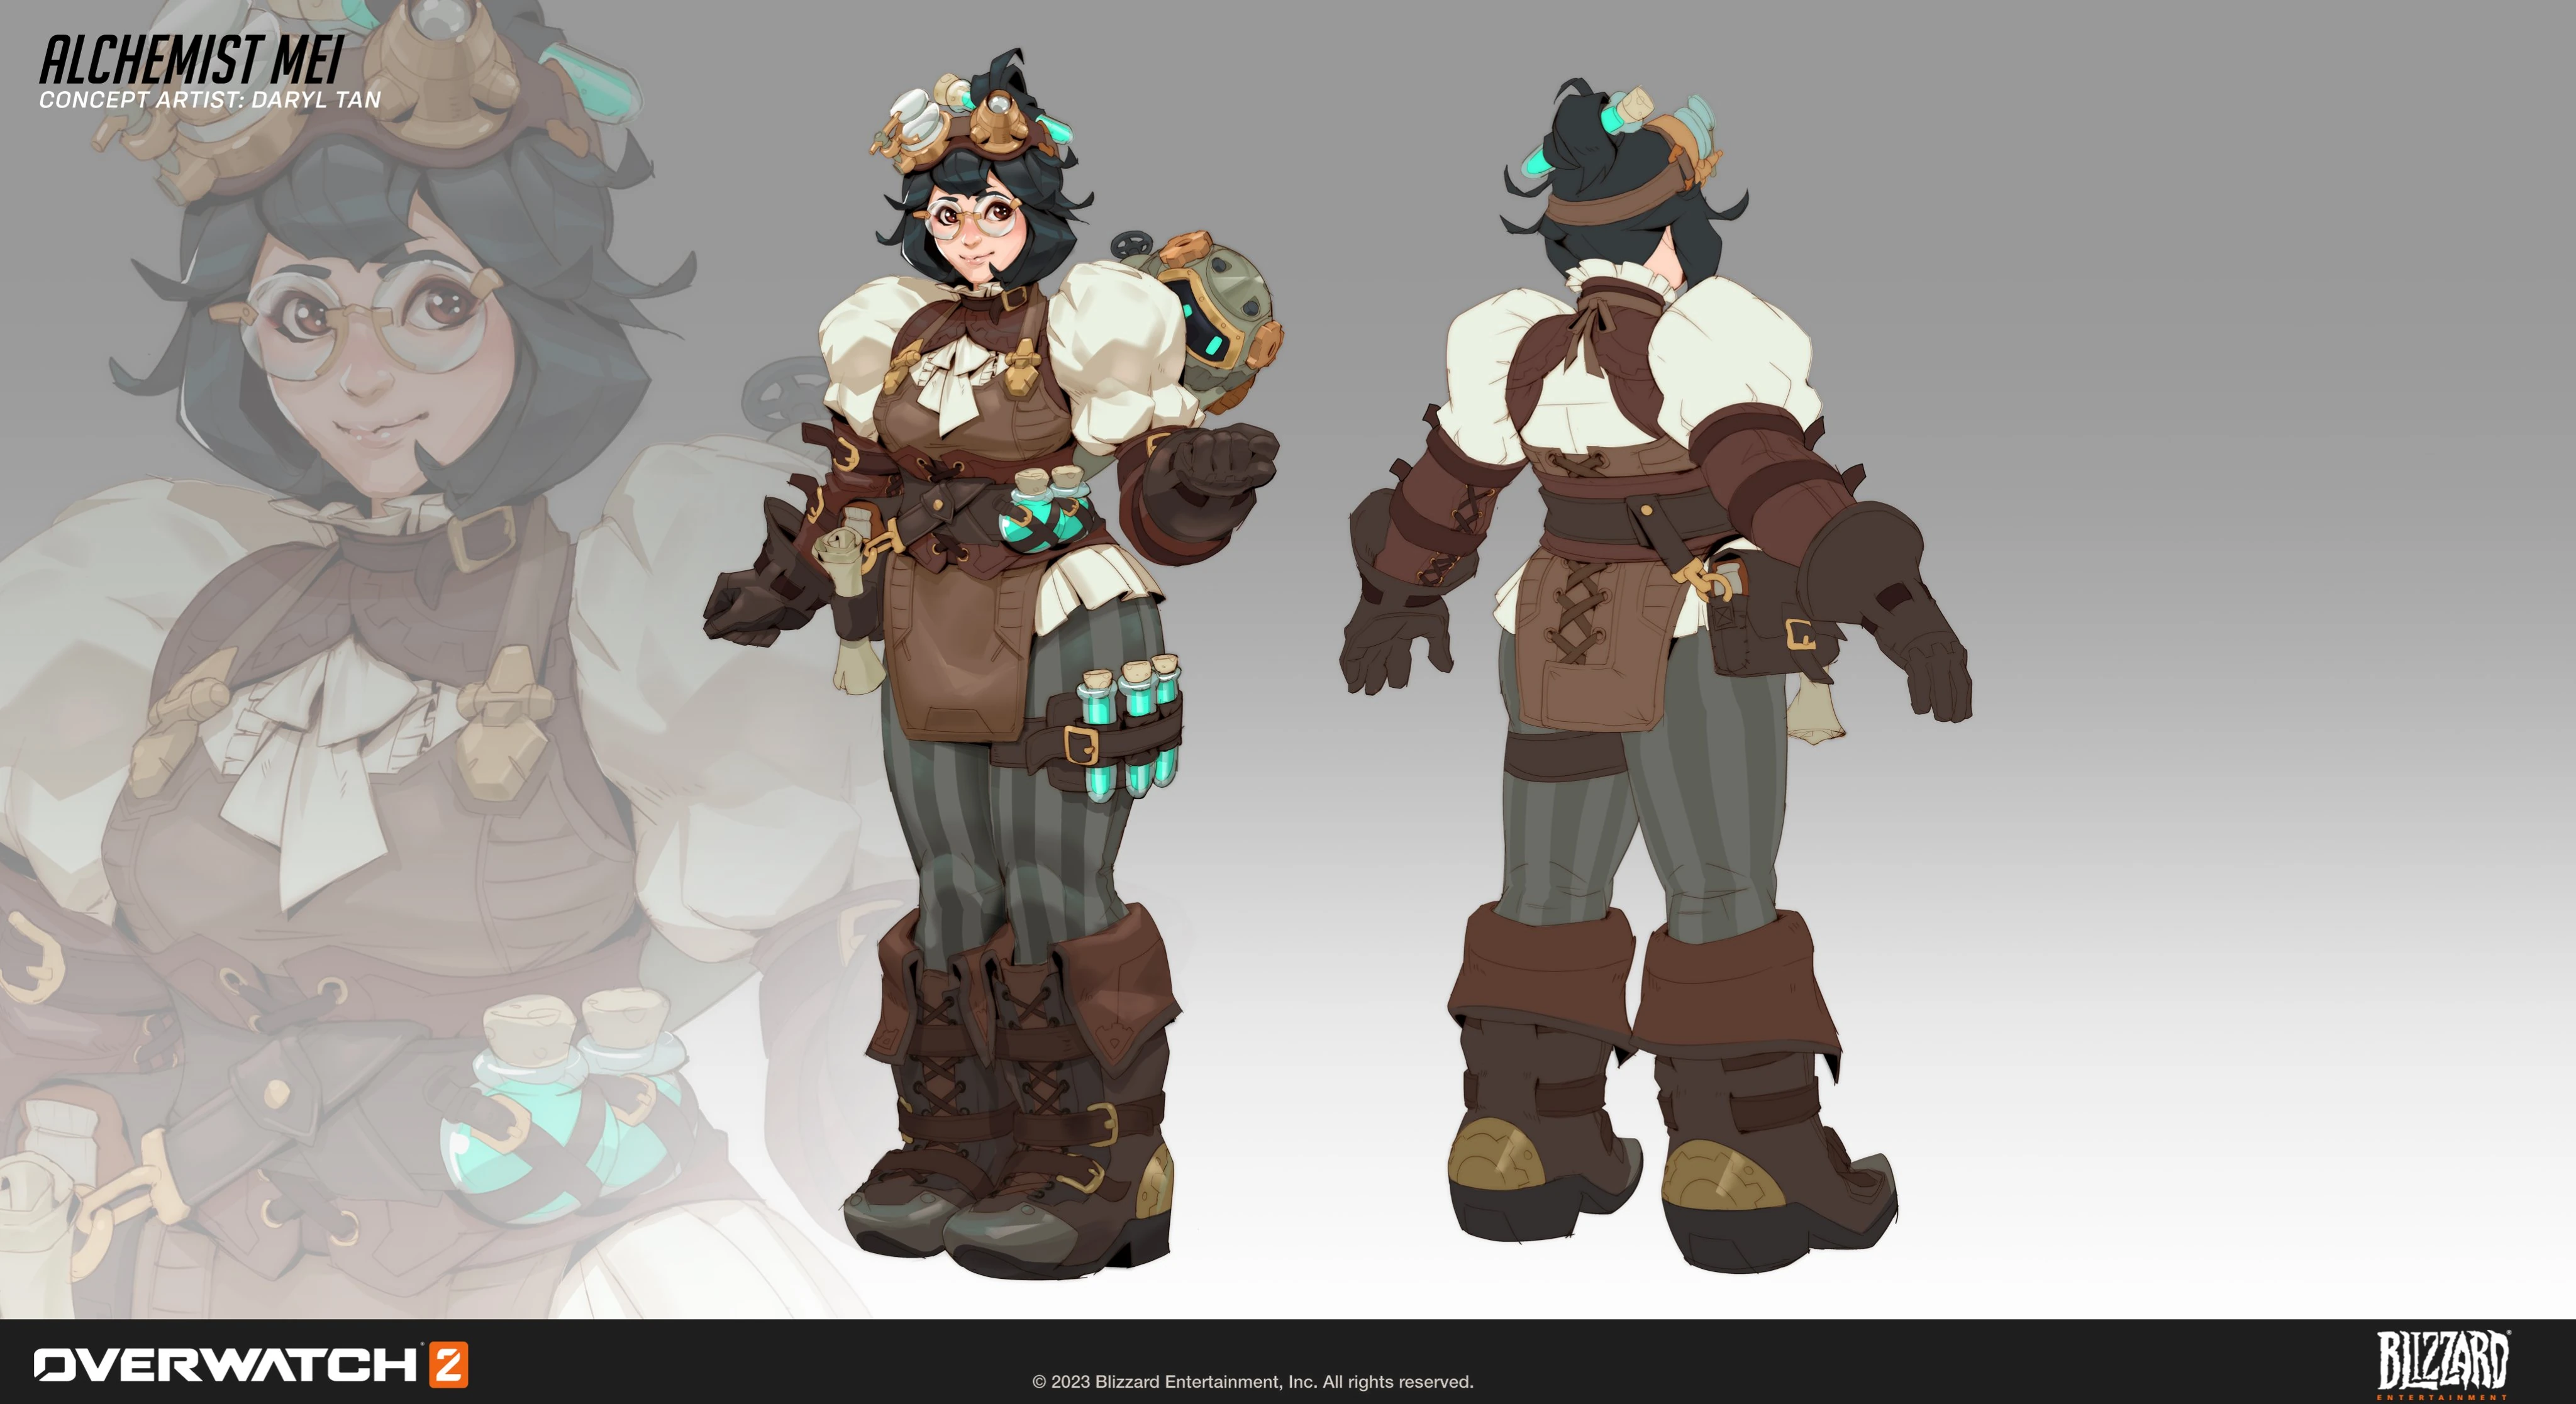
 Alchemist Skin Concept Art by Daryl Tan
 -
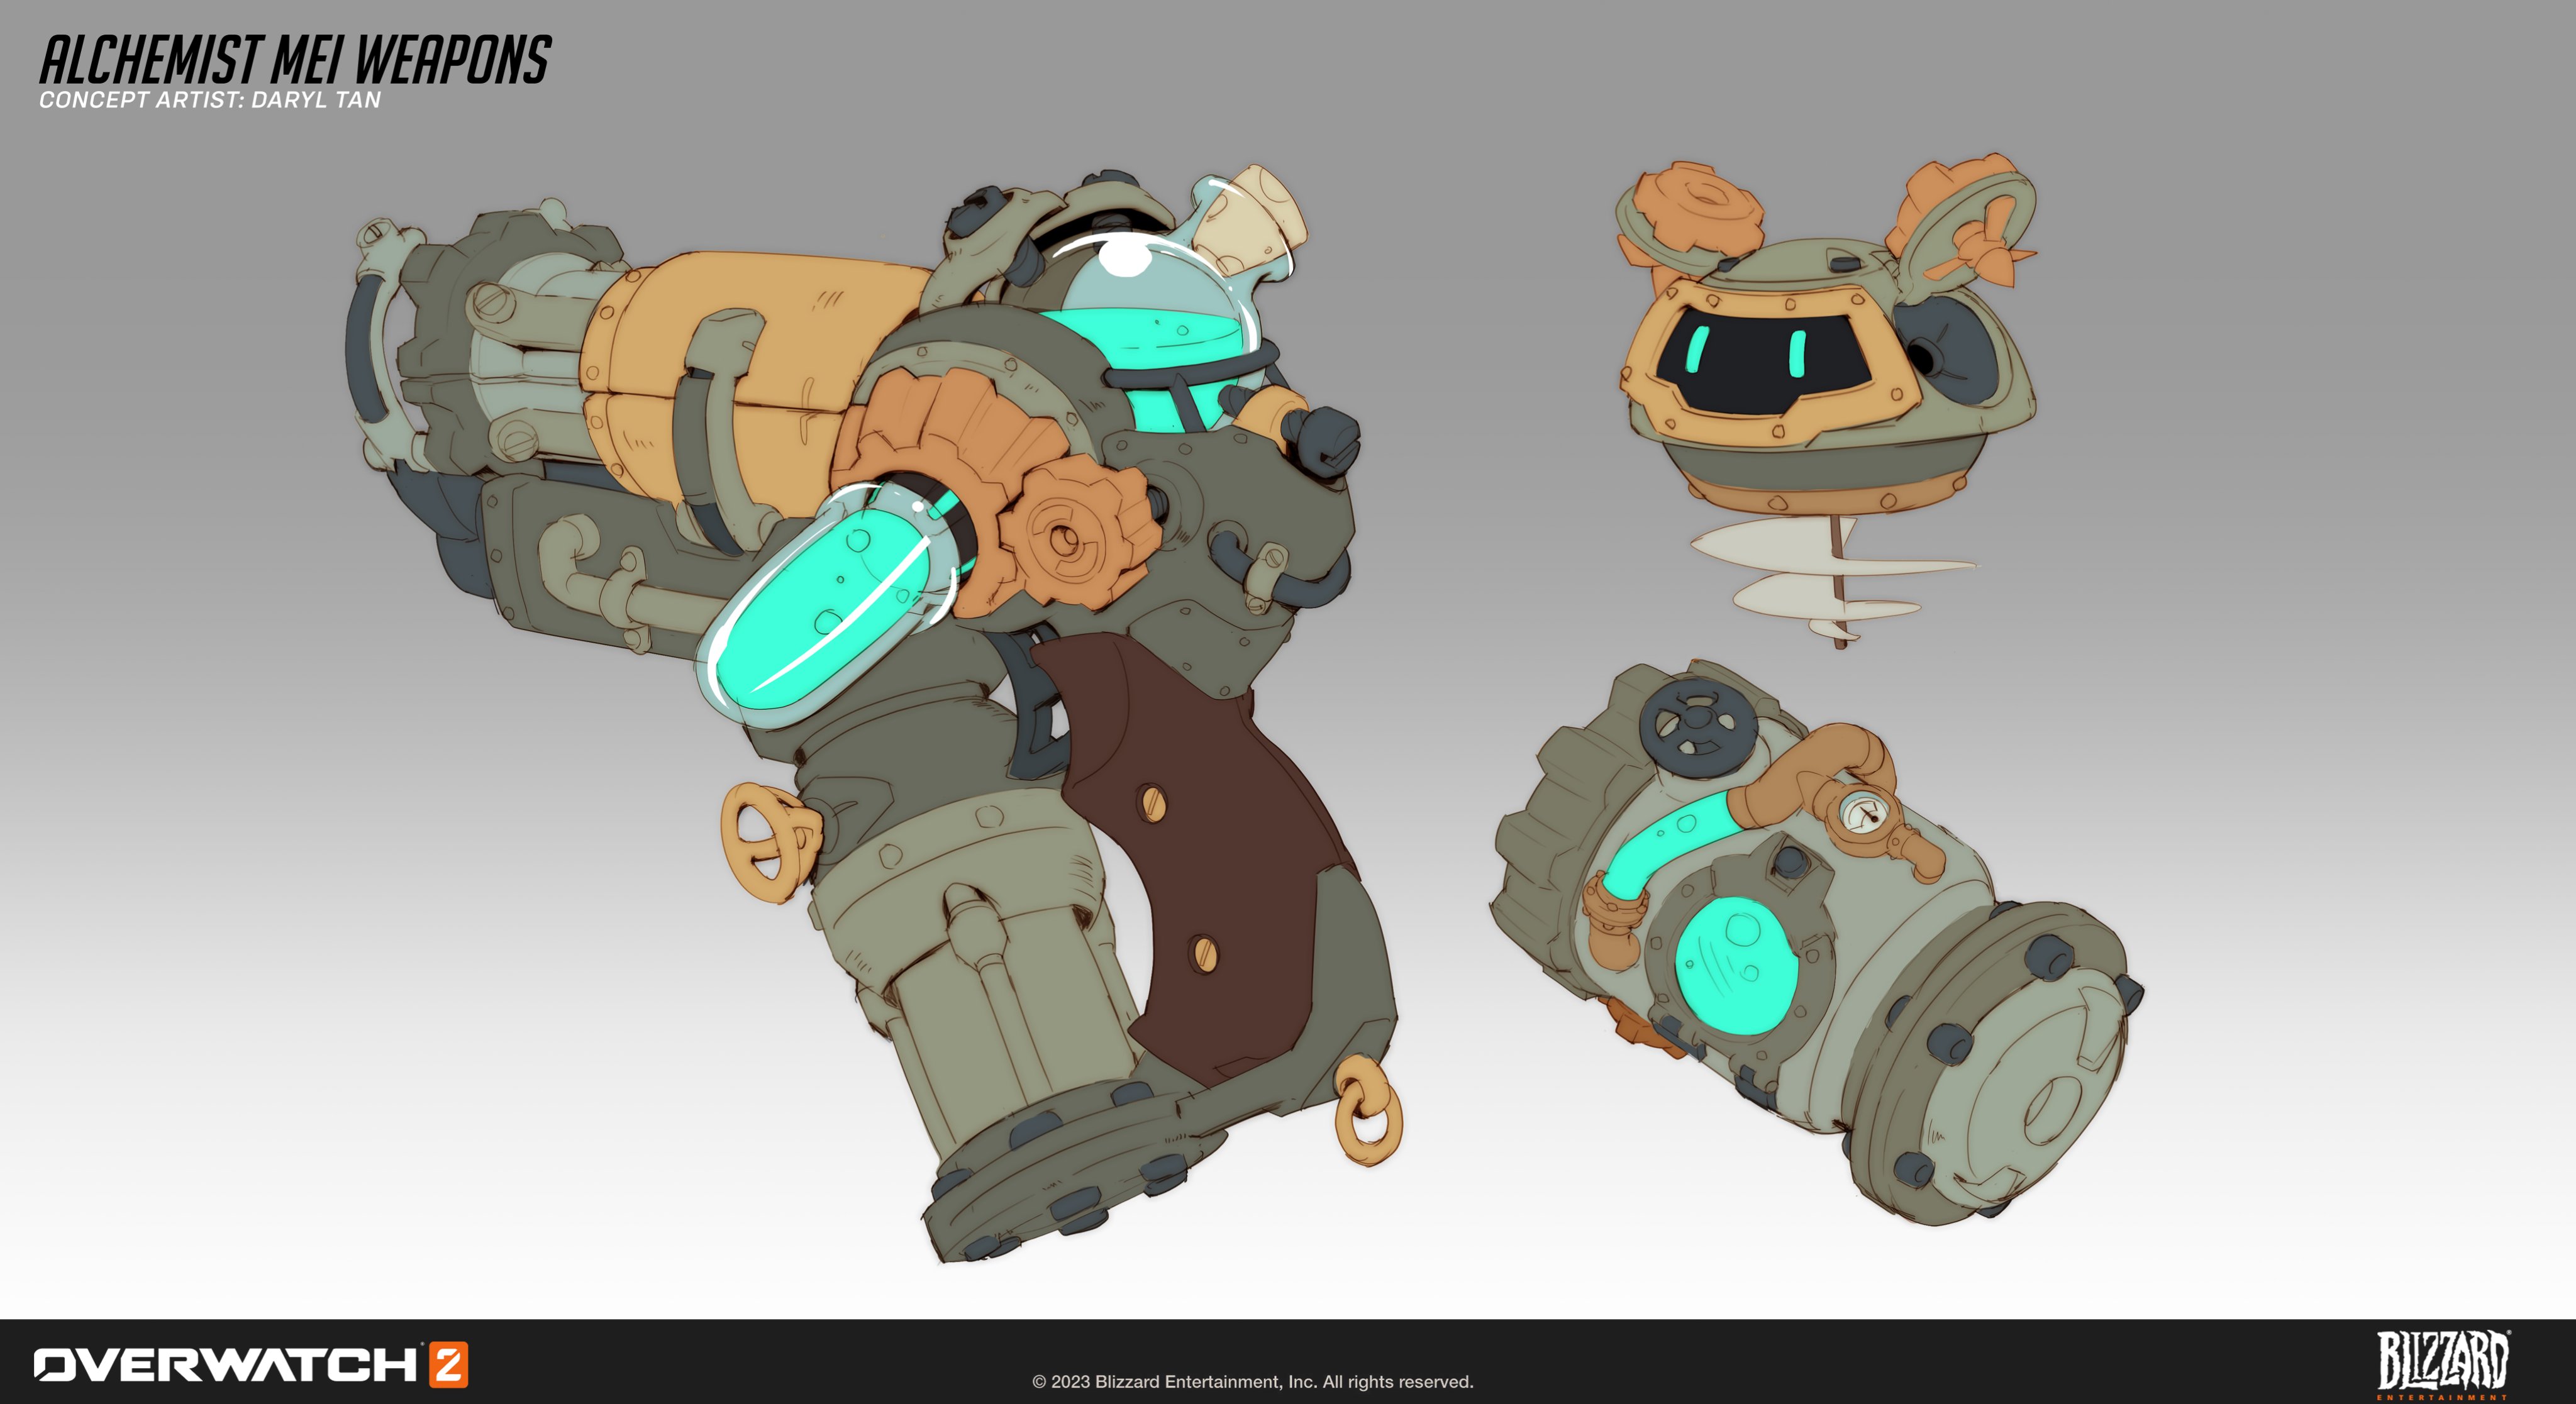
 Alchemist Skin Weapon Concept Art by Daryl Tan
 -
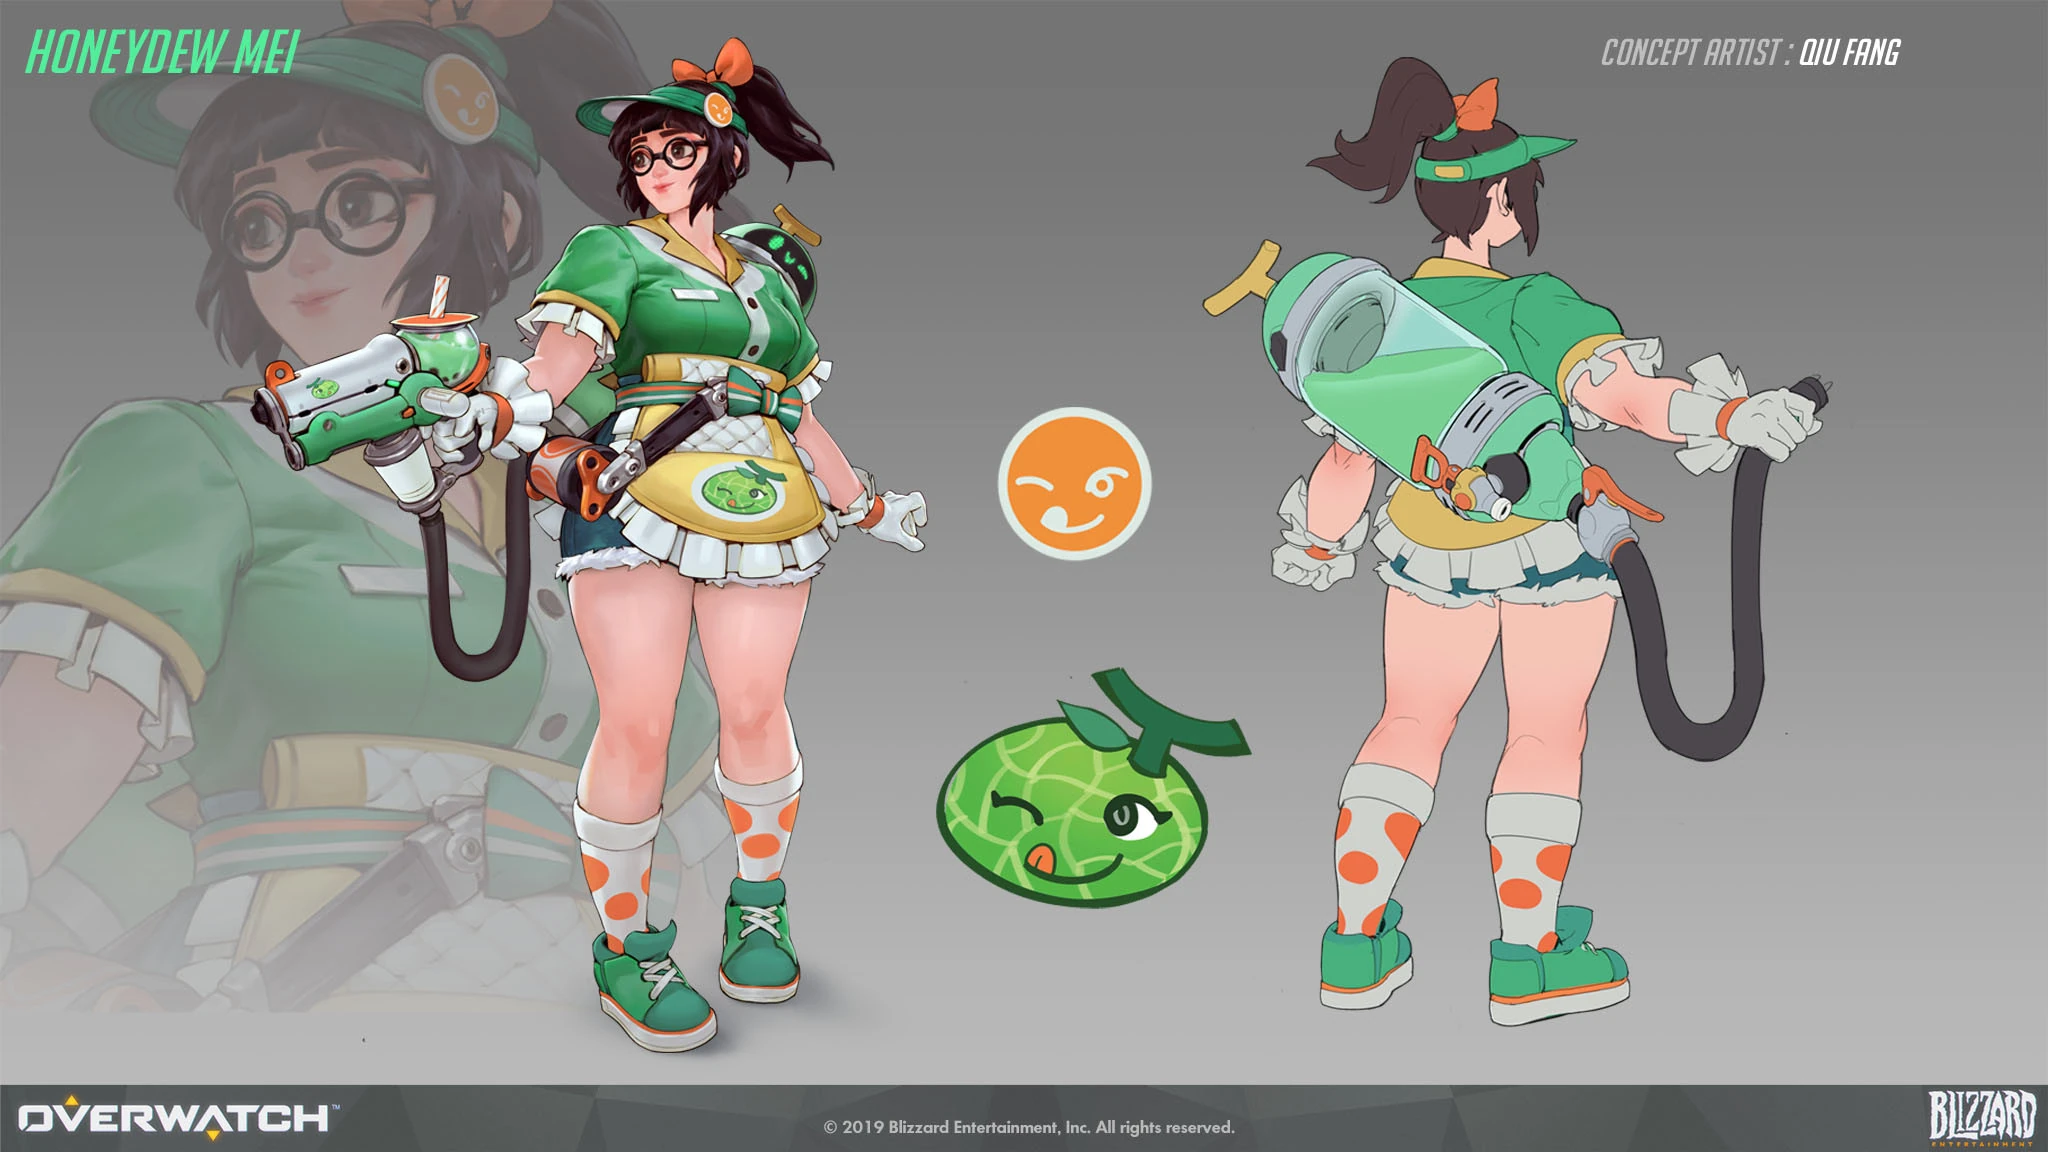
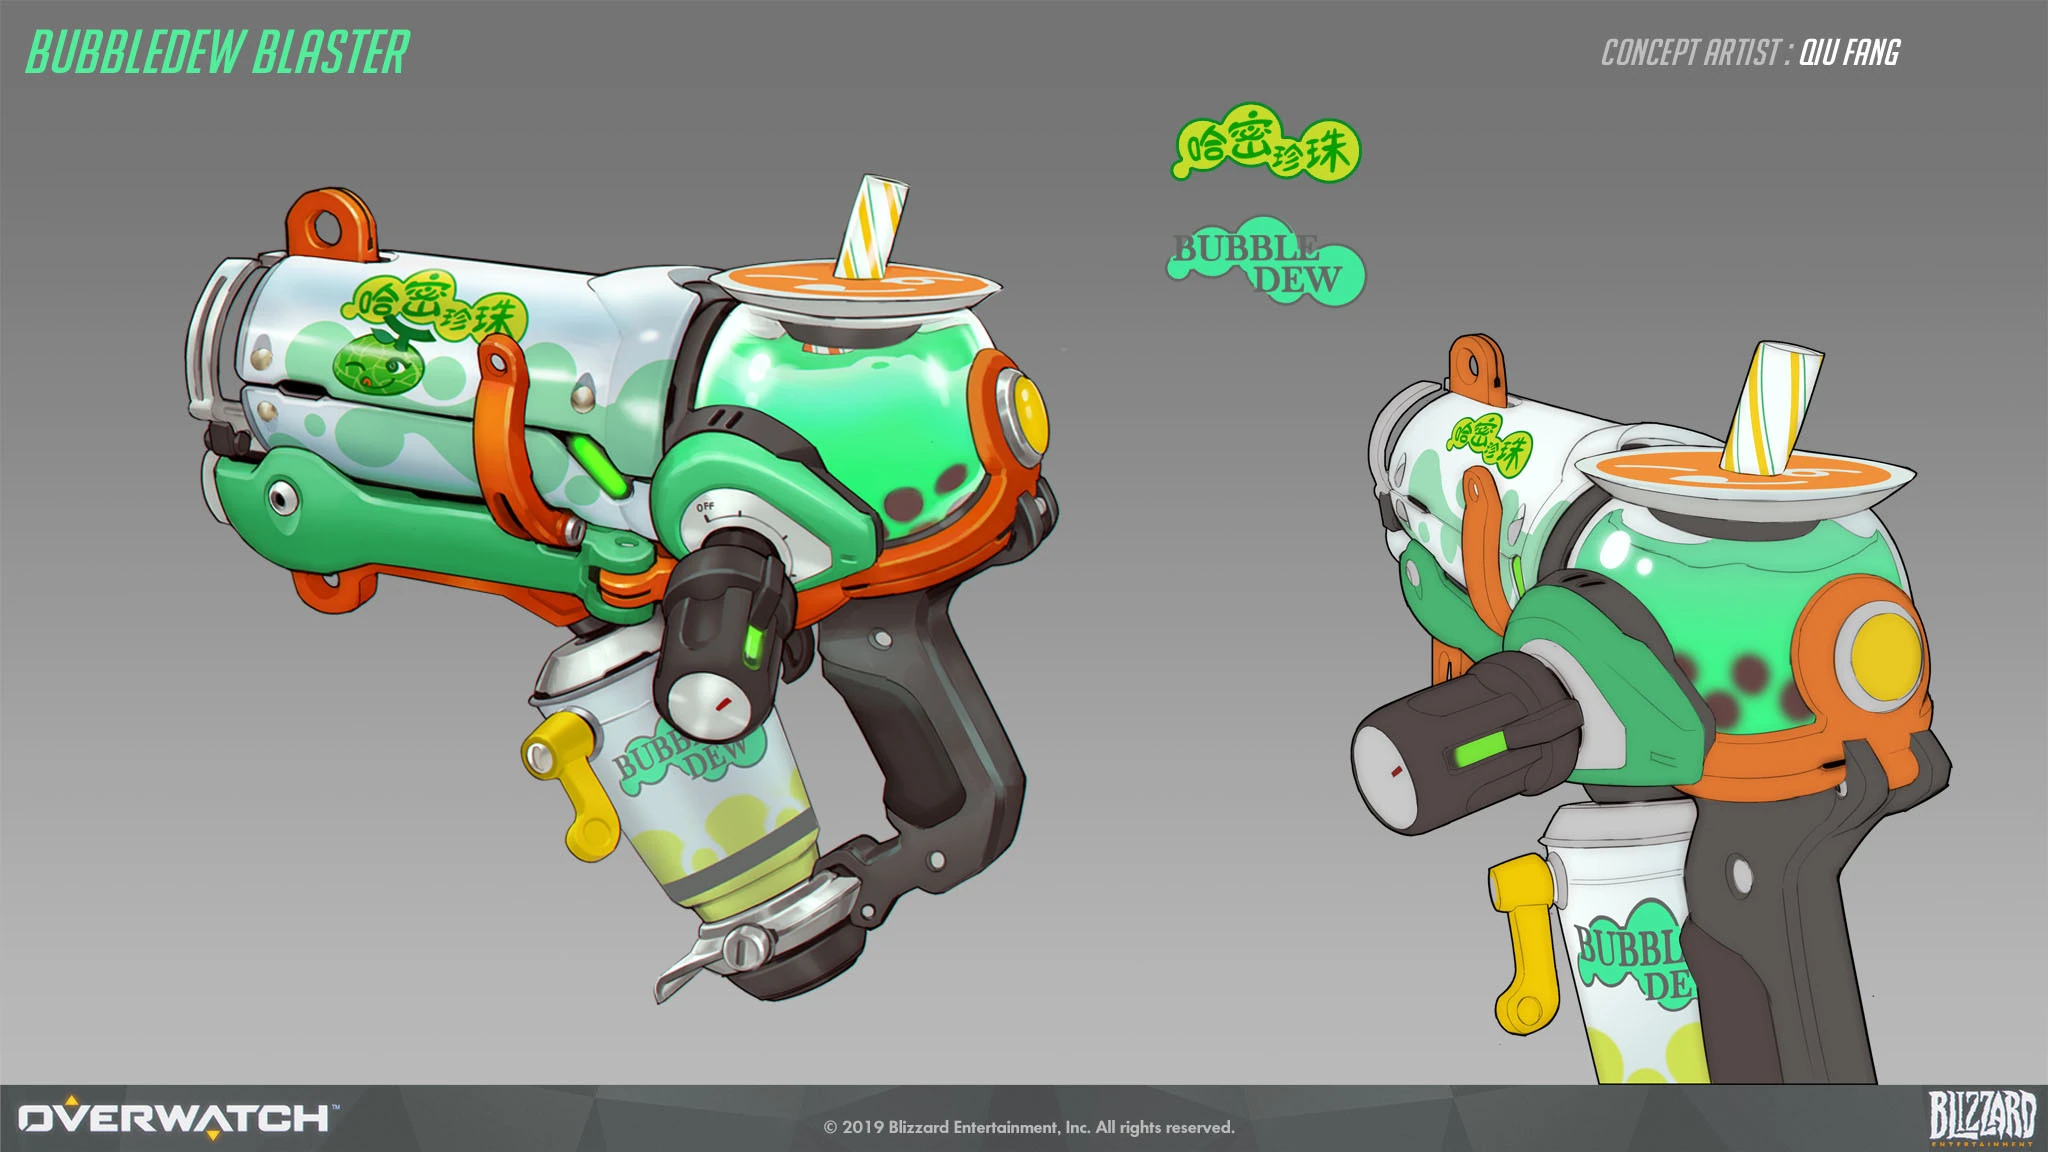
 Honeydew Skin Concept Art by Qui Fang
 -
 Honeydew Skin Weapon Concept Art by Qui Fang
 -
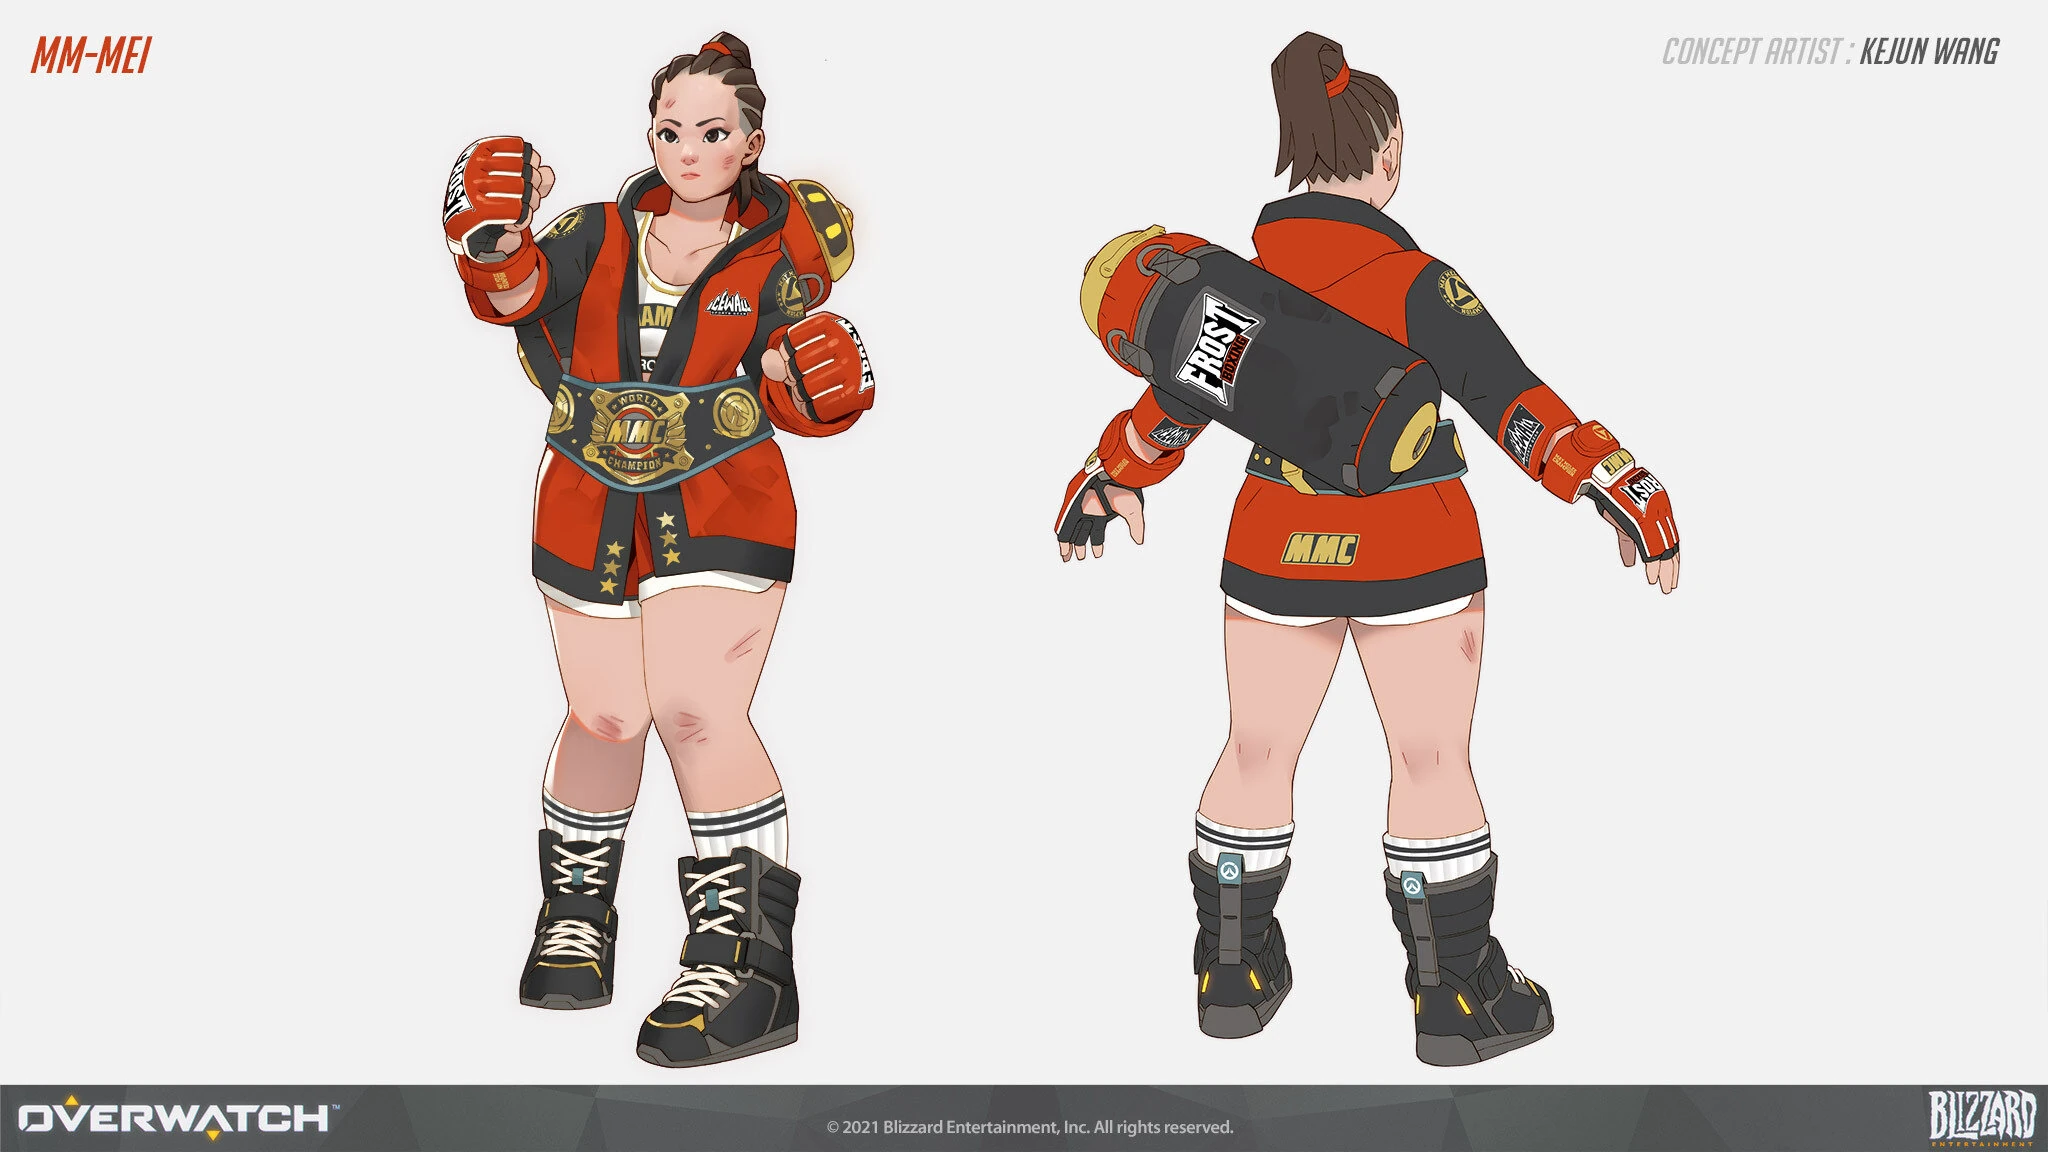
 MM-Mei Skin Concept Art by Kejun Wang
 -
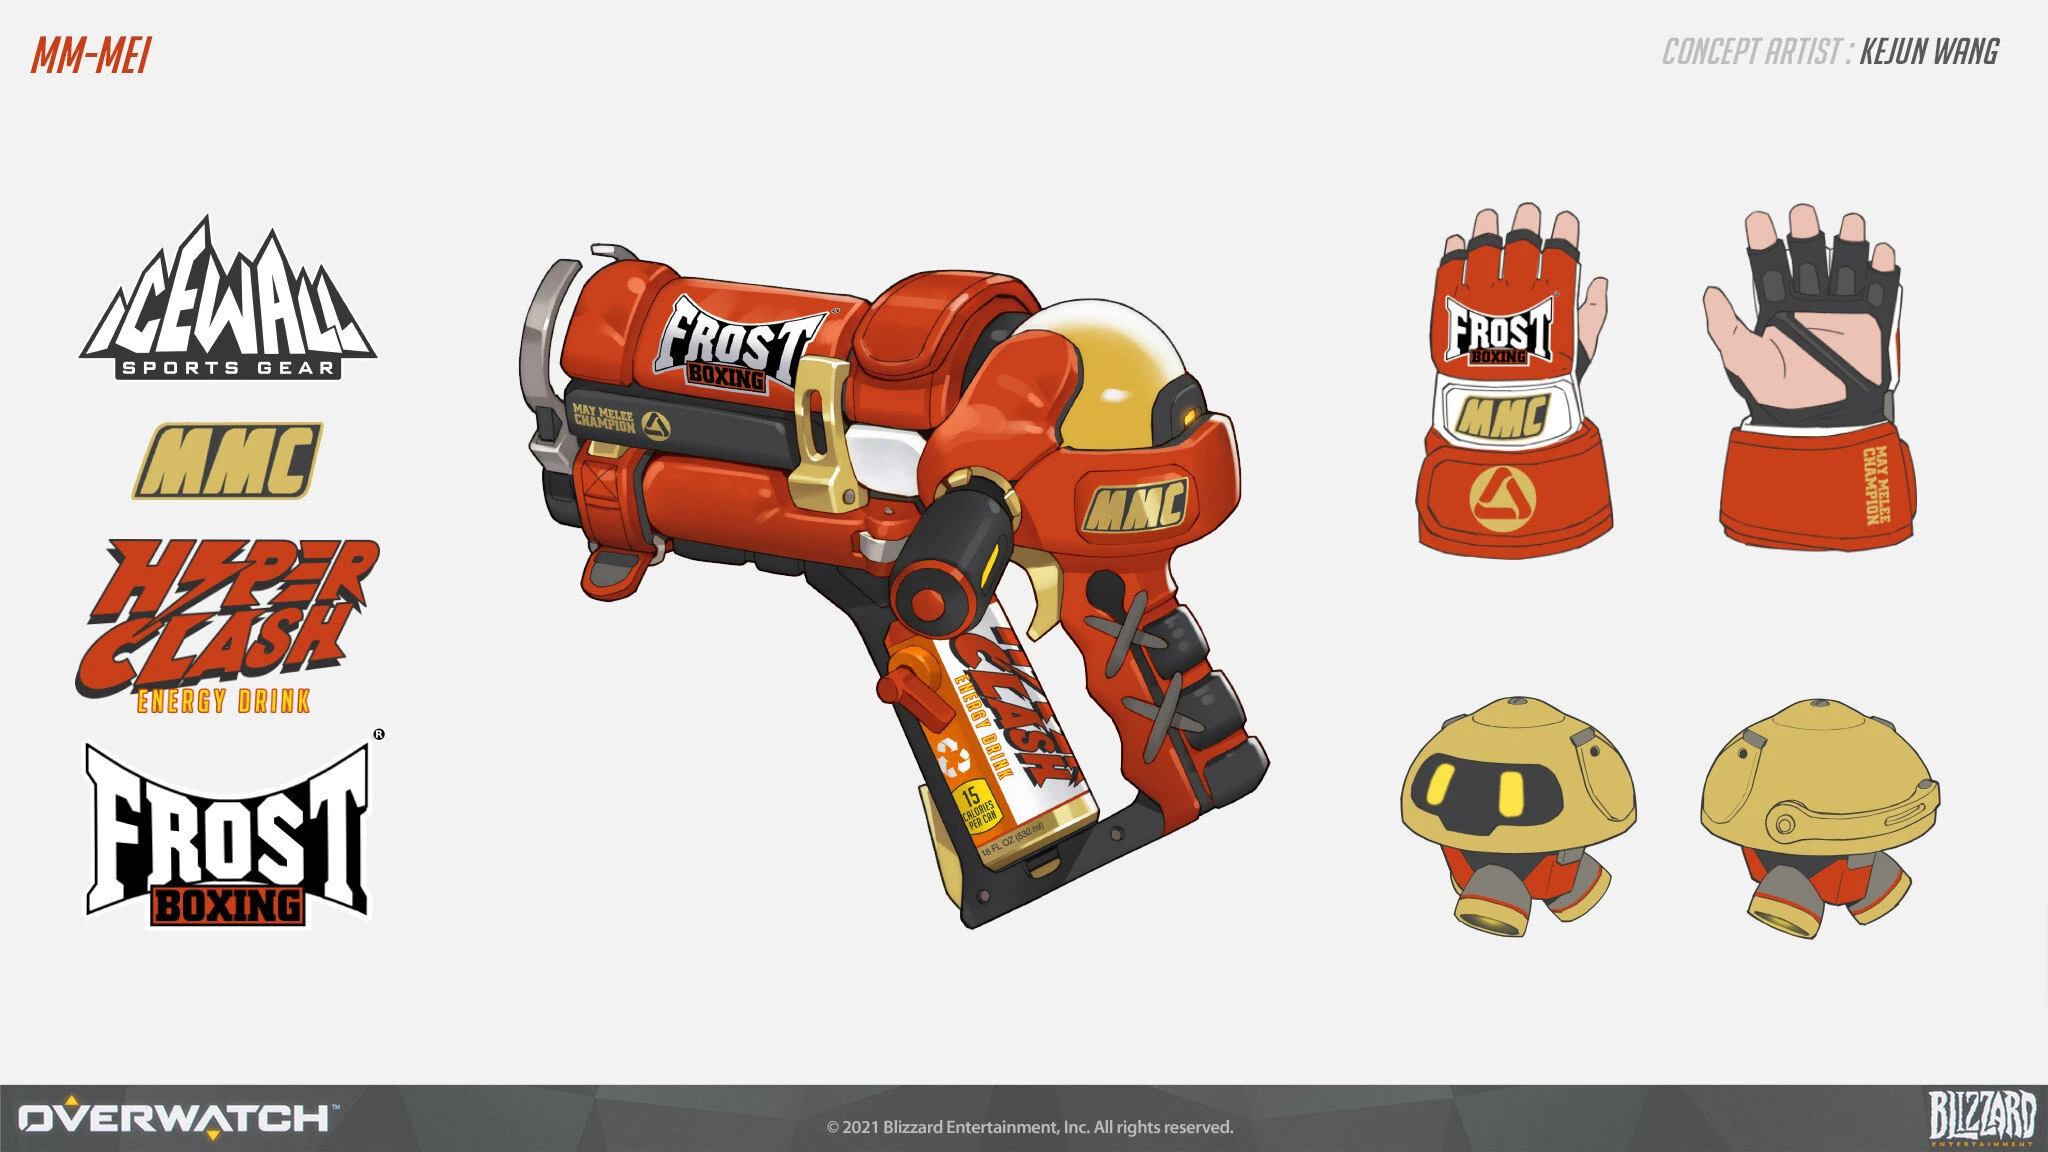
 MM-Mei Skin Weapon Concept Art by Kejun Wang
 -
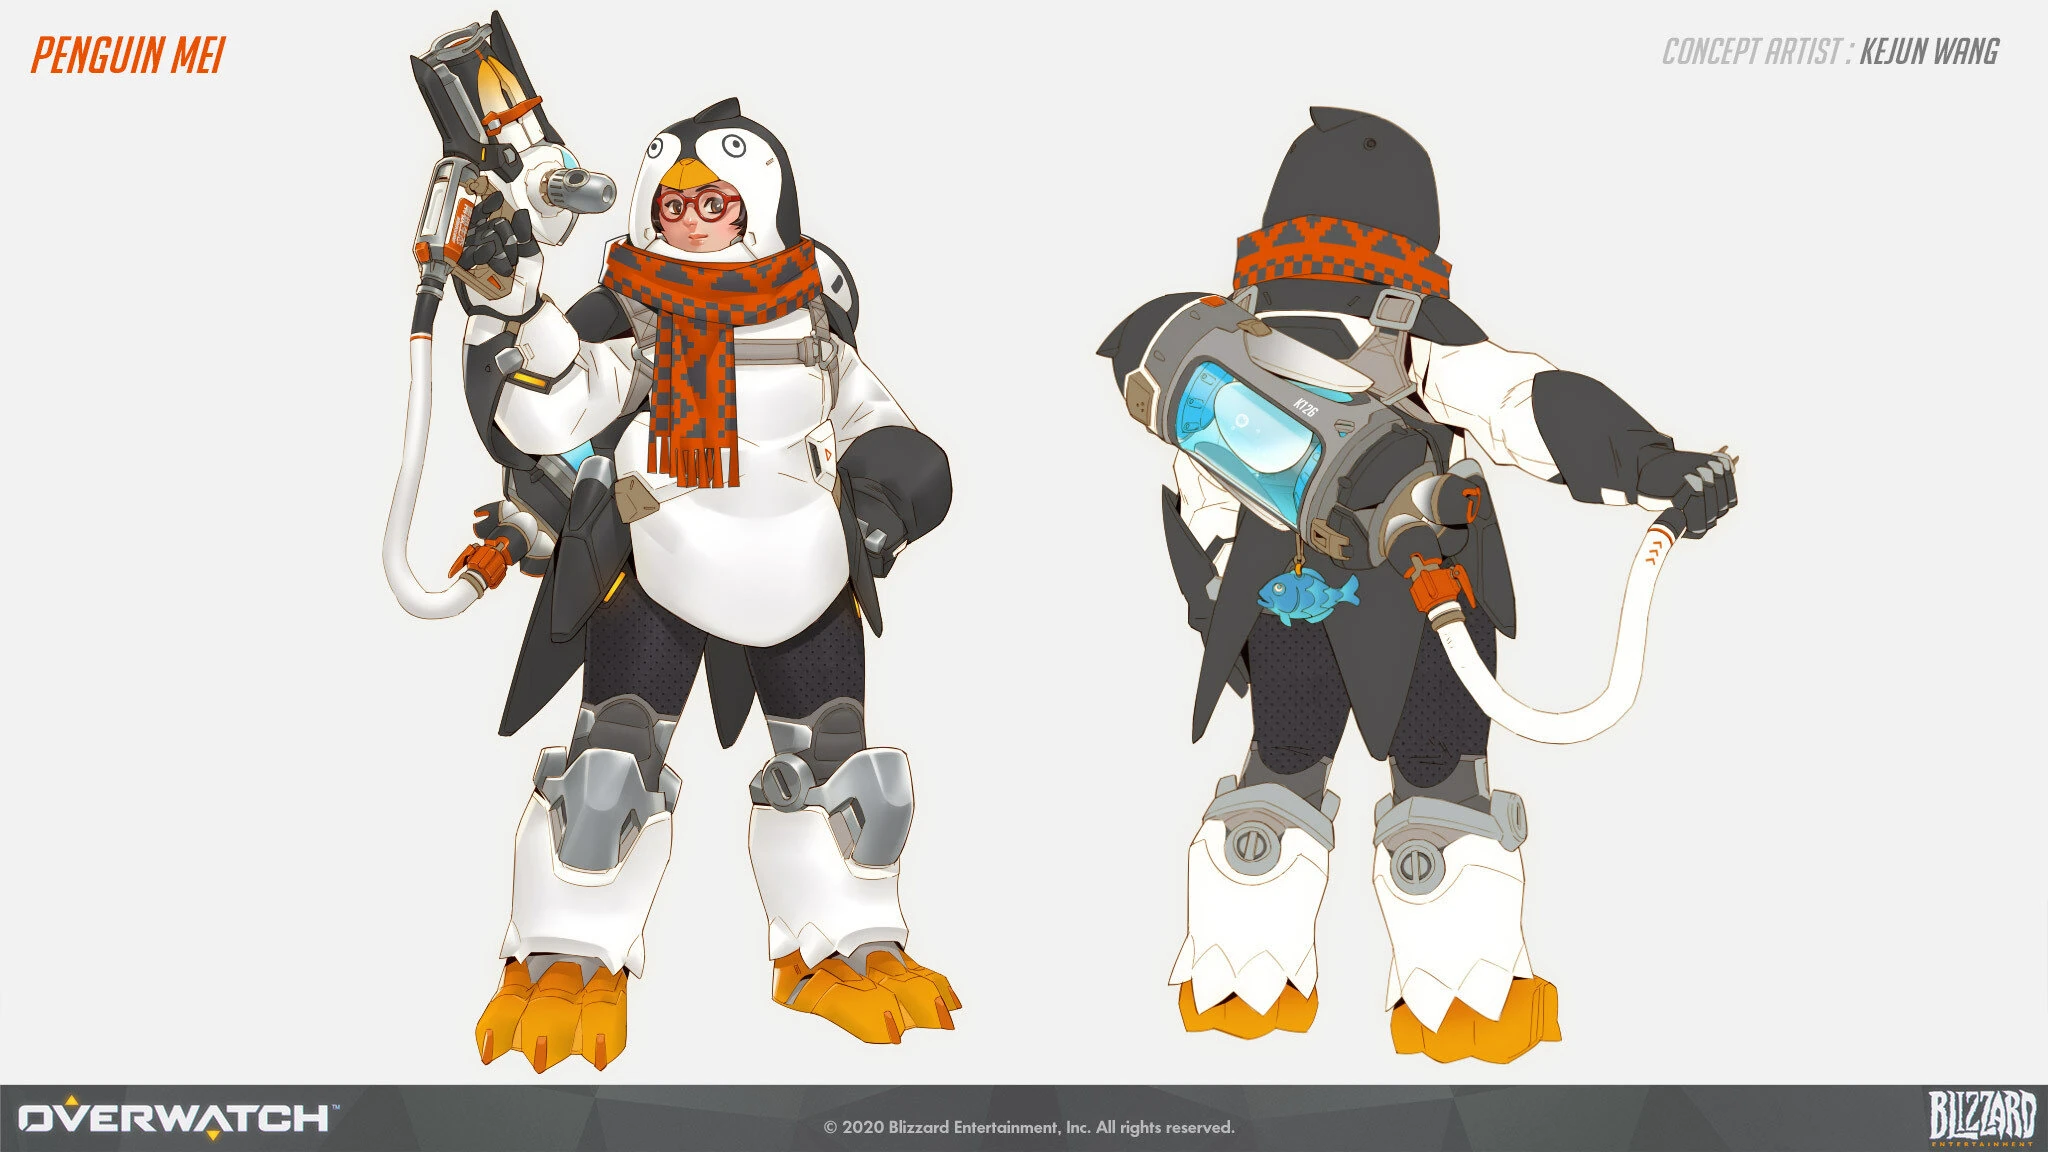
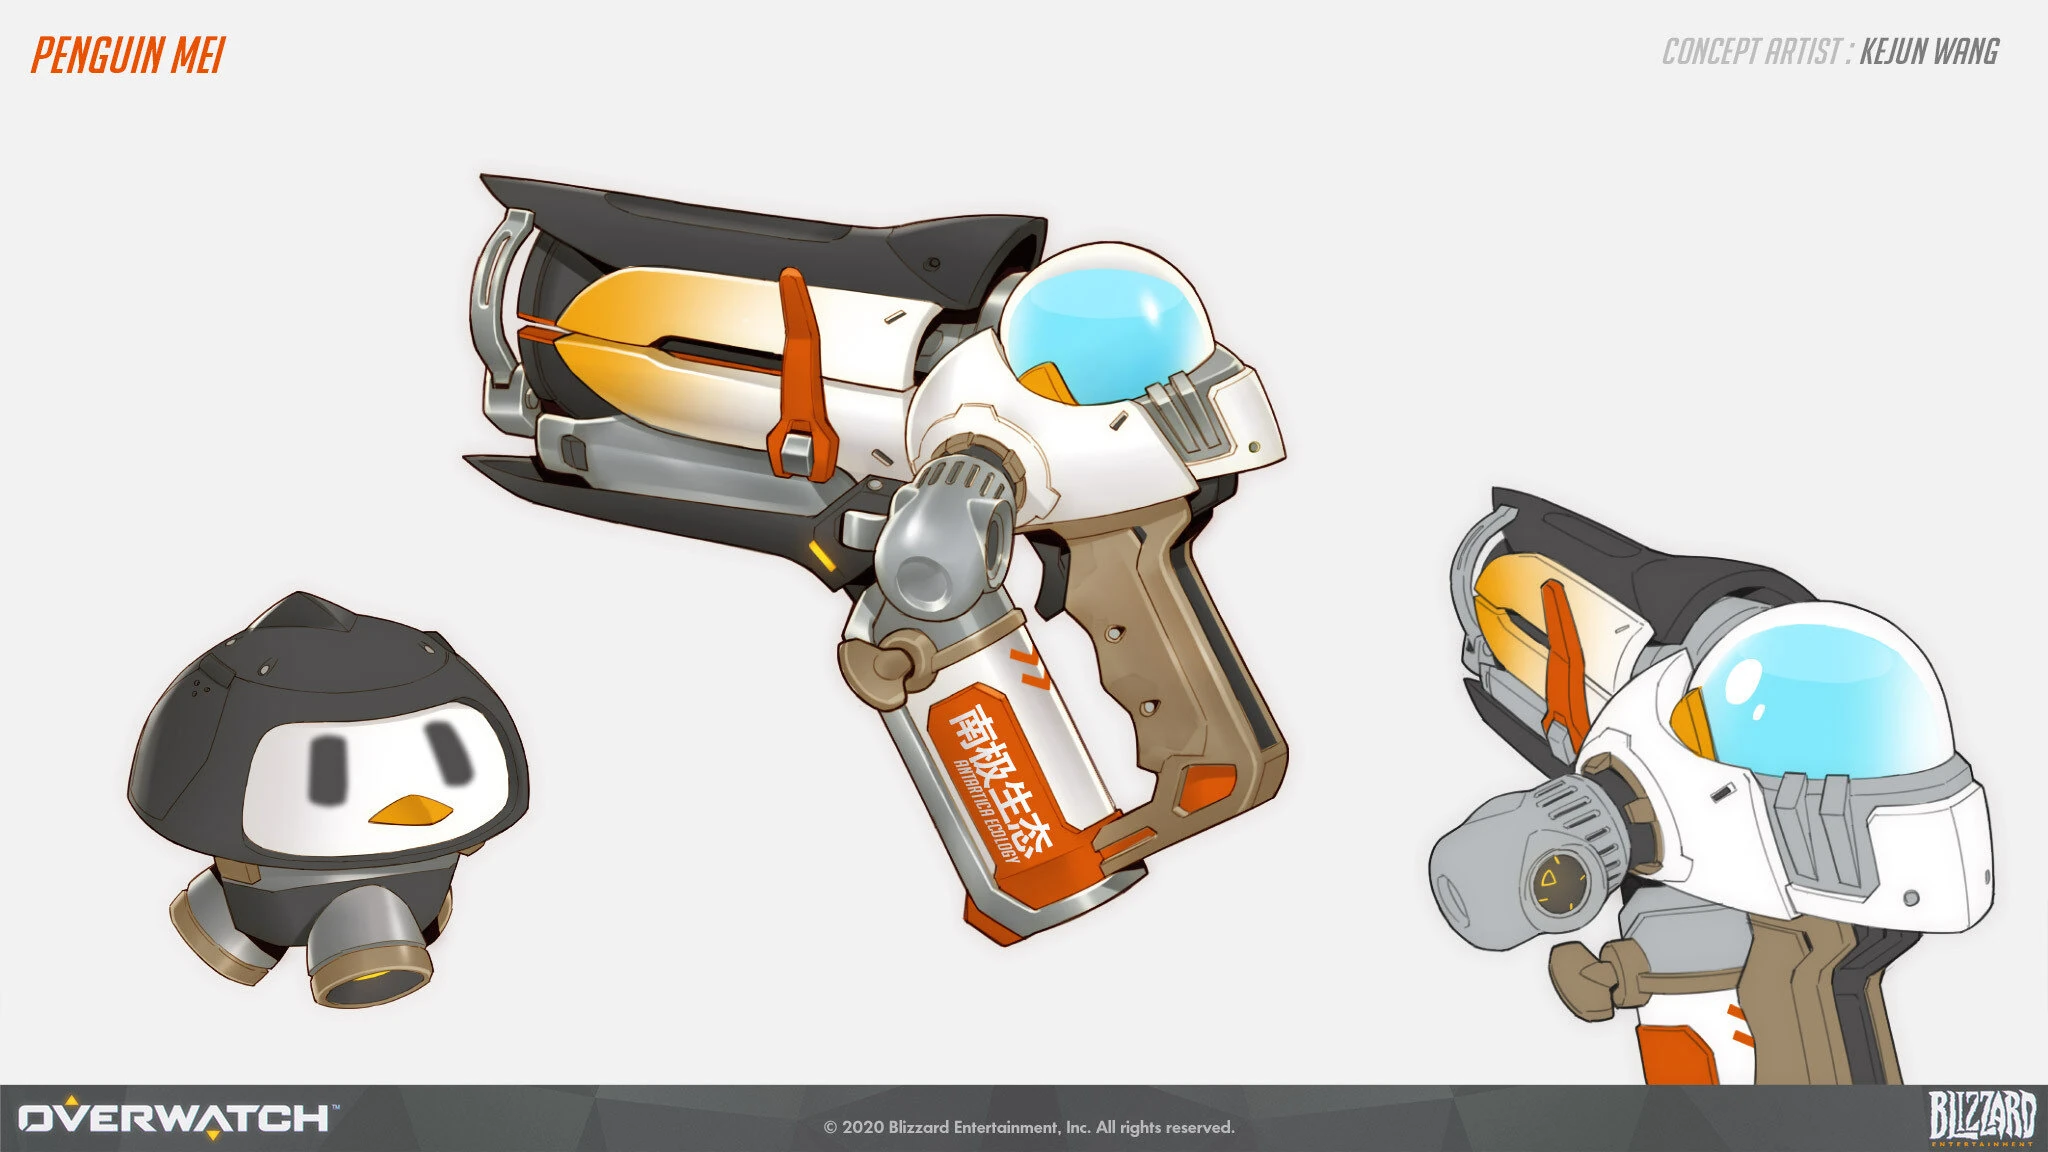
 Penguin Skin Concept Art by Kejun Wang
 -
 Penguin Skin Weapon Concept Art by Kejun Wang
 -
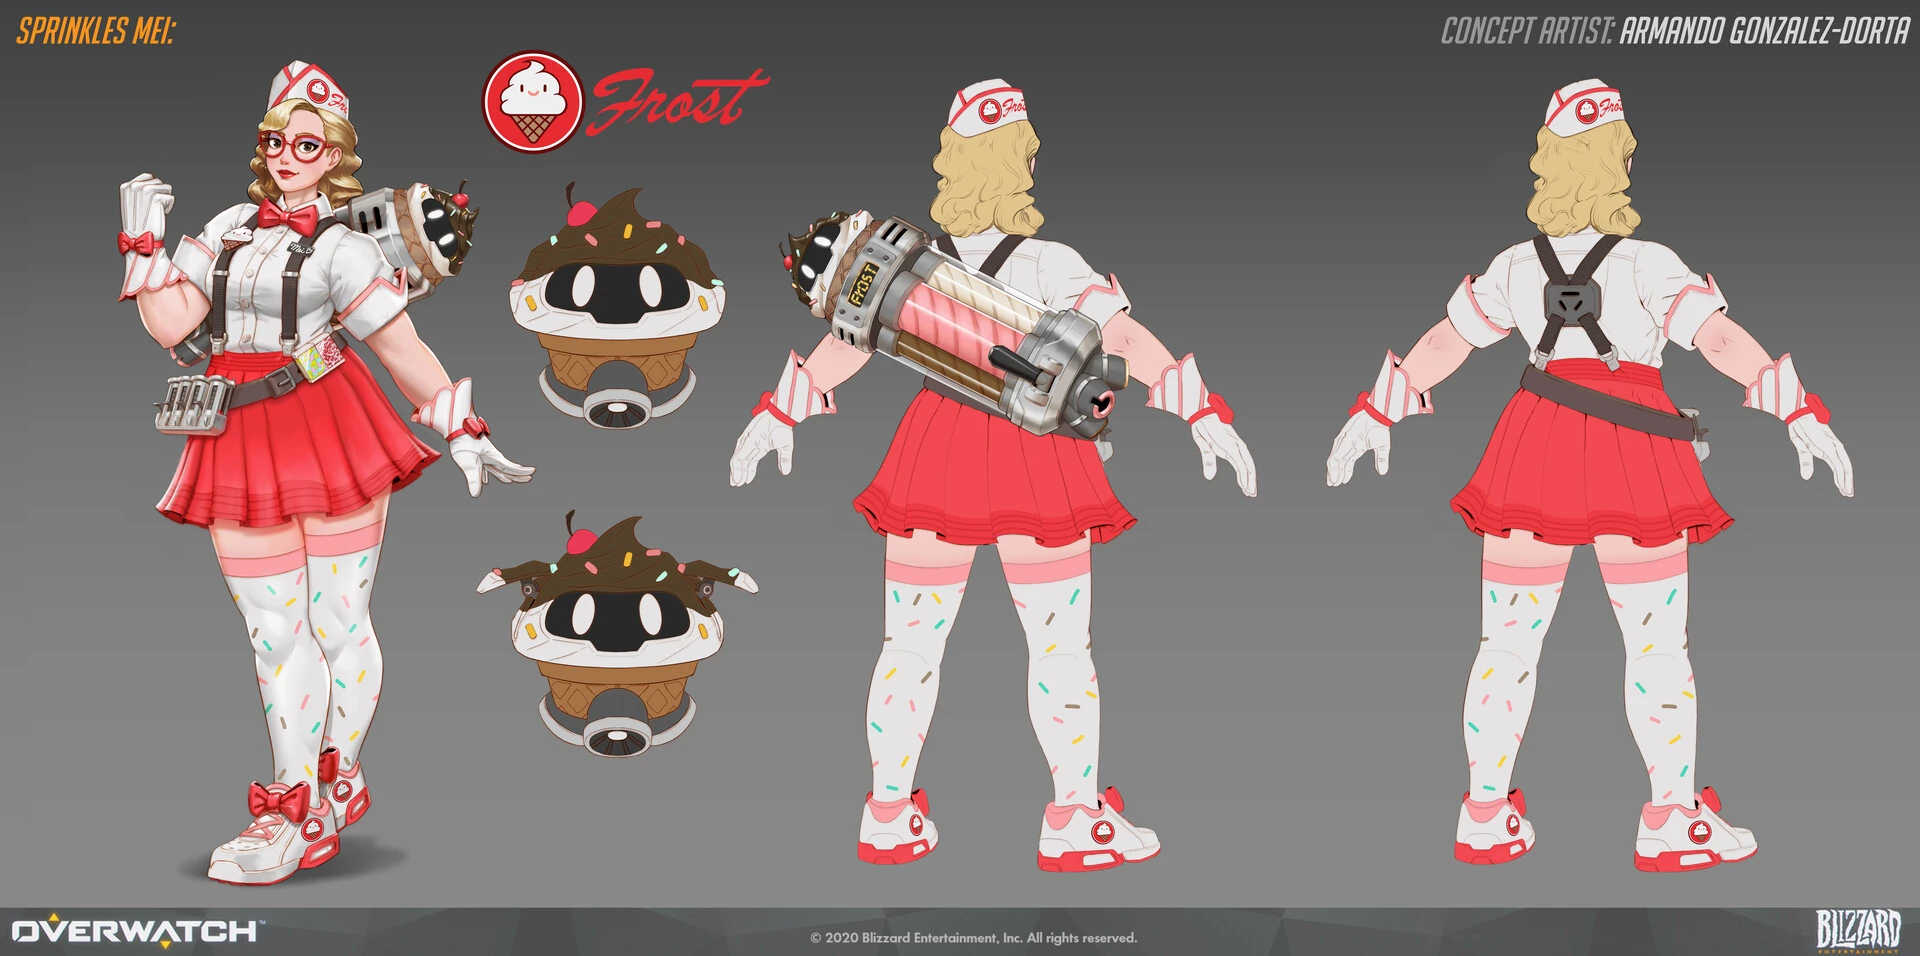
 Sprinkles Skin Concept Art by Armando Gonzalez-Dorta
Videos
Balance Change Log
- For more information, see Patch Notes.
- Damage per second increased from 100 to 110
![]() Glacial Propulsion – Minor Perk
Glacial Propulsion – Minor Perk
- No longer shares a cooldown with Ice Wall.
- Cooldown increased from 6 to 10 seconds.
![]() Biting Cold - Minor Perk
Biting Cold - Minor Perk
- Removed.
![]() Permafrost - Minor Perk
Permafrost - Minor Perk
- Removed.
![]() Skating Rink - Minor Perk
Skating Rink - Minor Perk
- New Minor Perk.
- Allies within Blizzard gain 25% increased movement speed and heal for 50 health per second.
![]() Glacial Propulsion – Minor Perk
Glacial Propulsion – Minor Perk
- New Minor Perk.
- Double jumping creates a small ice pillar that launches Mei into the air.
- Removed.
- Moved to Minor perk.
- Secondary fire hits slow enemies by 20% for 1.5 seconds.
- New Major Perk.
- Continuously hitting enemies with primary fire freezes them for a short time.
- No longer increases cooldown of Ice Wall.
- Hero Perks
- Primary Fire's range is increased by 30%.
- Ice Wall's duration and cooldown are increased by 2 seconds.
- Secondary fire hits slow enemies by 15% for 1.5 seconds, stacking up to 30%.
- Cryo-Freeze slows and deals 70 damage per second to nearby enemies.
- Secondary fire base projectile size reduced from 0.15 to 0.12 meters.
- Secondary fire damage increased from 75 to 85.
- General updates
- Global projectile size modifier for travel time projectiles with a speed greater than 50 meters per second reduced from 0.1 to 0.075 meters.
- Hero updates
- Ammo increased from 120 to 140.
- Heal per second increased from 50 to 62.5.
- General updates
Most damage-dealing projectile sizes have been increased by a new global modifier added to their base size.
- +0.05 meters for hitscan projectiles with a high rate of fire or spread (e.g., Tracer's Pulse Pistols or Reaper's Hellfire Shotguns).
- +0.08 meters for hitscan projectiles that are more precise (e.g., Cassidy's Peacekeeper or Soldier:76's Heavy Pulse Rifle).
- +0.05 meters for travel time projectiles that are shotguns or have a very high rate of fire (e.g., Roadhog's Scrap Gun or Ramattra's Void Accelerator).
- +0.10 meters for travel time projectile with a speed greater than 50 meters per second (e.g., Zenyatta's Destruction Orb).
- +0.15 meters for travel time projectile with a speed less than or equal to 50 meters per second (e.g., Pharah's Rocket Launcher).
- Very large projectiles with a base size greater than 0.5 meters have been excluded from these increases (e.g., Orisa's Energy Javelin or Reinhardt's Fire Strike).
Hero combined HP (base health/armor/shields) increased by 15-25%.
- 150-175 HP heroes increased by 25 HP.
- 200-300 HP heroes increased by 50 HP.
- 300+ HP (Tanks) increased by 75-100 HP.
- Each hero's precise health increases are listed in their patch notes below.
Ultimate Charge
- All Ultimate ability costs increased by 10%.
Regenerative Passive for All Heroes
- All heroes now regenerate 20 health per second after 5 seconds of not taking damage.
Damage Role Passive
- Reload speed bonus on elimination has been removed.
- New role passive: Dealing damage reduces enemy healing received by 20% for 2 seconds.
Quick Melee
- Damage increased from 30 to 40.
- Hero updates
- Health increased from 250 to 300.
- Maximum ammo reduced from 150 to 120.
- Slow effect decreased from 40 to 30%.
- Removed.
- Damage per second increased from 70 to 100.
- Now immediately slows enemies by 40% instead of building up over time.
- Damage increased from 65 to 70 per second.
- Duration before slow falls off between primary fire hits increased from 0.5 to 0.6 seconds.
- Bonus damage can now also be triggered with Mei's quick melee.
- Maximum slow applied by primary fire reduced from 50% to 40%.
- Primary fire damage per second increased from 55 to 70.
![]() Deep Chill (Passive)
Deep Chill (Passive)
- Maximum slow applied when this effect activates reduced from 75% to 65%.
- Damage per second reduced from 100 to 55.
- Primary fire slow is no longer always 40% and now scales from 30-50%.
- Primary fire impacts now build up to a slowing effect that sticks to the enemy target for 1.5 seconds and slows them for 75%.
- Secondary fire impacts can detonate this new slow effect, dealing an additional 40 damage.
- Blizzard ultimate cast time reduced from 0.5 to 0.4 seconds
- Ultimate cost reduced 5%
(beta)
- Freeze stun removed
- Immediately slows targets by a constant 50% instead of building up over time
- Slow duration reduced from 1.0 to 0.5 seconds
- Damage-per-second increased from 55 to 100
- Ammo increased from 120 to 150
- No longer removes Sigma Gravitic Flux effect
- Pillar health reduced from 400 to 250
- Range reduced from 35 to 20 meters
- Ultimate cost increased by 15%
- Health per pillar reduced from 300 to 250. (undocumented)
- Wall Health increased from 250 to 300.
![]() Slowball - Power
Slowball - Power
- Added: Critical hit applies 30% instead.
![]() Coldspot – Rare Survival Hero Item
Coldspot – Rare Survival Hero Item
- Added: Primary fire applies 35% Slow for 1.5s to an airborne enemy.
![]() Slowball - Power
Slowball - Power
- Decreased slow to 15% (Down from 30%).
![]() Slowball - Power
Slowball - Power
- Now normal hit with Secondary Fire will also apply slow to the hit enemy.
![]() Twice As Nice - Power
Twice As Nice - Power
- Twice As Ice also resets next Snowball Flight's cooldown.
![]() Avalanche - Power
Avalanche - Power
- Removed.
![]() Cold Blaster - Power
Cold Blaster - Power
- New Power added.
- Endothermic Blaster's primary fire does 20% increased damage to enemies within Blizzard.
![]() Permafrost - Power
Permafrost - Power
- Increases Mei's size by 15% when above 30% ability power.
![]() Himalayan Hat - Epic Weapon Hero Item
Himalayan Hat - Epic Weapon Hero Item
- Increased attack speed to 15% (up from 10%).
![]() Blizznado - Power
Blizznado - Power
- Increased Heal per second to 15% (up from 5%).
![]() Coulder - Power
Coulder - Power
- Reduced the knockback frequency rate by 60%.
- Increased how far enemies are knocked back.
- Increased the damage dealt per knockback to 20 (up from 10).
- Introducing Stadium
- Tank Heroes: D.Va, Junker Queen, Orisa, Reinhardt, and Zarya.
- Damage Heroes: Ashe, Cassidy, Genji, Mei, Reaper, and Soldier: 76.
- Support Heroes: Ana, Juno, Kiriko, Lucio, Mercy, and Moira.
- Primary fire damage per second increased from 55 to 100.
- Healing-per-second increased from 37.5 to 50
Developer Comment: A while ago there was a change to make Mei's Cryo-Freeze collision consistent with her Ice Wall, meaning she could no longer be targeted by allies while inside the block of ice. We're increasing her Cryo-Freeze healing rate since she isn't able to be easily healed up by her allies during that time.
- Can now be manually destroyed while dead
- Now restores 15 ammo per second
- Cooldown lowered from 13 to 12 seconds
Developer Comment: Since we previously made Mei's primary fire relatively more expensive, she spends more time out of ammo and this was particularly noticeable when unable to reload while in Cryo-Freeze. To help smooth out this gameplay she now regains some ammo during Cryo-Freeze.
- Now behaves like Mei’s Ice Wall when it comes to interactions. Cryo-Freeze will block line of sight and collision in much the same way
- Freeze stun duration lowered from 1.5 to 1.3 seconds
- Duration lowered from 5 to 4.25 seconds
- Maximum ammo reduced from 200 to 120
![]() Endothermic Blaster (Secondary Fire)
Endothermic Blaster (Secondary Fire)
- Ammo cost reduced from 20 to 10
- Cooldown increased from 10 to 13 seconds
- Player collision now allows large heroes to fit through 1 pillar gaps
General
- Mei’s Ice Wall now has a visual damaged state when under half health
- Slowing effect now reduces enemy movement speed from 20-70%, down from 30-90%
- Slowing effect duration reduced from 1.5 to 1.0 second
Developer Comment: The slowing effect of Mei's primary fire can sometimes feel too difficult to escape. Lowering the amount it slows by and the duration it lasts for will make it easier to react to. The time required to completely freeze a target remains the same.
General
- Mei's Icewall, Baptiste's Immortality Field, and Sigma's Gravitic Flux will now more heavily prefer edges over placing as far away as possible
General
- Reverted edge-placement change for ground targeted abilities (Reaper's Shadowstep, Mei's Icewall, Symmetra's Teleporter, etc)
General
- Ground targeted abilities (Reaper’s Shadowstep, Mei’s Icewall, Symmetra’s Teleporter, etc) will now more heavily prefer edges over placing as far away as possible.
- Primary fire damage increased from 2.25 to 2.75 (45 to 55 damage per second)
- Health reduced from 500 to 400
Developer Comments: Increasing the damage of Mei’s primary fire should make her Freeze and Icicle move combination more potent. Making the pillars on Mei’s Ice Wall easier to destroy means less waiting for the wall to disappear on its own and more opportunities to counter it.
- Updated visual effects for all abilities
- Removed all damage falloff from her secondary fire projectile
Developer Comments:The goal of these changes is to slightly reduce the impact of damage falloff on mid-range weapons. While assessing falloff mechanics across the board, weapons intended primarily for close-range combat benefited too greatly from lowering their falloff restrictions. We also normalized a couple of outliers in that Mei had a long-range travel time projectile with falloff applied and Widowmaker's automatic fire did not have any.
- Now pierces through enemies
Developer Comments: This change helps Mei combat multiple targets that are clumped up and makes it easier for her to keep freezing a specific target if another enemy gets in the way. This change also helps her ultimate more consistently freeze enemy targets, especially if they are near each other. Note: While her shots now pierce enemies, they still do not pierce barriers such as Reinhardt’s shield.
- Freeze (slow) duration increased from 1 second to 1.5 seconds
- Weapon alternate fire ammo cost reduced from 25 to 20
Developer Comment: Increasing Mei’s slow duration helps her freeze targets that are particularly elusive such as Genji or Lúcio. Lowering her alternate fire ammo cost allows her to more safely use it without costing her the ability to freeze enemies.
- Can now be targeted by allies while in Cryo-Freeze
- Ultimate cost has been increased by 15%
Developer Comments: Mei’s ultimate was recently given a much larger radius. Now it’s coming up too frequently, considering the impact it can have.
- Projectile now pierces barriers
- Radius has been increased from 8 meters to 10 meters
Developer Comments: Mei has an interesting toolkit, but her ultimate often felt like it was too difficult to use effectively. Consequently, it felt weak compared to many other ultimate abilities. The freeze effect has been piercing barriers for some time now, but the projectile would still be blocked. Now, you can throw it down exactly where you want it, so it’s much easier to utilize the full radius effectively.
References
- ↑ 1.0 1.1 2016-11-11, "Mei's age on the website (31) is her apparent/biological age, not chronological. It does not include the amount of time she spent in cryostasis." Michael Chu, Overwatch Forums.
- ↑ 2.0 2.1 2016-11-07, "Running out of options and low on supplies, the team decided to cryogenically freeze themselves until the storm passed. They believed that it would only be for a few months, but Mei awoke nearly a decade later." Play Overwatch.
- ↑ https://overwatch.fandom.com/wiki/May_19,_2020_Patch#Mei
- ↑ 2017-09-05, The Making of "Rise and Shine" | Overwatch. YouTube, accessed on 2017-09-13
- ↑ 2019-10-09, Protestors are trying to get Overwatch banned in China, using memes of popular hero Mei. Polygon, accessed on 2020-06-21
- ↑ 2018-08-31, Michael Chu's Twitter, Accessed on 2018-09-02.
- ↑ Heroes of the Storm
- ↑ 8.0 8.1 8.2 8.3 Overwatch 2, Mei Quotes
- ↑ Overwatch: How A Hero is Mei'd
- ↑ Blizzcon 2017, Overwatch: Archives
- ↑ 2015-11-07, Overwatch: What’s New | Summary. Blizzplanet, accessed on 2015-11-10
- ↑ 2022-11-02, Overwatch 2: Blizzard Removes Another Hero Due to Bugs. IGN, accessed on 2022-11-18
- ↑ 2022-11-16, Overwatch 2's Mid-Season Patch Delayed, Leaving Mei Unplayable. IGN, accessed on 2022-11-18
External Links
| Heroes in Overwatch
| ||||||||
|---|---|---|---|---|---|---|---|---|
Tank |
 Bruiser |
|||||||
 Initiator |
||||||||
 Stalwart |
||||||||
Damage |
 Flanker |
|||||||
 Recon |
||||||||
 Sharpshooter |
||||||||
Specialist |
 Mei |
|||||||
Support |
 Medic |
|||||||
 Survivor |
||||||||
 Tactician |
||||||||


