Mercy is a Medic Support hero in Overwatch. She is one of the 21 heroes included in the game's release on 24 May 2016.
Overview
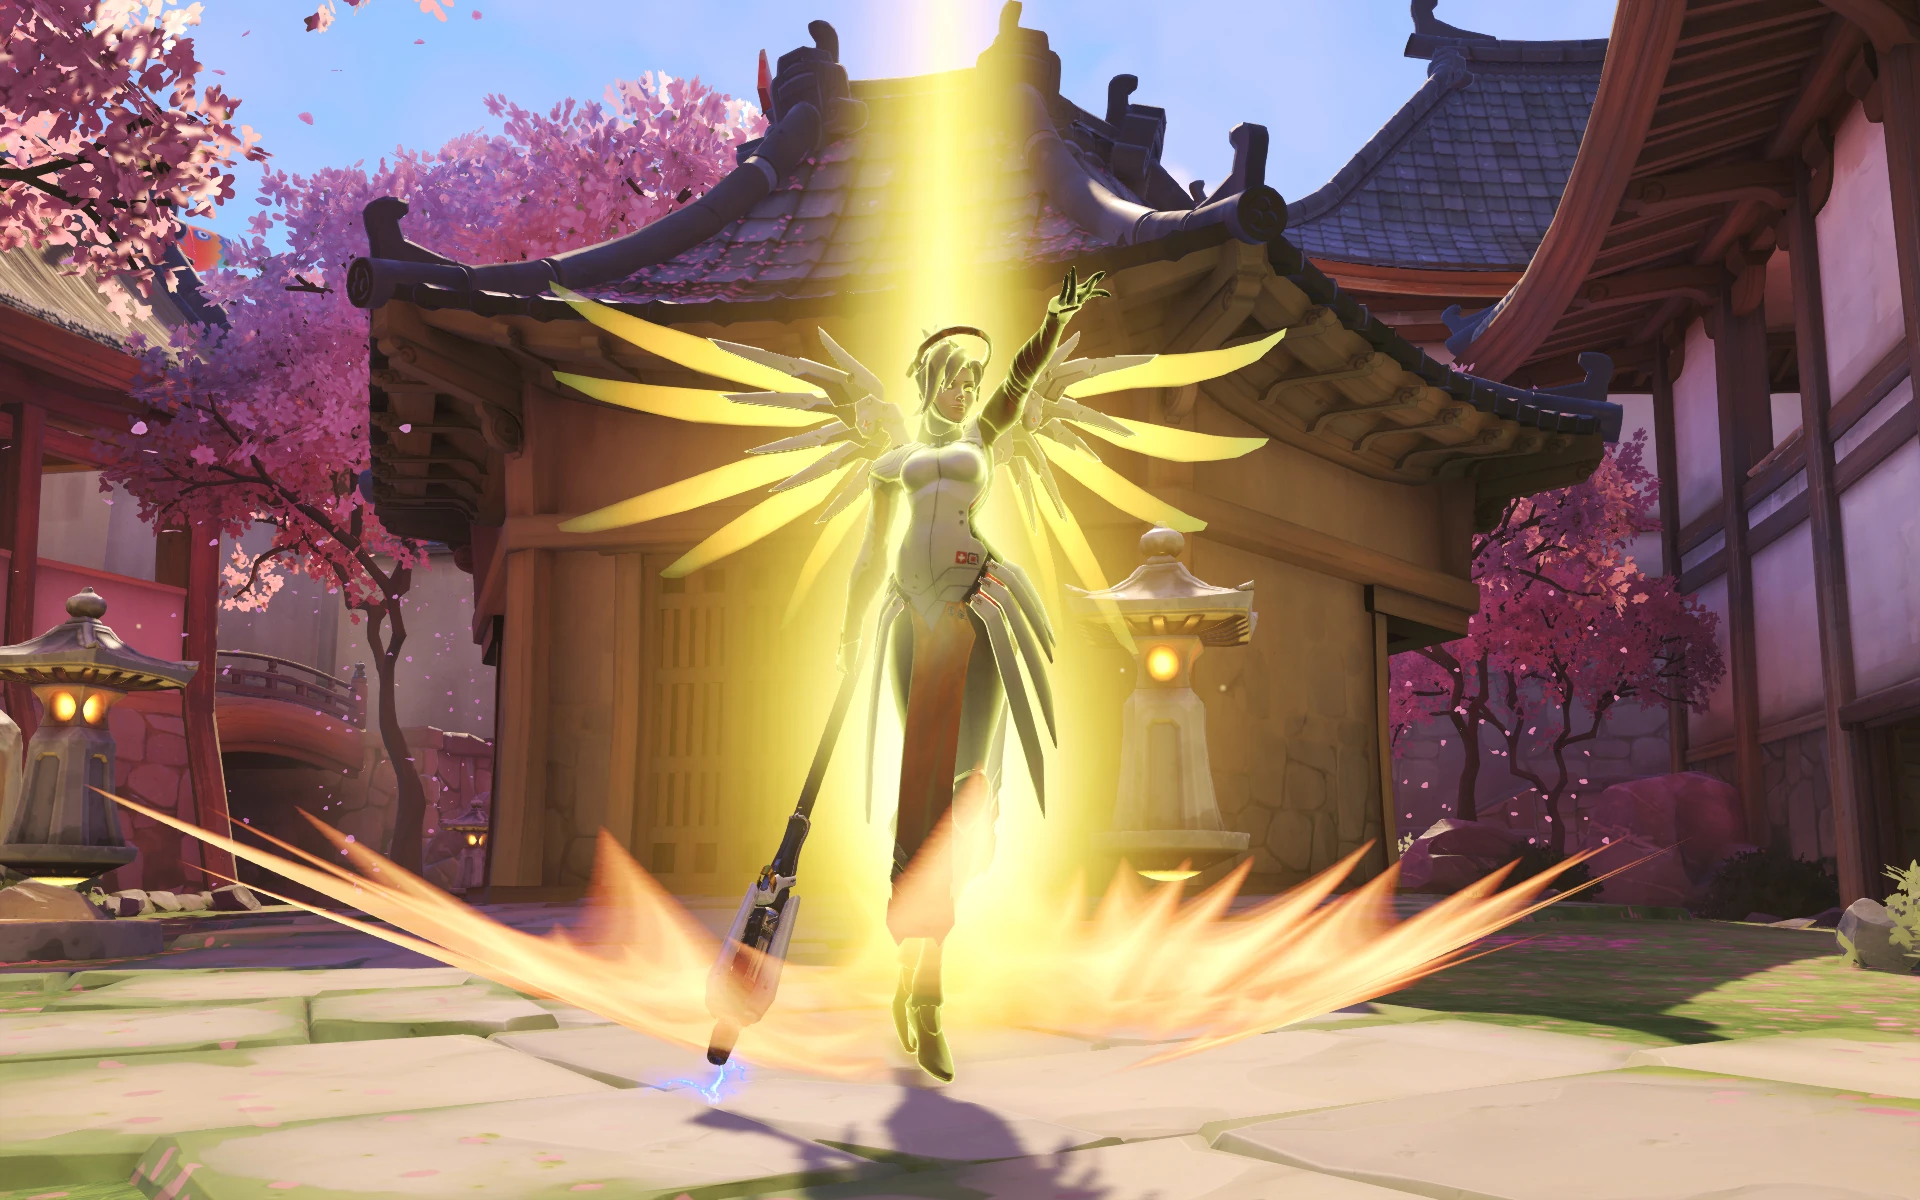
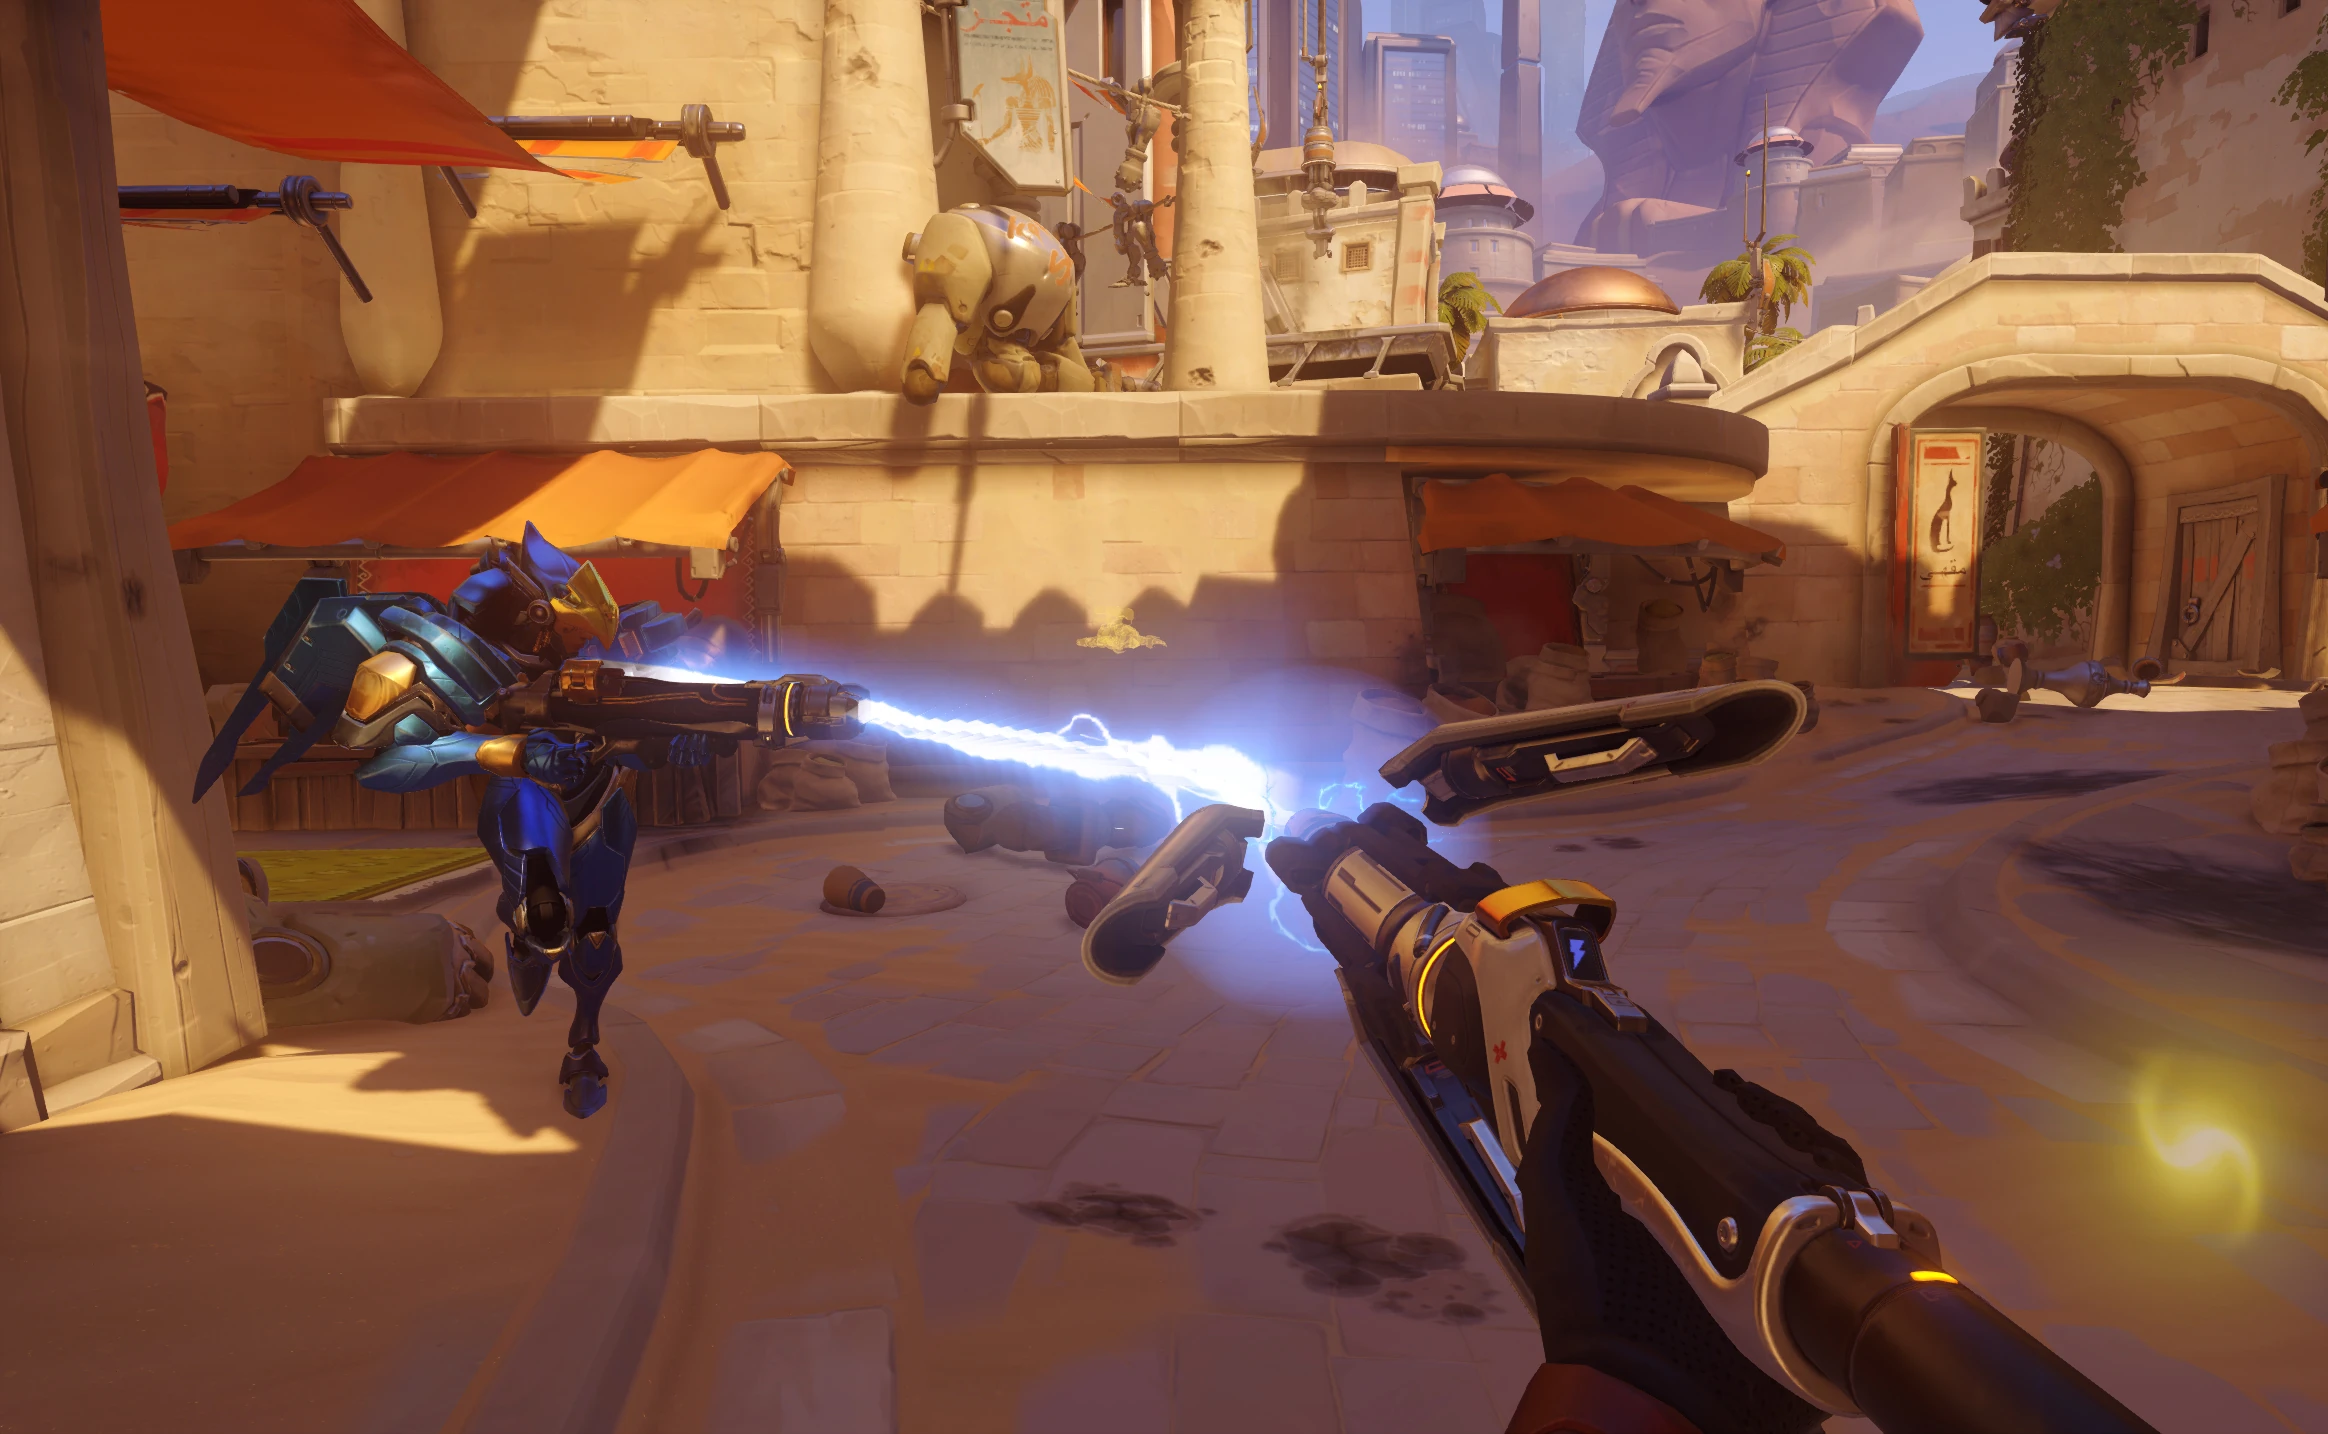
Mercy’s Valkyrie Suit helps keep her close to teammates like a guardian angel; healing, resurrecting or strengthening them with the beams emanating from her ![]() Caduceus Staff.
Caduceus Staff.
-
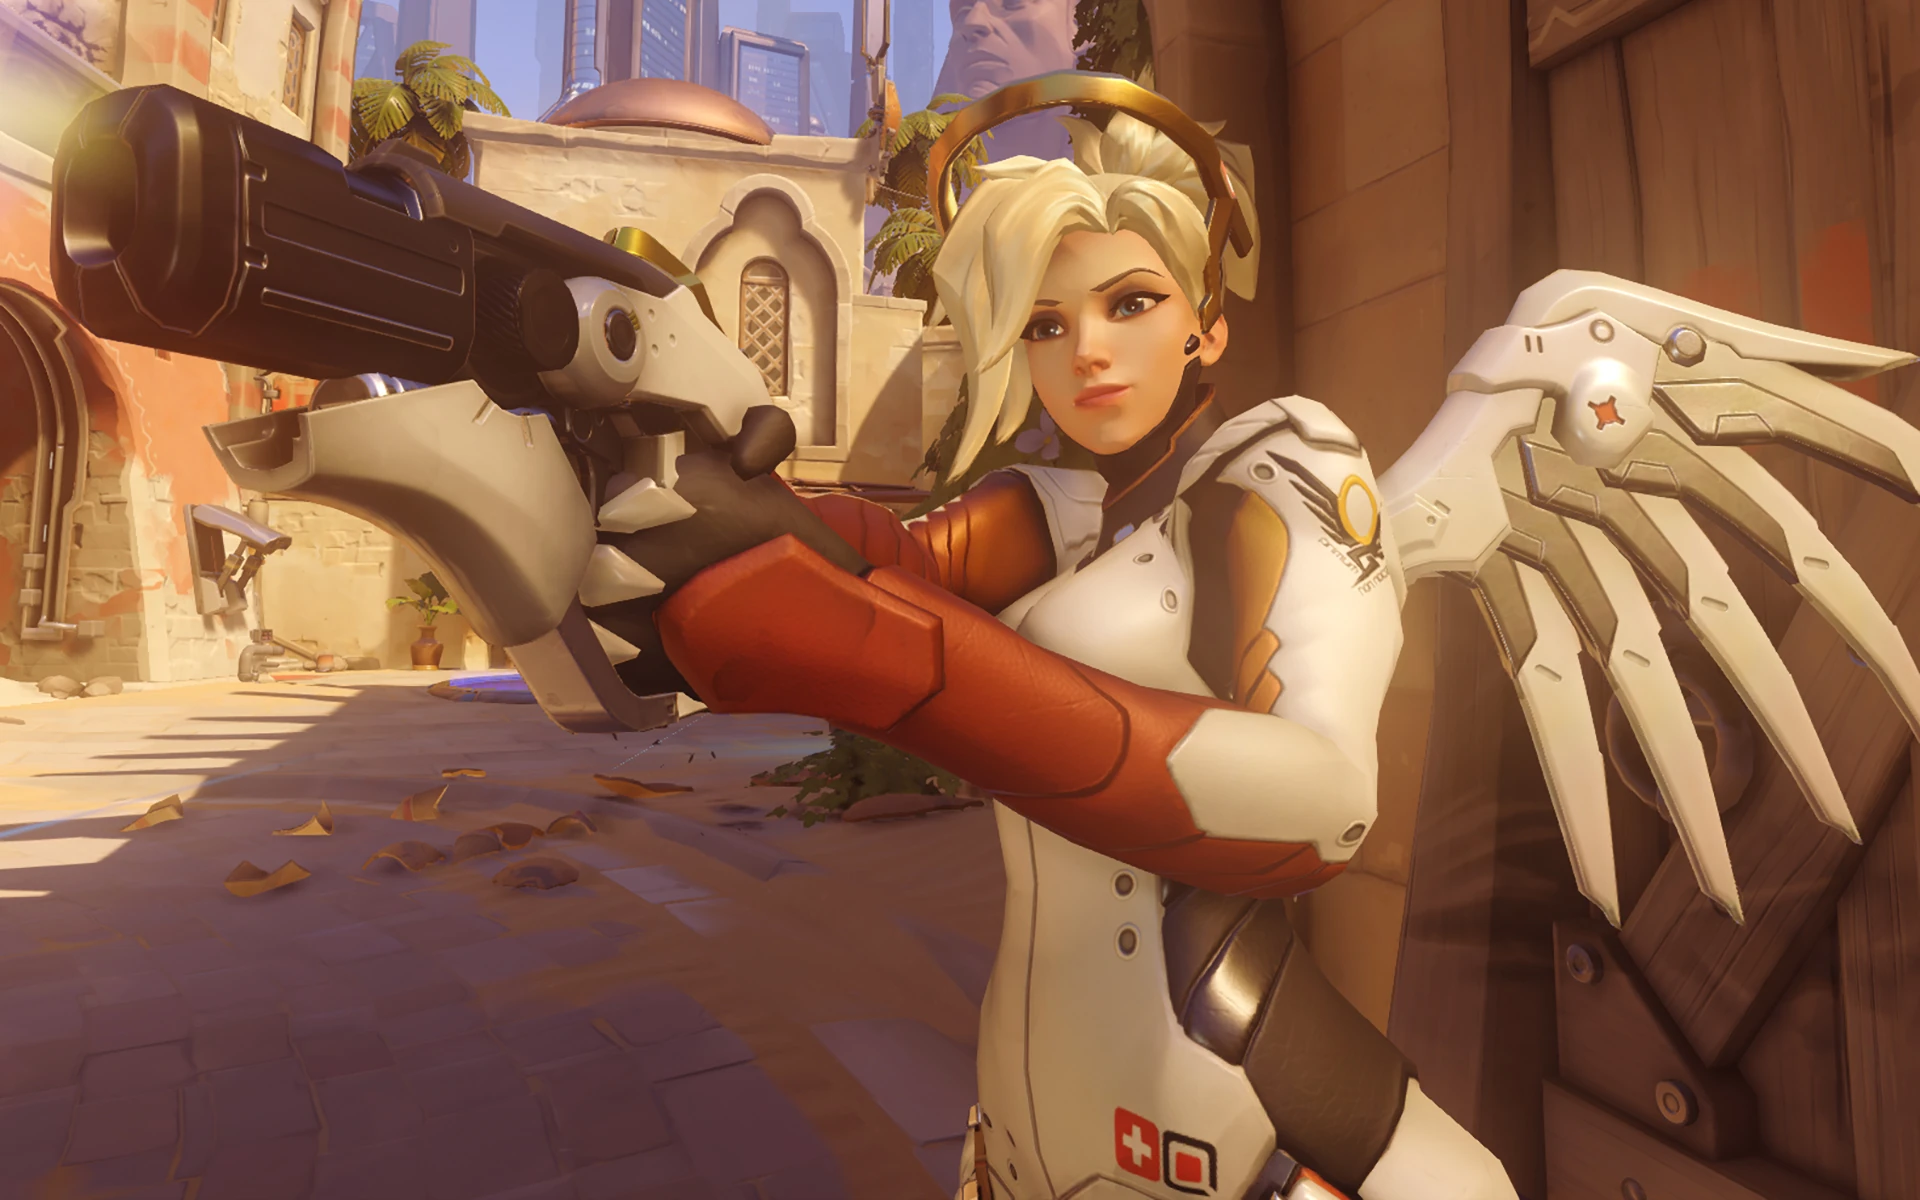
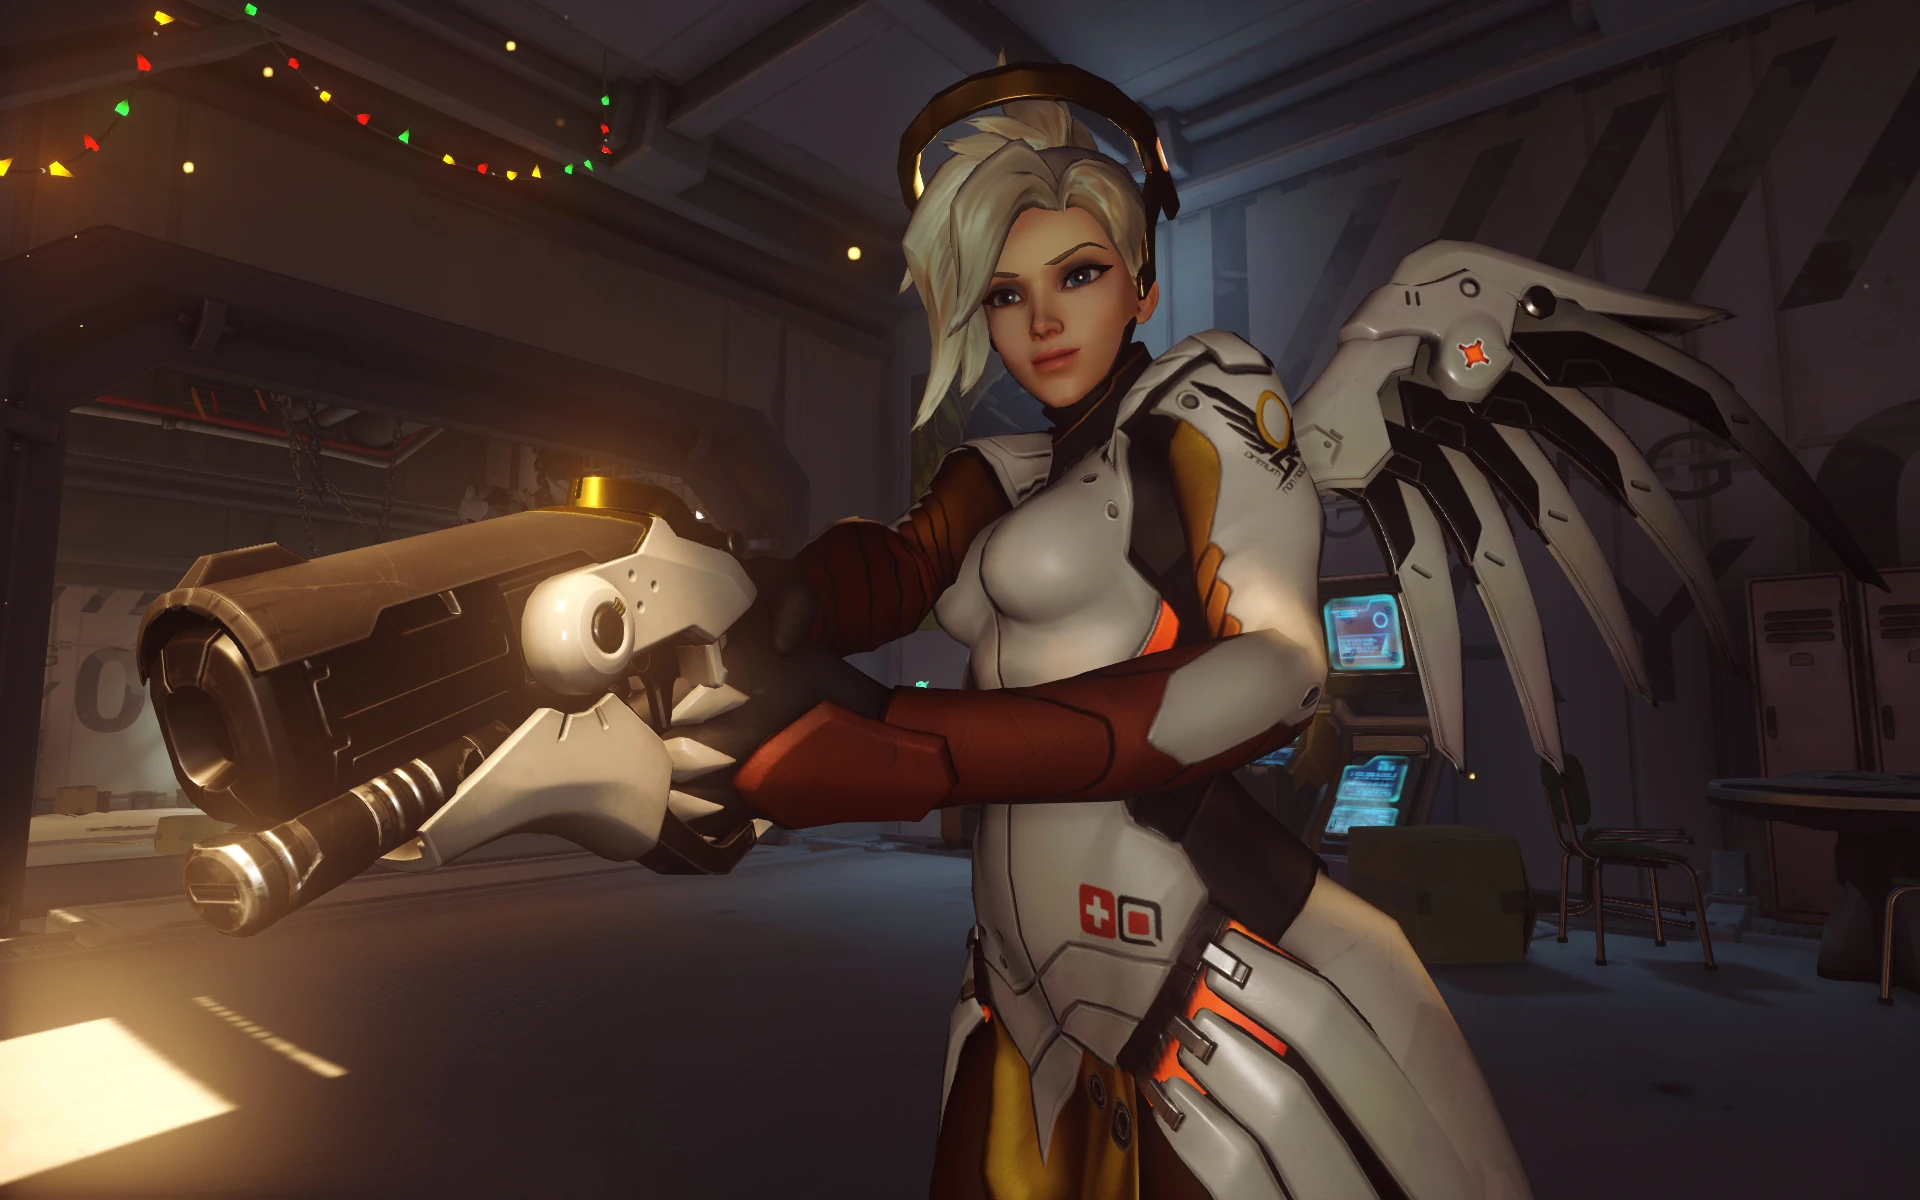
 3D portrait
 -
 2D portrait

Abilities
Passive Abilities


- Does not generate ultimate charge.
- Effect stacks when healing multiple allies.
- Affected by healing modifiers both on the target and the Medic.

- Reduces the time before passive health regeneration starts from 6 to 3 seconds after taking damage.

- Can be activated also by holding Crouch key.
Weapons


- Creates a beam that locks on to a nearby ally. Ignores barriers and will linger for 1.3 seconds if the target breaks line of sight or moves out of range. Mercy does not need to look at her target to maintain connection.

- In order to amplify a type's damage, Mercy must be boosting the hero when the projectile was fired. After that, it will be boosted even if Mercy stops boosting when it lands.
- For projectile abilities which apply damage over time, such as
 Dynamite and
  Virus, the damage over time will be boosted if the projectile that applies the damage was boosted.
- For projectile abilities which apply damage over time, such as
- Damage over time abilities, such as
 Carnage and
  Incendiary Chaingun, will have their damage amplified if Mercy is boosting the hero whilst the damage is being applied to the enemy. After which, the damage will still be boosted even without Mercy boosting the hero.
 - Mercy gains ultimate charge equal to the damage that she amplifies, except from self-damage.
- Mercy's damage boost does not stack with itself.

- Damage per second = 100 while firing (78 overall w/reload)
- The blaster is automatically reloaded if not equipped for 1.4 seconds.
- Upon switching weapon, there is 0.51 second recovery period where Mercy cannot use her weapon.
Special Abilities

20.4 m/s (Crouch extension)
- Can be used on both living and dead allies.
- While flying, Guardian Angel be cancelled mid-flight by pressing the hotkey once more or extended through a Jump or Crouch input:
- Pressing Jump will allow Mercy to propel herself in the direction she is facing.
- Pressing Jump and back simultaneously will launch Mercy backwards from her target, however this is slower than propelling where you are facing.
- Pressing Crouch will instantly launch Mercy vertically.
- Extending Guardian Angel with a Jump or Crouch input sets its duration to 1 seconds. The extension cannot be canceled.
- The cooldown of Guardian Angel starts when its duration ends.
- A meter shows how much momentum Mercy has during Guardian Angel. The higher the meter, the stronger the jumps.
- Destroys fences and other breakables in the way.

- Eliminated allies leave souls, appearing as glowing yellow balls, at the location of their death. Targeting a soul with Resurrect starts the cast.
- Resurrect is a channeled ability. Mercy cannot use other abilities while channeling and the cast is interrupted, immediately starting the cooldown without resurrecting, if Mercy is stunned, knocked down or hacked.
- Once Resurrect starts casting, line of sight does not need to be maintained. However, the cast is interrupted if Mercy moves more than 7 meters away from her target while channeling.
- The soul can also be moved away from Mercy by terrain-like objects, such as
 Ice Wall or
  Petal Platform. If moved too far, this will also interrupt Resurrect.
- The soul can also be moved away from Mercy by terrain-like objects, such as
- Cooldown does not reset when respawning.
- The fallen ally is highlighted on the player's screen.
- The resurrected players gain 2.25 seconds of invulnerability. Until the end of invulnerability, the resurrected player cannot shoot or use abilities.
- The target can start moving 1.5 seconds after being resurrected.
- Does not grant ultimate charge.
 Life Grip cannot be used on Mercy while she is channeling Resurrect.
- Fallen allies' souls can be lifted by Lifeweaver's Petal Platform.
- Using this ability on a falling ally soul will freeze it midair until the resurrection is complete.

120 (low health)
- Flash Heal can be used regardless of if Caduceus Staff is healing or boosting damage.
Ultimate Ability

+100% range (Guardian Angel, Caduceus Staff)
26.5 m/s (GA crouch extension)
 Caduceus Staff's beam branches out from the beam target to nearby allies within line of sight (of the beam target).
- Global self-healing passive will be always active for the duration of Valkyrie.
- Mercy gains vision of enemy health bars if they have taken damage (even if Mercy did not deal the damage herself).
- Rooted and hindered make Mercy temporarily unable to fly, but do not prevent the activation or immediately end the ability.
- Holding Jump causes Mercy to rise while holding Crouch causes her to descend.
- Vertical and horizontal speed are related. You can't have 9.0 meters per second of horizontal and vertical speed in same time.
- If the vertical speed is <0.25, then the horizontal maximum can be no more than 9.0 and vice versa.
- If your crosshair is exactly centered and you pinch forward/back and jump/ctrl then your vertical and horizontal speed will be 6.36 meters per second.
- If your crosshair is exactly centered and you pinch forward/back and jump/ctrl and right/left then your vertical speed = 4.50 and horizontal = 7.8.
- Valkyrie's movement speed buff does not count towards global movement speed buff cap.
Perks
Minor Perks
A Minor Perk can be chosen at level 2.

- Overhealth decays at a rate of 5 hp/s once the duration ends.
- Even if Resurrect is interrupted during the cast (either by leaving the range or being hit by enemy crowd control), Mercy gains the overhealth.

- Removed in Season 18, reintroduced in Reign of Talon: Season 2 midseason.
Major perks
A Major Perk can be chosen at level 3.


120 → 100 (low health)
- Flash Heal can be used regardless of if Caduceus Staff is healing or boosting damage.
Hero-specific options
| Setting name | Options | Description |
|---|---|---|
| Toggle beam connection | Off (default) | Caduceus Staff healing/damage beam deactivates when player stops holding the button. |
| On | Caduceus Staff healing/damage beam deactivates when player presses the button again when there are no valid targets (including current beam target). | |
| Beam sensitivity | 10% ... 100% (default: 100%) | Adjusts the targeting sensitivity of Caduceus Staff beam. Setting this to a lower value reduces the maximum view angle for acquiring a target. |
| Guardian Angel target priority | Prefer beam target (default) | Guardian Angel will always launch Mercy toward the beam target. If there is none, it can launch her toward an ally she is facing. |
| Prefer facing target | Guardian Angel will always launch Mercy toward the target she is facing. If there is none, it can launch her toward her beam target. | |
| Facing target only | Guardian angel will only launch Mercy toward the target she is facing. If there is none, it will not activate. | |
| Guardian Angel sensitivity | 10% ... 100% (default: 100%) | Adjusts the targeting sensitivity of Guardian Angel. Setting this to a lower value reduces the maximum view angle for acquiring a target. |
| Toggle Guardian Angel | On (default) | Guardian Angel deactivates when player presses the button again. |
| Off | Guardian Angel deactivates when player stops holding the button. | |
| Toggle Angelic Descent | Off (default) | Angelic Descent deactivates when player stops holding the button. |
| On | Angelic Descent deactivates when player presses the button again. | |
| Relative Caduceus Blaster aim sensitivity | 0% ... 500% (default: 100%) | Multiplier to base aim sensitivity while using Caduceus Blaster. |
| Caduceus Blaster input | Match healing beam (default) | Caduceus Blaster uses the key bound to Caduceus Staff's healing beam. |
| Match damage beam | Caduceus Blaster uses the key bound to Caduceus Staff's damage beam. | |
| Match both | Caduceus Blaster can be fired using either key. | |
| Rise during Valkyrie with Ability 3 | Off (default) | Ability 3 does nothing during Valkyrie. |
| On | Ability 3 makes Mercy rise during Flight. | |
| Crouch activates Angelic Descent | Off | Crouch does nothing in the air. |
| On (default) | Jump still activates Angelic Descent but now Crouch can also activates Angelic Descent while airborne. | |
| Automatically toggle Angelic Descent after Guardian Angel | Off (default) | Does nothing after Guardian Angel. |
| On | Toggles Angelic Descent on after Guardian Angel. |
Stadium
Mercy is a playable hero in Stadium game mode. See Mercy/Stadium for a list of hero-specific Items and Powers.
Strategy
Mercy is the most healing-oriented for the Support heroes. While not as powerful a team healer as other Support heroes (such as Ana and Baptiste), Mercy excels at single-target or "pocket" support. Her ability to boost the damage of her team makes her crucial for barrier-breaking and focused damage. ![]() Resurrect allows Mercy to compensate for an occasional mistake by her team, bringing an important member back into the fight. Mercy is easily the most team-dependent of the Support, as her personal damage is quite weak, her only mobility relies on her teammates, and the powerful effect of
Resurrect allows Mercy to compensate for an occasional mistake by her team, bringing an important member back into the fight. Mercy is easily the most team-dependent of the Support, as her personal damage is quite weak, her only mobility relies on her teammates, and the powerful effect of ![]() Resurrect makes her a priority for the enemy team.
Resurrect makes her a priority for the enemy team.
Weapons & Abilities
- Sympathetic Recovery (Passive): Mercy will heal herself for 40% of the healing she is currently doing.
- Sympathetic Recovery can help you survive while under pressure. You can try not topping off allies and healing off them when you are being pressured, but this carries a lot of risks, and your second support might heal them for you, leaving you with no healing options.
 Angelic Descent (Passive): While airborne, Mercy can press and hold the jump button to begin slowly falling to the ground. Letting go of the jump button will end Angelic Descent. You can re-activate it at any time while airborne.
- Angelic Descent is useful for evading enemy fire. Leap off of a ledge and vary your falling speed by "feathering", or tapping the Jump key, using Angelic Descent to throw your opponents' aim off.
- Angelic Descent can be used in the middle of a
 Guardian Angel jump to gain a bit of extra height and momentum, often referred to as a "slingshot."
- Caduceus Staff: Mercy's main weapon. The Caduceus Staff's primary fire creates a healing tether on the ally closest to the crosshair, while its secondary fire creates a damage-boosting tether in the same respect.
- Neither of the tethers require you to continue looking at your target to maintain. Use this to your advantage to check frequently for flankers like Reaper or Tracer.
- The tether will break if an ally moves out of your direct line of sight after a 1.3 seconds, such as moving behind a wall, or if they move outside the tether's maximum range.
- Alternate between the healing tether and damage tether as the situation requires.
- Remember that your healing output is not sufficient to keep topping off your entire team; heal them beyond reasonable danger and let your other healer finish as needed. If they can't do that, switch to a healer who can.
- The damage tether's effect is applied as shots are fired, not when they land. Coordinate with your team to boost important abilities as needed.
- Pharah is one of the best pairs to Mercy, as Pharah can help Mercy remain airborne and away from grounded enemies, while Mercy can substantially increase Pharah's overall damage output and survivability.
- Boosting heroes like Soldier: 76 and Roadhog during their ultimate abilities is usually a smart choice, as their already significant damage will be that much better.
- Because Mercy’s beam doesn’t break immediately, and the fact that returning into line of sight with a teammate will reset the timer in which the beam will break, you can peek in and out of cover so you can receive protection from the environment while still maintaining beam connection.
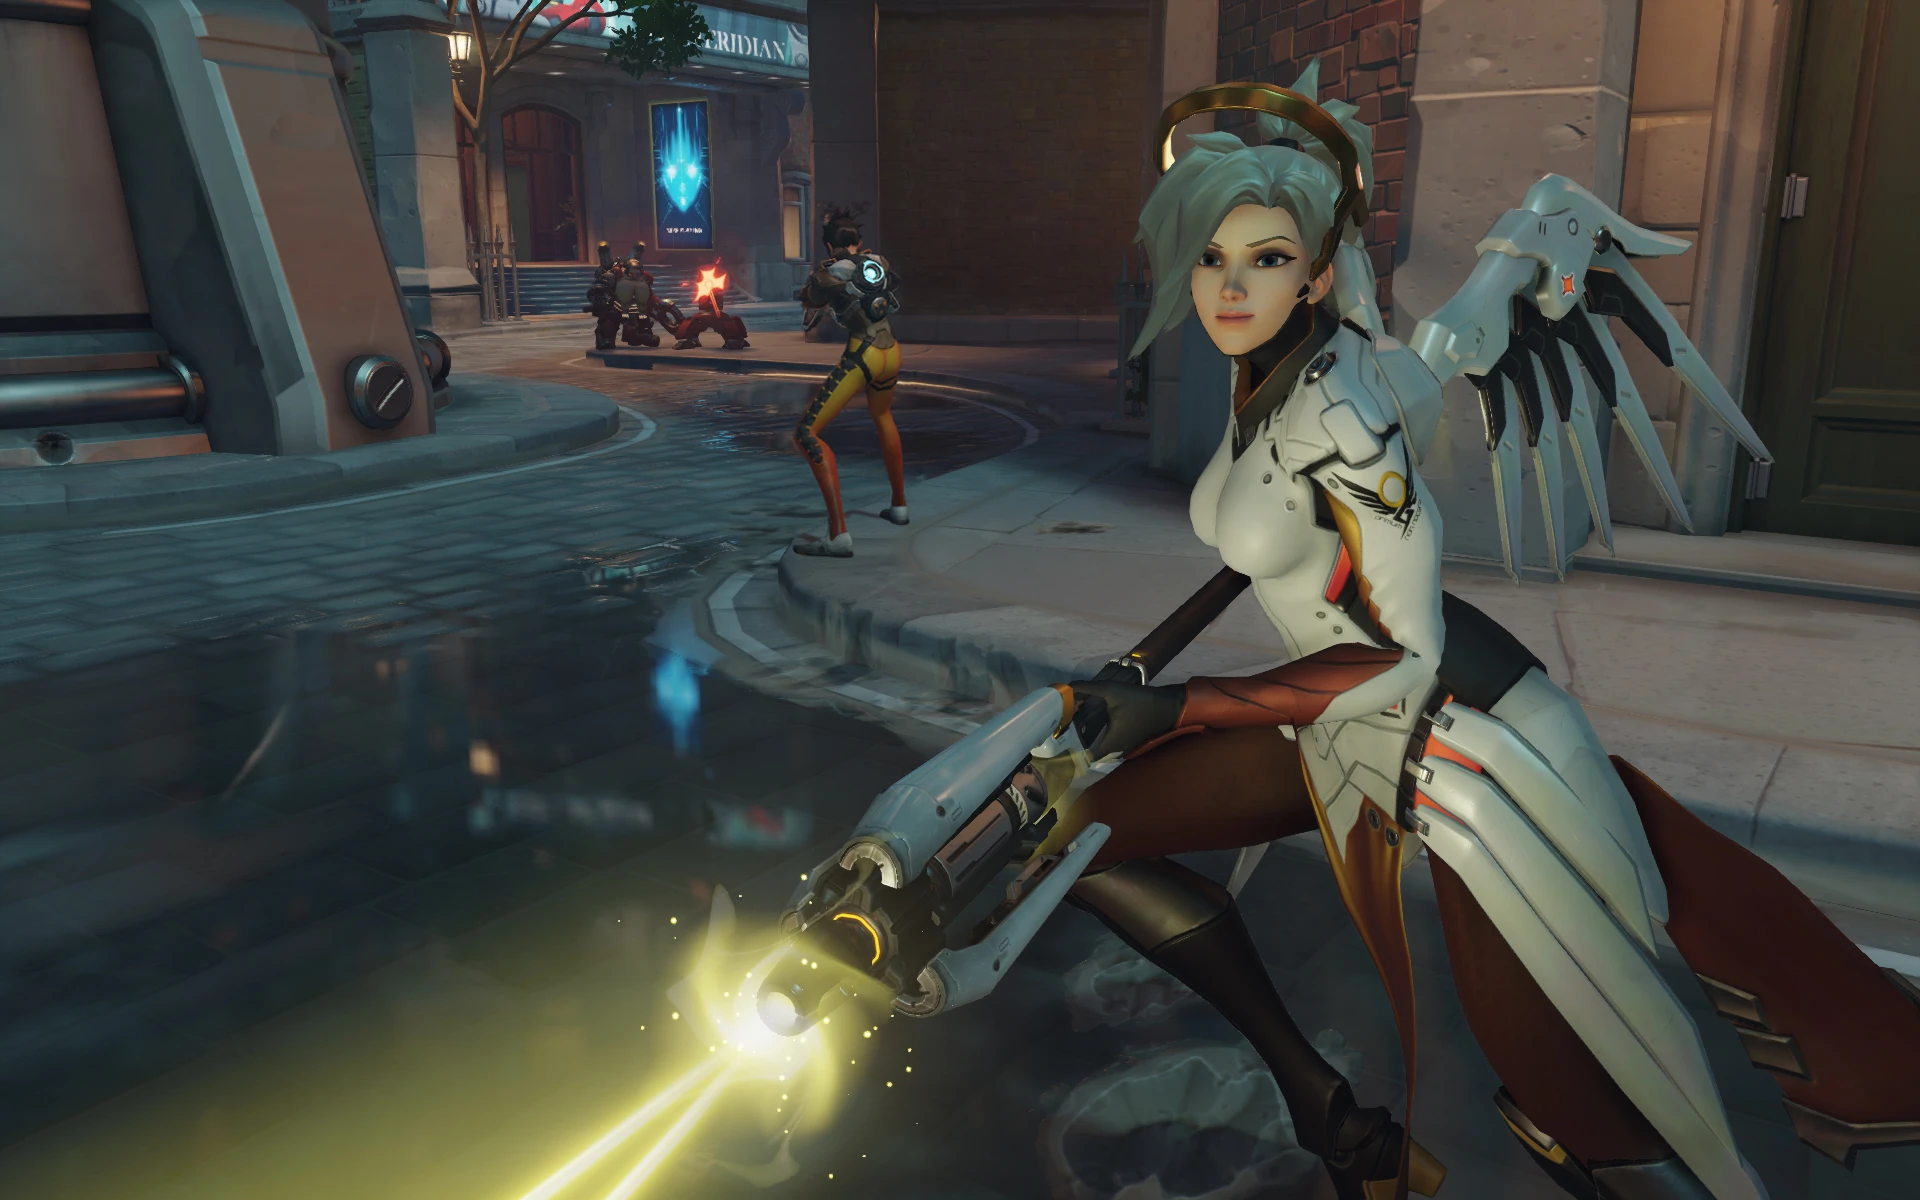
 Caduceus Blaster: Mercy's secondary weapon. It shoots a stream of fast-moving projectiles, similar to D.Va's
  Light Gun. The Caduceus Blaster will automatically reload while Mercy has the Caduceus Staff equipped.
- Do not underestimate the Caduceus Blaster. While fairly weak at long range (despite the lack of damage falloff) due to the ease with which the projectiles can be dodged, the Caduceus Blaster can be deadly at close ranges, especially if you land headshots.
- The pinpoint accuracy of the Caduceus Blaster can be used to safely destroy Torbjörn's
 Turret from out of its attack range.
 - Be careful about pulling out the Caduceus Blaster on a whim, as you cannot attack or create a tether during the weapon switch animation.
- It is often better to boost an ally's damage rather than pull out the Caduceus Blaster; remember that Mercy is a highly vulnerable healer, and even in situations where it is safe to go on the offensive, it is usually smarter to continue to manage your team.
- Do not underestimate the
- Guardian Angel: When activated, Mercy will fly towards the targeted ally, whether they are alive or dead. This ability auto-targets tethered allies, but will otherwise go to the ally closest to the crosshair. This can be changed in the Mercy-specific control settings.
- Guardian Angel has a brief cooldown during which Mercy has no other quick movement options. Think about where you'll end up before rushing to an ally's side.
- Use this ability to jump between allies to quickly heal them, or to escape from dangerous situations.
- Continually using this ability on an allied Pharah in combination with Angelic Descent allows Mercy to follow Pharah around through the air (even staying airborne longer than Pharah can). Use the Caduceus Staff's damage tether to enhance her already high damage output.
 Resurrect: Mercy's core ability. When activated, Mercy will revive a dead ally in very close-range. They will be returned to full health at the position where they died. The revived teammate also gains a brief moment of invulnerability, during which they can move but cannot attack or use abilities. The cooldown on this ability does not reset upon death, unlike all others.
- This is an incredibly powerful tool that can turn the tide of a fight by bringing back an ally with a prepared ultimate, your main tank (such as Reinhardt), or even a fellow Support.
- Think before you act. Resurrect is powerful, but rather slow, so try and mind the situation you put yourself and your team in by using it. Oftentimes, it is just better to keep healing your living allies instead of reviving a dead one.
- Use Guardian Angel on a dead ally to position yourself for Resurrect. Mercy will continue to fly towards the target of Guardian Angel while casting Resurrect. Use this to dart past a group of dead allies, casting Resurrect on the way, in order to reduce your vulnerability while using it.
- Prioritize who to revive. Resurrect has a long cooldown (which does not reset after death, like Baptiste's
 Immortality Field), and some members of the team are more important than others. Your main tank is usually the highest priority, as they can help shield the team while Mercy heals them.
 - Be careful when using this ability in plain view of enemies, as it will nearly always attract enemy fire either on you or your ally.
- Zarya does not regain the
 energy she had collected before death; instead, her energy is reset to 0.
 - Line of sight does not need to be maintained, so try to use her minimal amount of movement to hide behind cover. You can also use the momentum from a slingshot to shoot your self, but be careful, as you may launch yourself out of the range.
 Valkyrie (Ultimate): Mercy's ultimate ability. When activated, all of her abilities are greatly enhanced; in addition to the ability to freely fly, Mercy also gets infinite ammunition on her Caduceus Blaster, and her tethers will split to affect all allies within a certain radius of the target ally.
- This is easily one of the strongest ultimates in the game, as Mercy can use it to greatly enhance her team's survivability and damage output without worrying about who needs help the most.
- Try to get the greatest effect out of Valkyrie possible. If the team doesn't desperately need healing, switch to a damage boost instead.
- Stay in motion and move unpredictably while using Valkyrie. Staying still while airborne makes Mercy easy prey for snipers like Widowmaker and Hanzo, or from ultimates like Soldier: 76's
 Tactical Visor and D.Va's
  Self-Destruct.
 - While Resurrect is relatively untouched by Valkyrie, the mobility it provides can make it much easier to revive allies.
General Strategies
- Mercy is a potent Support that can easily fit onto most teams. She is especially good when paired with allies who have no means of self-healing, or allies capable of dealing a lot of long-ranged damage like Pharah or Junkrat. When up against opponents with consistent, long-range damage (such as Soldier: 76 or Hanzo), Mercy is an excellent pick for keeping her team alive.
- Mercy is almost always a priority target for the enemy team due to the power of Resurrect. Keep your eyes on your surroundings constantly and watch to see if the enemy team starts bringing out heroes like Widowmaker or Genji to try and kill you. Whenever possible, try to heal allies from behind cover.
- Don't forget to protect yourself; a dead healer heals no one. Mercy heals herself based on how much you are healing others, but it is usually not enough to sustain you for long periods of time, not to mention it’s complete lack of a counter against burst damage. Try to play within cover and fly between allies to keep yourself safe.
- While it can be tempting to simply leap to an injured ally with Guardian Angel as soon as you see them, try to pay attention to where that will take you. You can easily end up flying into the line of fire of your opponents, making you an easy target for Widowmaker or Roadhog. Try to cancel Guardian Angel slightly before you arrive at the target to stay out of enemy fire. ( Guardian Angel can be canceled by activating the ability again while in the air.)
- Mercy can either stick with her team, or she can "pocket" a single hero, following them around and providing them with both healing and a damage boost. While this can be a potent pairing, it's best to stay with the rest of your team if they have no other source of healing (such as from Soldier's
 Biotic Field or another Support).
 - One of the best skills to learn as Mercy is predicting when your teammates are likely to use a heavy damage-dealing ultimate such as Reaper's
 Death Blossom, Roadhog's
  Whole Hog, Pharah's
  Barrage, or even Soldier: 76's Tactical Visor. Holding a damage-boosting tether on a hero during their ultimate can significantly increase the potency and result in devastating damage to the enemy team. Get to know the audio call-outs for each of these ultimate abilities so that you can instantly switch to them with your damage-boosting beam.
 - Mercy isn't much of a fighter, with her only damaging weapon (the Caduceus Blaster) sporting a slow rate of fire and projectiles that require you to lead your shots. Let your allies do most of the fighting for you. Try to keep your Caduceus Blaster holstered unless you're face-to-face with an opponent you cannot escape from. At the same time, don't be afraid of pulling it out if you're confident it will help your team take down a major threat. Using the blaster is more of a trade-off — damage from your own weapon, or increased damage to an ally's abilities. Learning when to use the blaster is key.
Match-Ups and Team Synergy
Tank
| Hero | Match-Up | Team Synergy |
|---|---|---|
 D.Va |
D.Va can hunt you down with her |
Damage boosting D.Va while she's out of her mech can help her get it back faster. Beyond that, there's almost always a better use of your time. If she's in her mech, while she's flying is a good opportunity to fly up to her, so you can scout the enemies' location. |
 Orisa |
Against Orisa, her weapon will easily snipe you from the back lines. To prevent this, get to higher ground and damage boost your tank (or fast damage dealer) Heroes like Tracer do a great deal on Orisa when power boosted. The same could be said with Reaper as well. Using Guardian Angel to fly to safety is a risk, because if they see you, they'll target you. | When Orisa is on your side, she is a powerful ally, since the damage tether boosts her attack, already with her high attack speed, she can break down the wall with the enemy team. You usually want to resurrect her, because she can mow down the enemies along with you pocketing her. |
 Reinhardt |
As long as you have allies to fly towards, Reinhardt will struggle to kill you. If you're caught alone, however, his wide swings will quickly demolish you. If he's attempting to attack an ally of yours, you should be able to outheal his damage. Stay out of Reinhardt's reach, and if your patient is healthy enough, use your damage boost so your teammate can quickly kill him. Reinhardt's greatest threat is his |
Reinhardt isn't the best for damage boosting, but heal pocketing is truly recommended, since he never really attacks much from a distance, and gives him more of a chance to regen his barrier. Other than a coordinated |
 Roadhog |
If you're not careful and float out in the open, Roadhog can snatch you away from your teammates with his |
With his ultimate, You can power boost him, but the only time it's necessary to heal him is after he uses take a breather, even if he hasn't used it yet. If he does while you're healing, he negates your ultimate charge, so only heal him after he uses take a breather. When he hooks a target, a power tether shotgun body shot win finish off any enemy, so use Roadhog wisely! |
 Sigma |
When going up against a Sigma, make sure to stick to the back lines. When Sigma is about to use Gravitic Flux, make sure to move to a long ranged, preferably a Widowmaker or a long ranged Ashe. To take down a Sigma, damage boost your tank, or a damage that can pierce barriers. | When sigma is on your team he is a powerful ally, making him a definite pocketing choice. When he uses his Ultimate, boost him. Not only will it do more than half their health, if he chooses to, when he attacks the enemies before he throws them down, it's a guaranteed eliminate. |
 Wrecking Ball |
Wrecking Ball will no doubt land in the middle of your team, and target you. use Guardian angel to escape, hopefully behind a barrier or a tank. If he catches you alone, his weapons will no doubt eliminate you, separating you from your team. If you see him, ping his location and power boost an allied Reaper if possible, he will make quick work of Wrecking Ball. | (To be added) |
 Winston |
Winston can (and often will) leap right up into your face to fry you with his |
(To be added) |
 Zarya |
In theory, Zarya's poor mobility should make her relatively easy to outrun. However, her beam can penetrate barriers, making it very dangerous for you to stand anywhere near the front line while your teammates are confronting Zarya. Leave the fight to your teammates, and try to heal them from a distance so Zarya can't reach you with her |
A Zarya at high energy is among the most potent damage-dealers in the game. Coupled with her ability to protect you and your team from damage as you move, Zarya can be a strong pick for you as a Mercy player. If you need to cross somewhere dangerous, ask your Zarya for a barrier and you'll be that much safer. |
Damage
| Hero | Match-Up | Team Synergy |
|---|---|---|
 Ashe |
(To be added) | Ashe's already powerful damage output is enhanced by Mercy's damage tethers, allowing her to land one-shot kills on 200 HP heroes with a scoped headshot. Additionally, damage boosting her |
 Bastion |
Don't let yourself be caught in the open around Bastion, as he can shoot you down within a second. Even in |
A classic for "bunker" strategies, there's few things that can withstand a damage-boosted Bastion. That said, staying with your Bastion makes you a huge target by association. |
 Cassidy |
Cassidy can easily dispatch you with a few shots from long range, and your ability to fly around to your allies is less useful against ranged characters like Cassidy, as the relative movement isn't as large and can be predictable. In close quarters, Cassidy can stun you with his |
(To be added) |
 Doomfist |
(To be added) | (To be added) |
 Echo |
(To be added) | (To be added) |
 Genji |
Genji will usually try to get behind enemy lines and quickly kill you, slipping anyway before anyone can catch him. Genji's |
(To be added) |
 Hanzo |
If you're lazily gliding in the air between teammates, you'll serve as an easy target for an enemy Hanzo to snipe at a distance. His quiet nature can make it hard to pinpoint his position, so always be careful before leaving cover. Also be wary of when he's used |
(To be added) |
 Junkrat |
Junkrat's |
(To be added) |
 Mei |
Never wander out alone when Mei is about; should you fail to flee with |
(To be added) |
 Pharah |
Pharah's long range allows her to dispatch you from a distance, and makes it easy for her to harass you even when you have a tank protecting you. Be careful when hiding in buildings, as Pharah can launch missiles in after you and you won't be able to escape or retaliate. While your blaster won't deal much damage against Pharah, if she is at low health it might be worth trying to shoot her down. | Among the most famous pairs to Mercy, Pharah's ability to fly coupled with her strong damage output make her a stellar hero to "pocket." However, remember that Pharah has her own vulnerabilities (to heroes such as Widowmaker and Cassidy), which you expose yourself to by staying with her. |
 Reaper |
Your healing won't do much to save weaker characters from Reaper's damage, and will only modestly slow him down even when he's attacking a tank. He can dispatch you with two shots from close range, and he can use |
Reaper's self-healing is based on the amount of damage he deals to a target, so damage boosting him can help him survive a fight much longer while also allowing him to quickly dispatch targets with a single shot. Essentially, healing a Reaper is rarely necessary. |
 Soldier: 76 |
Soldier: 76's long range makes your mobility much less useful. His high damage means he can kill you in under a second with his |
Keep an eye on the ultimate charge of the Soldier: 76 on your team. When it's ready, communicate with your teammate on the use of Tactical Visor, as a boost from Mercy's Caduceus Staff can make the perfect aim of Tactical Visor even more potent. |
 Sombra |
Sombra's |
(To be added) |
 Symmetra |
Symmetra's |
An eclectic pick, Symmetra's weapon is quite powerful on its own, moreso when damage boosted. Symmetra can be a powerful flanker and barrier-breaker if used correctly, but it requires a lot of team coordination to be effective. |
 Torbjörn |
Since Torbjörn's |
(To be added) |
 Tracer |
If the enemy team has a Tracer, always watch your back; Tracer can make quick work of you if you're caught off guard, then use |
Tracer moves too quickly and too often to be a sensible pick for your abilities. She will no doubt run out of your line of sight every time, and is independent due to recall. |
 Widowmaker |
Widowmaker can kill you with a single headshot, so don't fly around in the open when you're in Widowmaker's sights. Stay behind cover or a barrier to keep your team safe without getting picked off. | Widowmaker's shots require her to charge them, and she can afford to shoot much faster with a Mercy damage boost. If your team has a good Widowmaker, it might be best to stick with her to put pressure on the enemy team. |
Support
| Hero | Match-Up | Team Synergy
|
|---|---|---|
 Ana |
Ana's |
Though Ana's |
 Baptiste |
(To be added) | (To be added) |
 Brigitte |
(To be added) | (To be added) |
 Illari |
Illari's |
Illari will be your team's primary healer, but listen for her out of healing callouts and be prepared to prioritize healing while she recharges. Her Pylon being destroyed is another thing to look out for. Illari can be a good Damage Boost in situations where your team is stable and you don't have a higher priority damage boost target available or you aren't in their effective range. Damage Boosting Illari after she uses Captive Sun will help her hit the damage threshold for Sunstruck. |
 Kiriko |
Your high mobility makes you a harder target for Kiriko to hit, just be wary of floating around in her LoS with |
Your ally Kiriko will be your team's primary healer, allowing you to Damage Boost more freely. Kiriko herself is a decent Damage Boost target during the prefight/poke phase, especially when your team is holding a choke, as her |
 Lifeweaver |
Lifeweaver is a Support focused more on healing than damage or disruptive utility, so you won't often find yourself directly interacting with an enemy Lifeweaver. During |
Lifeweaver's high healing output enables him to be your team's primary healer, leaving you open to focus on Damage Boost. Keep an eye on his positioning, as he can be a handy teammate to |
 Lúcio |
Lúcio's poor damage and your regeneration will make it hard for him to kill you should he come after you. Even if he tries to use |
(To be added) |
 Mercy |
It's extremely rare to end up facing another Mercy on the battlefield. While it may be tempting to chase after an enemy Mercy yourself, let your teammates focus on her while you provide a damage boost so they can quickly kill her. If you are caught in a situation where neither of you has teammates nearby, fight back with your |
|
 Moira |
Moira will out heal you in short skirmishes, but if the battle lasts too long, she may not have time to recharge her healing. If Moira jumps on you, her |
A Moira on your team will free you up to Damage boost allies with your |
 Zenyatta |
Zenyatta is a long-ranged character for whom Mercy's mobility matters little. His |
When paired with a Zenyatta, you will be the primary healer and will have less opportunity to Damage Boost. Zenyatta himself is a good pocket target - look for opportunities when he is charging his |
Map Strategies
Control
| Map | Strategy & Stage Tips |
|---|---|
 Overall Strategy |
TBA RATING | TBA FEATURE
Map strategy details for Overall Strategy are currently missing. You can help the Overwatch Wiki by adding them!
|
 Antarctic Peninsula |
TBA RATING | TBA FEATURE
Map strategy details for Antarctic Peninsula are currently missing. You can help the Overwatch Wiki by adding them! Labs
Strategy details missing.
Sublevel
Strategy details missing.
Icebreaker
Strategy details missing.
|

|
TBA RATING | TBA FEATURE
Map strategy details for Busan are currently missing. You can help the Overwatch Wiki by adding them! Downtown
Strategy details missing.
Sanctuary
Strategy details missing.
MEKA Base
Strategy details missing.
|

|
TBA RATING | TBA FEATURE
Map strategy details for Ilios are currently missing. You can help the Overwatch Wiki by adding them! Lighthouse
Strategy details missing.
Well
Strategy details missing.
Ruins
Strategy details missing.
|

|
TBA RATING | TBA FEATURE
Map strategy details for Lijiang Tower are currently missing. You can help the Overwatch Wiki by adding them! Control Center
Strategy details missing.
Garden
Strategy details missing.
Night Market
Strategy details missing.
|

|
TBA RATING | TBA FEATURE
Map strategy details for Nepal are currently missing. You can help the Overwatch Wiki by adding them! Village
Strategy details missing.
Shrine
Strategy details missing.
Sanctum
Strategy details missing.
|

|
TBA RATING | TBA FEATURE
Map strategy details for Oasis are currently missing. You can help the Overwatch Wiki by adding them! City Center
Strategy details missing.
Gardens
Strategy details missing.
University
Strategy details missing.
|

|
TBA RATING | TBA FEATURE
Map strategy details for Samoa are currently missing. You can help the Overwatch Wiki by adding them! Beach
Strategy details missing.
Downtown
Strategy details missing.
Volcano
Strategy details missing.
|
Escort
| Map | Strategy & Stage Tips |
|---|---|
 Overall Strategy |
TBA RATING | TBA FEATURE
Map strategy details for Overall Strategy are currently missing. You can help the Overwatch Wiki by adding them!
|

|
TBA RATING | TBA FEATURE
Map strategy details for Circuit Royal are currently missing. You can help the Overwatch Wiki by adding them! Attack
Strategy details missing.
Defense
Strategy details missing.
|

|
TBA RATING | TBA FEATURE
Map strategy details for Dorado are currently missing. You can help the Overwatch Wiki by adding them! Attack
Strategy details missing.
Defense
Strategy details missing.
|

|
TBA RATING | TBA FEATURE
Map strategy details for Havana are currently missing. You can help the Overwatch Wiki by adding them! Attack
Strategy details missing.
Defense
Strategy details missing.
|

|
TBA RATING | TBA FEATURE
Map strategy details for Junkertown are currently missing. You can help the Overwatch Wiki by adding them! Attack
Strategy details missing.
Defense
Strategy details missing.
|

|
TBA RATING | TBA FEATURE
Map strategy details for Rialto are currently missing. You can help the Overwatch Wiki by adding them! Attack
Strategy details missing.
Defense
Strategy details missing.
|

|
TBA RATING | TBA FEATURE
Map strategy details for Route 66 are currently missing. You can help the Overwatch Wiki by adding them! Attack
Strategy details missing.
Defense
Strategy details missing.
|

|
TBA RATING | TBA FEATURE
Map strategy details for Shambali Monastery are currently missing. You can help the Overwatch Wiki by adding them! Attack
Strategy details missing.
Defense
Strategy details missing.
|

|
TBA RATING | TBA FEATURE
Map strategy details for Watchpoint: Gibraltar are currently missing. You can help the Overwatch Wiki by adding them! Attack
Strategy details missing.
Defense
Strategy details missing.
|
Hybrid
| Map | Strategy & Stage Tips |
|---|---|
 Overall Strategy |
TBA RATING | TBA FEATURE
Map strategy details for Overall Strategy are currently missing. You can help the Overwatch Wiki by adding them!
|
 Blizzard World |
TBA RATING | TBA FEATURE
Map strategy details for Blizzard World are currently missing. You can help the Overwatch Wiki by adding them! Attack
Strategy details missing.
Defense
Strategy details missing.
|

|
TBA RATING | TBA FEATURE
Map strategy details for Eichenwalde are currently missing. You can help the Overwatch Wiki by adding them! Attack
Strategy details missing.
Defense
Strategy details missing.
|

|
TBA RATING | TBA FEATURE
Map strategy details for Hollywood are currently missing. You can help the Overwatch Wiki by adding them! Attack
Strategy details missing.
Defense
Strategy details missing.
|

|
TBA RATING | TBA FEATURE
Map strategy details for King's Row are currently missing. You can help the Overwatch Wiki by adding them! Attack
Strategy details missing.
Defense
Strategy details missing.
|

|
TBA RATING | TBA FEATURE
Map strategy details for Midtown are currently missing. You can help the Overwatch Wiki by adding them! Attack
Strategy details missing.
Defense
Strategy details missing.
|
 Numbani |
TBA RATING | TBA FEATURE
Map strategy details for Numbani are currently missing. You can help the Overwatch Wiki by adding them! Attack
Strategy details missing.
Defense
Strategy details missing.
|

|
TBA RATING | TBA FEATURE
Map strategy details for Paraíso are currently missing. You can help the Overwatch Wiki by adding them! Attack
Strategy details missing.
Defense
Strategy details missing.
|
Push
| Map | Strategy & Stage Tips |
|---|---|
 Overall Strategy |
TBA RATING | TBA FEATURE
Map strategy details for Overall Strategy are currently missing. You can help the Overwatch Wiki by adding them!
|

|
TBA RATING | TBA FEATURE
Map strategy details for Colosseo are currently missing. You can help the Overwatch Wiki by adding them! Pushing
Strategy details missing.
Defending
Strategy details missing.
|

|
TBA RATING | TBA FEATURE
Map strategy details for Esperança are currently missing. You can help the Overwatch Wiki by adding them! Pushing
Strategy details missing.
Defending
Strategy details missing.
|

|
TBA RATING | TBA FEATURE
Map strategy details for New Queen Street are currently missing. You can help the Overwatch Wiki by adding them! Pushing
Strategy details missing.
Defending
Strategy details missing.
|

|
TBA RATING | TBA FEATURE
Map strategy details for Runasapi are currently missing. You can help the Overwatch Wiki by adding them! Pushing
Strategy details missing.
Defending
Strategy details missing.
|
Flashpoint
| Map | Strategy & Stage Tips |
|---|---|
 Overall Strategy |
TBA RATING | TBA FEATURE
Map strategy details for Overall Strategy are currently missing. You can help the Overwatch Wiki by adding them!
|

|
TBA RATING | TBA FEATURE
Map strategy details for Aatlis are currently missing. You can help the Overwatch Wiki by adding them! Station
Strategy details missing.
Garden
Strategy details missing.
Town Center
Strategy details missing.
Bazaar
Strategy details missing.
Resort
Strategy details missing.
|

|
TBA RATING | TBA FEATURE
Map strategy details for New Junk City are currently missing. You can help the Overwatch Wiki by adding them! Arena
Strategy details missing.
The Ducts
Strategy details missing.
Refinery
Strategy details missing.
Junkyard
Strategy details missing.
Bomb Flats
Strategy details missing.
|

|
TBA RATING | TBA FEATURE
Map strategy details for Suravasa are currently missing. You can help the Overwatch Wiki by adding them! Market
Strategy details missing.
Garden
Strategy details missing.
Palace
Strategy details missing.
Temple
Strategy details missing.
Ruins
Strategy details missing.
|
Achievements
| Name | Icon | Description | Reward |
|---|---|---|---|
|
|
Restore 150 health for 4 players without dying as Mercy in Quick or Competitive play. |  | |
|
|
Resurrect 5 teammates without dying in Quick or Competitive play. |  |
Trivia

Witch Mercy figurine
- In August 2021, Christiane Louise, Mercy's Brazilian voice actress, was reported murdered.[1]
- Mercy's name is localized as "Angel" in the French, Russian, and Chinese Mandarin versions of the game.
- A magazine image of Mercy could be found in an outhouse on Route 66. The magazine was removed in a later patch.[2]
- In reply to a support ticket, Blizzard jokingly stated that Mercy's heart "belongs to Roadhog".[3]
- Mercy's wings are available as a cosmetic item in Diablo III for players who purchased the Origins Edition.[4]
Misc. Character Information
- The official website used to give Mercy's age as 34. Recall retconned it to 37, and her info page on the official website was since been changed to match that.
- On a Facebook post, Mercy's age was also listed as 34.[5] However, her hero page listed her age as 37.
- She enjoys the apple pie Ingrid Lindholm makes for the holidays.[6]
- While part of Overwatch, Mercy's agent ID was "3945_46."[7]
- Moira has some backstory with Mercy, as one utilized tech developed by the other.[8]
- At some point prior to his accident on the International Space Station, Mercy and Siebren de Kuiper had lunch together after a seminar.[9]
Merchandise
- A Mercy Funko Pop figure went go on sale in 2018.[10] A Mercy Witch model went on sale in October of the same year.[11]
- A 36cm Mercy statue is on sale from the Blizzard Store.[12]
- A Hasbro 6" Mercy figurine will go on sale in spring 2019.[13]
- A Figma Mercy statue will go on sale by Q1 2020.[14]
Development
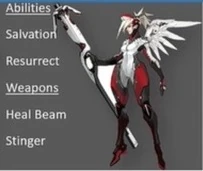
The cancelled Guardian class

Mercy early concept art
Mercy's design stems from a playable class in the cancelled Project Titan; in the original pitch for the game that would become Overwatch, the class was named Guardian and was envisioned as wielding a heal beam and a weapon called a stinger, with abilities named Salvation and Resurrection. In a later pitch she was named Angelica and was envisioned as also having a teleport. She was later renamed Mercy, which had previously been Pharah's name.[15]
Mercy had a different voice actress early in the beta; the role was later recast with Lucie Pohl, who is fluent in German.[16]
The Witch's resurrecting voice line, "My servants never die!", was added for Mercy's Witch skin due to fan request.[17]
Removed Abilities

- Replaced by
 Sympathetic Recovery in Season 3 of Overwatch 2.
 - Does not generate ultimate charge.

- Also refreshes the cooldown on Guardian Angel.
- Fallen allies are highlighted on the player's screen and the number of available targets are shown on their tooltip.
- Resurrected players are able to move in 2.25 seconds after the ability is activated.
Removed Perks

- Replaced by
 Angelic Resurrection in Season 16.

20.4 → 23.5 m/s (Crouch extension)

- Removed in Reign of Talon Season 1
- Replaced with the Medic passive
- Does not generate ultimate charge.
- Effect stacks per ally healed during Valkyrie
- Results in 24 hp/s normally and 26 hp/s per target during Valkyrie.
- Self-healing is affected by healing modifiers both on the target and Mercy herself.
- This means the healing will not only be increased by amplified healing received effects on Caduceus Staff's target but also gain double benefit if both Mercy and the target she is healing are affected by it. For example, +50% healing received buff on both will result in +125% self-healing received from Sympathetic Recovery.
150 (low health)
- Flash Heal can be used regardless of if Caduceus Staff is healing or boosting damage.
Media
Images
- Former Portrait
-
 Overwatch 1 Hero portrait

- Gameplay Screenshots
- Concept Art
-
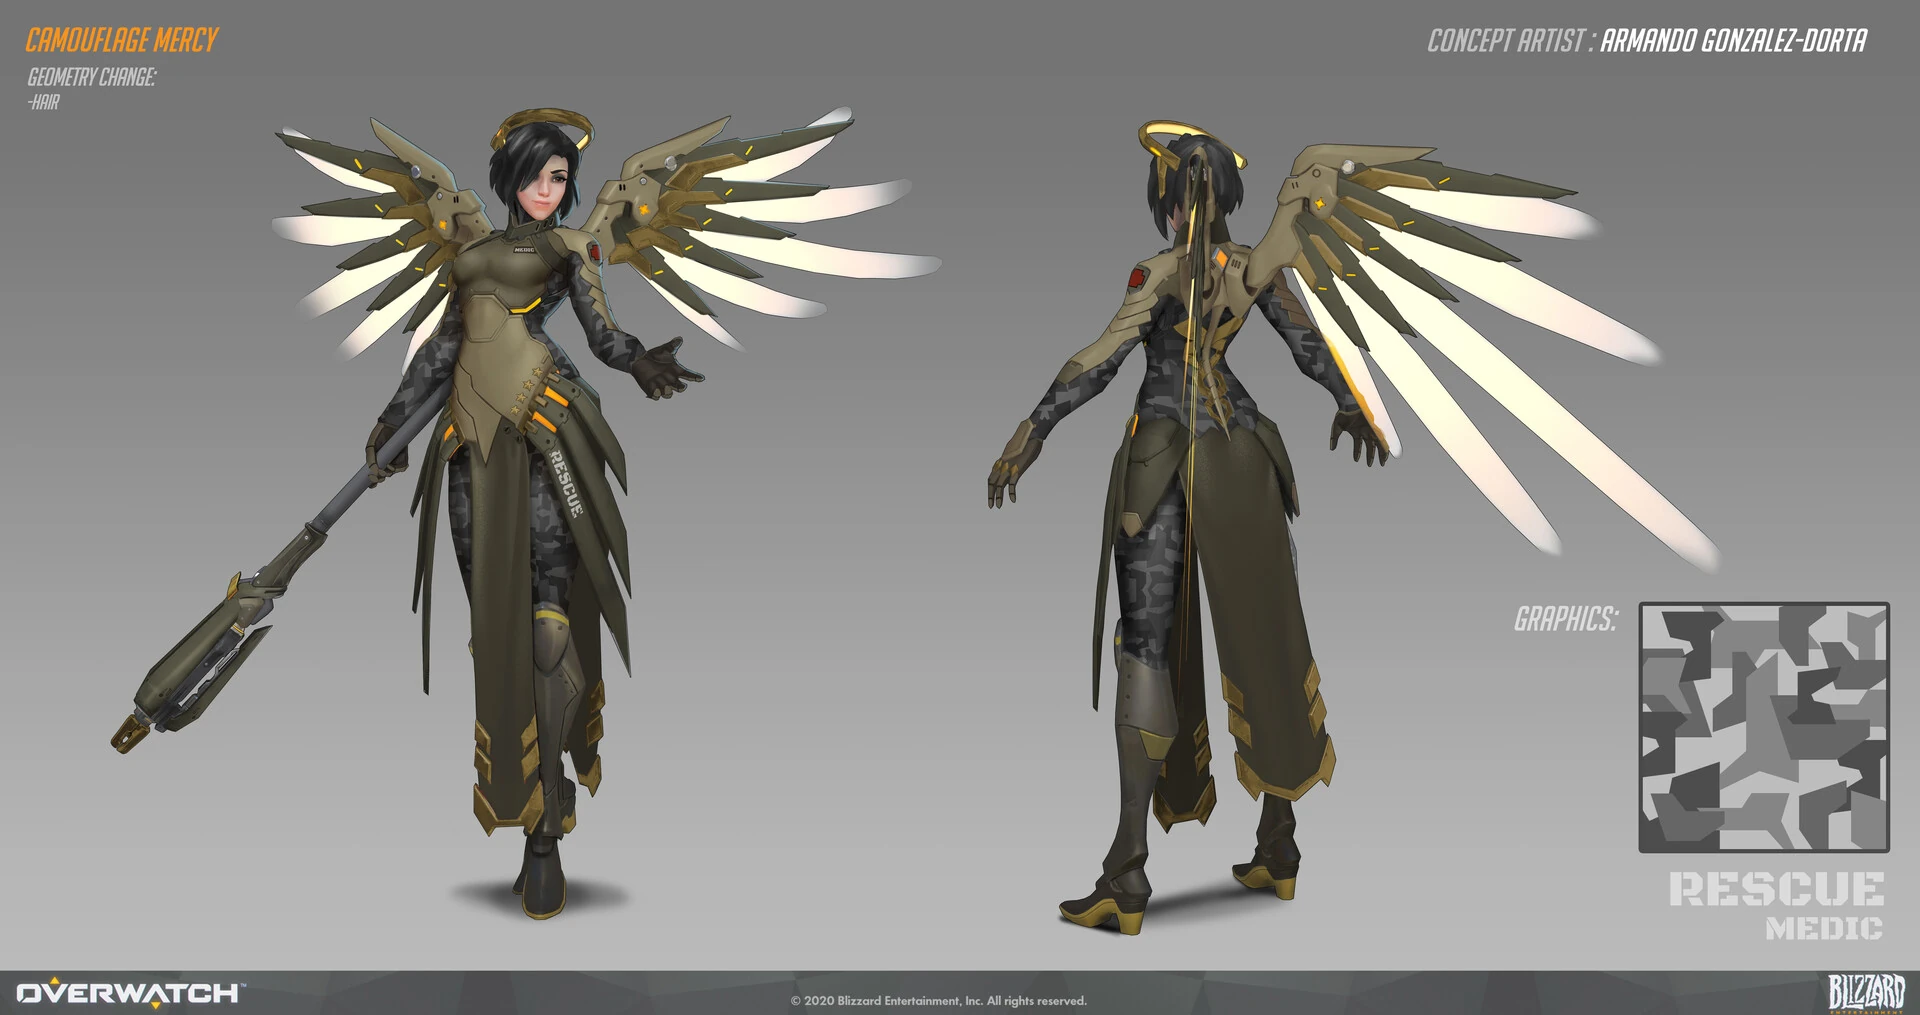
 Camouflage Skin Concept Art by Armando Gonzalez-Dorta
 -
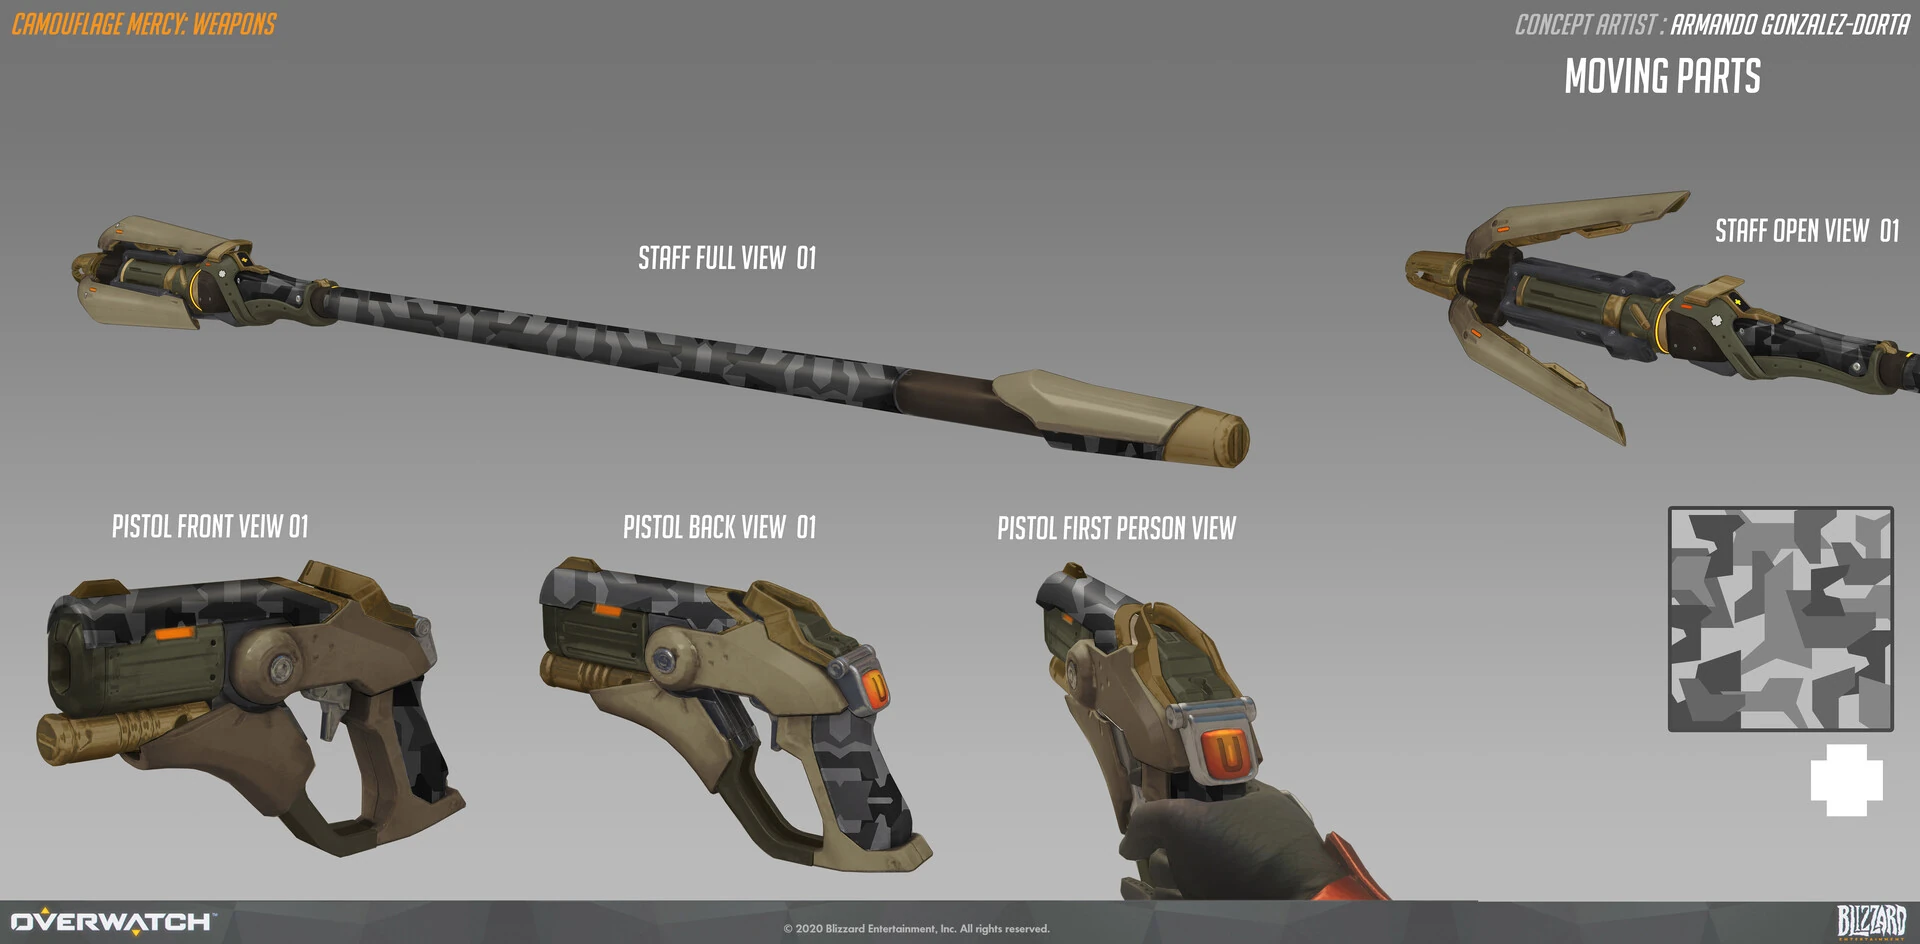
 Camouflage Skin Weapon Concept Art by Armando Gonzalez-Dorta
 -
 Infinite Seer Skin Exploration Concept Art by Armando Gonzalez-Dorta
 -
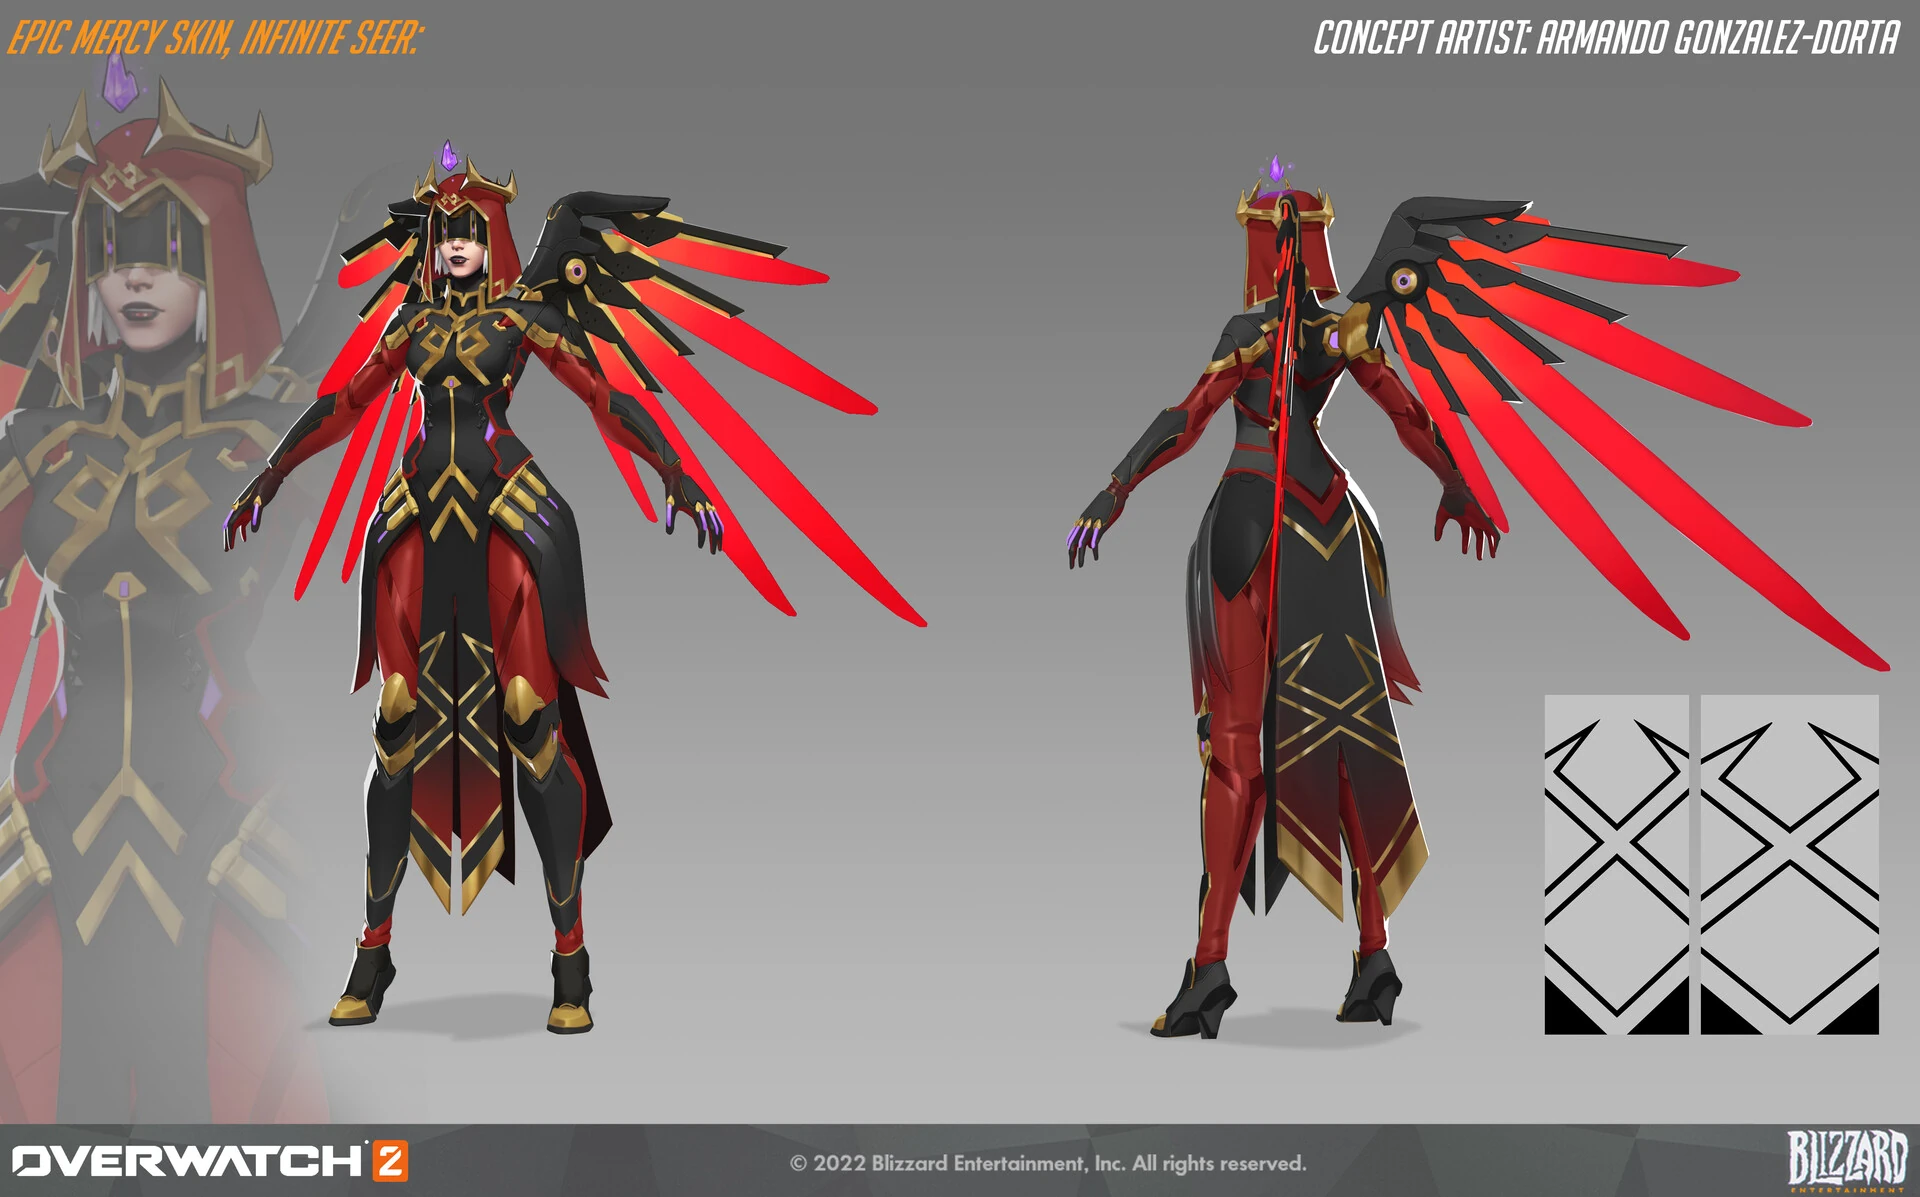
 Infinite Seer Skin Final Concept Art by Armando Gonzalez-Dorta
 -
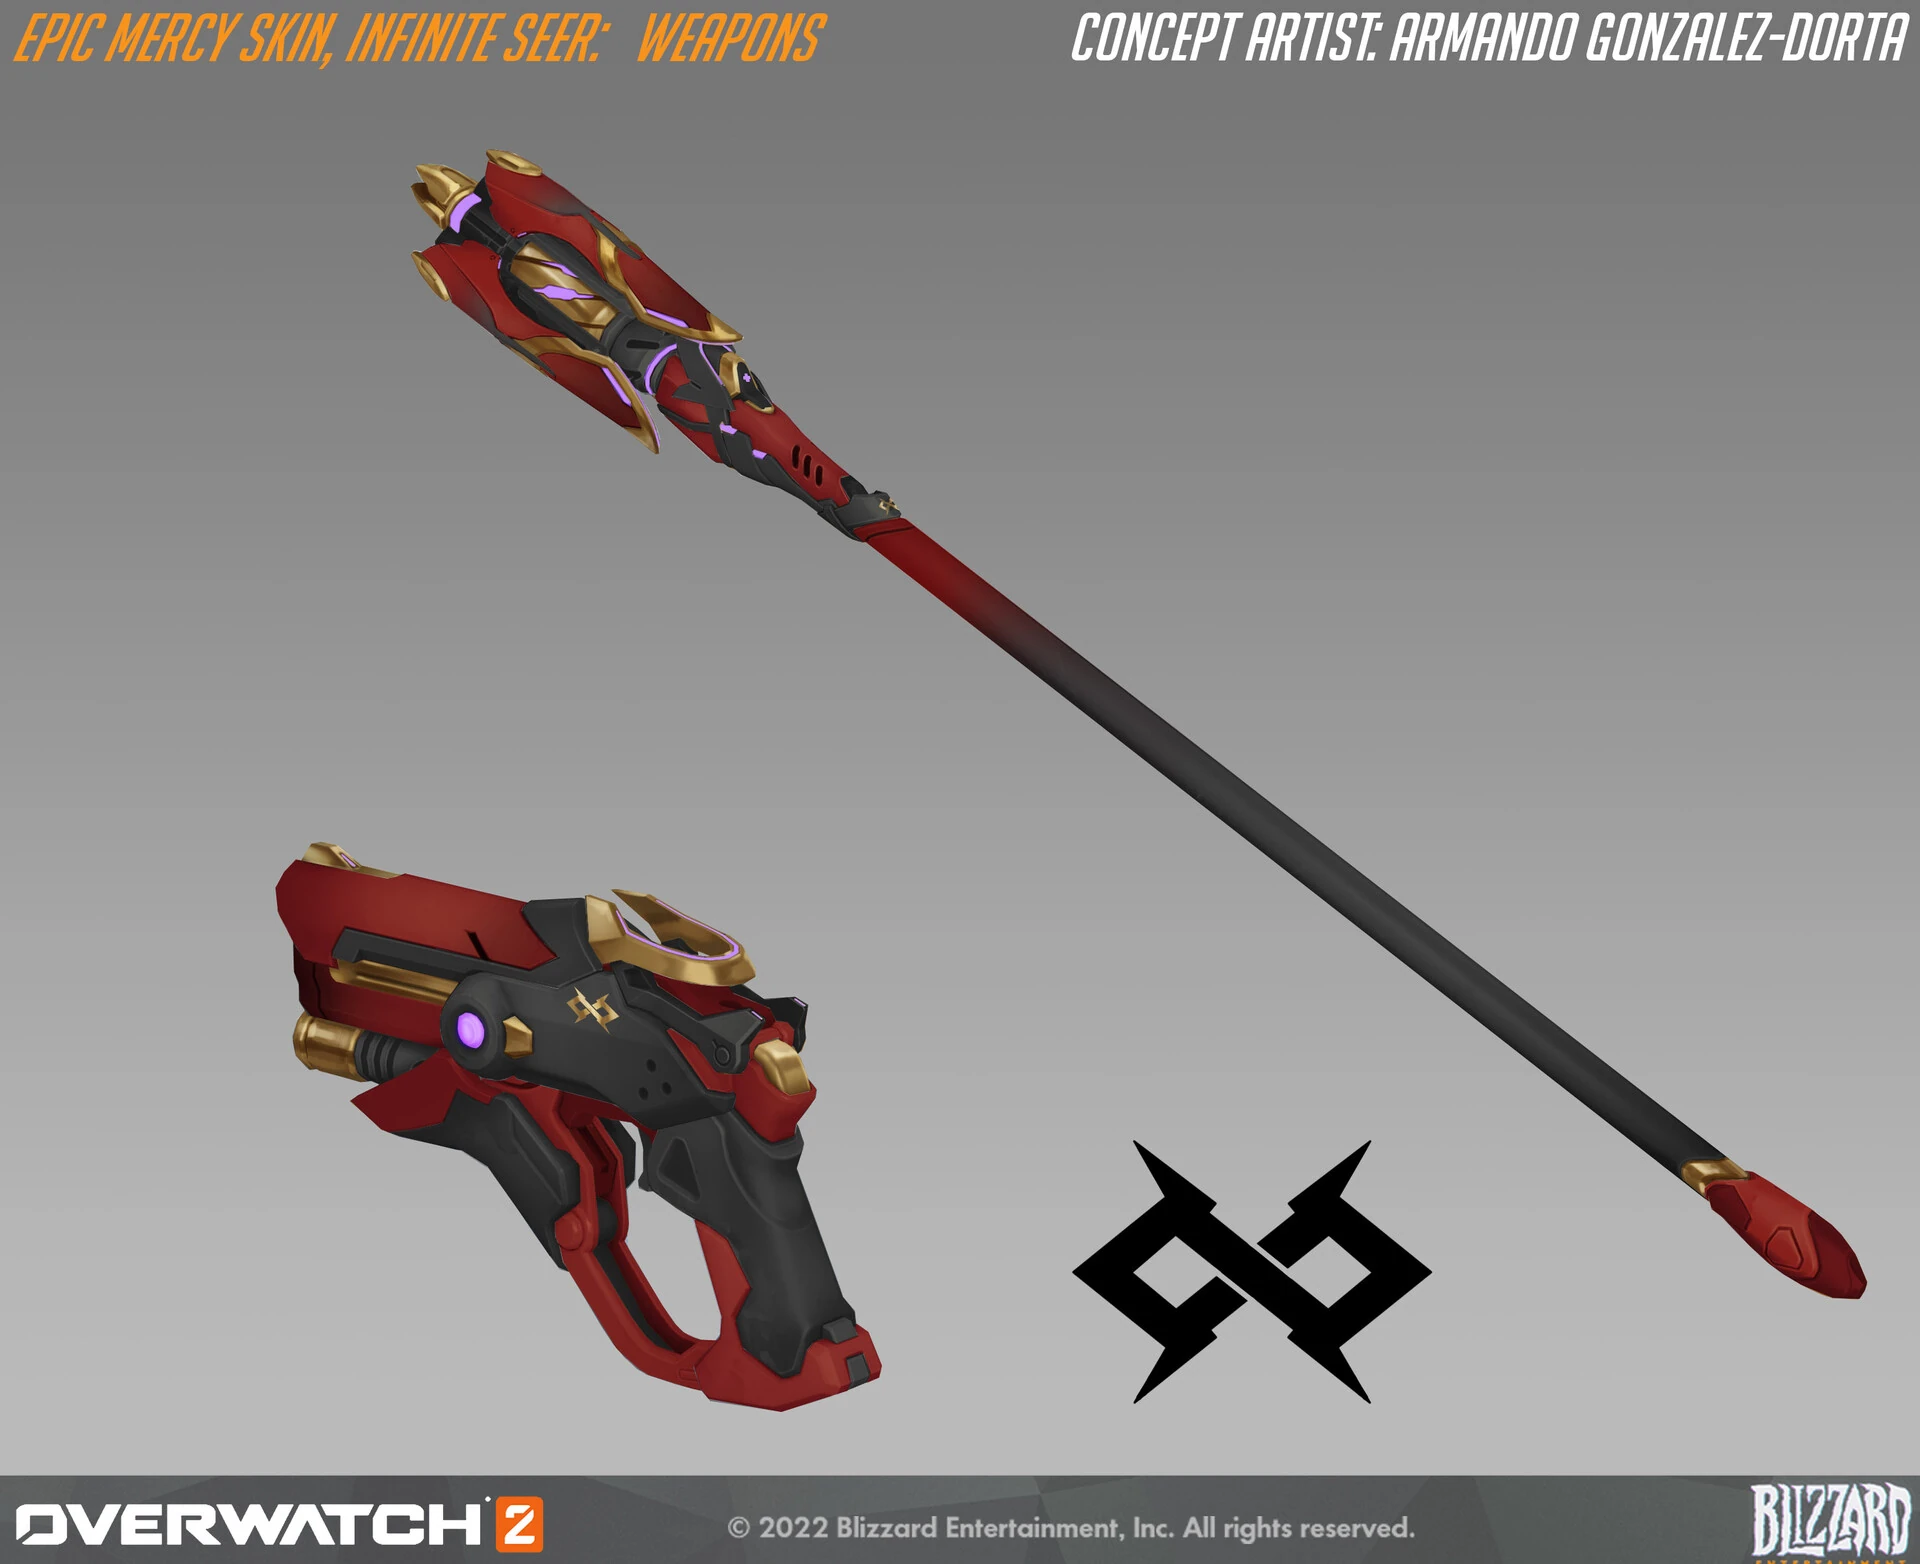
 Infinite Seer Skin Weapons Concept Art by Armando Gonzalez-Dorta
 -
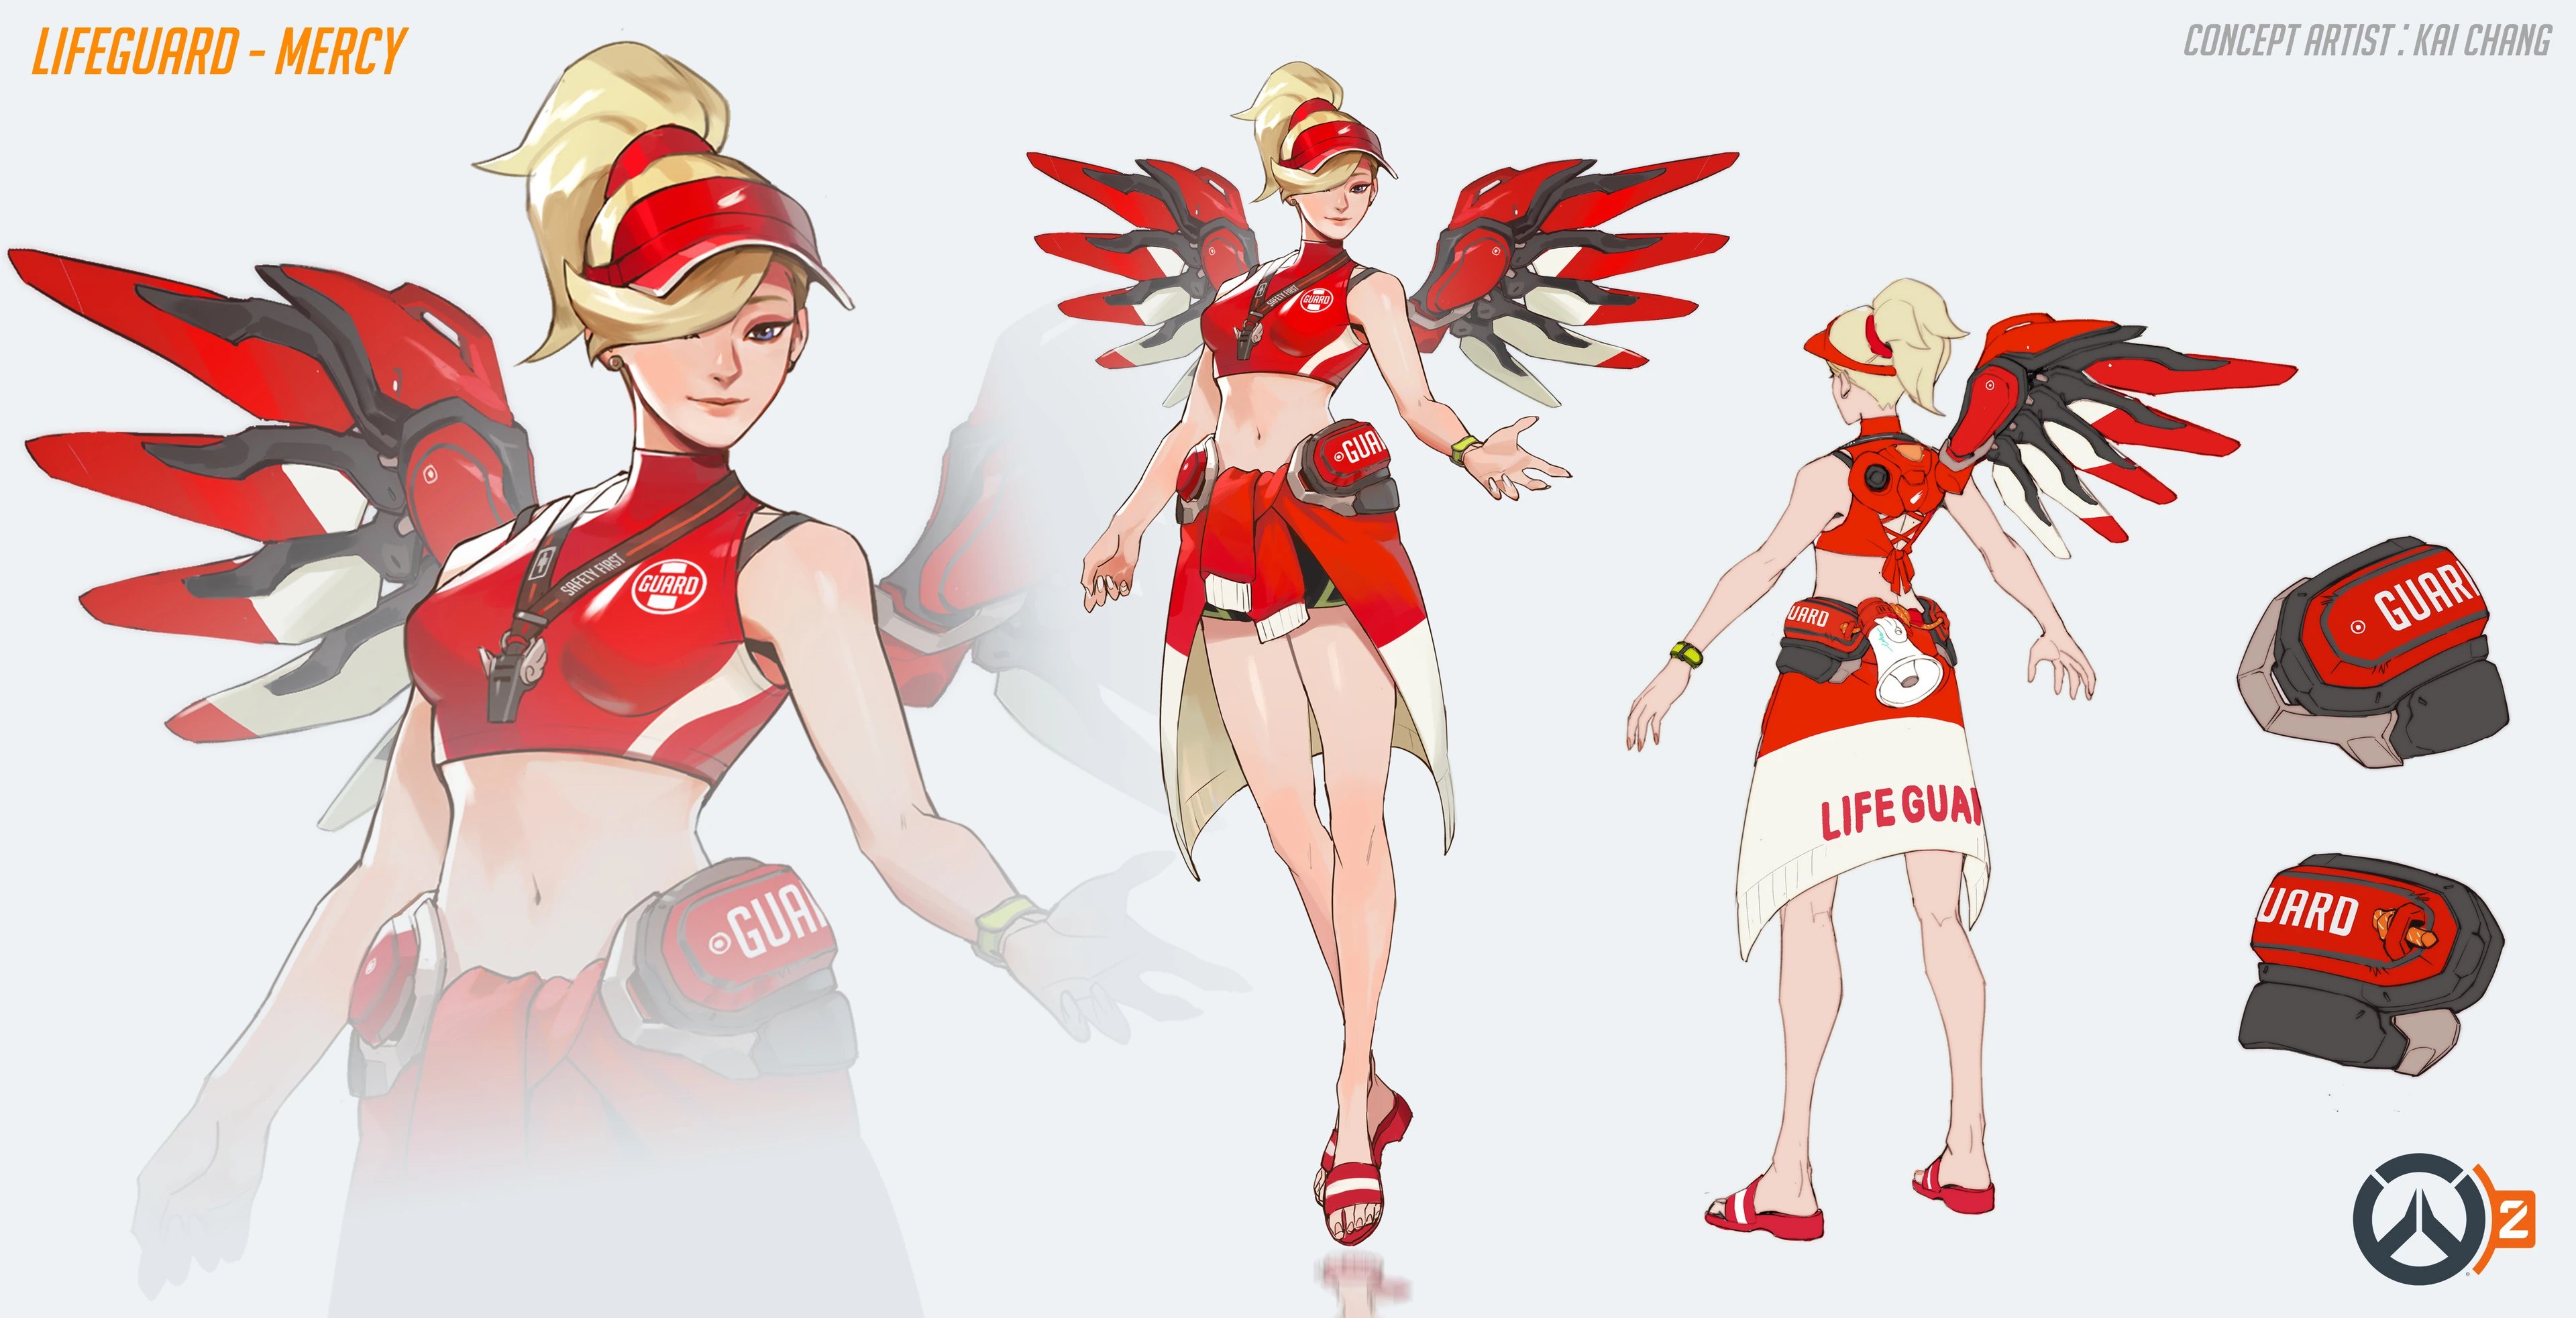
 Lifeguard Skin Concept Art by Kai Chang
 -
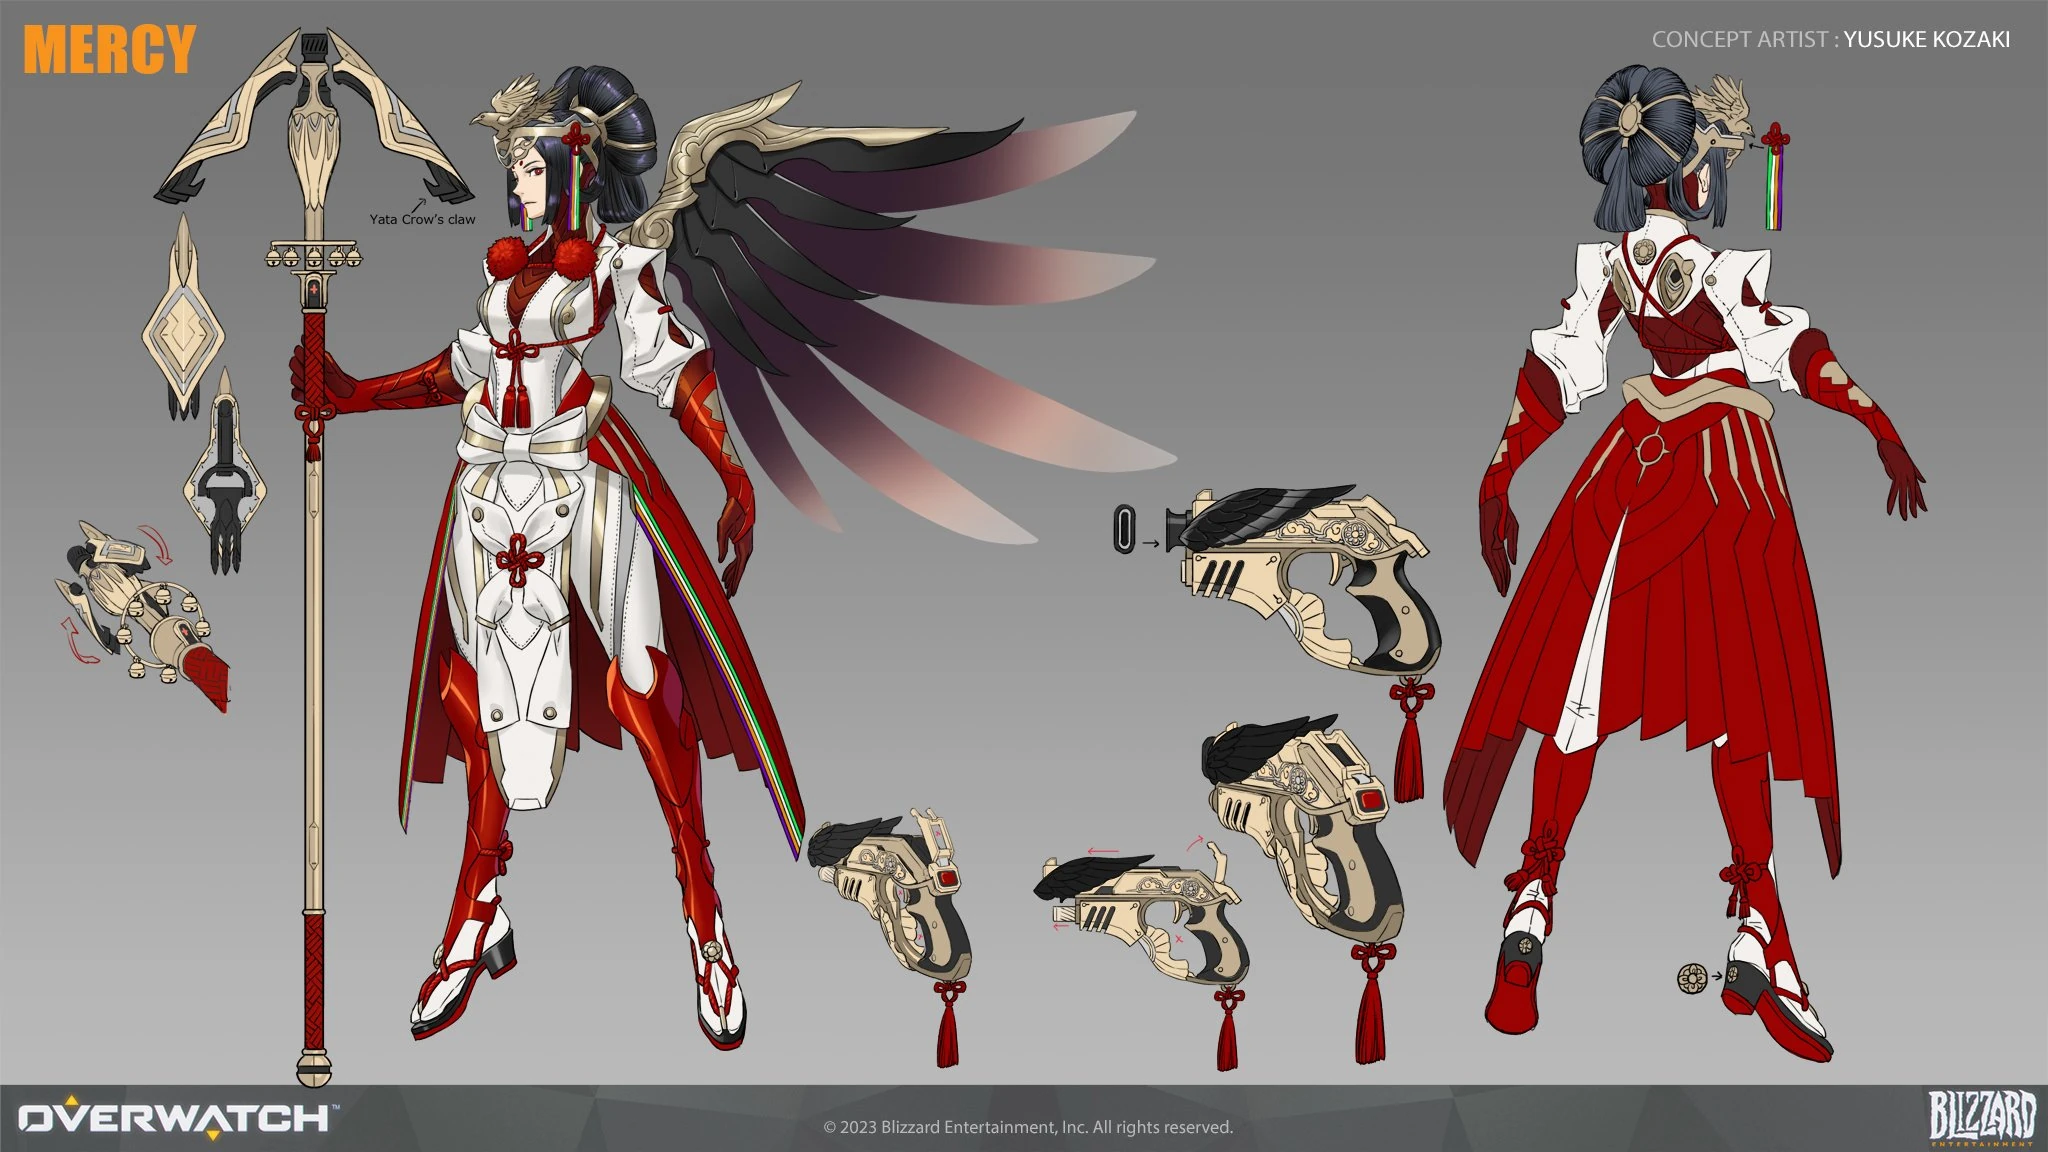
 Miko Skin Concept Art by Yuzuke Kozaki
 -
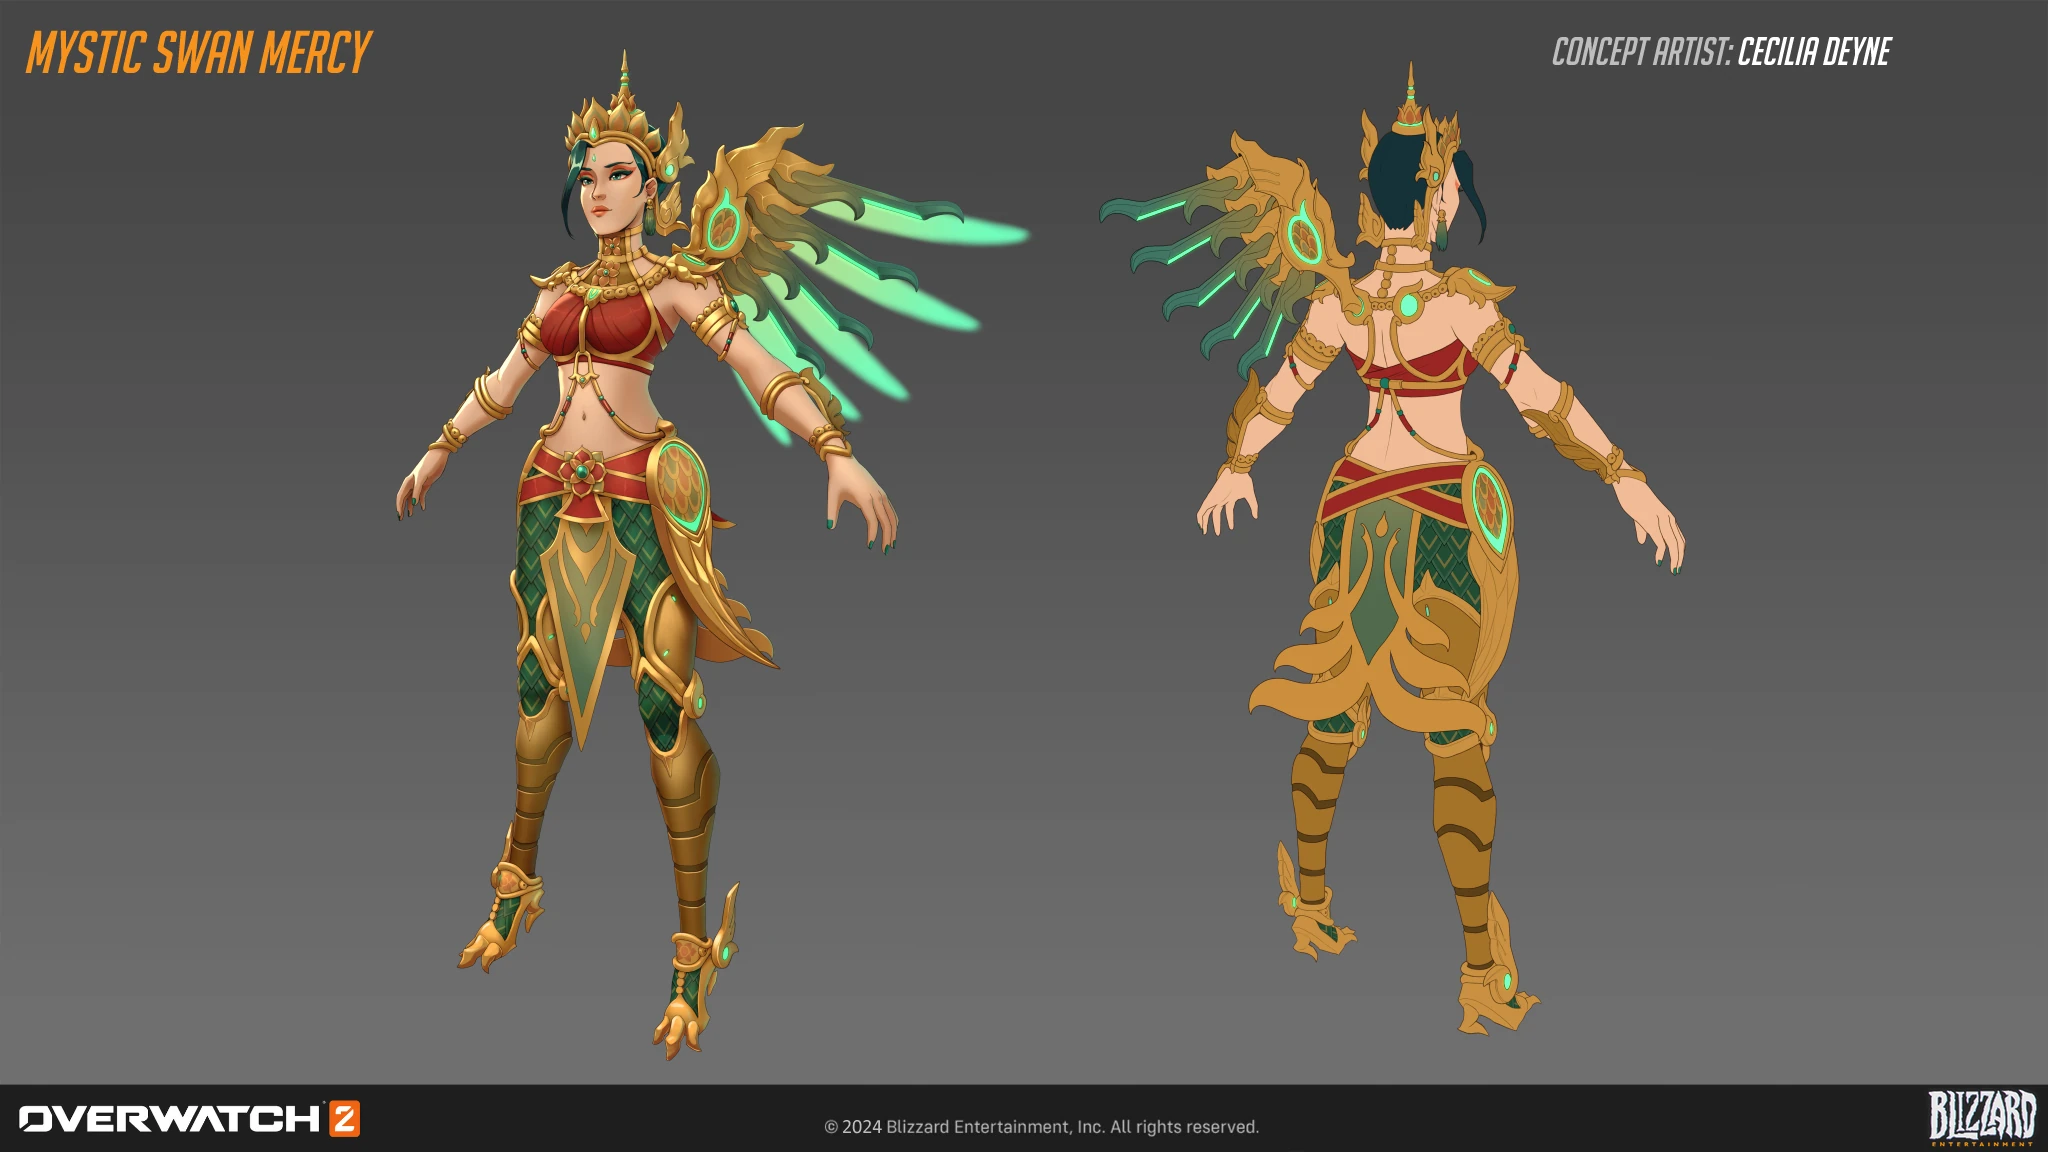
 Mystic Swan Skin Concept Art by Cecilia Deyne
 -
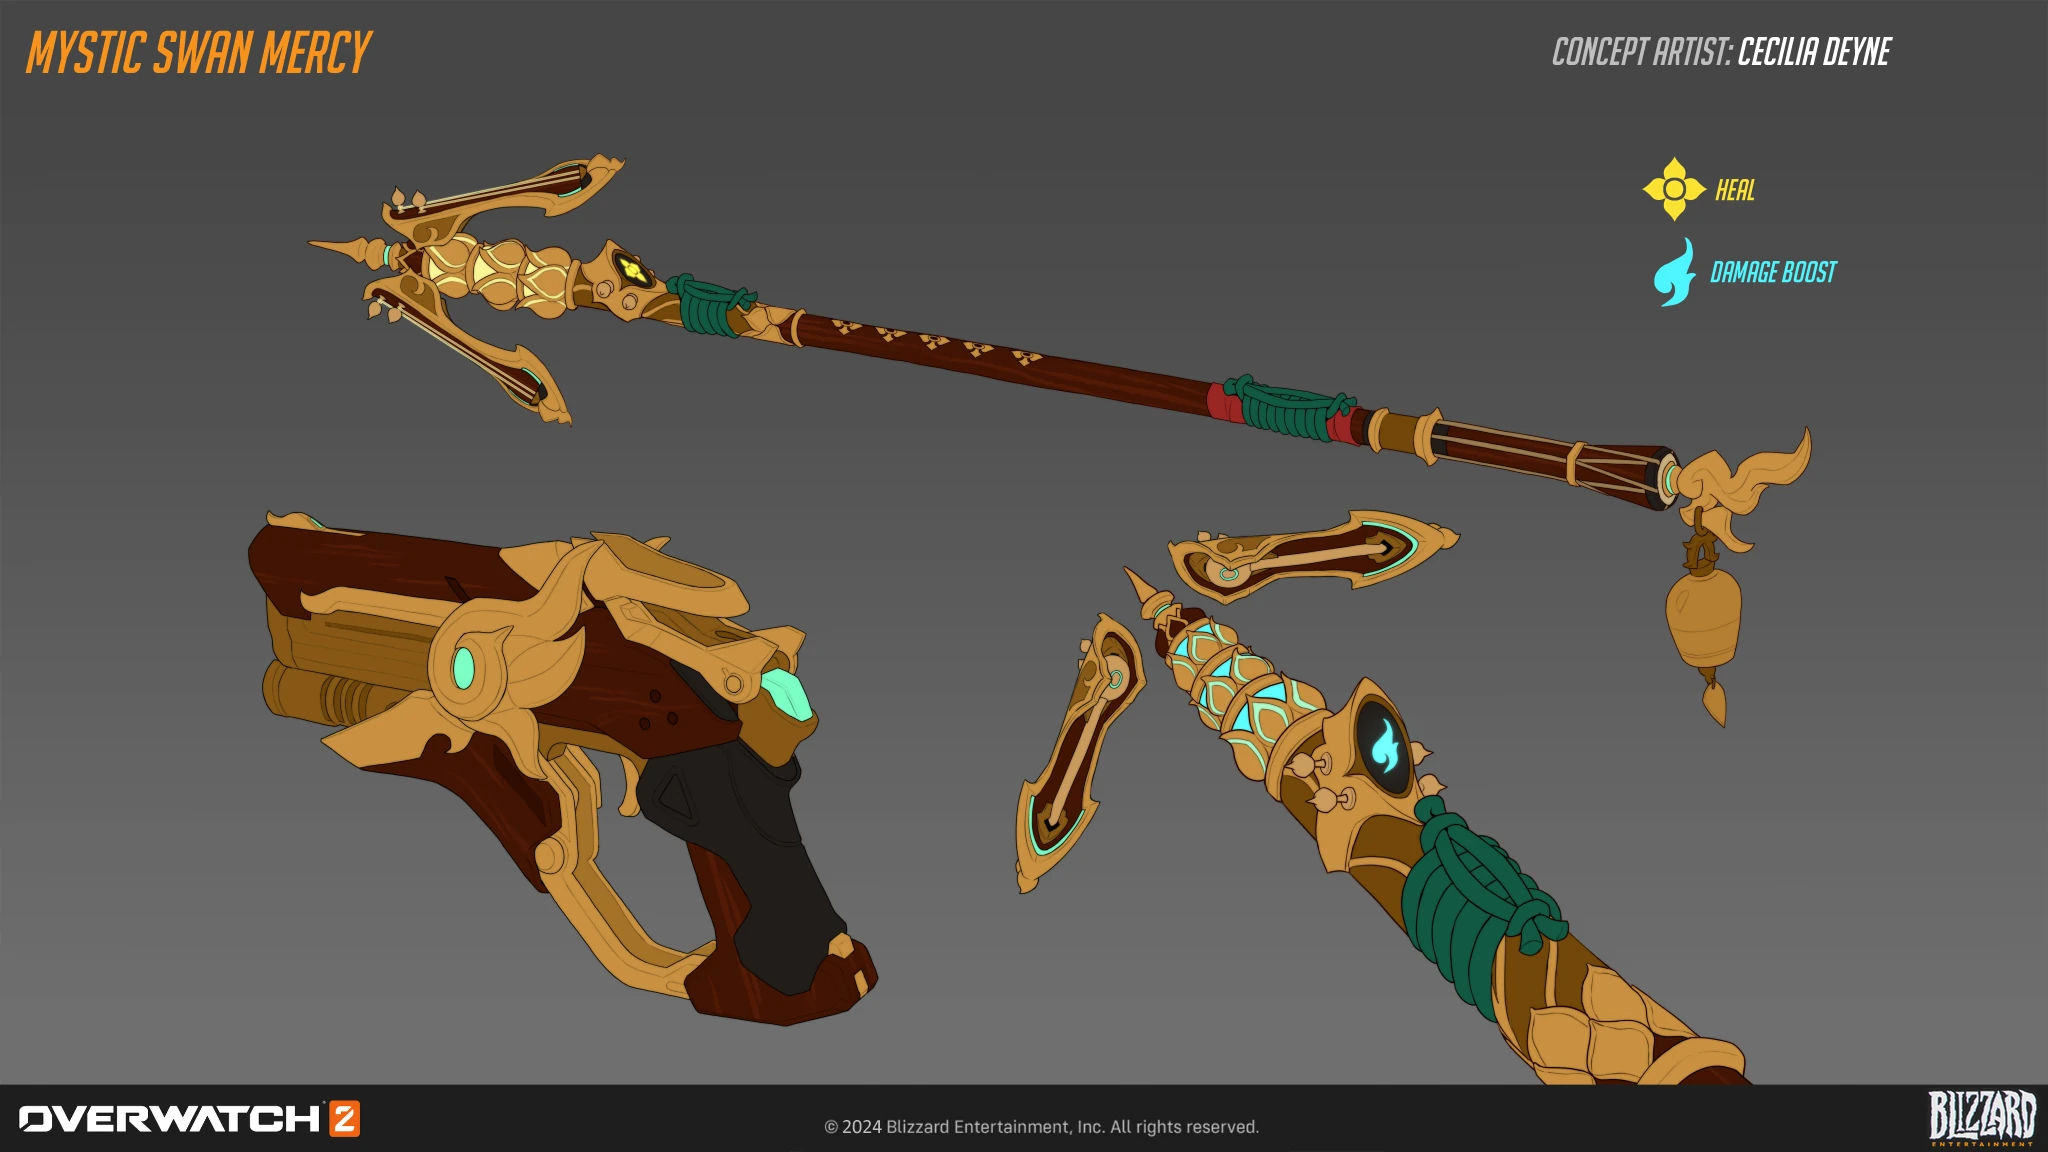
 Mystic Swan Skin Weapon Concept Art by Cecilia Deyne
 -
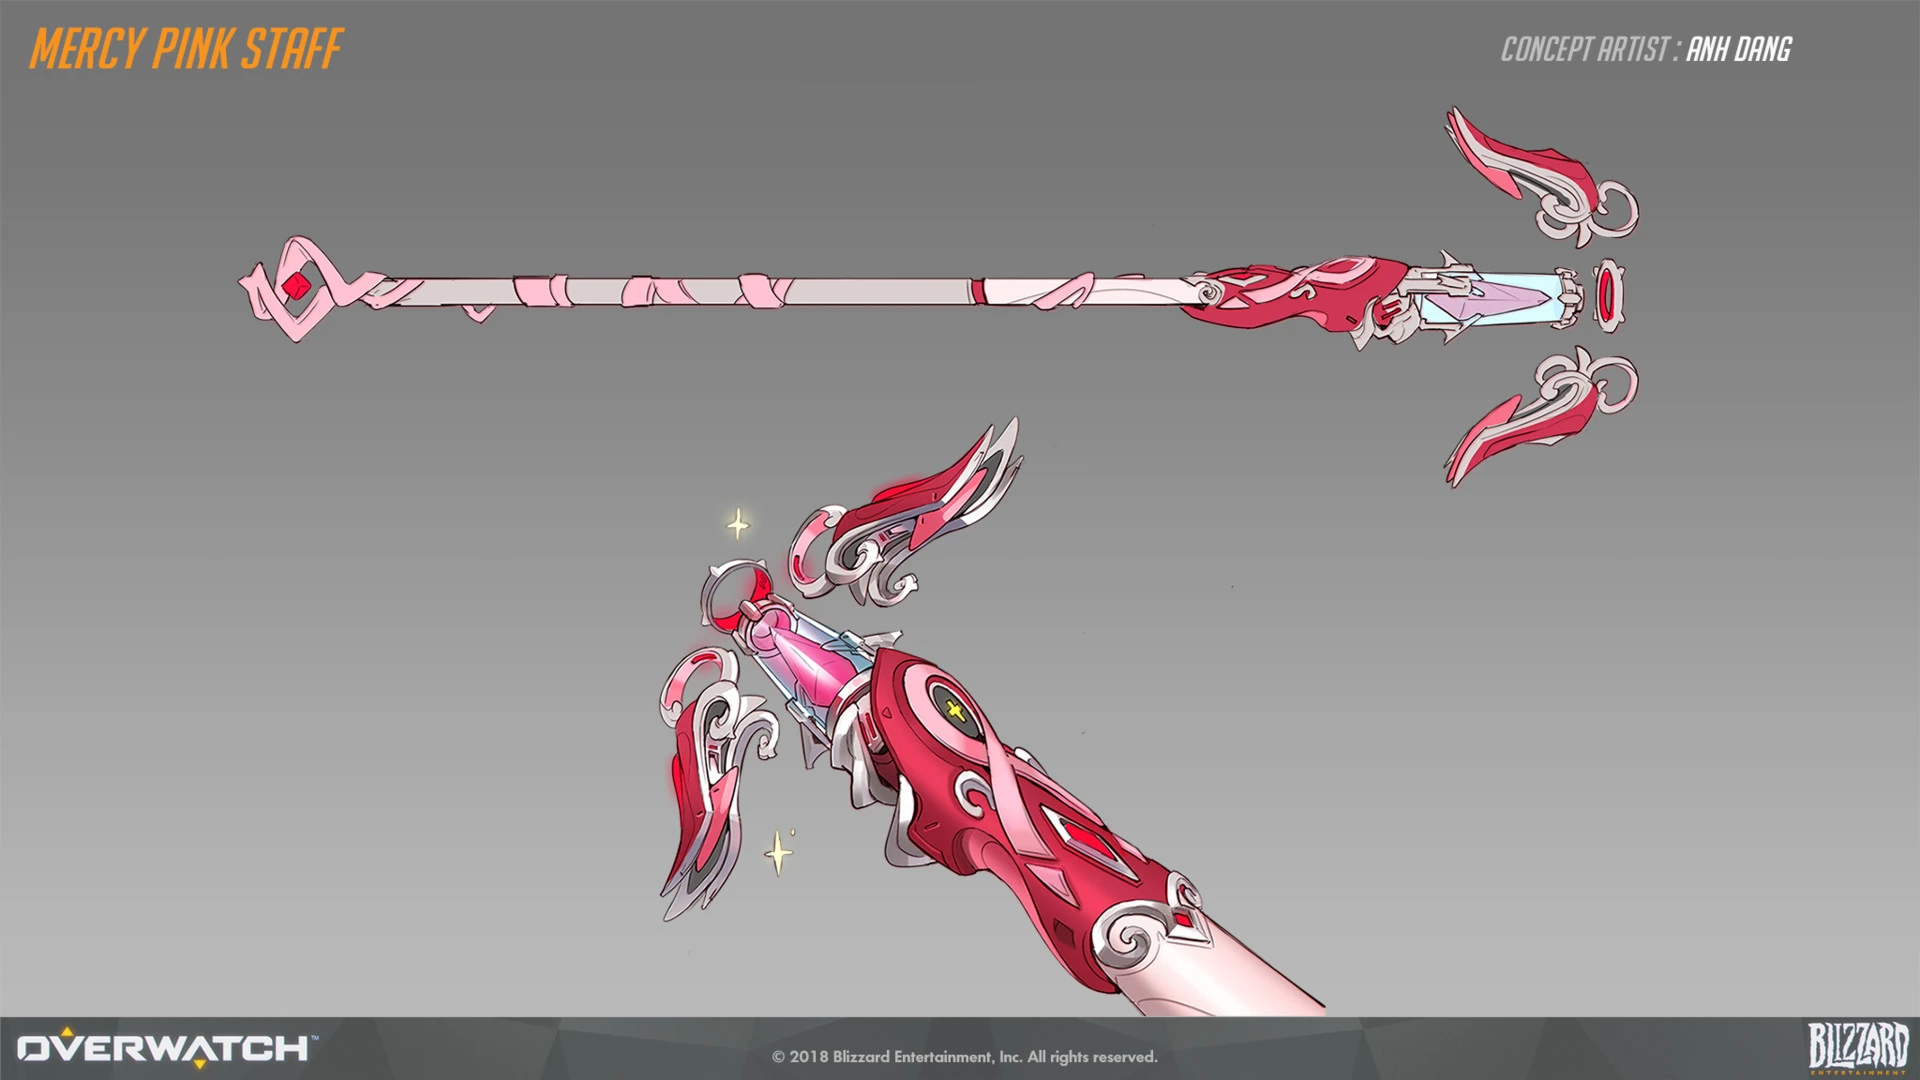
 Pink Skin Staff Concept Art by Anh Dang
 -
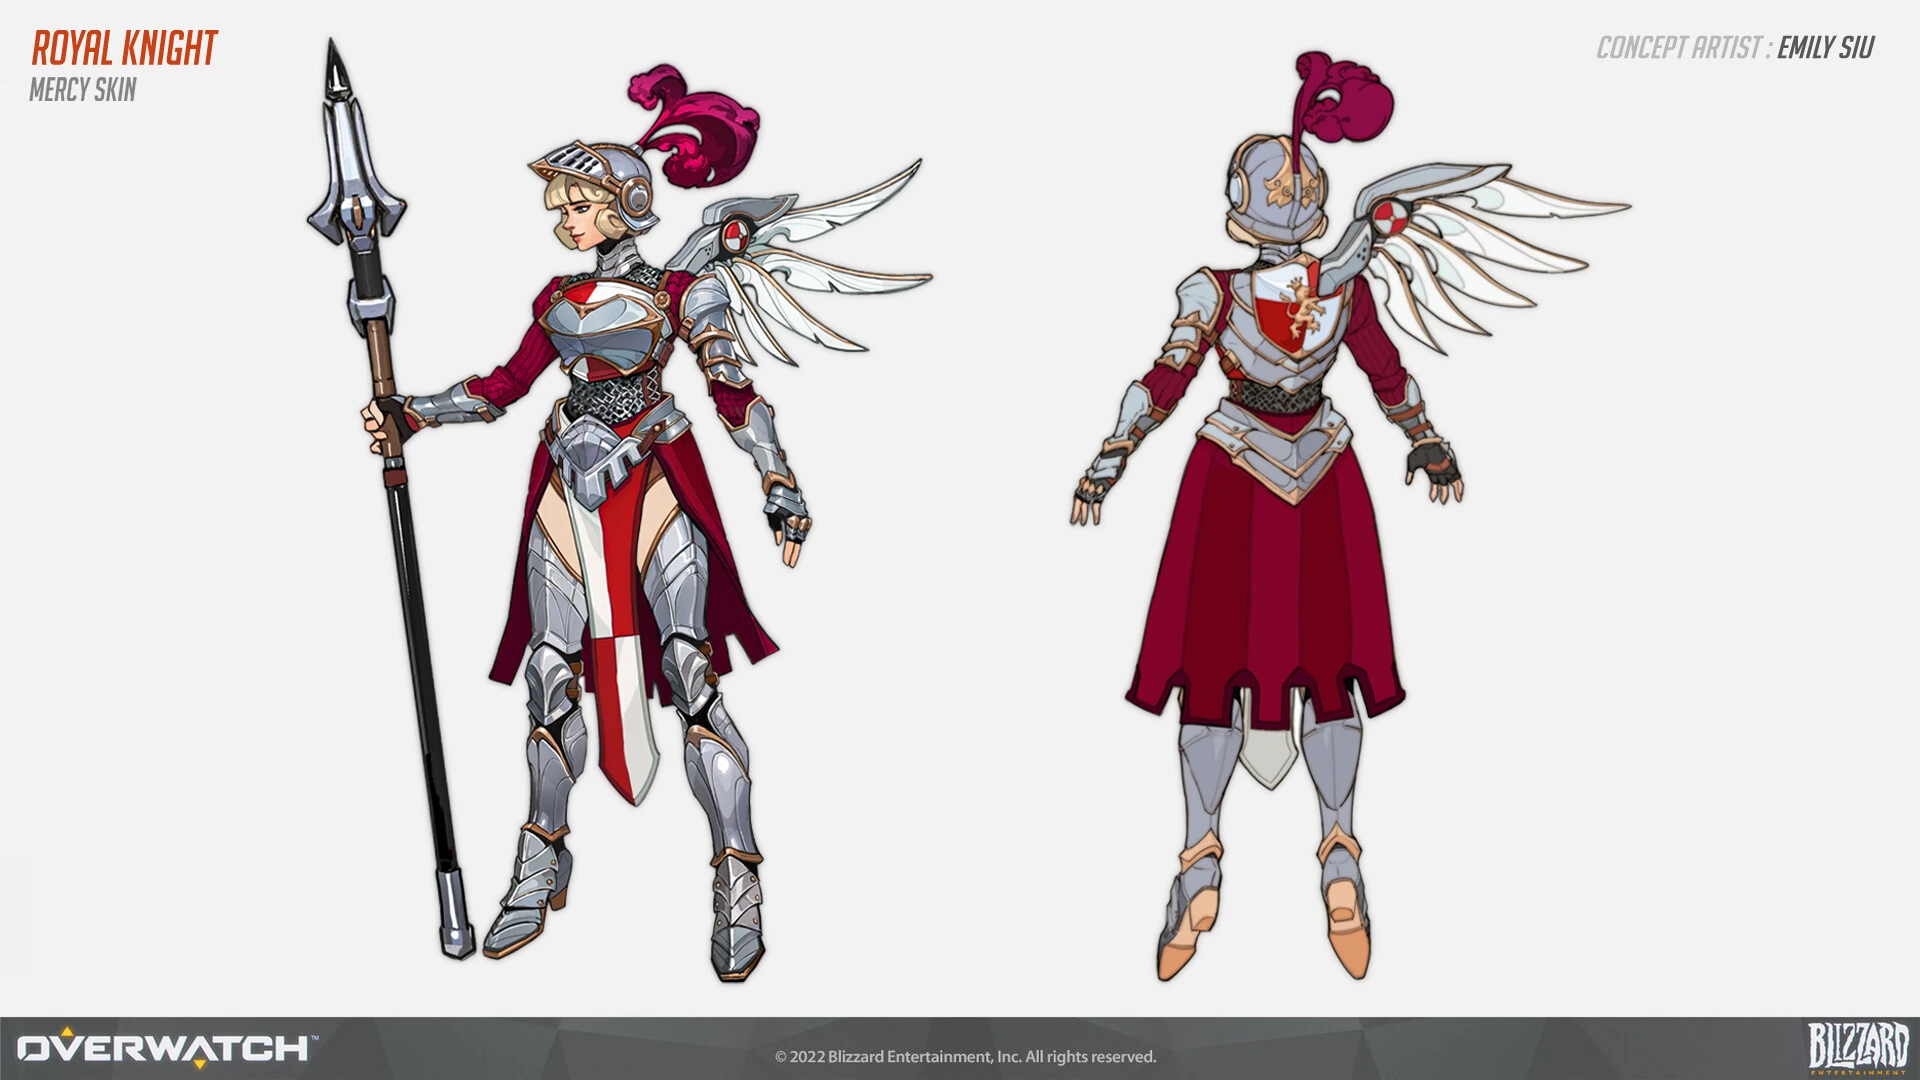
 Royal Knight Skin Concept Art by Emily Siu
 -
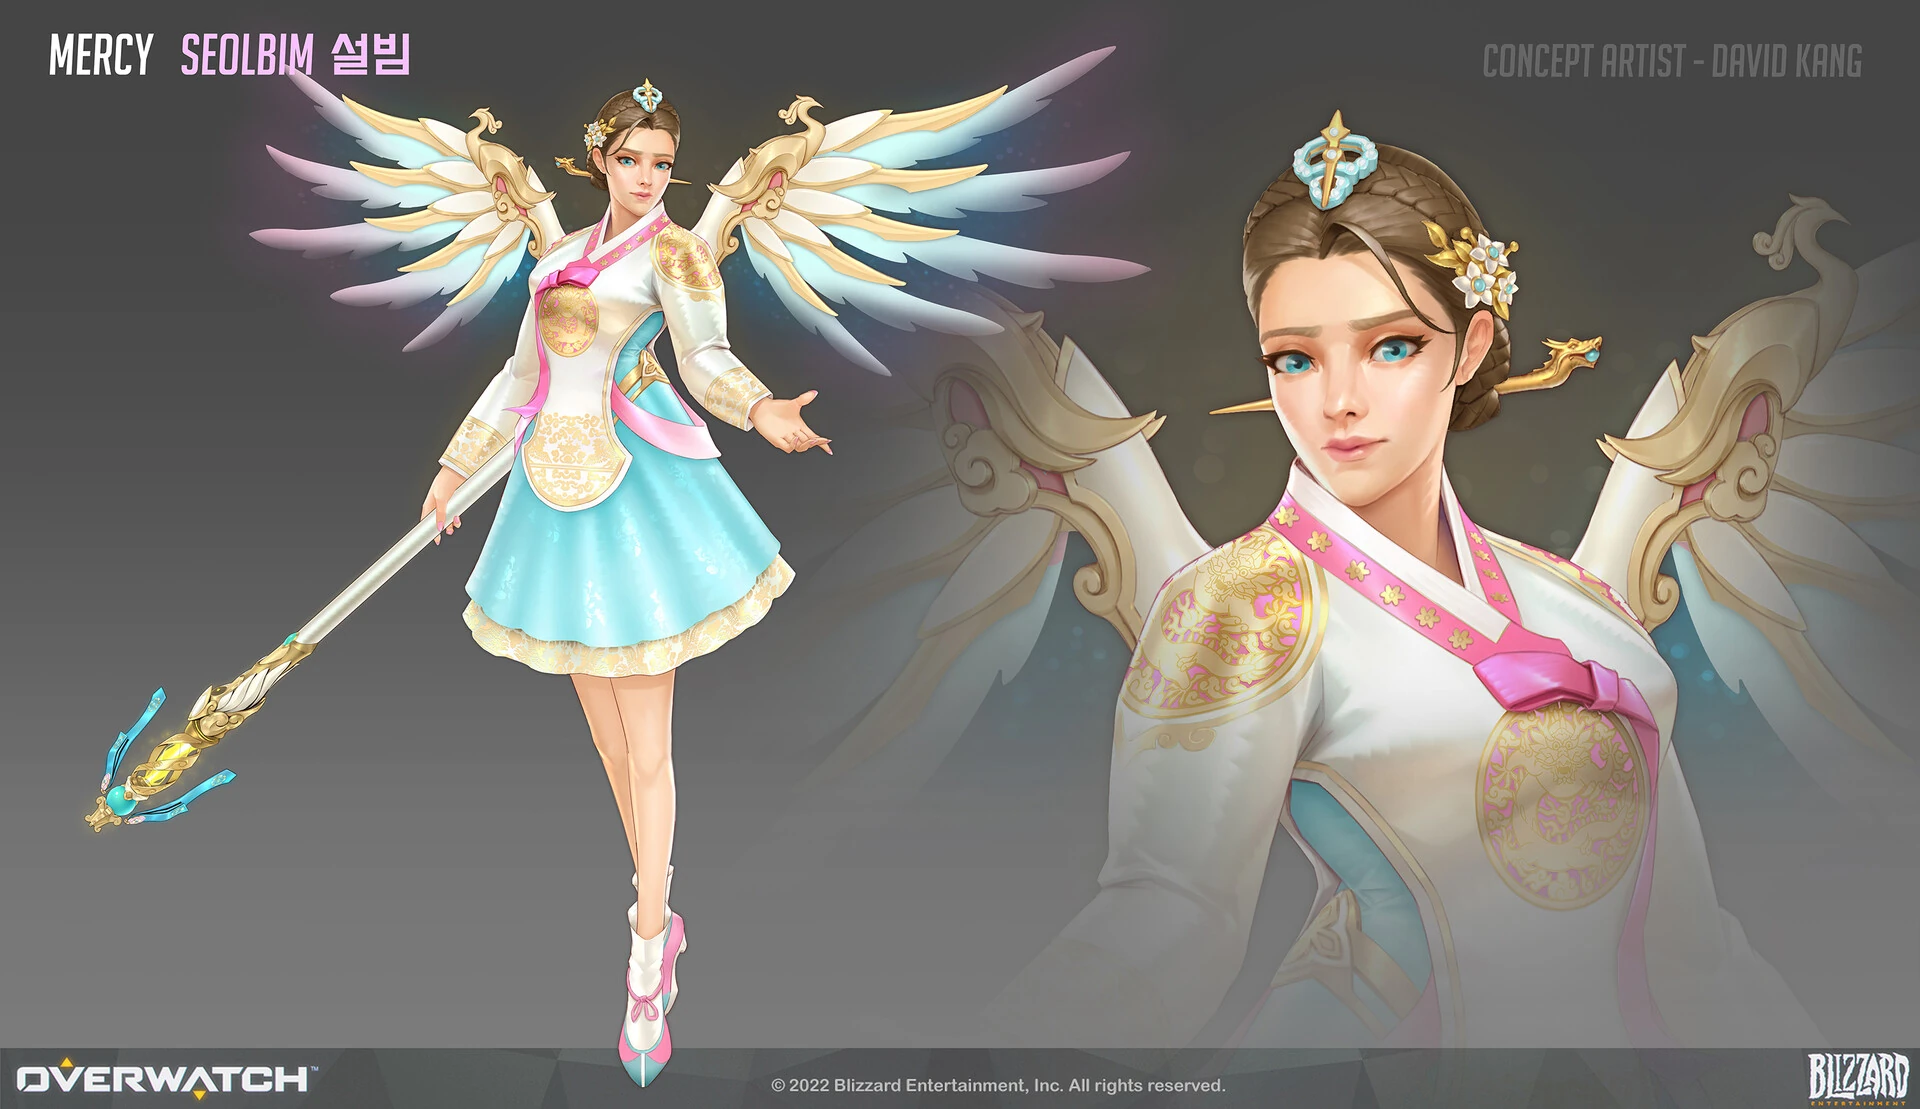
 Seolbim Skin Concept Art by David Kang
 -
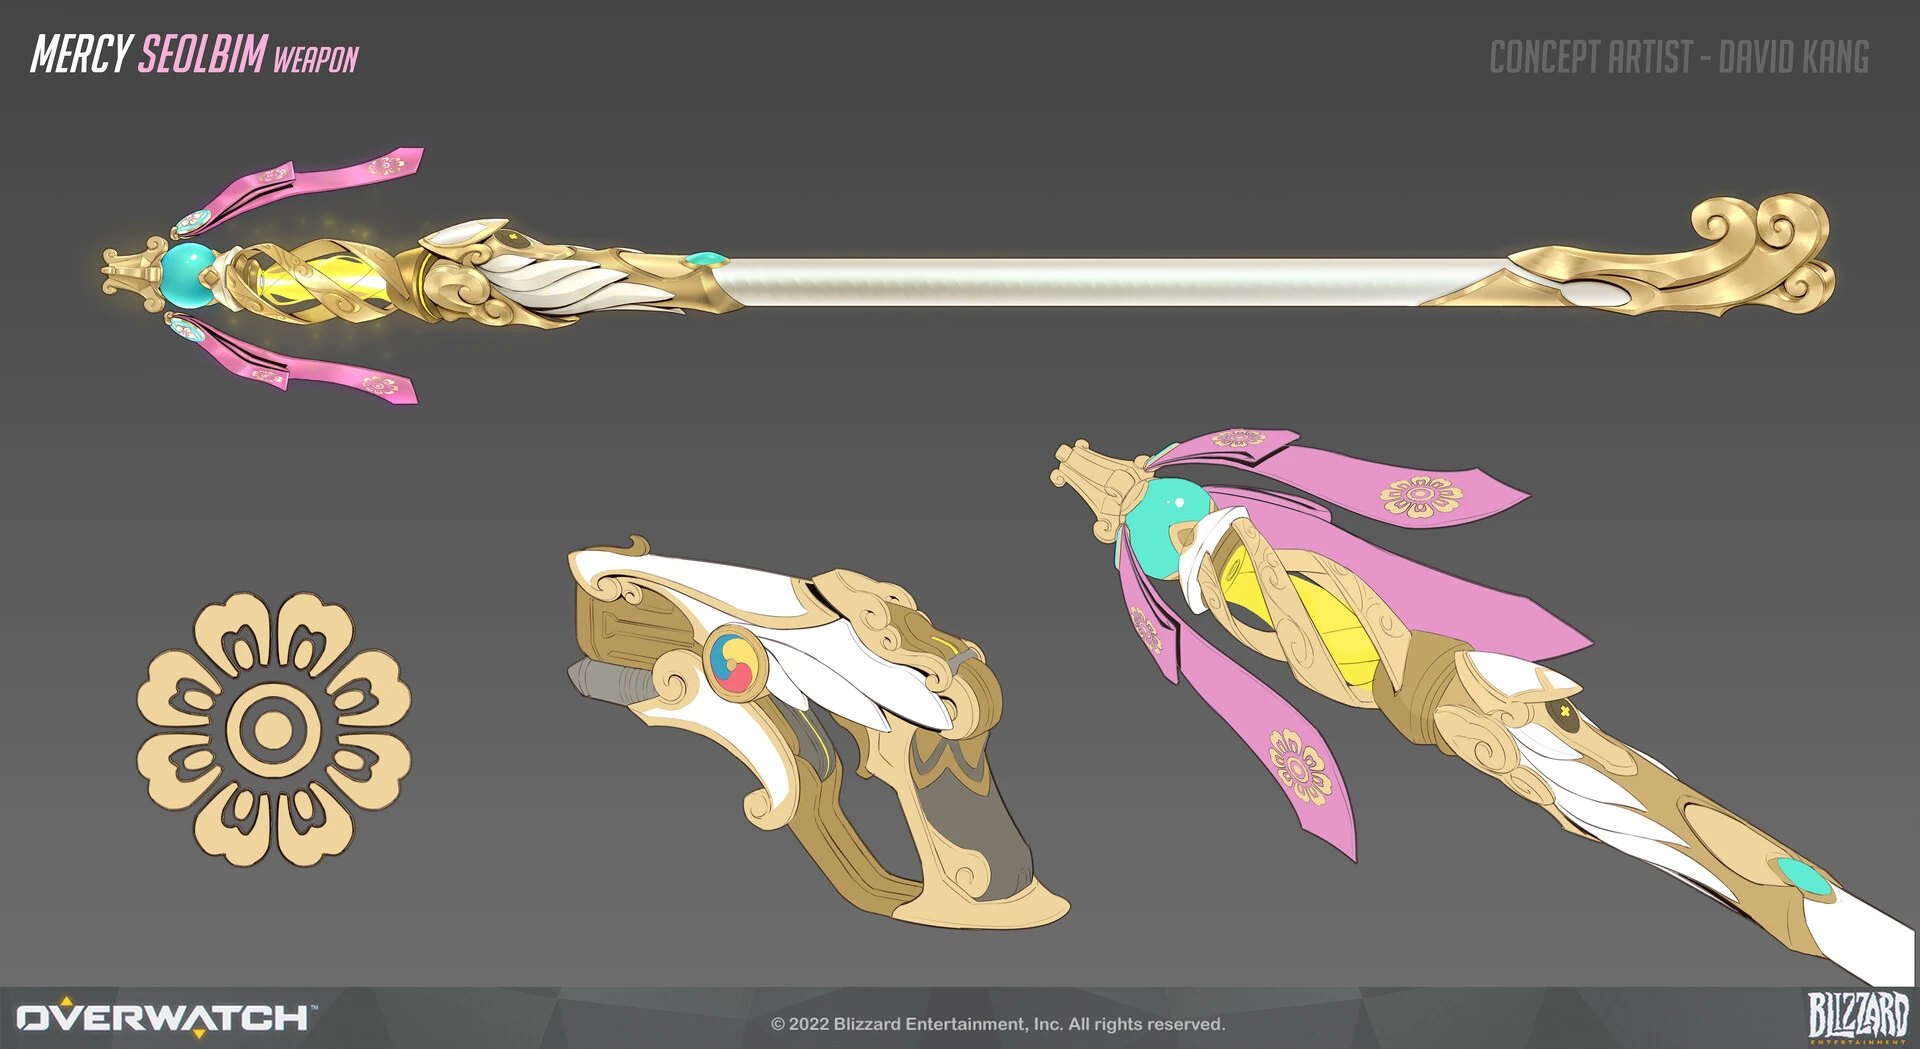
 Seolbim Skin Weapon Concept Art by David Kang
 -
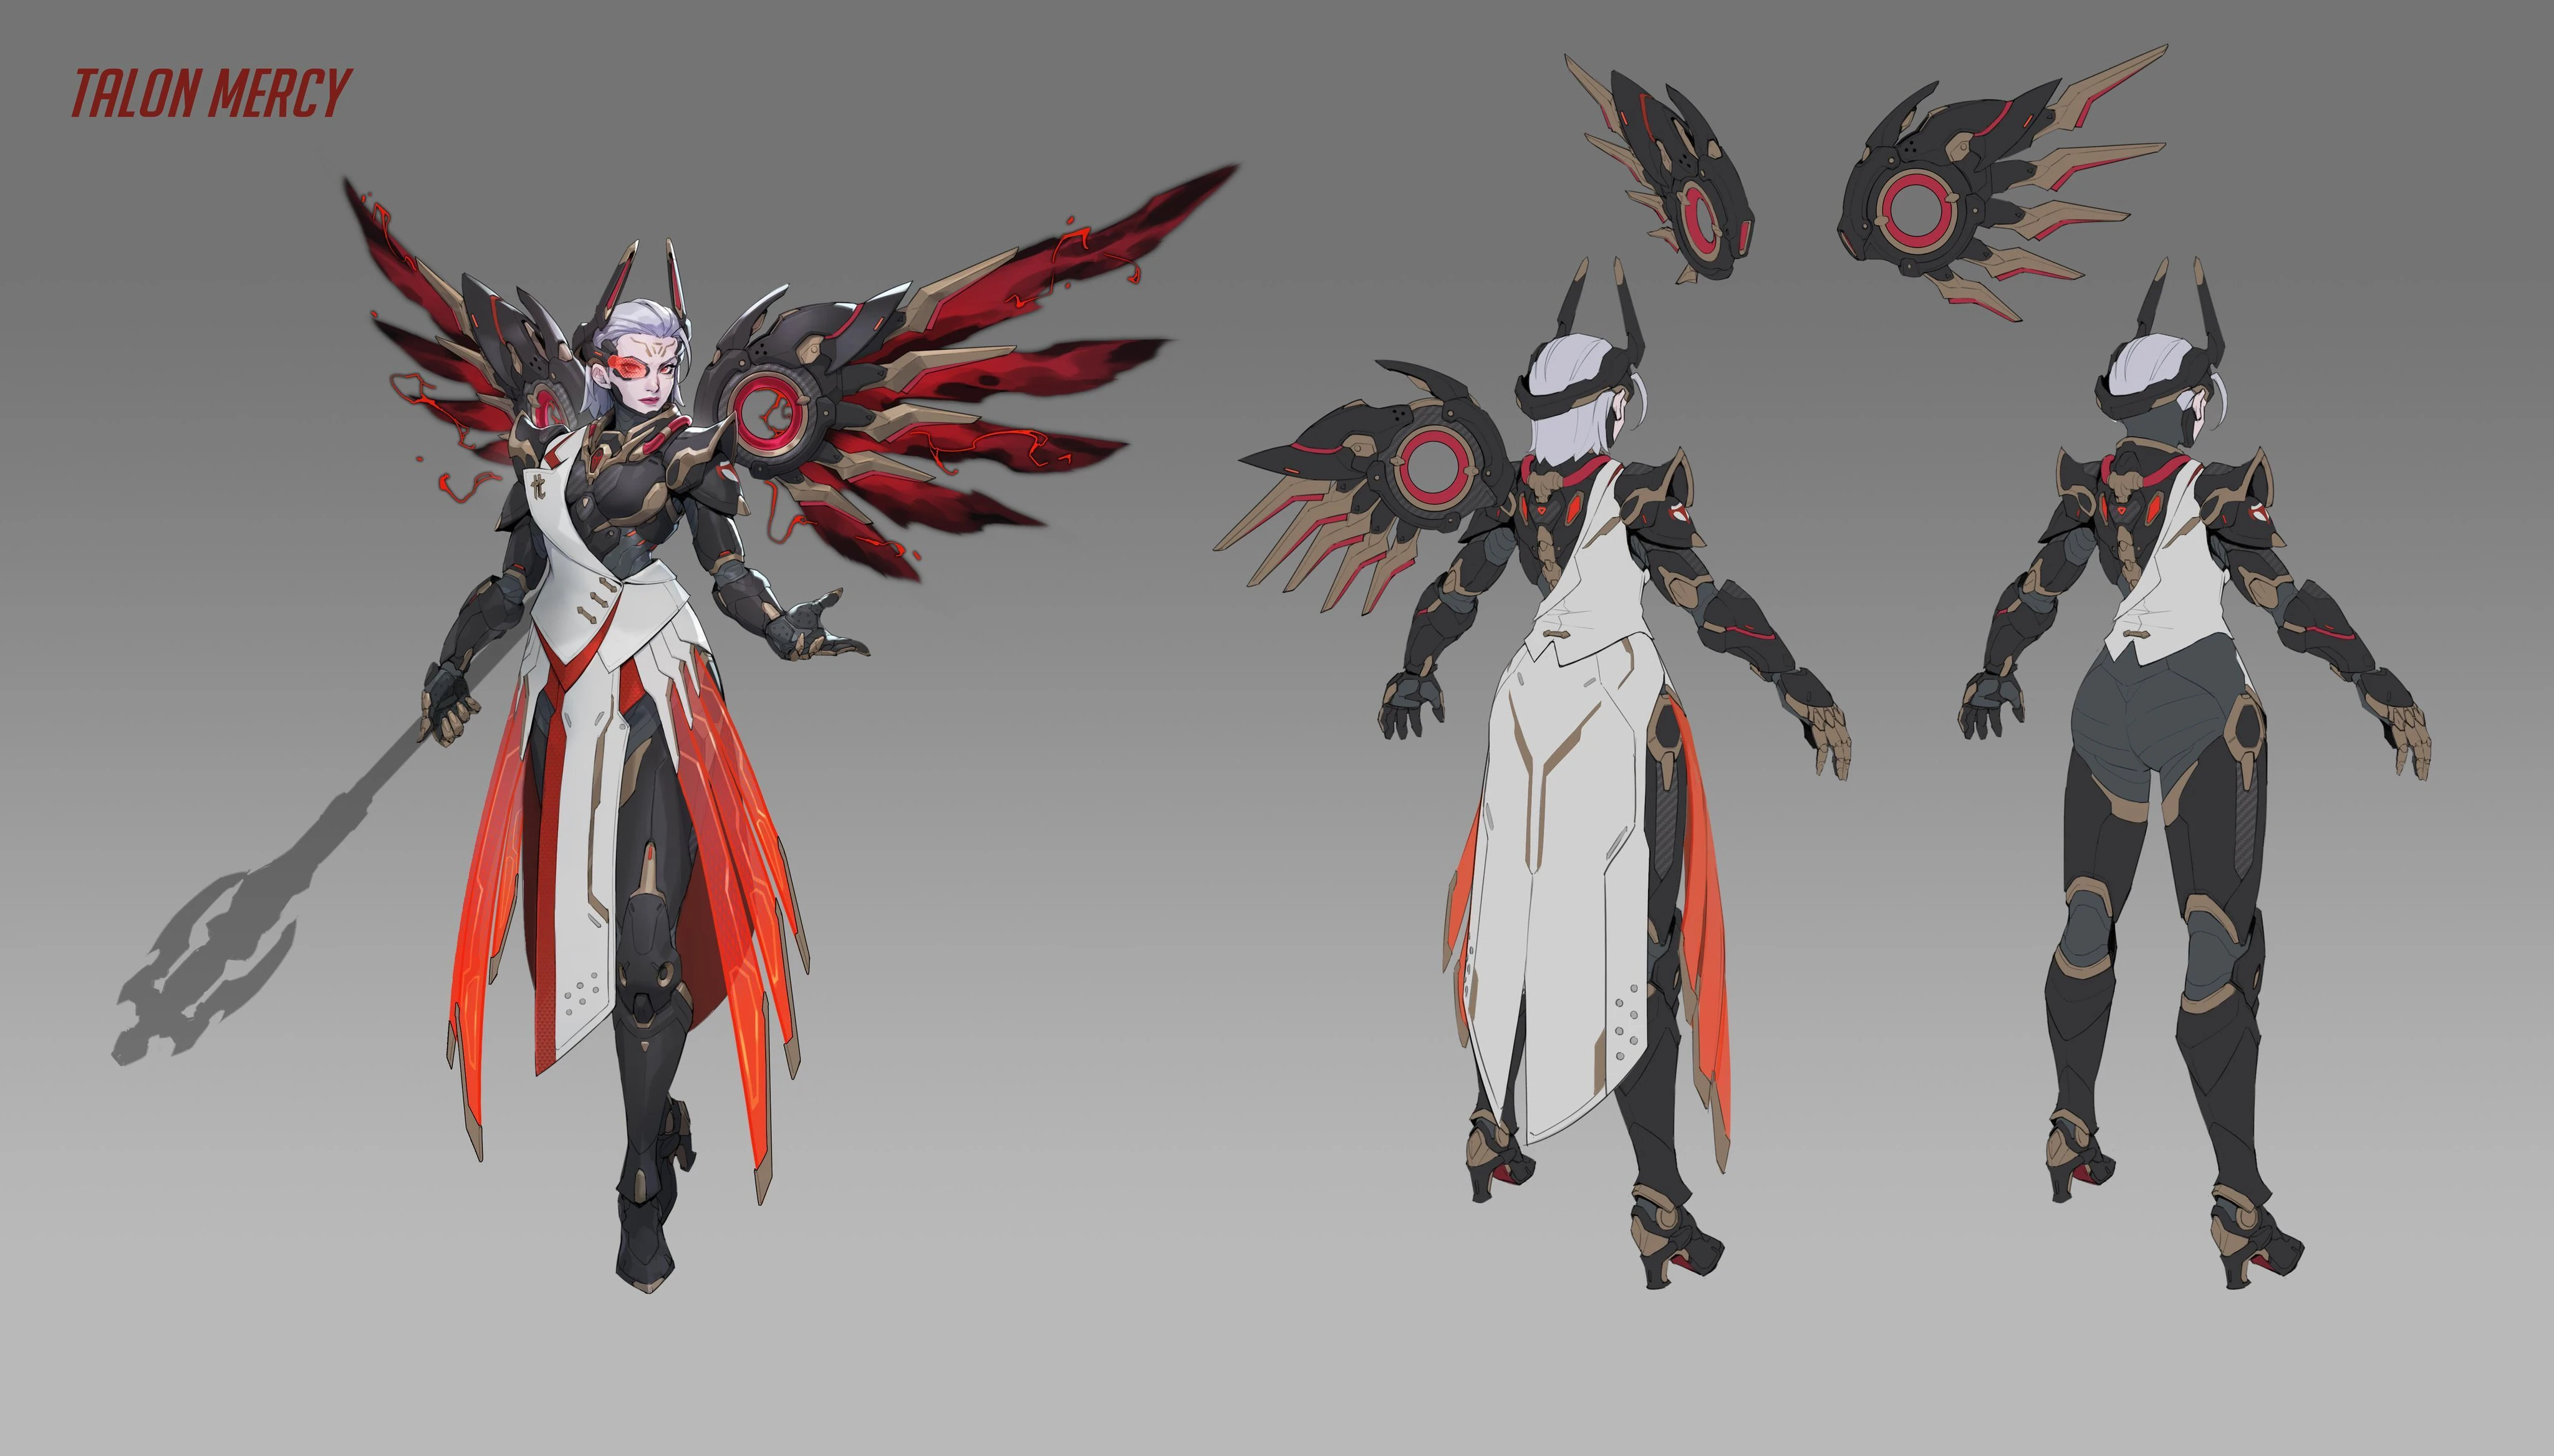
 Vengeance Skin Concept Art by Bobby Kim
 -
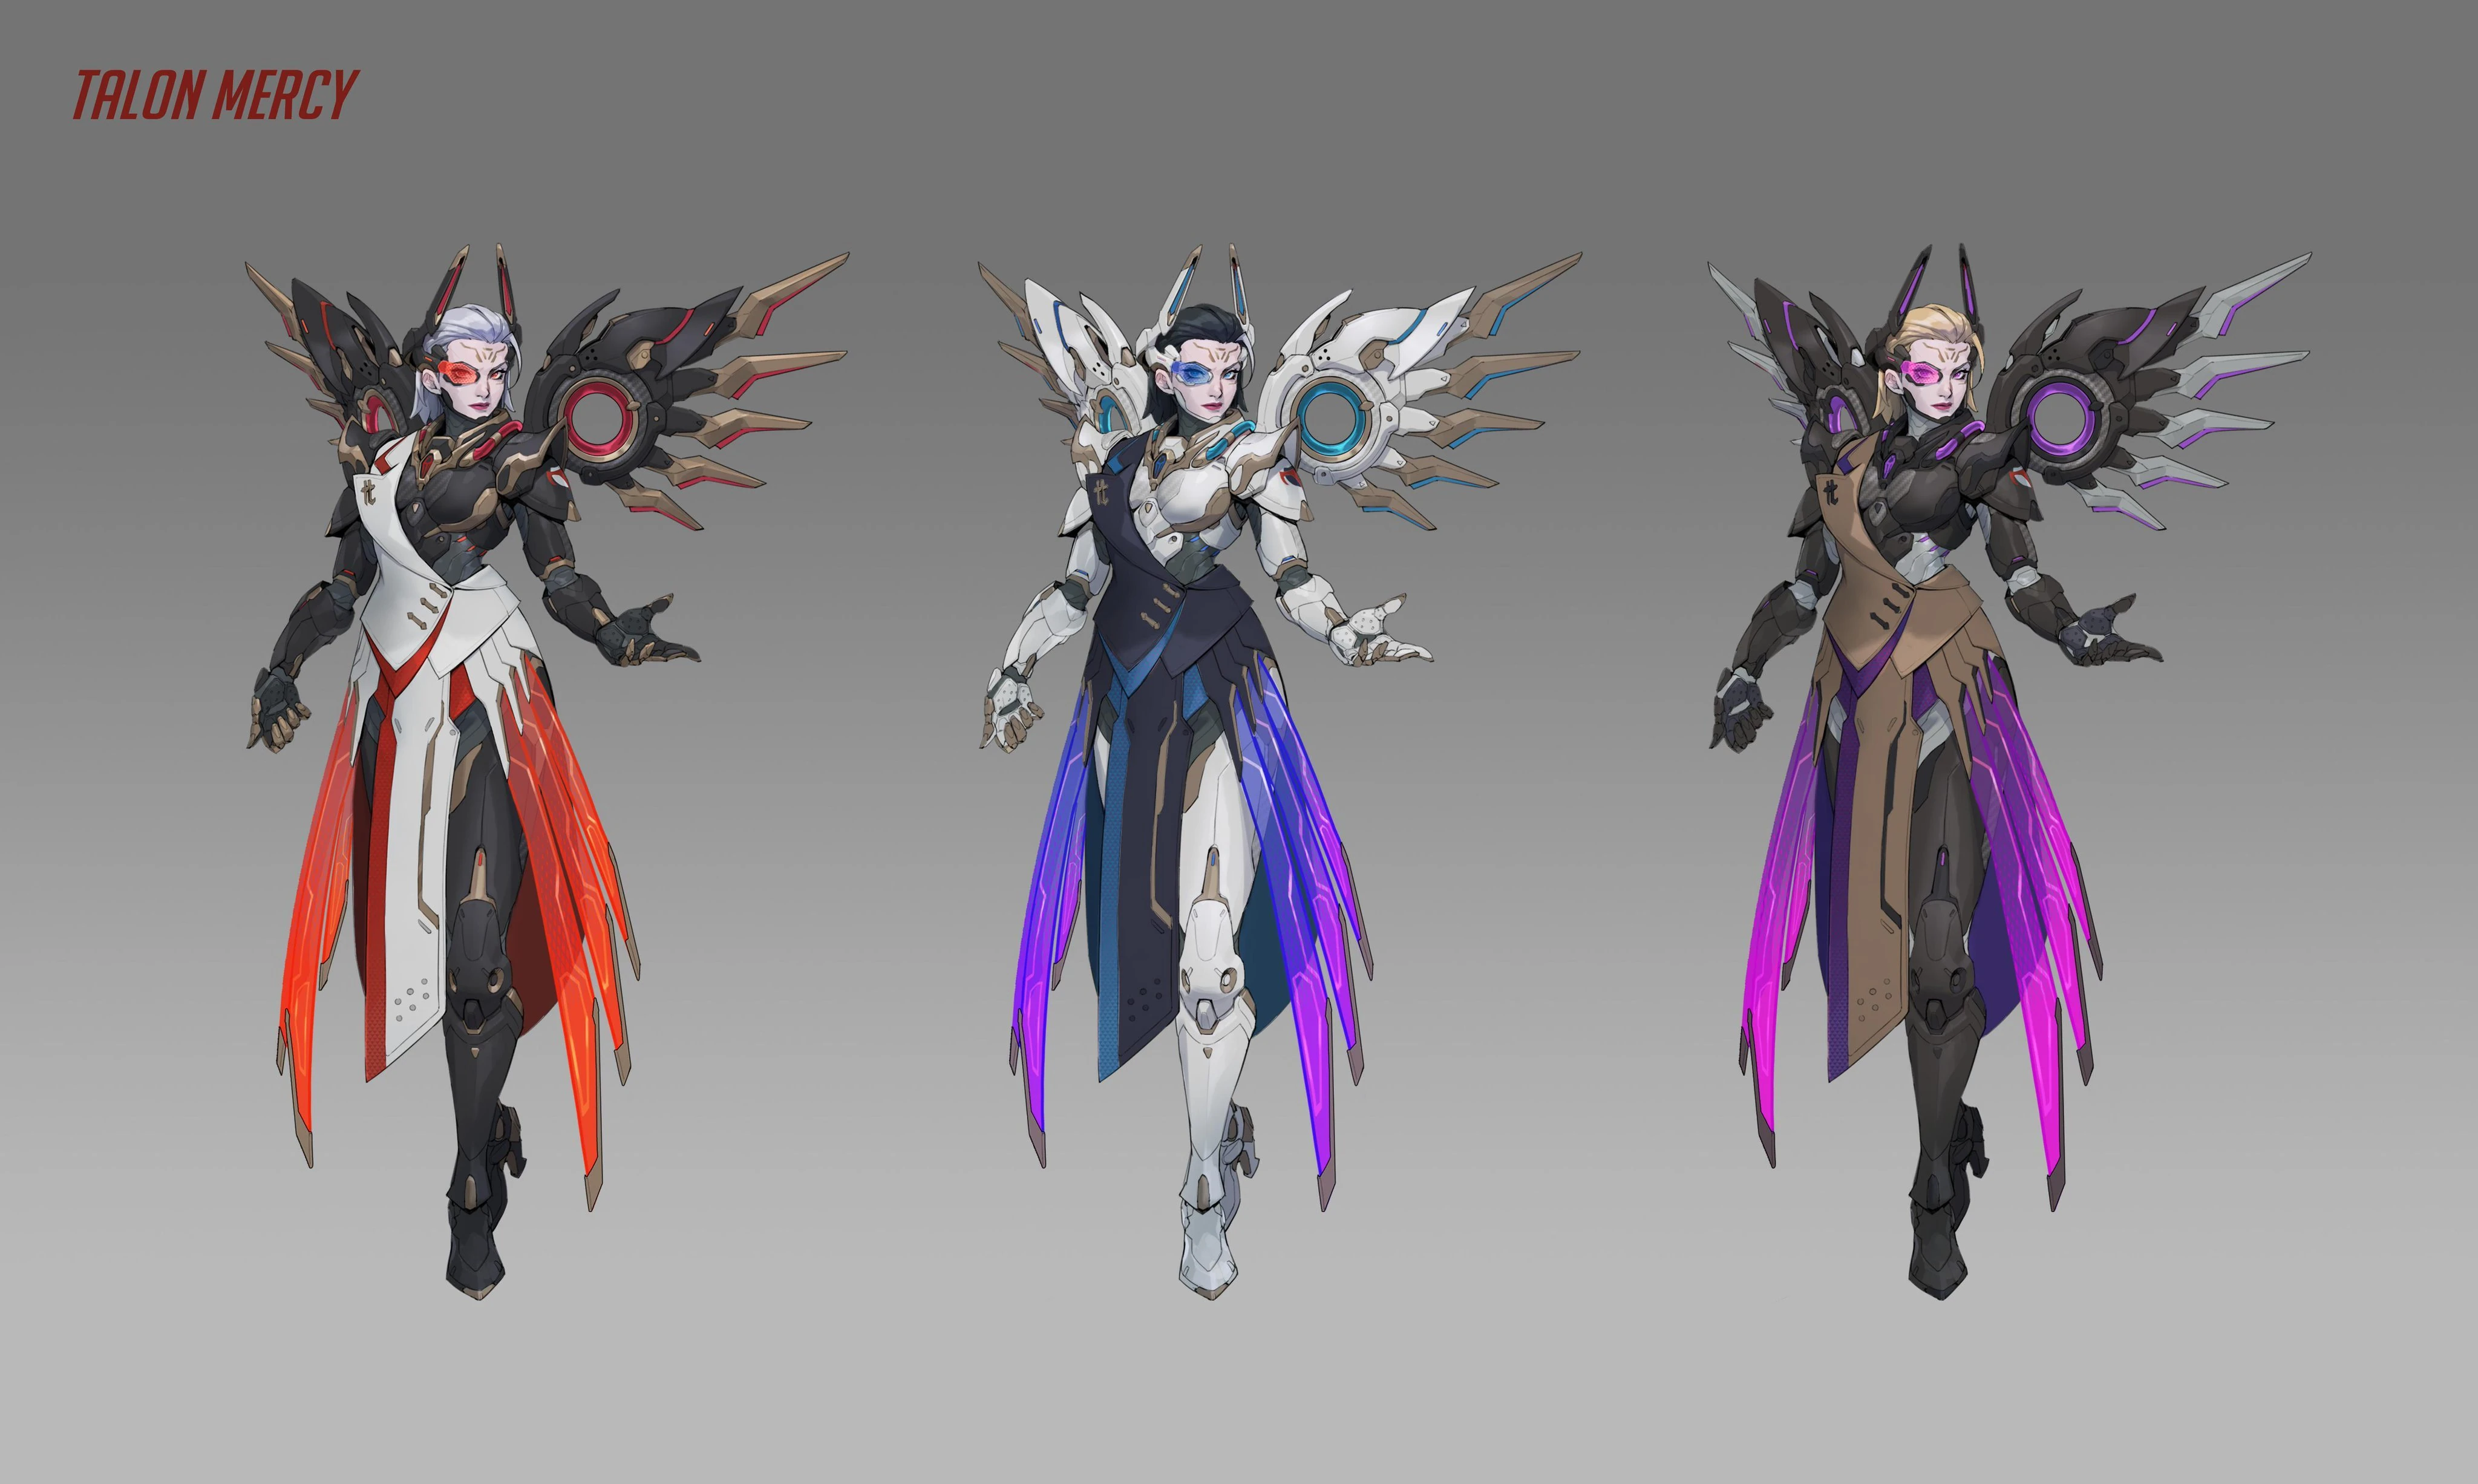
 Vengeance Skin Colors Concept Art by Bobby Kim
 -
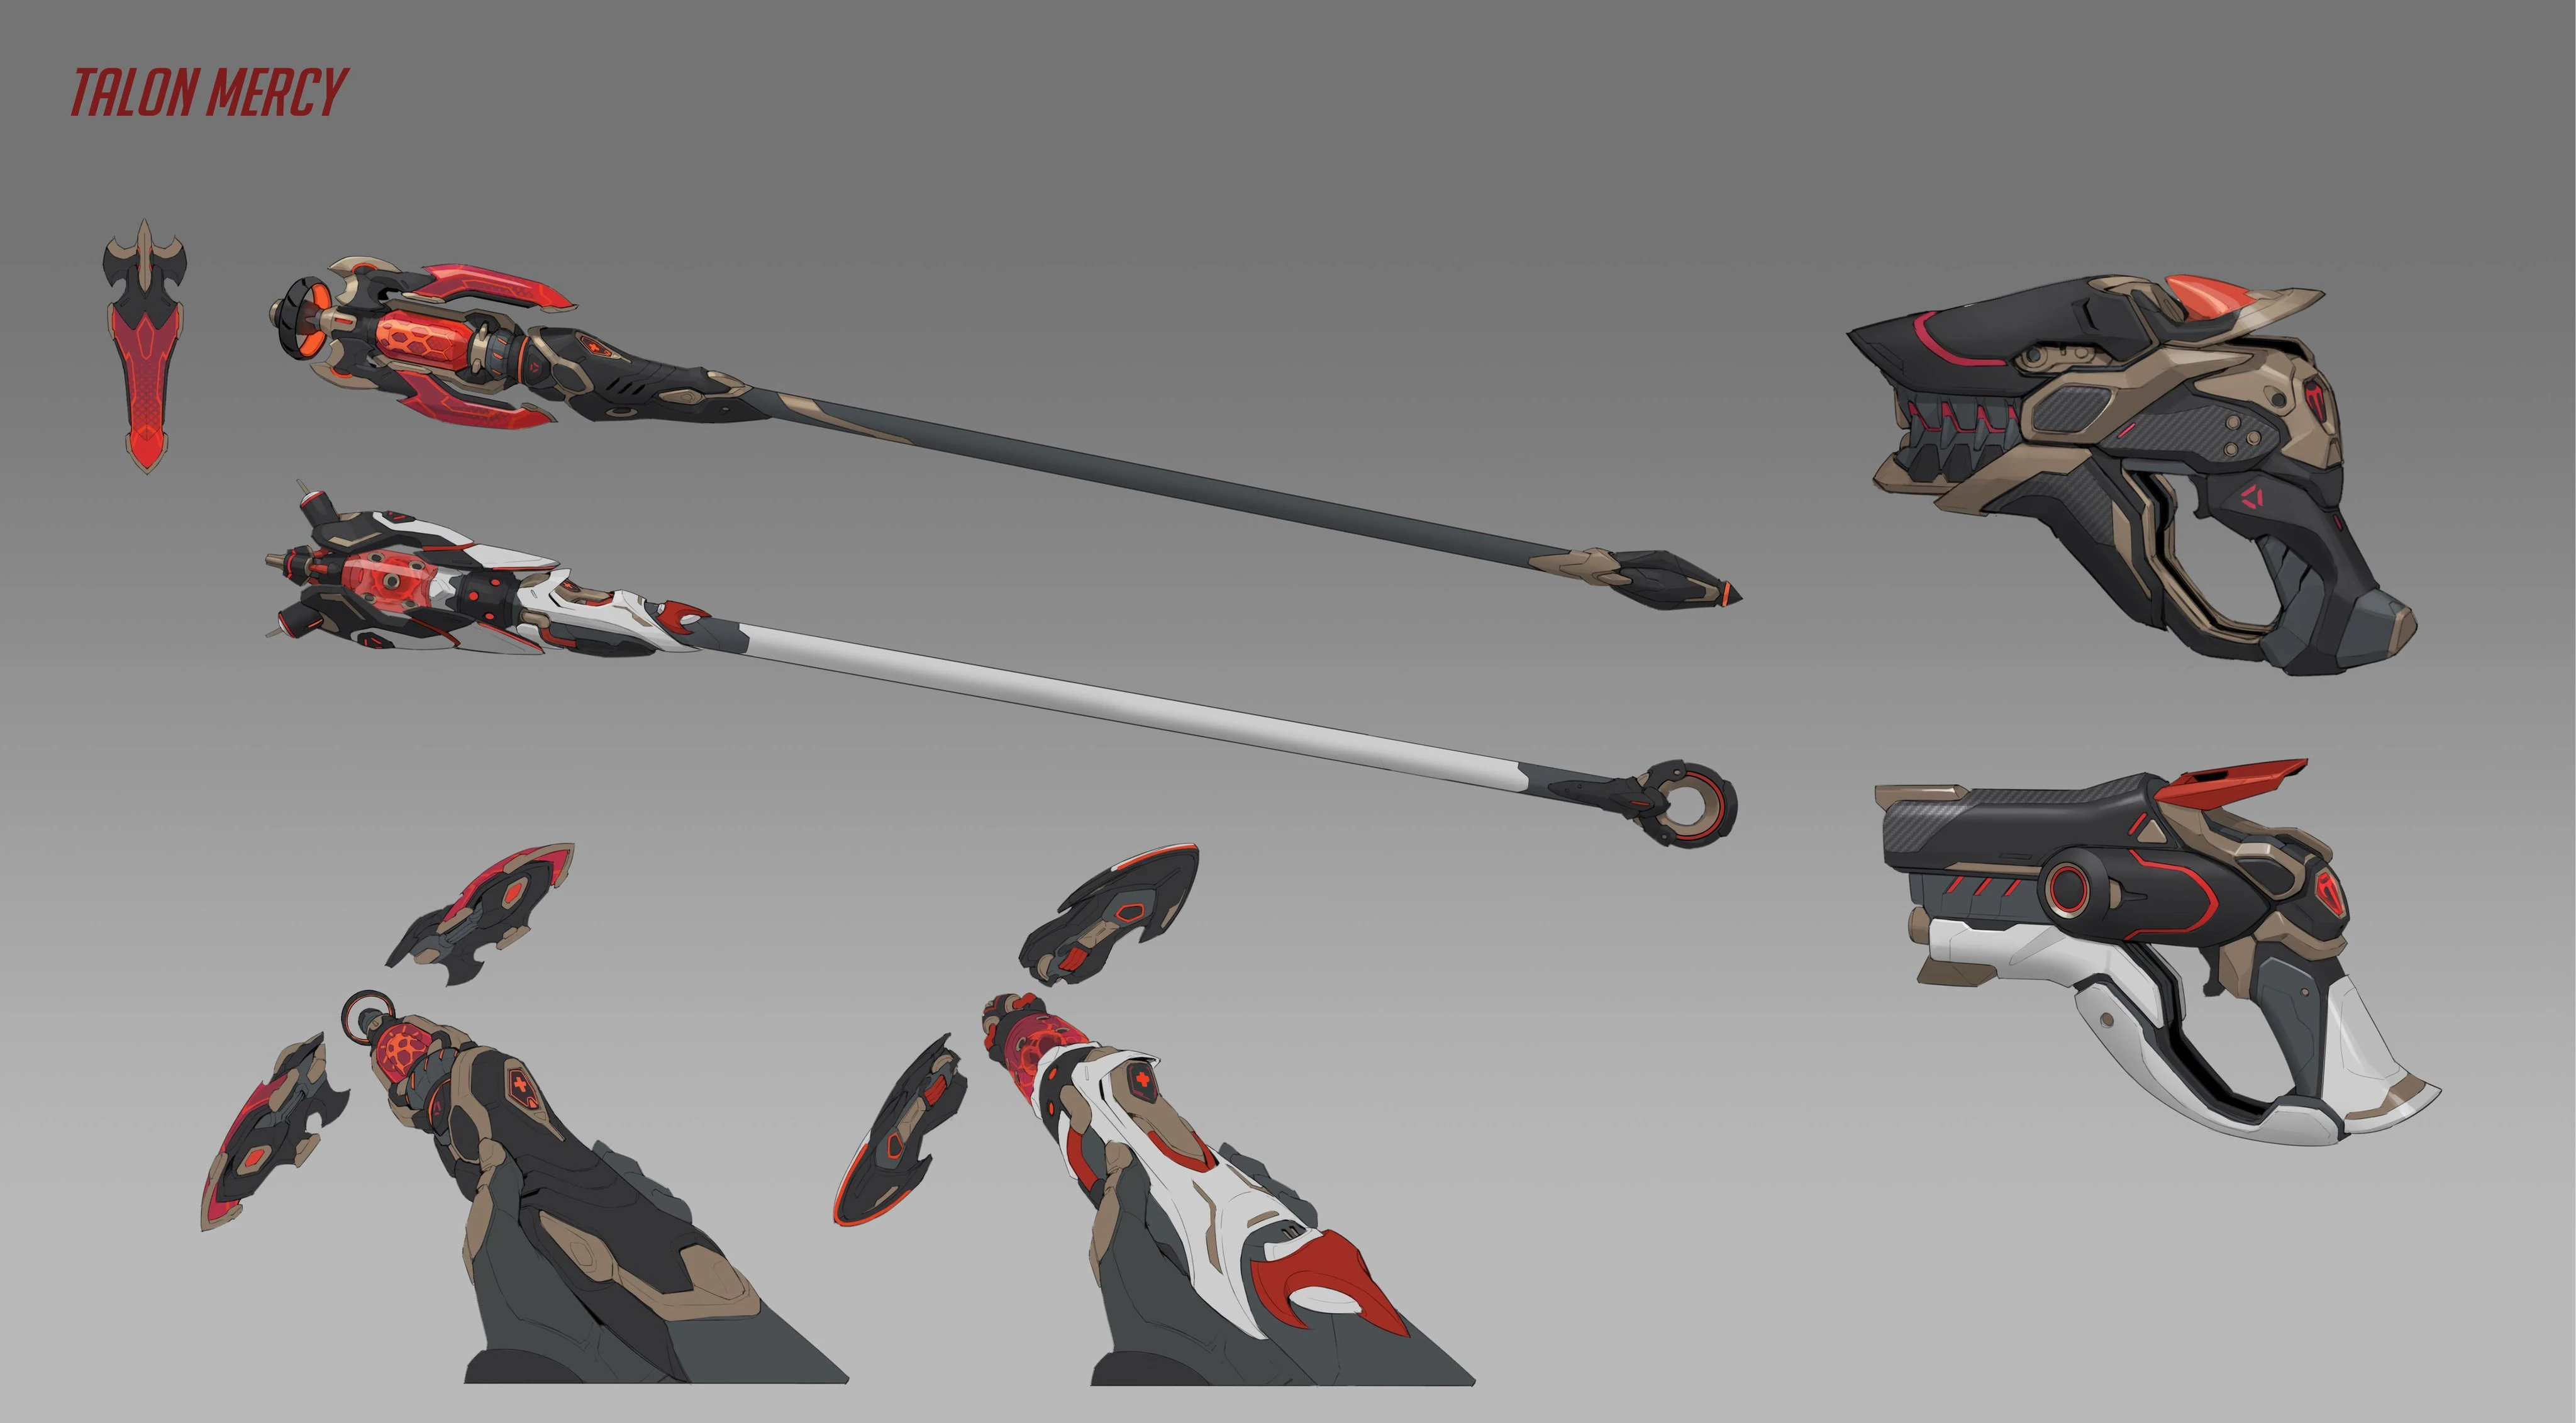
 Vengeance Skin Weapon Concept Art by Bobby Kim
 -
 Vengeance Skin Weapon Colors Concept Art by Bobby Kim
 -
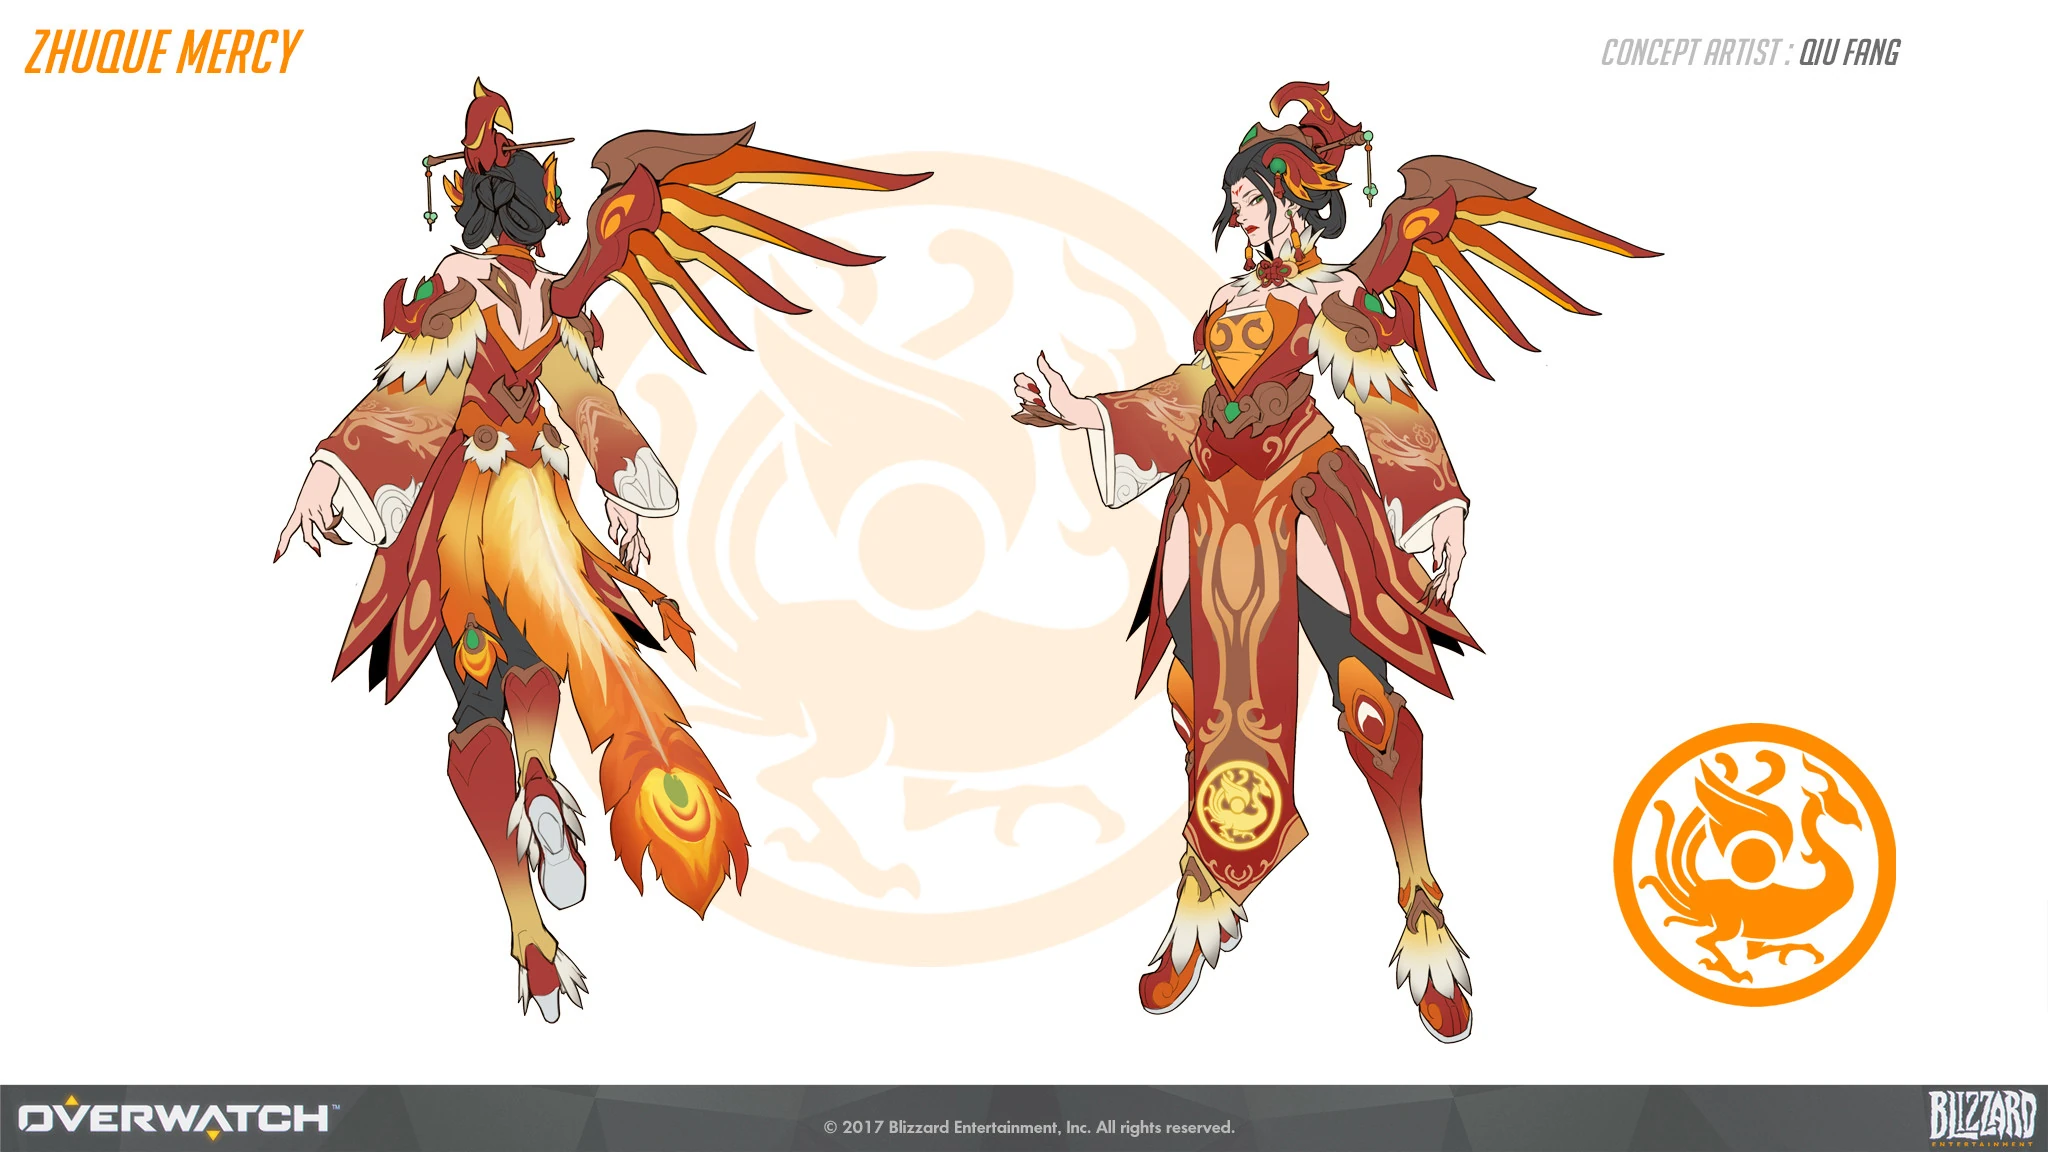
 Zhuque Skin Concept Art by Qiu by Qiu Fang
 -
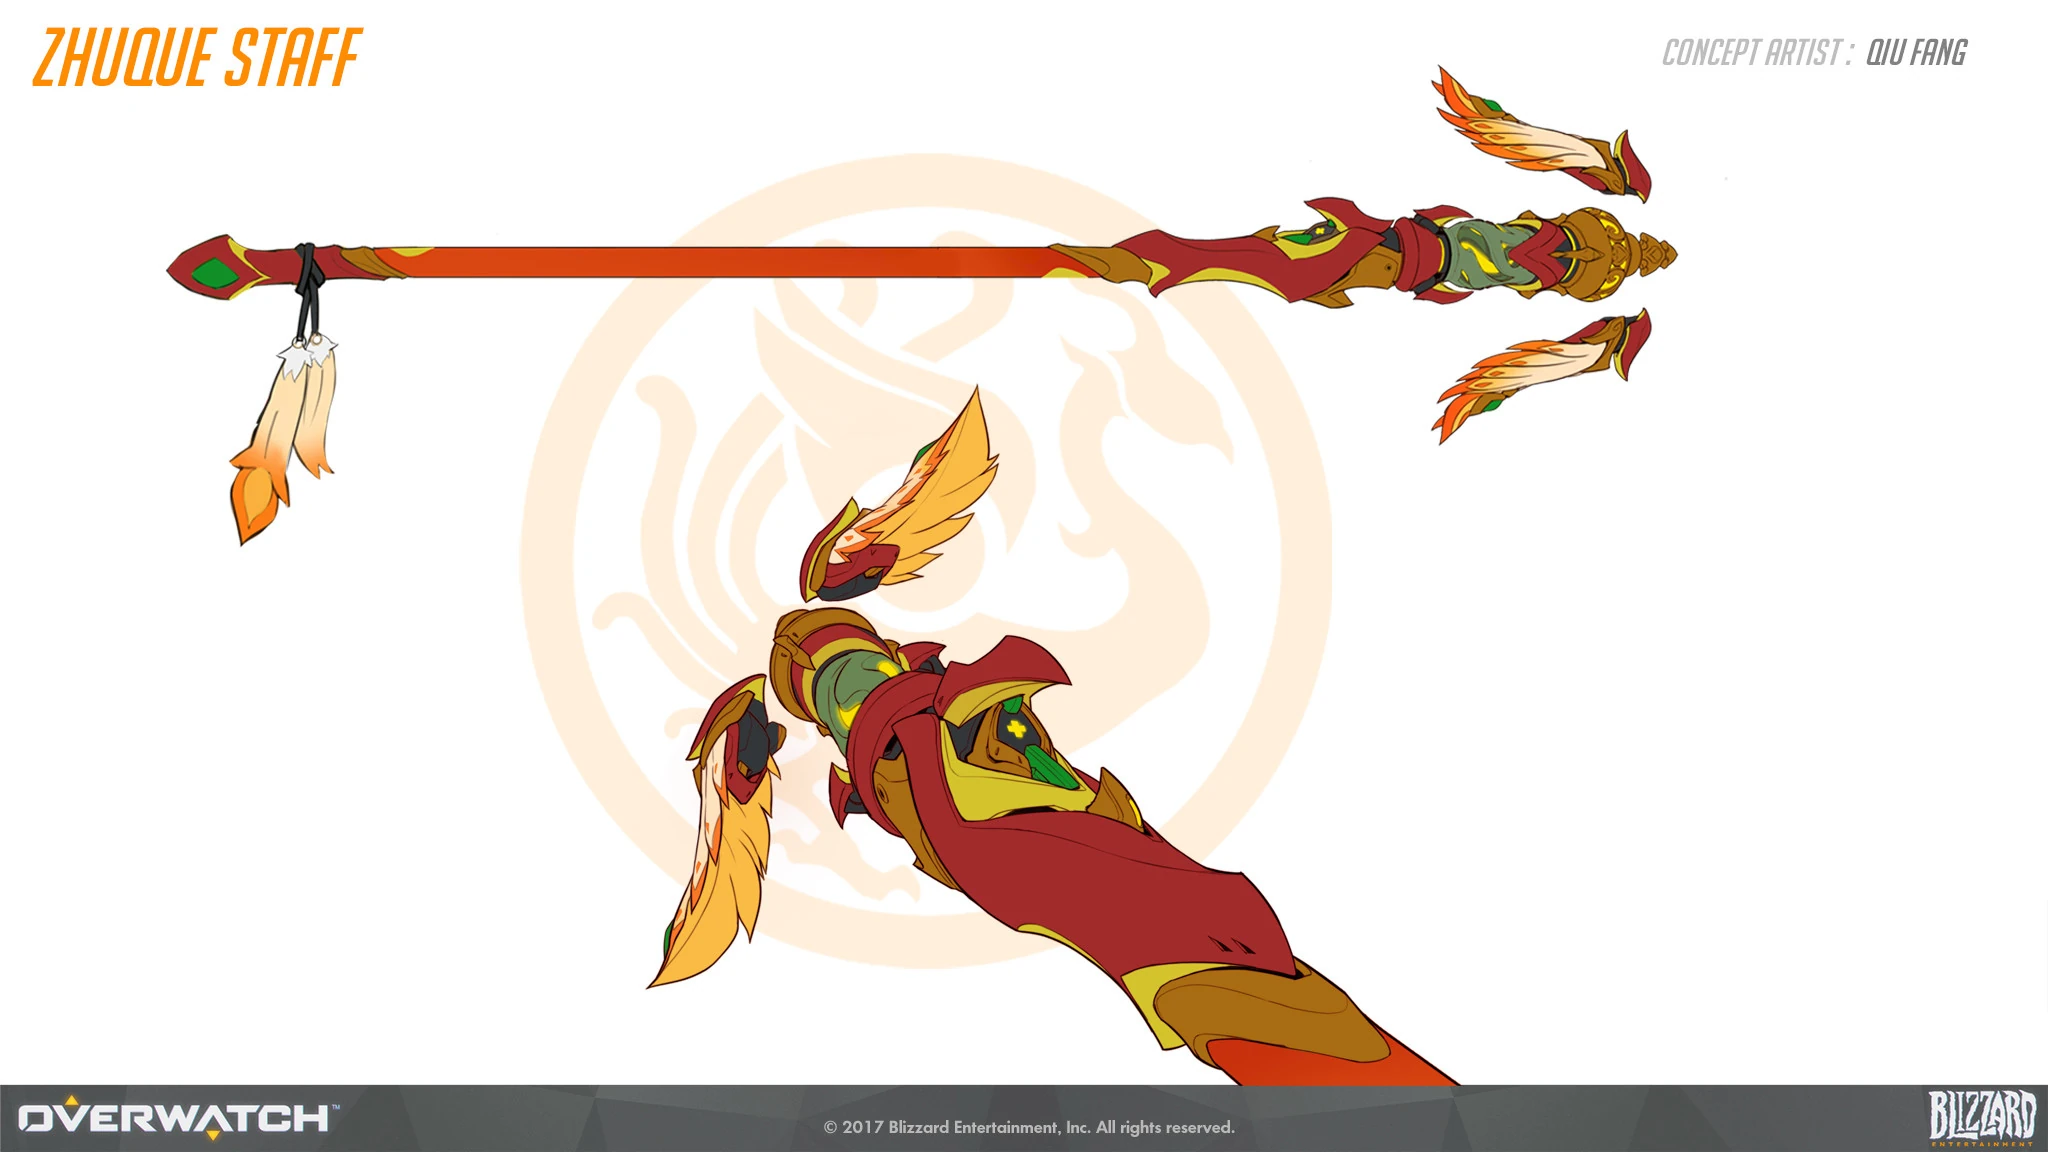
 Zhuque Skin Staff Concept Art by Qiu Fang
 -
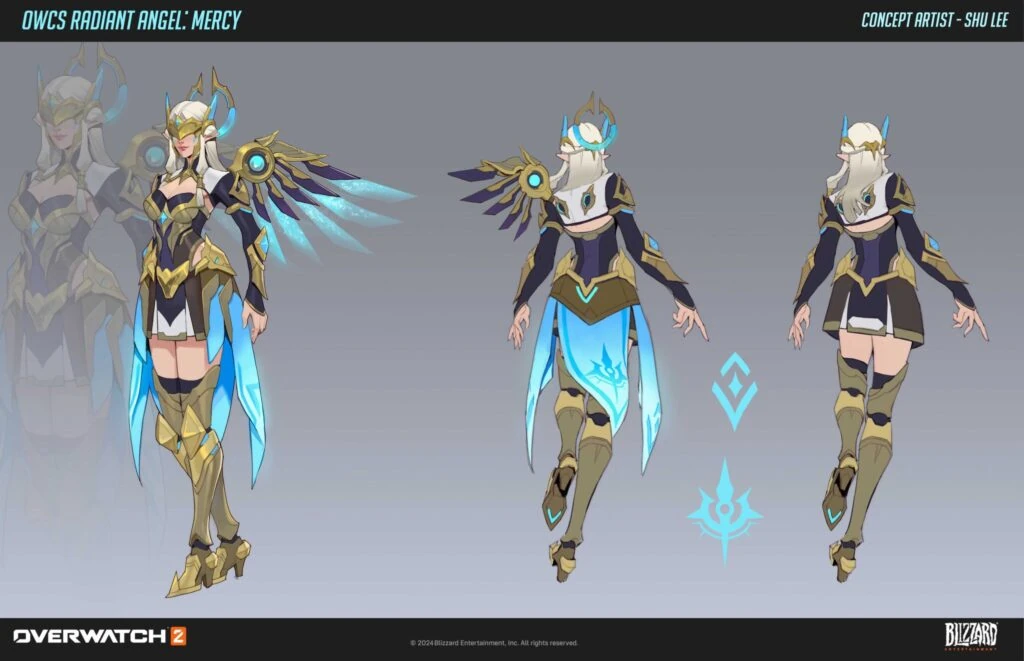
 OWCS Radiant Angel Mercy Skin Concept done by Shu Lee
 -
 Overwatch 2 Skin Concept Art
 -
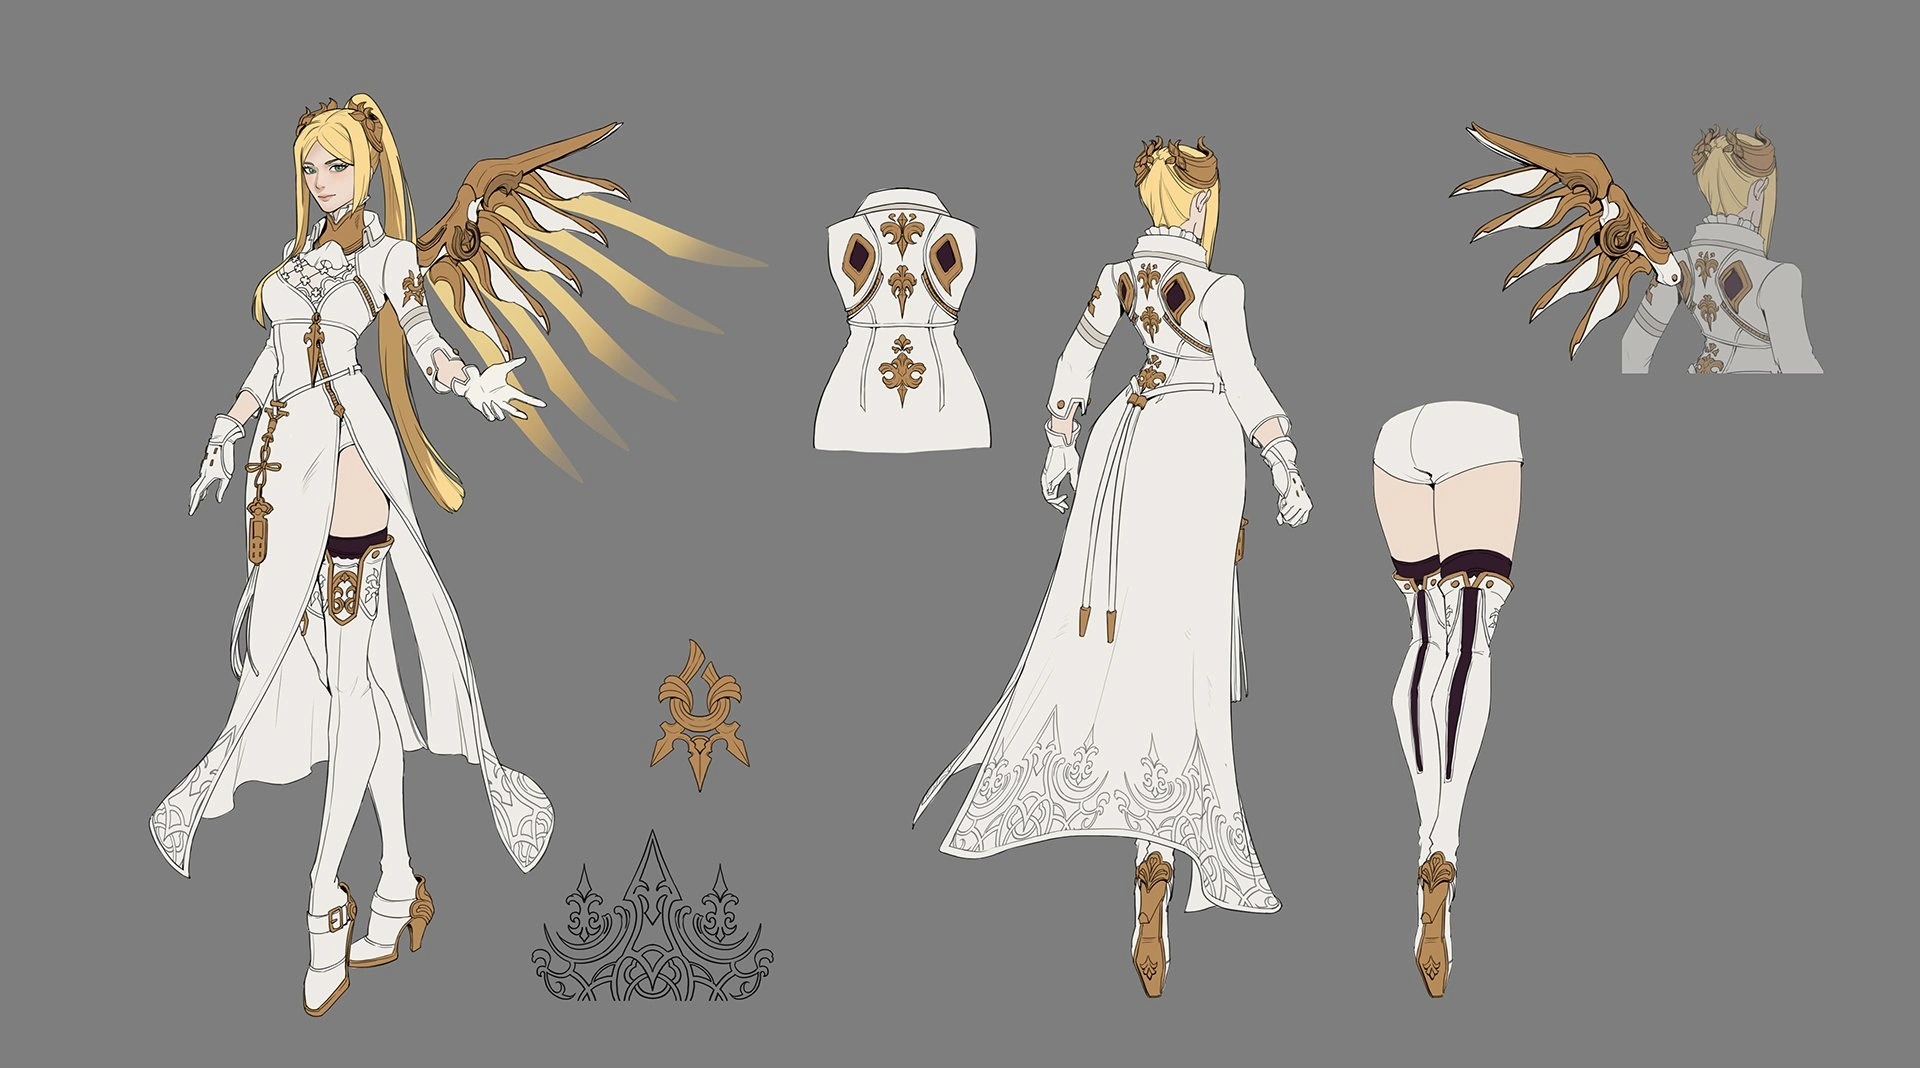
 Mercy Commander White Skin Concept Art
 -
 Mercy Commander White Skin Weapon Concept Art


Videos
Balance Change Logs
- For more information, see Patch Notes.
![]() Divine Momentum – Minor Perk
Divine Momentum – Minor Perk
- Removed.
![]() Winged Reach – Minor Perk
Winged Reach – Minor Perk
- New.
- Guardian Angel's range is increased by 30%.
- Launch speed increased by 10%. (Reverted to previous value)
- Flash Heal moved from Perk to Baseline ability.
- Cooldown reduced from 15 to 12 seconds.
- Base healing increased from 50 to 60.
- Healing multiplier on allies below 50% health reduced from 3x to 2x.
- Healing reduced from 60 to 55.
- Launch speed reduced by 10%.
![]() Double Dose – Major Perk
Double Dose – Major Perk
- New.
- Flash Heal gains an additional charge but its base healing is reduced by 10.
![]() Sympathetic Recovery – Passive
Sympathetic Recovery – Passive
- Removed.
![]() Swift Recovery - Passive
Swift Recovery - Passive
- Health regeneration begins sooner.
![]() Winged Reach - Minor Perk
Winged Reach - Minor Perk
- Removed.
![]() Divine Momentum - Minor Perk
Divine Momentum - Minor Perk
- New Minor Perk.
- Increases Mercy's travel speed by 15% after cancelling Guardian Angel.
- Removed.
- New Minor Perk.
- Mercy gains 100 overhealth after casting Resurrect.
- Flash Heal and Resurrect are no longer tied to each others' cooldowns. (undocumented)
- Flash Heal only restores 50 health, but triples its healing on allies below half health. (undocumented)
- The description has been changed to "Flash heal can be used on Caduceus Staff's active target to restore 50 health, tripled on allies below half health." (undocumented)
- Cast time reduced from 0.875 to 0.4 seconds.
- Hero Perks
- Mercy receives 15 health per second while Caduceus Staff is attached to a full health ally.
- Guardian Angel's range is increased by 30%.
- Secondary Fire links to a second nearby ally.
- Resurrect can be used on Caduceus Staff's active target to restore 150 health. Doing so incurs a 15 second cooldown.
- Base health reduced from 250 to 225.
- Primary fire healing increased from 55 to 60 health per second.
- Secondary fire damage boost increased from 25% to 30%.
- General updates
- Global projectile size modifier for travel time projectiles with a speed greater than 50 meters per second reduced from 0.1 to 0.075 meters.
- Base projectile size reduced from 0.25 to 0.2 meters. Total projectile size is now 0.3 meters.
- General updates
Most damage-dealing projectile sizes have been increased by a new global modifier added to their base size.
- +0.05 meters for hitscan projectiles with a high rate of fire or spread (e.g., Tracer's Pulse Pistols or Reaper's Hellfire Shotguns).
- +0.08 meters for hitscan projectiles that are more precise (e.g., Cassidy's Peacekeeper or Soldier:76's Heavy Pulse Rifle).
- +0.05 meters for travel time projectiles that are shotguns or have a very high rate of fire (e.g., Roadhog's Scrap Gun or Ramattra's Void Accelerator).
- +0.10 meters for travel time projectile with a speed greater than 50 meters per second (e.g., Zenyatta's Destruction Orb).
- +0.15 meters for travel time projectile with a speed less than or equal to 50 meters per second (e.g., Pharah's Rocket Launcher).
- Very large projectiles with a base size greater than 0.5 meters have been excluded from these increases (e.g., Orisa's Energy Javelin or Reinhardt's Fire Strike).
Hero combined HP (base health/armor/shields) increased by 15-25%.
- 150-175 HP heroes increased by 25 HP.
- 200-300 HP heroes increased by 50 HP.
- 300+ HP (Tanks) increased by 75-100 HP.
- Each hero's precise health increases are listed in their patch notes below.
Ultimate Charge
- All Ultimate ability costs increased by 10%.
Regenerative Passive for All Heroes
- All heroes now regenerate 20 health per second after 5 seconds of not taking damage.
Support Role Passive
- Now reduces the delay before regeneration begins by half (2.5 seconds).
Quick Melee
- Damage increased from 30 to 40.
- Hero updates
- Health increased from 200 to 250.
- Active duration on jump/crouch cancel reduced from 1.5 to 1 second.
- Health recovered increased from 25% to 40% of healing dealt.
- Activating Valkyrie no longer disconnects Caduceus Staff from its target.
- Secondary fire damage boost reduced from 30 to 25%.
The increased healing multiplier condition on Caduceus Staff was intended to help Mercy players feel more agency in trying to save critical-health allies and to add depth to the healing mechanic without changing the total time to heal to full health. However, the overall rebalance of the healing values received significant negative feedback, both from those playing as Mercy and those playing against it. There wasn't a satisfying middle ground where we could reduce the potency of this effect while still having it feel impactful, so we're reverting it.
- Healing-per-second increased from 45 to 55
- Healing is no longer increased for allies under half health
- Cooldown reduced from 2.5 to 1.5 seconds
- Jump and Crouch cancel active ability state duration increased from 1.0 to 1.5 seconds
- The Jump and Crouch cancel active ability state can no longer be manually interrupted to begin the cooldown early
- Support role passive healing is now active for the duration of Valkyrie
For the Caduceus Staff change, this will empower Mercy even more as a triage healer and enable her to more often save low health allies. The overall time it takes to fully heal a 200-health hero from 1 hp is about the same as before.
For Guardian Angel, the cooldown increase is necessary to reduce the greatly increased mobility resulting from the recent rework to the jump cancel. It enabled Mercy to quickly launch herself long distances in any direction and be overly evasive for such a short downtime.- Cooldown increased from 1.5 to 2.5 seconds
- Holding the backwards directional input and canceling the ability with Jump now moves 20% slower
- Healing-per-second reduced from 55 to 45
- Healing is increased by 50% for allies under half health
- "Regeneration" Passive removed
- NEW! Sympathetic Recovery (Passive)
- Mercy heals herself for 25% of healing done with the Caduceus Staff
- General
- Weapon swap time reduced from 0.5 to 0.35 seconds
- Ammo increased from 20 to 25
- Pressing Crouch during Guardian Angel now launches you straight up
- Can now be activated by holding Crouch while airborne
(beta)
- Mercy is no longer automatically launched upward when she reaches her destination
- The ability now has a meter that charges up while Guardian Angel is active
- Canceling the ability with Jump now launches Mercy in the direction she is facing
- The more charge she has, the more launch speed she’ll have when canceling Guardian Angel with Jump
- Holding the backward directional input and canceling Guardian Angel launches Mercy in the opposite direction
(beta)
- No longer can be canceled using crouch for a big vertical boost
- Now automatically launches you upwards if you reach the end of Guardian Angel
- Angelic Descent will now additionally slow ascent speed if held, not just descent speed
- This means you can dampen vertical knockbacks (such as Junkrat’s Concussive Mine) but also reduce the amount of height that the GA vert boost gives you
(beta)
- Can now also be canceled by using the crouch key. If this key is used to cancel the ability, Mercy will be launched high into the air.
(beta)
- Now increased the Support passive healing by 50%
General
- Baseline Damage Boost reduced from 30% to 20%
![]() Threads of Fate - Power
Threads of Fate - Power
- Additional Chain effectiveness reduced from 35% to 30%
![]() Tethered Tourniquet - Power
Tethered Tourniquet - Power
- No longer resets Buff duration when switching between Pistol and Staff
![]() Equivalent Exchange - Power
Equivalent Exchange - Power
- Added "Dealing 1000 [Caduceus Blaster] damage restores 1 charge of Resurrect."
![]() Battle Medic - Power
Battle Medic - Power
- Changed to "After swapping to [Caduceus Blaster], deal 20% increased damage and gain 20% Weapon Lifesteal for 1s for every 1s you spent tethered, up to 15s." from "Every 1s your Staff is attached, [Caduceus Blaster] gains +3% Attack Speed (stacks 10 times) until reloading or swap to your Staff."
- No longer resets Buff duration when reloading or when switching between Pistol and Staff
![]() Celestial Clip - Epic Weapon Hero Item
Celestial Clip - Epic Weapon Hero Item
- Cost reduced to 9000 (Down from 10000)
![]() Triage Unit - Power
Triage Unit - Power
- Changed to now increase all healing from mercy instead of just Caduceus Staff.
- Bonus healing reduced to 25% (down from 35%).
![]() Crepuscular Circle - Power
Crepuscular Circle - Power
- Removed.
![]() Threads of Fate - Power
Threads of Fate - Power
- Reduced chain effectiveness to 35% (down from 50%).
![]() Battle Medic - Power
Battle Medic - Power
- Attack Speed per stack reduced to 3% (down from 4%).
![]() Serenity - Power
Serenity - Power
- Reduced extra healing to 10% (down from 20%).
![]() Protective Beam - Power
Protective Beam - Power
- Added additional effect: Caduceus Staff stays tethered 1s longer to allies not in line of sight.
![]() Tethered Tourniquet - Power
Tethered Tourniquet - Power
- New Power.
- After swapping to Caduceus Blaster, Caduceus Staff automatically heals allies at 100% effectiveness for every 1s you spent tethered, up to 10s.
![]() Supply Surge - Power
Supply Surge - Power
- New Power.
- Reloading Caduceus Staff grants allies affected by it 20% Move Speed for 2s, restores 50% Ammo, and reduces their cooldowns by 3s. (10s Cooldown)
![]() Glass Extra Full - Rare Weapon Hero Item.
Glass Extra Full - Rare Weapon Hero Item.
- Changed to a Rare Weapon Hero Item (from a Power).
- 25 Health.
- 5% Attack Speed.
- Now grants up to 25 Overhealth when healing full health allies (down from 50).
- Cost: 4,500.
![]() Chain Evoker - Epic Survival Hero Item
Chain Evoker - Epic Survival Hero Item
- Changed to now grant 50 Health instead of 50 Armor.
![]() Angelic Acrobatics - Epic Ability Hero Item
Angelic Acrobatics - Epic Ability Hero Item
- Added 15% Ability Power.
- Cost increased to 11,000 (up from 10,000).
![]() Blessed Boosters - Epic Ability Hero Item
Blessed Boosters - Epic Ability Hero Item
- Changed to an Epic Ability Hero Item (from an Epic Survival Hero Item).
- Added 10% Ability Power.
- Reduced Health to 25 (down from 50).
- Introducing Stadium
- Tank Heroes: D.Va, Junker Queen, Orisa, Reinhardt, and Zarya.
- Damage Heroes: Ashe, Cassidy, Genji Mei, Reaper, and Soldier: 76.
- Support Heroes: Ana, Juno, Kiriko, Lucio, Mercy, and Moira.
- Mercy can now attempt to resurrect teammates who die over environmental death pits
- When resurrecting, the resurrect marker will now freeze in place for the duration of the resurrection
- Holding the ability button for resurrect while it's on cooldown will now attempt the resurrect once the cooldown finishes
Developer Comment: Previously, if a teammate died over a death pit their resurrect marker was hidden and fell into the pit. Now, Mercy will see their resurrect marker and can resurrect before it falls to the bottom.
- New Hero Setting: "Guardian Angel Target Priority Facing Target Only" (Previously "Guardian Angel Prefers Beam Target: Off")
- Guardian Angel will only ever fly to the ally you are aiming at.
- "Prefer Beam Target" (Previously "Guardian Angel Prefers Beam Target: On")
- Guardian Angel will fly to your beam target if you have one, if not it will attempt to use the ally you are aiming at.
- "Prefer Facing target" (NEW)
- Guardian Angel will fly to the ally you are aiming at. If there is not one, it will attempt to use your beam target.
- Behavior change
- Holding down the button for Guardian Angel while using "Toggle Guardian Angel: On", will now activate once a valid target is found
- Primary Fire: Healing per second increased from 50 to 55
- The extra beams created by Valkyrie now ignore enemy barriers
Developer Comment: This change will make Valkyrie makes Mercy’s beams consistent with how they work outside of the ultimate.
Damage Boost
- Damage boost is now applied when a projectile is fired rather than when it hits a target
Developer Comments: Previously, the effects of damage boosting were only accounted for if the damage-dealing hero was being boosted as they landed a hit. Now, damage is applied to the projectile as it is fired. This means the damage-dealing hero doesn’t need to be boosted when the projectile hits an enemy for the damage boost to be accounted for.
Knockback
- Knockback distance is now more consistent
- Heroes that are flying can now be knocked back and slowed
Developer Comments: Knockbacks are now less affected by how the enemy was moving when they were hit. Instead of having small or large knockbacks that depend on chance, knockbacks will feel similar regardless of the enemy’s movement leading up to the knockback. Allowing flying heroes, like Mercy when using her Valkyrie ability or D.Va using her Booster ability, to be properly knocked back makes for more fluid, realistic gameplay.
- Ultimate cost reduced 15%
- Healing per second increased from 50 to 60
Developer Comments: Mercy's ultimate was charging a bit too slowly after her base healing was reduced in a previous update. These changes should restore some of her ultimate’s strength and let it build up more quickly.
- Healing beam reduced from 60 healing per second to 50 healing per second
Developer Comments: Mercy’s previous healing output made her nearly irreplaceable in any team composition. Even after this change she will still be able to deliver more healing over the course of a match than any other support hero, but it should allow for other healers to be more viable.
- No longer shows enemies’ health bars unless they have taken damage
Developer Comment: This helps remove some clutter from Mercy players’ screens when they use her ultimate
- No longer makes Resurrect instant
- No longer grants a bonus Resurrect charge
- The speed bonus Guardian Angel receives when activating Valkyrie has been decreased by 50%
- Duration reduced from 20 seconds to 15 seconds
Developer Comments: Mercy’s recent Resurrect changes have helped in allowing enemies to have more counter play in dealing with her, but she was able to use Resurrect through Valkyrie enough to largely mitigate the impact of the previous changes. Additionally, we’re toning back the amount of mobility Valkyrie provides through Guardian Angel and reducing its duration to overall reduce the power of this ability.
- Increased visual readability of Mercy's healing and damage boosting beams
- Cast time increased from 0 seconds to 1.75 seconds
- Mercy's movement speed is now reduced by 75% while casting
- Can now be interrupted when Mercy is knocked back, stunned, or hacked
- While active, Resurrect no longer has a cast time
- While active, casting Resurrect does not reduce Mercy's movement speed
Developer Comment: We feel that Mercy’s recent rework has been successful, but her Resurrect ability still feels too strong and frustrating to play against. Now that it has a cast time, enemies are more able to counter the ability. However, Resurrect will cast instantly when Valkyrie is active. This should make her feel powerful when she transforms on the battlefield.
- Players can now glide past a targeted ally using the jump key
- Cooldown no longer resets when Resurrect is activated
- No longer resets or reduces Resurrection’s cooldown
- Now gives players a bonus resurrection charge
Developer Comment: Valkyrie no longer resets or reduces Resurrect’s cooldown. Instead, it now provides an extra 'charge,' allowing you to revive an ally even if it is still on cooldown. If the bonus charge hasn’t been spent when Valkyrie ends, it will be removed.
This method makes Resurrect more flexible when used with Valkyrie. For example, in the past if you wanted to resurrect two teammates, you had to revive the first target, then activate Valkyrie (causing the Resurrect’s cooldown to reset), and then revive the other target. With this change, you can now activate Valkyrie and fly in quickly to resurrect both targets instantly.
However, this still reduces the overall number of Resurrects that Mercy can provide, since Valkyrie no longer reduces its cooldown.
- Ability now targets a single player, instead of every player within a radius
- Radius reduced to 5 meters
- Ability cooldown is 30 seconds
- Mercy is no longer granted invulnerability while Resurrect is active
![]() Valkyrie (New Ultimate Ability)
Valkyrie (New Ultimate Ability)
- Valkyrie unleashes the full power of Mercy’s Valkyrie suit, enhancing her weapons and abilities for 20 seconds
- Caduceus Staff: Mercy’s healing and damage boost beams now affect all allies near the targeted teammate, and the staff’s effective range has been extended
- Caduceus Blaster: Now has infinite ammo and increased projectile speed
- Guardian Angel: Increased range and movement speed
- Resurrect: Cooldown is instantly reset when Valkyrie is activated and reduced to 10s after the initial cast
- Hover: Mercy gains the ability to fly freely, at increased movement speed
- Regeneration (Passive): No longer interrupted when Mercy takes damage
Developer Comment: While resurrecting downed allies is a core part of Mercy’s gameplay, the way her Ultimate functioned was causing a number of problems. It was frustrating to play against, and it incentivized Mercy players to hide away from important battles, instead of taking part in them. This version turns Resurrect into a single target ability. It’s still an important part of Mercy’s kit, but plays much better for both Mercy players and her enemies. Valkyrie, her new Ultimate, gives her the opportunity for big game-making plays and opens a number of new options for her.
- The amount of increased damage that’s done when boosting another player is now tracked under the match statistics and on the Career Profile page
- New Hero Option: Guardian Angel Sensitivity
- Allows players to adjust Guardian Angel’s targeting sensitivity
- New Hero Option: Beam Sensitivity
- Allows players to adjust targeting sensitivity on Mercy’s Caduceus Staff beams
- While performing a resurrection, Mercy now becomes temporarily invulnerable along with the allies being revived
- Zenyatta can no longer be targeted while Transcendence is active
Developer Comments: Mercy’s Resurrect has always been very powerful, but it often forces her to sacrifice herself to use it well. There have been changes in the past that attempted to help her in this area, but haven’t done enough to solve it. This change means that once she uses the ability, she will always survive long enough to be with her team again.
- Passive health regeneration now activates when Mercy avoids taking damage for 1 second (formerly 3 seconds)
Developer Comments: This change allows Mercy to survive more easily by evading enemy fire.
- Healing Beam: Healing-per-second has been increased by 20%
- Resurrected allies will be able to maneuver after 2.25 seconds (reduced from 3 seconds)
Developer Comments: Resurrection now allows teammates to jump back into the fight more quickly, which should help Mercy survive after activating her ultimate. Mercy's healing is also getting a boost to solidify her role as a strong, single-target healer.
- Damage Boost: Effect will no longer stack with bonus damage provided by another Mercy
- Ultimate charge cost increased by 30%
- Movement is no longer prevented during activation
- Guardian Angel instantly resets upon use
Developer Notes: Mercy's ultimate is one of the most powerful abilities in the game; however, players would often fly into the fray and die while using it. With this update, Resurrect will now take a bit longer to charge, but Mercy will be a lot safer when activating the ability in the middle of combat.
References
- ↑ 2022, Who was Christiane Louise? Death of Brazilian voice actor shocks Overwatch fans. The Focus, accessed on 2023-02-09
- ↑ 2016-03-26, Blizzard Patches Masturbation Gag Out Of Overwatch. Kotaku, accessed on 2016-03-26
- ↑ 2016-09-08, "I wrote a message to Blizzard, asking if I could marry Mercy... This was their response..." Reddit.
- ↑ Game.come - Overwatch Origins Edition. Retrieved on November 5, 2015.
- ↑ May 2016 publication on the official Overwatch Facebook account (Portuguese)
- ↑ Cite error: Invalid
<ref>tag; no text was provided for refs namedMercy Quotes - ↑ What You Left Behind
- ↑ 2017-11-12, BlizzCon 2017 Overwatch: What’s Next Panel Transcript. Blizzplanet, accessed on 2017-11-19
- ↑ Overwatch 2, Sigma Quotes
- ↑ 2018-02-19, New Overwatch toys and figurines coming to Toy Fair 2018. Blizzard Watch, accessed on 2018-02-20
- ↑ 2018-10-09, OVERWATCH HALLOWEEN TERROR GEAR AVAILABLE NOW. Blizzard Entertainment, accessed on 2018-10-10
- ↑ Mercy Statue, Blizzard Store. Accessed on 2018-04-07
- ↑ 2018-11-02, BLIZZARD GEAR: PAST, PRESENT & FUTURE PANEL UNVEILS LOTS OF NEW GEAR. Blizzpro, accessed on 2018-11-16
- ↑ 2019-02-08, OK, We Can Shut Down Overwatch Toys Now. Kotaku, accessed on 2019-02-13
- ↑ Blizzcon 2017, Overwatch: Archives
- ↑ Overwatch Beta Patch Notes – March 8, 2016
- ↑ 2016-10-14, My Servants Never Die (Petition) Battle.net forums, accessed on 2016-10-26.
External links
| Heroes in Overwatch
| ||||||||
|---|---|---|---|---|---|---|---|---|
Tank |
 Bruiser |
|||||||
 Initiator |
||||||||
 Stalwart |
||||||||
Damage |
 Flanker |
|||||||
 Recon |
||||||||
 Sharpshooter |
||||||||
 Specialist |
||||||||
Support |
Medic |
 Mercy |
||||||
 Survivor |
||||||||
 Tactician |
||||||||


