Pharah is a Recon Damage hero in Overwatch. She is one of the 21 heroes included in the game's release on 24 May 2016.
Overview
Hero Selection
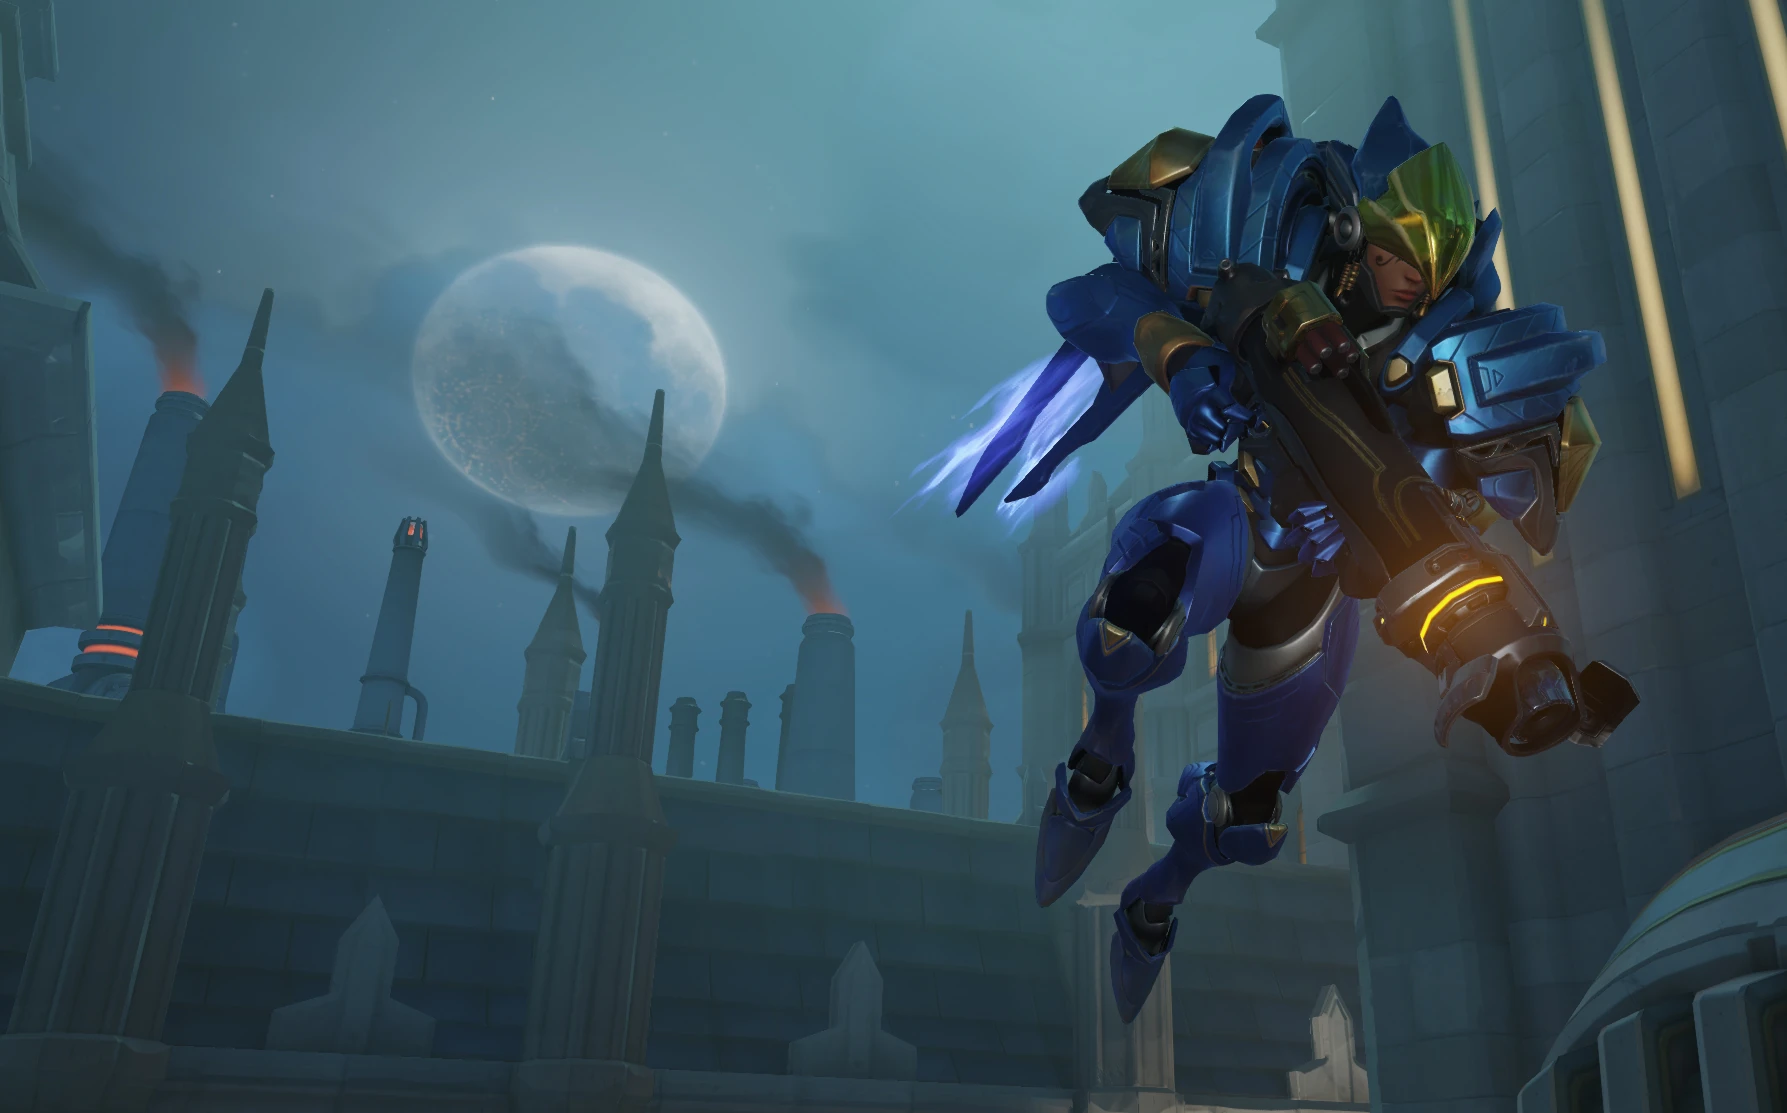
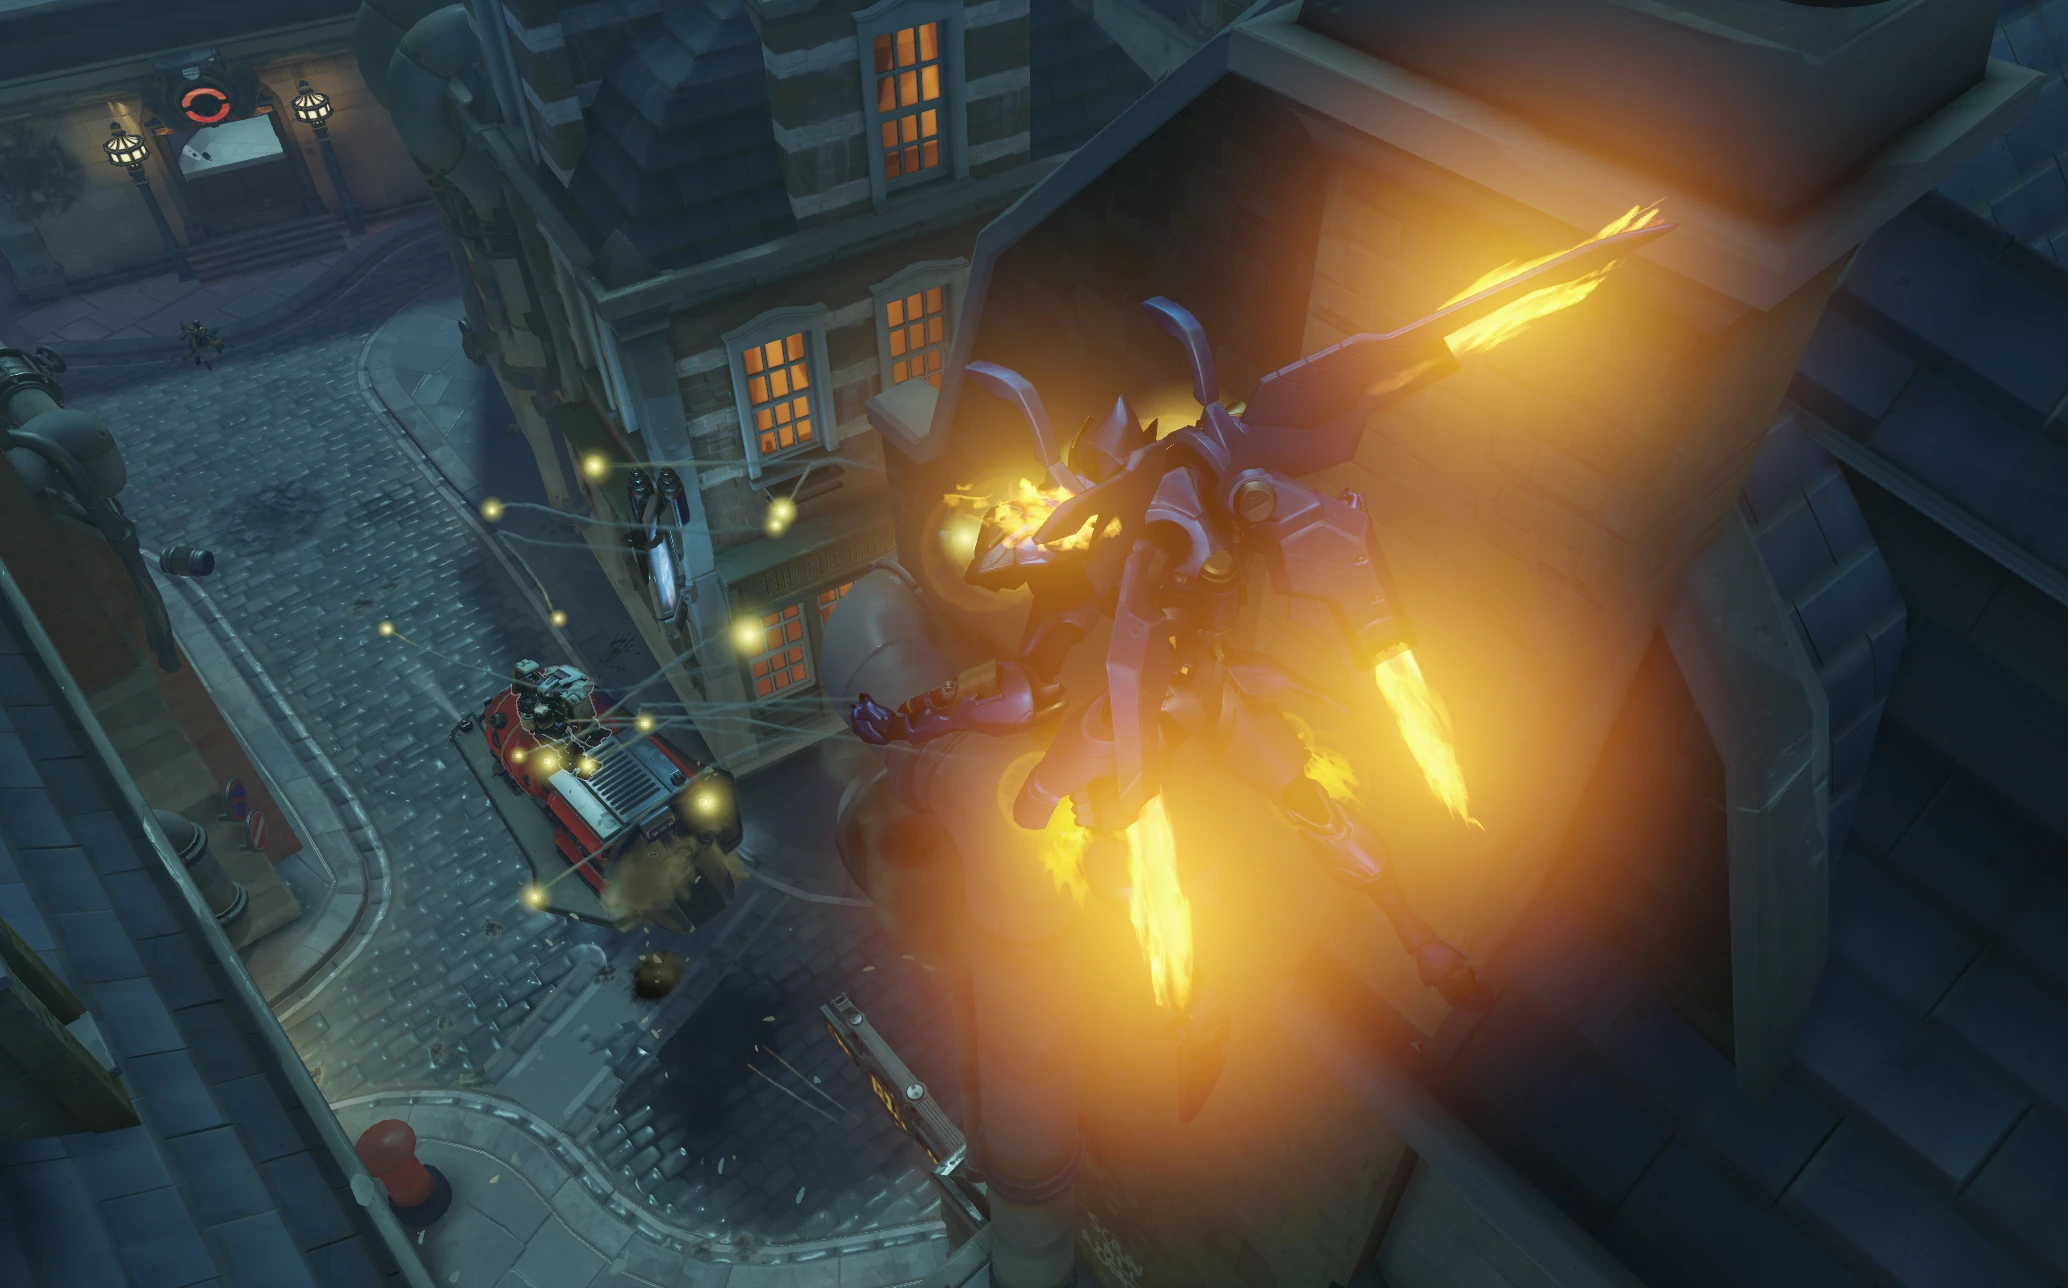
Soaring through the air in her combat armor, and armed with a launcher that lays down high-explosive rockets, Pharah is a force to be reckoned with.
-
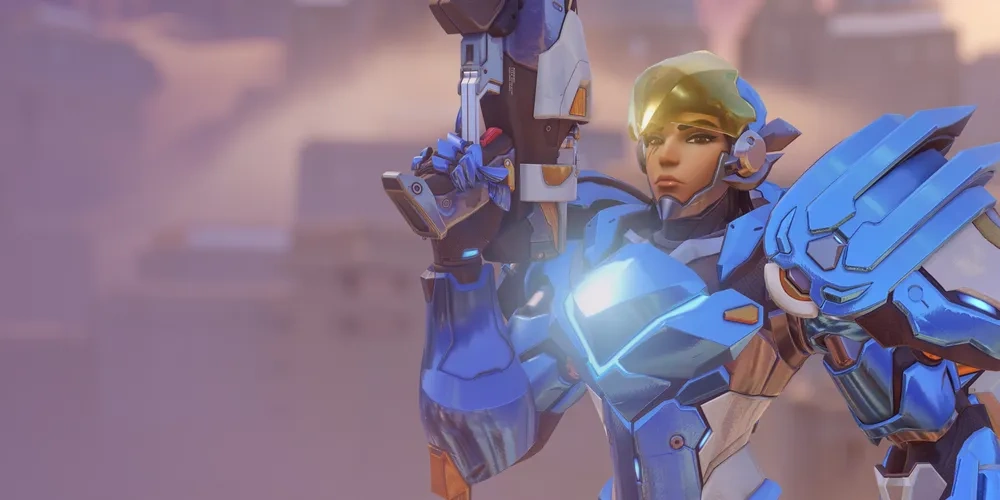
 3D Portrait
 -
 2D Portrait

-
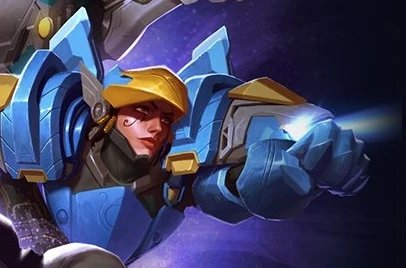
 Key Art
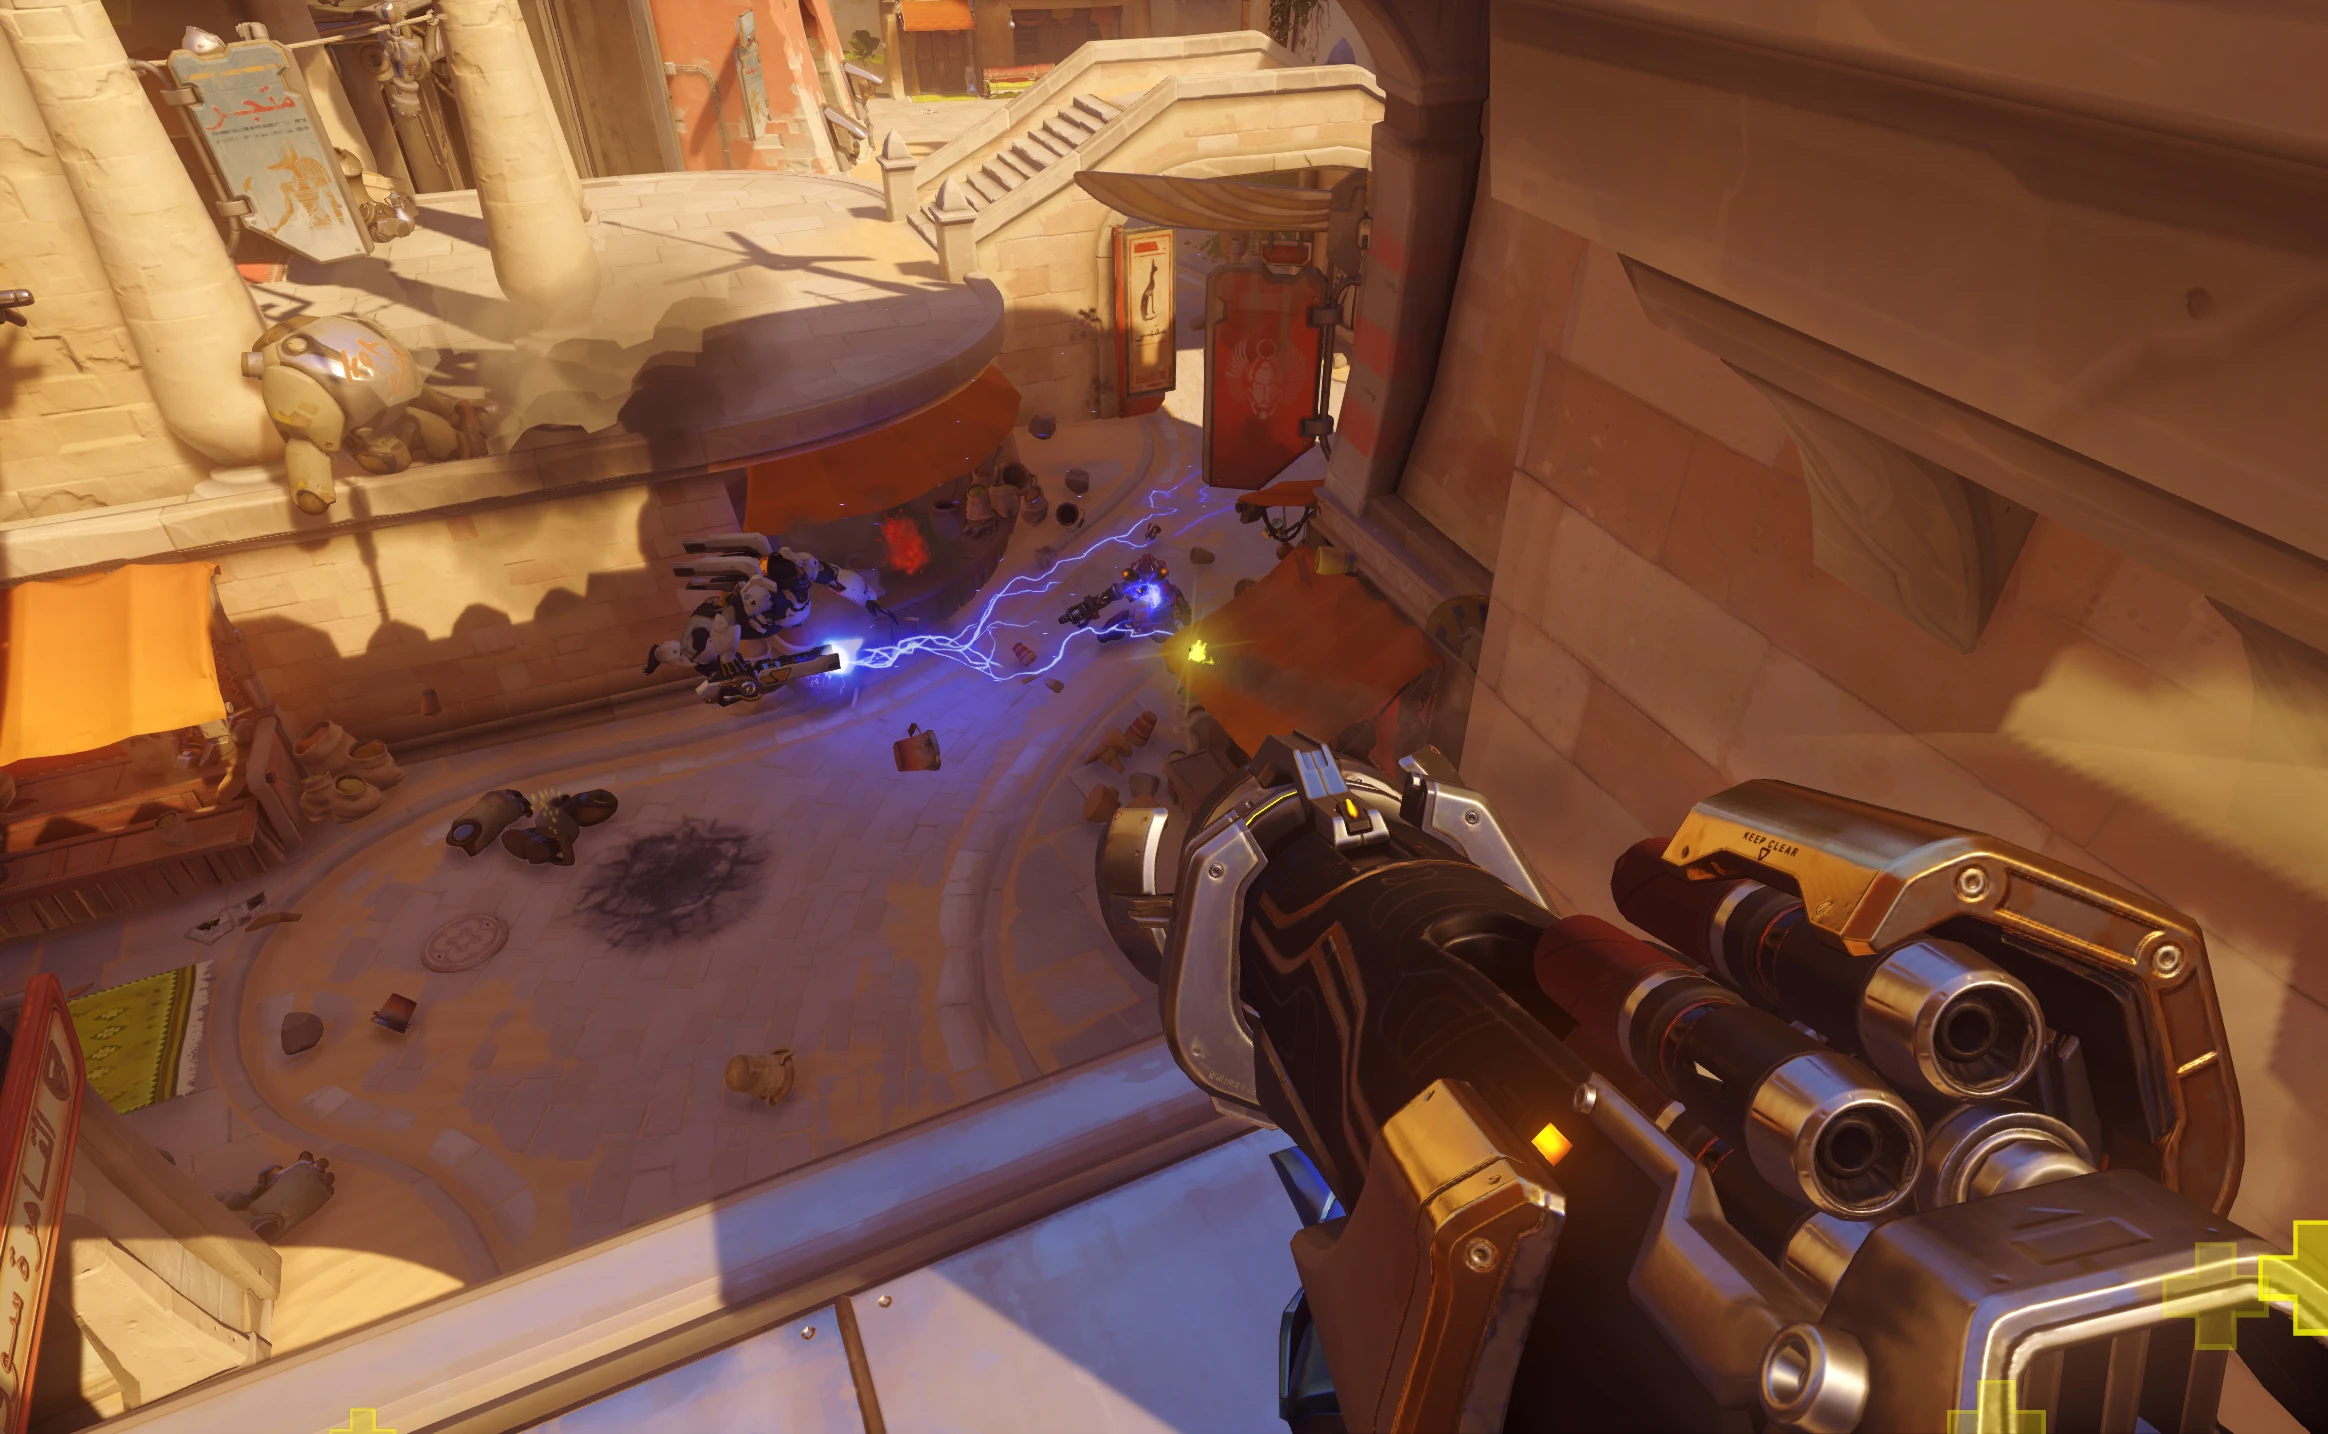
Abilities
Passive Abilities


- The duration starts from the last instance of damage you dealt to them, so long as they are below half health.

45% per second (regen rate)
0.3 seconds (energy regen delay)
8 m/s (slow fall speed)
- Activated by holding jump button while in the air.
- Allows Pharah to gain height when held.
- Refuels 45% per second automatically while on ground, excluding the regen delay, takes 2.22 seconds to refill from empty to full.
- Hover Jets' movement speed buff does not count towards global movement speed buff cap.
- Grants 30% movement speed.
- Maximum fuel increased 20%.
Weapons


80 – 24.6 (splash, enemy)
20 – 6.15 (splash, self)
14.2 m/s (max, self)
- Damage per second: 150 while firing (114 overall w/reload)
- Fire recovery stops while using melee
- Explosive Damage and knockback decreases with distance from the explosion, reaching 0% at the edge of the blast radius.
- Explosive Damage and knockback also apply to self.
- The projectile can be destroyed while in air by
 Defense Matrix,
  Kinetic Grasp,
  Javelin Spin,
  Power Matrix and
  Kekkai Sanctuary and reflected by
  Deflect, but the explosion is unaffected.
  Amplification Matrix affects all damage dealt, if the projectile passes through it. Splash damage alone going through is not amplified.
Special Abilities

- Provides a quick horizontal boost in the direction Pharah is moving.
- If Pharah is stationary, she will be boosted in the direction she is facing.

6 seconds (overfill)
- Restores 50% of Hover Jets fuel over 0.9 seconds and can temporarily overfill the maximum fuel amount.
- Getting stunned does not interrupt the ability after it has been activated.
- Jump Jet movement is influenced by diretional inputs.
- Grants 30% movement speed.

20.6 m/s (splash)
- Also knocks back Pharah herself, without dealing damage.
- Mostly deals horizontal knockback.
- The projectile can be destroyed while in air by Defense Matrix, Kinetic Grasp, Javelin Spin, Power Matrix and Kekkai Sanctuary and reflected by Deflect, but the explosion is unaffected.
- Destroys fences and other breakables in the explosion area.
- Explosion damage increased from 0 to 30.
Ultimate Ability

25 – 7.5 (splash, enemy)
12.5 – 3.75 (splash, self)
- Damage per second: 1050
- A total of 562.5 - 2625 damage can be dealt to enemies using the ultimate.
- A total of 281.25 - 937.5 self-damage can be dealt through the ultimate.
- Barrage is a channeled ability; while it is active Pharah cannot use other abilities and becoming stunned, knocked down or hacked immediately ends the ability, consuming the ultimate charge.
- Pharah remains stationary while the ability is active, but can turn.
- Pharah will stay in the air if the ability is used mid-air.
- Refills Hover Jets' fuel and restores Rocket Launcher ammo instantly upon activation.
- Each Barrage has a fixed spread pattern and the spread pattern used is based on the Barrages order in the match (Barrage 1, Barrage 2, Barrage 3, etc.).
- The spread eventually fizzles out to 8 degrees at the ultimates max range, but the closer you are to the surface you’re aiming at, the more pronounced the initial unorthodox trajectories of the rockets, which leads to most of the rockets landing outside the 8 degrees radius you would expect them to hit.
- The projectiles can be destroyed while in air by Defense Matrix, Kinetic Grasp, Javelin Spin, Power Matrix and Kekkai Sanctuary and reflected by Deflect, but the explosion is unaffected.
- Amplification Matrix affects all damage dealt, if the projectile passes through it. Splash damage alone going through is not amplified.
- Explosion damage increased from 30 to 35.
Perks
Minor Perks
A Minor Perk can be chosen at level 2.


Major perks
A Major Perk can be chosen at level 3.


180 (direct hit if all rockets land)
Hero-specific options
| Setting name | Options | Description |
|---|---|---|
| Swap Jet Dash and Hover Jets input | Off (default) | Secondary fire activates Jet Dash and Jump activates Hover Jets. |
| On | Jump activates Jet Dash and Secondary fire activates Hover Jets. | |
| Toggle Hover Jets | Off (default) | Hover Jets deactivates when player stops holding the button. |
| On | Hover Jets deactivates when player presses the button again. | |
| Relative aim sensitivity during Rocket Barrage | 0% ... 500% (default: 100%) | Multiplier to base aim sensitivity during Rocket Barrage. |
| Hover Jets fuel color | Friendly team color (default) | Sets the color of the extra fuel gained by using Jump Jets to Friendly team color. |
Strategy
Pharah is a hero with excellent aerial mobility, but is somewhat crippled by staying on the ground. Her Rocket Launcher can dish out excellent damage, as it does not suffer from damage falloff and deals splash damage upon impact. Jump Jet launches Pharah high in the air, allowing her to properly position herself for well-angled attacks, or to escape from danger. The Hover Jets, her passive, allow Pharah to sustain her altitude and gain a small amount of height. This can be used to keep her away from threats on the ground, but will leave her vulnerable to enemies with "hitscan" attacks, such as Soldier: 76, Cassidy, and Widowmaker. Concussive Blast deals damage, and provide strong knockback both to enemies and Pharah herself. Barrage is one of the most dangerous ultimate abilities in the game, able to wipe out entire teams with ease, provided good setup and communication with your healers. Overall, Pharah is a good backline character, able to harass enemies from afar, deal good damage to shields, and separate the enemy team from each other. Pharah can also use her ability to fly to get to unusual points on certain maps, where enemies won't expect her.
Weapons & Abilities
 Hover Jets (Passive): Pharah's passive ability, activated by jumping. Slowly lifts her upwards, but has a fuel cost.
- This ability is mainly for maintaining altitude to rain rockets down on the enemy.
- Hover Jets should not be held down, as this wastes fuel. Instead, tapping jump in quick succession will allow her to maintain height while she waits for Jump Jet to recharge.
- Hovering creates a loud noise to the enemy. If you are planning to flank the enemy team, avoid using it in the position where they can hear your coming.
- While sliding off some unintended location such as roof WILL NOT refill the fuel, this can be very helpful to flank the enemy by sliding off without any noise from the jets as you don't have to use it.
 Rocket Launcher: Pharah's primary weapon. Fires high-damage splash projectiles at a fairly moderate fire-rate. The rocket can deal self-damage.
- Because of their devastating damage, concentrated fire on "choke points" can force the enemy team to select an alternate route to get to their objective.
- Since the projectile travels rather slowly, Pharah may need to "lead" her shots to be fully effective.
- Rocket Launcher can be used to "rocket jump" by shooting at a nearby wall or at the floor to propel yourself away from it. Note that Rocket Launcher will damage Pharah.
- Don't underestimate the effect of rockets' splash damage. While it is not as damaging as landing a direct hit, it is still impressive.
- Rockets deal mild knockback to both enemies and yourself.
 Jump Jet: When activated, Pharah will launch herself high in the air in a short time.
- Used in conjunction with Hover Jets, Jump Jet can allow Pharah to stay in the air almost indefinitely.
- Jump Jet is a good escape option, provided that there is room to fly.
- Jump Jet allows Pharah to get to points most heroes can't reach. This can both be used to get to a good vantage point, or to position yourself behind the enemy to attempt to flank.
- Try not to use the ability when you are about to reach the skybox (where you can't go higher than that) as it will quickly knock you back and make it hard to maintain the right altitude afterwards.
- The following combos will allow you reach certain altitudes:
- 22 meters: Use ability 2, wait 0.160 seconds, use ability 1 and start holding jump.
- 32 meters: Use primary fire, wait 0.048 seconds, use ability 1 and start holding jump.
- 40 meters: Use primary fire, wait 0.048 seconds, use ability 1 & 2 and start holding jump.
 Concussive Blast: Fires a projectile that deals incredible knockback, and damage.
- Much like Rocket Launcher, Concussive Blast may be used to help Pharah quickly reposition herself, but it doesn't damage Pharah like former.
- Concussive Blast has potential for environmental kills. For example, it's very easy to knock enemies off the bridge at the beginning of Rialto, or into the well on Ilios.
- Because of its great knockback and decent radius, Concussive Blast can be used to break up the enemy team or push them away from your allies.
 Barrage (Ultimate): Pharah's Ultimate ability. When activated, Pharah will bombard the enemy with rapid-fire rockets that deal large amount of damage on both contact and splash damage. She can't move or stop the ultimate by herself for the duration. Rockets deal self-damage.
- While Barrage has fantastic damage output, it leaves her incredibly vulnerable to enemy fire. The smartest use of Barrage is in combination with another teammate to cripple the enemy's mobility.
- Like Reaper's Death Blossom or Moira's Coalescence, Barrage is immediately cancelled if Pharah is stunned during it. Position yourself so enemies like Brigitte and Cassidy can't reach you.
- Try not to use Barrage when the enemy has shields up. While it will easily destroy them, that still means a great deal of your ultimate will be blocked or even getting yourself killed.
General strategies
- With frugal use of Hover Jets and Jump Jet, Pharah can stay in the air almost indefinitely. However, she is rather slow horizontally, which can make it difficult for her to dodge. Use Concussive Blast to reposition yourself, or else drop behind cover if you feel threatened.
- Avoid staying on the ground. Pharah deals excellent damage, but her attacks are fairly slow, and much more difficult to avoid when coming from above.
- Pharah is a good counter to enemies with slow-moving projectiles or short-ranged guns that can't hit her in the air, such as Reaper, Mei, Junkrat, Reinhardt, Lúcio, and Symmetra. Prioritize such enemies.
- "Hitscan" is arguably Pharah's greatest threat. Scoped shots from Widowmaker and Ana, Soldier's Heavy Pulse Rifle, and Cassidy's Peacekeeper can easily take her down with good aim. Either find cover until they are dealt with or attempt to knock them out of position with Concussive Blast.
- You have incredible mobility as Pharah, so use it to behave unpredictably. Enemies with projectile weapons can still take you down if you move predictably.
- While Pharah can stay fairly safe up in the air, she should not be without support. A common pair for Pharah is Mercy, who can boost her damage and heal her while staying with her in the air. Remember to be a team player.
- Practice is a key factor to improving with all heroes, especially Pharah. Get used to the travel time of your rockets, practice leading your shots, and pay special attention to your mobility.
Match-Ups and Team Synergy
Tank
| Hero | Match-Up | Team Synergy |
|---|---|---|
 D.Va |
VERY WEAK MATCHUP | EXTREME RISK
Matchup details for D.Va are currently missing. You can help the Overwatch Wiki by adding them!
|
TBA SYNERGY
Team synergy details with D.Va are currently missing. You can help the Overwatch Wiki by adding them!
|
 Domina |
TBA MATCHUP OR PRIORITY | TBA RISK
Matchup details for Domina are currently missing. You can help the Overwatch Wiki by adding them!
|
TBA SYNERGY
Team synergy details with Domina are currently missing. You can help the Overwatch Wiki by adding them!
|
 Doomfist |
STRONG MATCHUP | MEDIUM RISK
Matchup details for Doomfist are currently missing. You can help the Overwatch Wiki by adding them!
|
TBA SYNERGY
Team synergy details with Doomfist are currently missing. You can help the Overwatch Wiki by adding them!
|
 Hazard |
STRONG MATCHUP | MEDIUM RISK
Matchup details for Hazard are currently missing. You can help the Overwatch Wiki by adding them!
|
TBA SYNERGY
Team synergy details with Hazard are currently missing. You can help the Overwatch Wiki by adding them!
|
 Junker Queen |
TBA MATCHUP OR PRIORITY | TBA RISK
Matchup details for Junker Queen are currently missing. You can help the Overwatch Wiki by adding them!
|
TBA SYNERGY
Team synergy details with Junker Queen are currently missing. You can help the Overwatch Wiki by adding them!
|
 Mauga |
TBA MATCHUP OR PRIORITY | TBA RISK
Matchup details for Mauga are currently missing. You can help the Overwatch Wiki by adding them!
|
TBA SYNERGY
Team synergy details with Mauga are currently missing. You can help the Overwatch Wiki by adding them!
|
 Orisa |
TBA MATCHUP OR PRIORITY | TBA RISK
Matchup details for Orisa are currently missing. You can help the Overwatch Wiki by adding them!
|
TBA SYNERGY
Team synergy details with Orisa are currently missing. You can help the Overwatch Wiki by adding them!
|
 Ramattra |
TBA MATCHUP OR PRIORITY | TBA RISK
Matchup details for Ramattra are currently missing. You can help the Overwatch Wiki by adding them!
|
TBA SYNERGY
Team synergy details with Ramattra are currently missing. You can help the Overwatch Wiki by adding them!
|
 Reinhardt |
VERY STRONG MATCHUP | LOW RISK
Matchup details for Reinhardt are currently missing. You can help the Overwatch Wiki by adding them!
|
TBA SYNERGY
Team synergy details with Reinhardt are currently missing. You can help the Overwatch Wiki by adding them!
|
 Roadhog |
MEDIUM MATCHUP | HIGH RISK
Matchup details for Roadhog are currently missing. You can help the Overwatch Wiki by adding them!
|
TBA SYNERGY
Team synergy details with Roadhog are currently missing. You can help the Overwatch Wiki by adding them!
|
 Sigma |
TBA MATCHUP OR PRIORITY | TBA RISK
Matchup details for Sigma are currently missing. You can help the Overwatch Wiki by adding them!
|
TBA SYNERGY
Team synergy details with Sigma are currently missing. You can help the Overwatch Wiki by adding them!
|
 Winston |
TBA MATCHUP OR PRIORITY | TBA RISK
Matchup details for Winston are currently missing. You can help the Overwatch Wiki by adding them!
|
TBA SYNERGY
Team synergy details with Winston are currently missing. You can help the Overwatch Wiki by adding them!
|
 Wrecking Ball |
TBA MATCHUP OR PRIORITY | TBA RISK
Matchup details for Wrecking Ball are currently missing. You can help the Overwatch Wiki by adding them!
|
TBA SYNERGY
Team synergy details with Wrecking Ball are currently missing. You can help the Overwatch Wiki by adding them!
|
 Zarya |
TBA MATCHUP OR PRIORITY | TBA RISK
Matchup details for Zarya are currently missing. You can help the Overwatch Wiki by adding them!
|
TBA SYNERGY
Team synergy details with Zarya are currently missing. You can help the Overwatch Wiki by adding them!
|
Damage
| Hero | Match-Up | Team Synergy |
|---|---|---|
 Anran |
LOW PRIORITY TARGET | MEDIUM RISK
Anran is a hyper-mobile flanker who relies heavily on close-range combat and stacking her Ignition passive to secure eliminations. Because her
However, Anran can be incredibly elusive on the ground. Her Pharah must also pay close attention to Anran's ultimate status. While Pharah is generally safe from the explosive impact of |
GOOD SYNERGY
Pharah and Anran excel in a split-pressure composition. Pharah's massive splash damage forces the enemy backline to scatter and look to the sky, creating the perfect chaotic environment for Anran to dive in and rapidly build her Ignition meter on distracted targets. Because Anran benefits from the Flanker sub-role passive (granting her heavily increased healing from environmental health packs) and has immense self-sustain through the Hungering Blaze perk, Pharah's Supports are free to focus their attention entirely on keeping Pharah airborne.
|
 Ashe |
EXTREMELY HIGH PRIORITY TARGET | EXTREME RISK
Ashe is a highly lethal hitscan threat capable of rapidly eliminating an exposed Pharah. Her
While Diving Ashe is also notoriously difficult due to her |
STRONG SYNERGY
Ashe and Pharah excel at overwhelming the enemy's defensive cooldowns. Ashe's
When Ashe deploys |
 Bastion |
HIGH PRIORITY TARGET | EXTREME RISK
Bastion's massive hitbox and lack of mobility make him an incredibly easy target for Pharah's
Bastion's threat level changes drastically depending on his equipped Major Perk. If he runs Self-Repair, he can actively heal 90 health per second even while in Assault configuration, meaning Pharah cannot burst him down alone without fully committing to a dive. Conversely, if he equips the Lindholm Explosives Major Perk, his Assault configuration loses its hitscan rotary cannon and instead fires slow-moving explosive shells; this effectively neuters his anti-air capabilities and allows Pharah to bombard him with impunity. His Ultimate, |
STRONG SYNERGY
Bastion and Pharah command an overwhelming amount of raw damage and shield-break potential. When Bastion enters
Additionally, Bastion's |
 Cassidy |
HIGH PRIORITY TARGET | HIGH RISK
Cassidy poses an extreme threat to Pharah due to the high burst damage of his hitscan
Never engage Cassidy in close-quarters combat unless his Cassidy's Ultimate, |
STRONG SYNERGY
Cassidy and Pharah form a highly complementary damage duo. Pharah's greatest weakness is her inability to contest objectives or protect her Supports on the ground. Cassidy's exceptional close-range lethality and
Offensively, Pharah can use |
 Echo |
EXTREMELY HIGH PRIORITY TARGET | EXTREME RISK
Echo is arguably Pharah's most dangerous aerial rival, as her mobility allows her to directly contest the skybox. Because Pharah relies on predictive splash damage, hitting an erratic, free-flying Echo with the
Pharah must meticulously manage her health pool in this matchup. If Pharah drops below 50% health, Echo's Be extremely wary if Echo is using the Focused Rush Minor Perk, which extends |
STRONG SYNERGY
Echo and Pharah form the classic double-flying composition. They overwhelm enemy hitscans by forcing them to look up and track two highly maneuverable aerial targets. Echo's
|
 Emre |
HIGH PRIORITY TARGET | HIGH RISK
Emre is a highly adaptable combatant whose
While his Emre becomes an extreme threat when he activates his Ultimate, |
STRONG SYNERGY
Emre and Pharah can completely dominate the vertical space of a map. When Emre activates
Additionally, Emre's exceptional close-quarters sustain with his |
 Freja |
MEDIUM PRIORITY TARGET | MEDIUM RISK
Freja relies on complex aerial momentum and precision tracking to deal damage. While her
Do not ignore her if she remains airborne. With the Aerial Recovery Major Perk, Freja passively regenerates 30 health per second after using |
EXCEPTIONAL SYNERGY
Freja and Pharah create terrifying synergistic combinations. Freja's ultimate,
|
 Genji |
LOW PRIORITY TARGET | HIGH RISK
Genji possesses excellent mobility, but he generally operates at a severe disadvantage against Pharah. His
Pharah's primary concern in this matchup is During his |
STRONG SYNERGY
Pharah and Genji form an aggressive, multi-angled dive composition. Pharah's massive splash damage routinely softens up the enemy team, providing Genji with easy, weakened targets to secure eliminations and trigger his
This synergy is significantly amplified if Genji equips the Blade Twisting Major Perk. Because this perk applies a 25-damage bleed effect to any enemy hit by Swift Strike who falls below half health, Pharah's rockets provide the perfect setup to instantly push targets past that critical threshold, guaranteeing Genji's executions. |
 Hanzo |
MEDIUM PRIORITY TARGET | HIGH RISK
Hanzo is a lethal sniper who poses a significant threat to Pharah, but unlike hitscan heroes, his
Pharah must be extremely cautious of his His most dangerous tool against Pharah, however, is the Frost Arrow Major Perk. If Hanzo triggers this explosive arrow, the resulting 35% slow will drastically cripple Pharah's |
GOOD SYNERGY
Hanzo and Pharah excel at flushing enemies out of entrenched positions. Hanzo's
Furthermore, Hanzo's |
 Junkrat |
LOW PRIORITY TARGET | VERY LOW RISK
Pharah is the ultimate hard counter to Junkrat. Because his
The only time Junkrat poses a marginal threat is if he equips the Frag Cannon Major Perk, which increases his projectile speed by 25%, slightly improving his ability to land lucky air-shots. A highly skilled Junkrat might also attempt to use his |
EXCEPTIONAL SYNERGY
A Junkrat and Pharah combination (often referred to as "Spam Comp") outputs the highest amount of continuous explosive damage in the game. This composition completely invalidates grounded, barrier-heavy Tank compositions (such as Reinhardt or Sigma) by instantly melting their shields and flooding choke points with unavoidable splash damage.
While this composition leaves the team highly vulnerable to enemy hitscans or Echo, it is unparalleled at breaking bunker defenses. Junkrat's |
 Mei |
LOW PRIORITY TARGET | MEDIUM RISK
Mei's primary fire, the
Because Mei possesses incredible stalling tools with If Mei equips the Glacial Propulsion Minor Perk, she gains the ability to double jump and spawn a small ice pillar that launches her 6.5 meters into the air. While this gives her surprising vertical mobility to dodge rockets or seek better Icicle angles, her trajectory becomes highly predictable on the descent. |
STRONG SYNERGY
Mei provides phenomenal setup utility for Pharah's explosive arsenal.
Mei's Ultimate, |
 Pharah |
MIRROR MATCHUP | MEDIUM RISK
Engaging in an aerial dogfight with an enemy Pharah is notoriously inefficient. Because both heroes rely on slow-moving projectiles and erratic aerial mobility, attempting to land direct hits mid-air often wastes valuable time and ammo. In most scenarios, it is tactically superior to ignore the enemy Pharah and focus on bombarding her grounded Supports.
However, if you must engage, closing the distance is key. Use Lastly, be mindful of the Recon Sub-Role passive. If you fall below 50% health, the enemy Pharah will be able to see your exact silhouette through walls for 5 seconds, making it impossible to hide and regenerate safely. |
MIRROR SYNERGY
A duplicate Pharah composition completely overwhelms the enemy team's anti-air resources. Most team compositions only possess one or two hitscan heroes; forcing them to simultaneously track two highly mobile airborne threats usually results in the hitscans being quickly overwhelmed and eliminated.
The combined splash damage of two |
 Reaper |
LOW PRIORITY TARGET | MEDIUM RISK
Reaper is traditionally helpless against a well-positioned Pharah. The severe damage falloff and wide spread of his
However, Pharah must remain highly vigilant if Reaper equips the Dire Triggers Major Perk. This fundamentally alters his threat level, allowing him to fire a concentrated secondary volley from both shotguns with a significantly extended falloff range (up to 35 meters). This hitscan blast can deal surprising burst damage to a hovering Pharah, making him far more dangerous than his standard kit implies. If Reaper attempts to use |
SITUATIONAL SYNERGY
Reaper and Pharah operate on completely different planes of engagement, meaning they rarely interact directly. However, they effectively split the enemy's defensive attention. Reaper's lethal close-quarters presence demands the immediate focus of the enemy Tanks on the ground, which naturally creates the space Pharah needs to operate unpressured in the sky.
If Reaper equips the Lingering Wraith Minor Perk (granting a 40% movement speed boost upon exiting Wraith Form), he can easily run down and execute the vulnerable targets that Pharah physically displaces out from behind enemy barriers using her |
Shion |
TBA MATCHUP OR PRIORITY | TBA RISK
Matchup details for Shion are currently missing. You can help the Overwatch Wiki by adding them!
|
TBA SYNERGY
Team synergy details with Shion are currently missing. You can help the Overwatch Wiki by adding them!
|
 Sierra |
EXTREMELY HIGH PRIORITY TARGET | EXTREME RISK
As a Recon hero equipped with tracking munitions, Sierra is an existential threat to Pharah. While her
Do not assume you are safe simply because you are high up. Sierra's |
STRONG SYNERGY
Sierra provides exceptional target acquisition and displacement utility for Pharah. Because Sierra's Recon Sub-Role passive reveals enemies below 50% health through walls, Pharah is constantly fed wall-hack intelligence, allowing her to perfectly pre-fire her slow-moving rockets at retreating targets.
Additionally, Sierra's |
 Sojourn |
EXTREMELY HIGH PRIORITY TARGET | EXTREME RISK
Sojourn is arguably one of the most lethal anti-air heroes in the game. While her primary fire is projectile-based, she uses it to farm energy off Pharah's grounded Tanks or barriers, only to instantly turn her hitscan
Pharah must track Sojourn's energy glow carefully. Do not hover in the open if her Railgun is fully charged. Be particularly wary if she equips the Friction Generators Major Perk. With this perk, Sojourn generates up to 50 energy simply by sliding, meaning she no longer needs to farm your team to prepare a lethal shot against you. If she instead uses the Dual Thrusters perk, she gains two slide charges, granting her unparalleled mobility. Her Ultimate, |
STRONG SYNERGY
Sojourn and Pharah create a perfect synergy of area denial and execution. Sojourn's
Conversely, Pharah's massive splash damage routinely softens up the enemy backline, providing Sojourn with a plethora of weakened targets that she can effortlessly finish off from across the map using her |
 Soldier: 76 |
EXTREMELY HIGH PRIORITY TARGET | EXTREME RISK
Soldier: 76 is one of Pharah's most notorious counters, and understandably, can easily convince you to switch heroes. You should treat Soldier: 76 as a primary threat and outplay him through unpredictability. His
Be highly mindful of his Soldier's Ultimate, |
GOOD SYNERGY
Soldier: 76 and Pharah apply pressure from completely different vectors. While Pharah forces the enemy team to look up and deal with massive projectile splash damage, Soldier: 76 can freely lay down consistent hitscan fire from horizontal off-angles. This splits the enemy's defensive resources and makes it difficult for Tanks to mitigate both sources of damage simultaneously. Additionally, a grounded Soldier: 76 can drop his
|
 Sombra |
MEDIUM PRIORITY TARGET | EXTREME RISK
Sombra dictates engagements entirely on her terms and poses a severe threat to a hovering Pharah. If Sombra manages to
Pharah must play with extreme paranoia if Sombra is using the Encrypted Upload Minor Perk. This allows Sombra to initiate a Hack without fully breaking stealth, meaning Pharah cannot easily react and shoot her with splash damage to interrupt the cast. If Sombra lands a Virus on a hacked target while using the Viral Replication Major Perk, the damage-over-time will aggressively spread to anyone within 8 meters, severely punishing Pharah if she attempts to drop down near her grounded Supports for safety. Sombra's ultimate, |
EXCEPTIONAL SYNERGY
Sombra is the ultimate enabler for an aggressive Pharah. A coordinated Sombra can
Additionally, the combination of |
 Symmetra |
LOW PRIORITY TARGET | VERY LOW RISK
Symmetra relies entirely on her close-range
While Symmetra is a low-priority target for Pharah personally, she should be focused if she is actively melting your grounded Tanks. Be mindful of her equipped perks; if she runs the Perfect Alignment Minor Perk, her primary fire beam reaches 14.4 meters, slightly increasing her anti-air threat if Pharah flies too low. If Symmetra equips the Shield Battery Major Perk, she regenerates 20 shields per second while standing near her |
SITUATIONAL SYNERGY
Symmetra and Pharah do not naturally synergize in their neutral game, as Pharah rarely benefits from the grounded mobility of the
|
 Torbjörn |
HIGH PRIORITY TARGET | LOW RISK
Torbjörn's
Pharah must be extremely cautious if Torbjörn equips the Overloaded Turret Major Perk. When he activates |
GOOD SYNERGY
Torbjörn and Pharah create a highly effective split-pressure crossfire. While Pharah attacks from the sky, Torbjörn's
Torbjörn's |
 Tracer |
LOW PRIORITY TARGET | LOW RISK
Tracer's extremely short effective range (10 to 20 meters) and wide weapon spread mean she poses almost no threat to a Pharah operating at optimal altitude. Pharah can freely bombard the enemy backline from the skybox while largely ignoring her. However, hitting Tracer with
Be mindful of her perk loadout. If she equips the Quantum Entanglement Major Perk, she will emerge from Recall with 50 overhealth, allowing her to survive what would normally be a lethal direct rocket hit. Additionally, if she has the Chronal Dash Minor Perk, her Blinks cover 9 meters instead of 7.5, requiring you to lead your projectiles significantly further to predict her movement. If Tracer manages to stick Pharah with her |
GOOD SYNERGY
Tracer and Pharah form a highly effective split-dive duo. Pharah's massive splash damage routinely softens up the enemy backline, leaving them highly vulnerable to a quick execution from Tracer's
|
 Vendetta |
LOW PRIORITY TARGET | MEDIUM RISK
Vendetta is a melee-centric Flanker who fundamentally struggles to interact with a high-flying Pharah. Her
However, Pharah must remain vigilant if flying low or navigating tight map geometry. Vendetta can use |
STRONG SYNERGY
Vendetta and Pharah excel at overwhelming grounded Tanks and Supports from entirely different angles. While Pharah forces the enemy team to look upward and scatter to avoid splash damage, Vendetta utilizes her extreme melee mobility to isolate and execute the fleeing targets.
Since Vendetta has immense self-sustain through her Siphoning Strike Major Perk and the Flanker sub-role passive, she operates highly independently. This means Pharah's Supports (such as Mercy or Jetpack Cat) are completely free to pocket her in the skybox without leaving the ground team vulnerable. |
 Venture |
LOW PRIORITY TARGET | LOW RISK
Under normal circumstances, Pharah heavily counters Venture. Venture's
The dynamic shifts drastically if Venture equips the Smart Extender Major Perk. Activating this perk temporarily doubles their primary fire range to 32 meters, allowing them to easily hit Pharah in the skybox with explosive projectiles. Pharah must monitor Venture's cooldowns and immediately seek high-ground cover or drop altitude if this perk is activated to avoid being bursted out of the air. |
STRONG SYNERGY
Venture dominates enclosed spaces and low-ceiling areas, while Pharah controls the open skies. This forces the enemy team into a lose-lose situation: if they step out into the open, Pharah bombards them; if they retreat indoors for cover, Venture effortlessly sweeps them with
Additionally, Venture's |
 Widowmaker |
EXTREMELY HIGH PRIORITY TARGET | HIGH RISK
Widowmaker is Pharah's natural predator, but only when the conditions meet. A skilled Widowmaker will find the time to snipe you while you may be out in midair focusing somebody else, so she can become a big threat if left unchecked.
A fully-charged headshot from Diving Widowmaker directly still requires caution. If she is using the Sniper's Instinct Minor Perk, she can use her Be wary of her |
GOOD SYNERGY
Widowmaker's sheer presence forces the enemy team to hide behind environmental cover or clump together behind tank barriers to avoid her sightlines. Pharah thrives against tightly clustered enemies, using her
Widowmaker's Ultimate, |
Support
| Hero | Match-Up | Team Synergy |
|---|---|---|
 Ana |
EXTREMELY HIGH PRIORITY TARGET | HIGH RISK
Matchup details for Ana are currently missing. You can help the Overwatch Wiki by adding them!
|
TBA SYNERGY
Team synergy details with Ana are currently missing. You can help the Overwatch Wiki by adding them!
|
 Baptiste |
HIGH PRIORITY TARGET | HIGH RISK
Matchup details for Baptiste are currently missing. You can help the Overwatch Wiki by adding them!
|
TBA SYNERGY
Team synergy details with Baptiste are currently missing. You can help the Overwatch Wiki by adding them!
|
 Brigitte |
EXTREMELY HIGH PRIORITY TARGET | LOW RISK
Matchup details for Brigitte are currently missing. You can help the Overwatch Wiki by adding them!
|
TBA SYNERGY
Team synergy details with Brigitte are currently missing. You can help the Overwatch Wiki by adding them!
|
 Illari |
HIGH PRIORITY TARGET | HIGH RISK
Matchup details for Illari are currently missing. You can help the Overwatch Wiki by adding them!
|
TBA SYNERGY
Team synergy details with Illari are currently missing. You can help the Overwatch Wiki by adding them!
|
 Jetpack Cat |
LOW PRIORITY TARGET | EXTREME RISK
Matchup details for Jetpack Cat are currently missing. You can help the Overwatch Wiki by adding them!
|
TBA SYNERGY
Team synergy details with Jetpack Cat are currently missing. You can help the Overwatch Wiki by adding them!
|
 Juno |
EXTREMELY HIGH PRIORITY TARGET | EXTREME RISK
You have to land two direct shots with catch her off guard as fast as possible. Otherwise, Juno have All THE TOOLS SHE NEED to defeat you. As you're more often to miss your shot because her flying movement (Lift Off Perk make her even harder to hit). And her hitscan plus
|
TBA SYNERGY
Team synergy details with Juno are currently missing. You can help the Overwatch Wiki by adding them!
|
 Kiriko |
EXTREMELY HIGH PRIORITY TARGET | MEDIUM RISK
Matchup details for Kiriko are currently missing. You can help the Overwatch Wiki by adding them!
|
TBA SYNERGY
Team synergy details with Kiriko are currently missing. You can help the Overwatch Wiki by adding them!
|
 Lifeweaver |
TBA MATCHUP OR PRIORITY | TBA RISK
Matchup details for Lifeweaver are currently missing. You can help the Overwatch Wiki by adding them!
|
TBA SYNERGY
Team synergy details with Lifeweaver are currently missing. You can help the Overwatch Wiki by adding them!
|
 Lúcio |
TBA MATCHUP OR PRIORITY | TBA RISK
Matchup details for Lúcio are currently missing. You can help the Overwatch Wiki by adding them!
|
TBA SYNERGY
Team synergy details with Lúcio are currently missing. You can help the Overwatch Wiki by adding them!
|
 Mercy |
HIGH PRIORITY TARGET | HIGH RISK
Matchup details for Mercy are currently missing. You can help the Overwatch Wiki by adding them!
|
GOOD SYNERGY
Team synergy details with Mercy are currently missing. You can help the Overwatch Wiki by adding them!
|
 Mizuki |
TBA MATCHUP OR PRIORITY | TBA RISK
Matchup details for Mizuki are currently missing. You can help the Overwatch Wiki by adding them!
|
TBA SYNERGY
Team synergy details with Mizuki are currently missing. You can help the Overwatch Wiki by adding them!
|
 Moira |
TBA MATCHUP OR PRIORITY | TBA RISK
Matchup details for Moira are currently missing. You can help the Overwatch Wiki by adding them!
|
TBA SYNERGY
Team synergy details with Moira are currently missing. You can help the Overwatch Wiki by adding them!
|
 Wuyang |
TBA MATCHUP OR PRIORITY | TBA RISK
Matchup details for Wuyang are currently missing. You can help the Overwatch Wiki by adding them!
|
TBA SYNERGY
Team synergy details with Wuyang are currently missing. You can help the Overwatch Wiki by adding them!
|
 Zenyatta |
TBA MATCHUP OR PRIORITY | TBA RISK
Matchup details for Zenyatta are currently missing. You can help the Overwatch Wiki by adding them!
|
TBA SYNERGY
Team synergy details with Zenyatta are currently missing. You can help the Overwatch Wiki by adding them!
|
Map Strategies
Control
| Map | Strategy & Stage Tips |
|---|---|
 Overall Strategy |
TBA RATING | TBA FEATURE
Map strategy details for Overall Strategy are currently missing. You can help the Overwatch Wiki by adding them!
|
 Antarctic Peninsula |
TBA RATING | TBA FEATURE
Map strategy details for Antarctic Peninsula are currently missing. You can help the Overwatch Wiki by adding them! Labs
Strategy details missing.
Sublevel
Strategy details missing.
Icebreaker
Strategy details missing.
|

|
TBA RATING | TBA FEATURE
Map strategy details for Busan are currently missing. You can help the Overwatch Wiki by adding them! Downtown
Strategy details missing.
Sanctuary
Strategy details missing.
MEKA Base
Strategy details missing.
|

|
EXCELLENT VIABILITY | ENVIRONMENTAL HAZARDS
Ilios is historically one of Pharah's strongest maps in the entire game. The layout provides high skyboxes, excellent rooftop cover, and omnipresent environmental hazards. Pharah's Lighthouse
The patio area adjacent to the capture point is a notorious danger zone. Pharah can hover safely over the ocean and use
Well
This stage is essentially built for Pharah. The massive central pit offers continuous environmental kill opportunities. Pharah can utilize the high walls and the windmill for aerial cover, feathering her
Ruins
This is Pharah's most difficult stage on Ilios. The map is heavily open with exceptionally long sightlines, making it a haven for enemy hitscan and snipers like Widowmaker or Ashe. You cannot hover freely here. Instead, aggressively use the tall stone pillars and the sunken geometry of the capture point for cover. Rely on
|

|
GOOD VIABILITY | CHOKE POINTS
Lijiang Tower offers a great mix of tight choke points for splash damage and open exterior areas with lethal drops. While some stages are heavily enclosed, Pharah's burst damage and displacement tools make her a constant threat. Control Center
This is the most claustrophobic stage, making it risky for Pharah to fly freely. However, the tight corridors and enclosed capture point mean her
Garden
Garden is phenomenal for Pharah. The large open skybox allows her to dominate the airspace, and the bridges leading to the point are prime targets for
Night Market
Night Market provides an excellent playground. Pharah can hover outside the point over the courtyard, safely spamming rockets through the large windows. The exterior side of the point also features a massive drop-off, making it another prime spot to look for
|

|
GOOD VIABILITY | HIGH GROUND / FLANK ROUTES
Nepal offers a strong mix of high-altitude cover and enclosed objective points. Pharah excels here by utilizing the high ground to pressure chokes and exploiting vertical flank routes that grounded heroes cannot easily access. Village
Village features tall buildings and a relatively open skybox. Pharah can use her flight to flank entirely over the central structures, bypassing the main chokes to ambush the enemy backline. The high ground surrounding the capture point provides excellent angles to rain down
Shrine
Shrine's open design allows Pharah to maintain safe altitudes while bombarding the central courtyard. Utilize the large elephant statues and the high temple walls for natural cover. Pharah can easily rotate between the outer rim and the interior point using
Sanctum
While the objective itself is heavily enclosed, Sanctum features a massive environmental hazard right next to the point. Pharah can hover over the pit, utilizing the exterior sightlines to spam rockets into the objective while actively looking for
|

|
TBA RATING | TBA FEATURE
Map strategy details for Oasis are currently missing. You can help the Overwatch Wiki by adding them! City Center
Strategy details missing.
Gardens
Strategy details missing.
University
Strategy details missing.
|

|
TBA RATING | TBA FEATURE
Map strategy details for Samoa are currently missing. You can help the Overwatch Wiki by adding them! Beach
Strategy details missing.
Downtown
Strategy details missing.
Volcano
Strategy details missing.
|
Escort
| Map | Strategy & Stage Tips |
|---|---|
 Overall Strategy |
TBA RATING | TBA FEATURE
Map strategy details for Overall Strategy are currently missing. You can help the Overwatch Wiki by adding them!
|

|
TBA RATING | TBA FEATURE
Map strategy details for Circuit Royal are currently missing. You can help the Overwatch Wiki by adding them! Attack
Strategy details missing.
Defense
Strategy details missing.
|

|
TBA RATING | TBA FEATURE
Map strategy details for Dorado are currently missing. You can help the Overwatch Wiki by adding them! Attack
Strategy details missing.
Defense
Strategy details missing.
|

|
TBA RATING | TBA FEATURE
Map strategy details for Havana are currently missing. You can help the Overwatch Wiki by adding them! Attack
Strategy details missing.
Defense
Strategy details missing.
|

|
TBA RATING | TBA FEATURE
Map strategy details for Junkertown are currently missing. You can help the Overwatch Wiki by adding them! Attack
Strategy details missing.
Defense
Strategy details missing.
|

|
TBA RATING | TBA FEATURE
Map strategy details for Rialto are currently missing. You can help the Overwatch Wiki by adding them! Attack
Strategy details missing.
Defense
Strategy details missing.
|

|
TBA RATING | TBA FEATURE
Map strategy details for Route 66 are currently missing. You can help the Overwatch Wiki by adding them! Attack
Strategy details missing.
Defense
Strategy details missing.
|

|
TBA RATING | TBA FEATURE
Map strategy details for Shambali Monastery are currently missing. You can help the Overwatch Wiki by adding them! Attack
Strategy details missing.
Defense
Strategy details missing.
|

|
TBA RATING | TBA FEATURE
Map strategy details for Watchpoint: Gibraltar are currently missing. You can help the Overwatch Wiki by adding them! Attack
Strategy details missing.
Defense
Strategy details missing.
|
Hybrid
| Map | Strategy & Stage Tips |
|---|---|
 Overall Strategy |
TBA RATING | TBA FEATURE
Map strategy details for Overall Strategy are currently missing. You can help the Overwatch Wiki by adding them!
|
 Blizzard World |
TBA RATING | TBA FEATURE
Map strategy details for Blizzard World are currently missing. You can help the Overwatch Wiki by adding them! Attack
Strategy details missing.
Defense
Strategy details missing.
|

|
TBA RATING | TBA FEATURE
Map strategy details for Eichenwalde are currently missing. You can help the Overwatch Wiki by adding them! Attack
Strategy details missing.
Defense
Strategy details missing.
|

|
TBA RATING | TBA FEATURE
Map strategy details for Hollywood are currently missing. You can help the Overwatch Wiki by adding them! Attack
Strategy details missing.
Defense
Strategy details missing.
|

|
TBA RATING | TBA FEATURE
Map strategy details for King's Row are currently missing. You can help the Overwatch Wiki by adding them! Attack
Strategy details missing.
Defense
Strategy details missing.
|

|
TBA RATING | TBA FEATURE
Map strategy details for Midtown are currently missing. You can help the Overwatch Wiki by adding them! Attack
Strategy details missing.
Defense
Strategy details missing.
|
 Numbani |
TBA RATING | TBA FEATURE
Map strategy details for Numbani are currently missing. You can help the Overwatch Wiki by adding them! Attack
Strategy details missing.
Defense
Strategy details missing.
|

|
TBA RATING | TBA FEATURE
Map strategy details for Paraíso are currently missing. You can help the Overwatch Wiki by adding them! Attack
Strategy details missing.
Defense
Strategy details missing.
|
Push
| Map | Strategy & Stage Tips |
|---|---|
 Overall Strategy |
TBA RATING | TBA FEATURE
Map strategy details for Overall Strategy are currently missing. You can help the Overwatch Wiki by adding them!
|

|
TBA RATING | TBA FEATURE
Map strategy details for Colosseo are currently missing. You can help the Overwatch Wiki by adding them! Pushing
Strategy details missing.
Defending
Strategy details missing.
|

|
TBA RATING | TBA FEATURE
Map strategy details for Esperança are currently missing. You can help the Overwatch Wiki by adding them! Pushing
Strategy details missing.
Defending
Strategy details missing.
|

|
TBA RATING | TBA FEATURE
Map strategy details for New Queen Street are currently missing. You can help the Overwatch Wiki by adding them! Pushing
Strategy details missing.
Defending
Strategy details missing.
|

|
TBA RATING | TBA FEATURE
Map strategy details for Runasapi are currently missing. You can help the Overwatch Wiki by adding them! Pushing
Strategy details missing.
Defending
Strategy details missing.
|
Flashpoint
| Map | Strategy & Stage Tips |
|---|---|
 Overall Strategy |
TBA RATING | TBA FEATURE
Map strategy details for Overall Strategy are currently missing. You can help the Overwatch Wiki by adding them!
|

|
TBA RATING | TBA FEATURE
Map strategy details for Aatlis are currently missing. You can help the Overwatch Wiki by adding them! Station
Strategy details missing.
Garden
Strategy details missing.
Town Center
Strategy details missing.
Bazaar
Strategy details missing.
Resort
Strategy details missing.
|

|
TBA RATING | TBA FEATURE
Map strategy details for New Junk City are currently missing. You can help the Overwatch Wiki by adding them! Arena
Strategy details missing.
The Ducts
Strategy details missing.
Refinery
Strategy details missing.
Junkyard
Strategy details missing.
Bomb Flats
Strategy details missing.
|

|
TBA RATING | TBA FEATURE
Map strategy details for Suravasa are currently missing. You can help the Overwatch Wiki by adding them! Market
Strategy details missing.
Garden
Strategy details missing.
Palace
Strategy details missing.
Temple
Strategy details missing.
Ruins
Strategy details missing.
|
Achievements
| Name | Icon | Description | Reward |
|---|---|---|---|
|
|
Knock an enemy to their death using Pharah's Concussive Blast in Quick or Competitive play. |  | |

|
Kill 4 enemies without touching the ground as Pharah in Quick or Competitive play. |  |
Trivia
Pharah from the GamesCom 2017 banner
- A giant action figure of Pharah was displayed in Busan as part of a pre-release promotion for Overwatch.[3]
- A Funko Pop Pharah statue is available from the Blizzard Store.[4]
- As of October 2023, Pharah has spent 146,621 days in the air through combined playtime.[5]
Cultural References
- Chris Metzen has joked that Pharah has "a little bit of a Captain America type of vibe."[6]
- A Pharah portrait is available in StarCraft II for those who purchase the Origins Edition.[7]
- Pharah's design, which includes the Egyptian Eye of Horus symbol around one eye and armor reminiscent of a falcon, is a reference to the ancient Egyptian falcon-god Horus, god of the sky and protector of the pharaoh.
- Her Asp skin references her mother's Egyptian side, while the Raindancer and Thunderbird skins reference her father's west coast First Nation side.
- Pharah's voice line "Fly like an Egyptian" is a reference to the song "Walk like an Egyptian" by American pop rock band The Bangles.
- Pharah's voice line "Play nice, play Pharah" is a twist on one of Blizzard's core values, "Play nice, Play fair"
- Pharah's Hieroglyph spray features a column of Egyptian symbols on the left side that form the idiosyncratic word "Justice".
Misc. Character Information
- Ana Amari shares a similar Eye of Horus tattoo as Pharah.
- Dogs (specifically those used to ward off bears) are her favorite animal. She is interested in getting a pet chihuahua.[8]
- Interactions in Overwatch 2 indicate that Pharah is good at basketball.[8]
- As a child, Pharah was intelligent for her age, and always had a follow-up question that no-one wanted to answer.[9]
- Under Winston's reformed Overwatch, Zarya and Pharah worked together to create a maneuver, where Zarya would draw energies in with her graviton surge, after which Pharah would unleash her rockets.[10]
- In her youth, Pharah had a poster of Reinhardt.[8]
Disputed Information
Note: The following information is taken from gameplay trailers, and is of dubious canon status.

Zarya and co. after repelling Talon
Pharah was part of an Overwatch team which engaged against Talon at Petra. With the aid of Venture, Overwatch successfully repelled Talon.[11]
Development
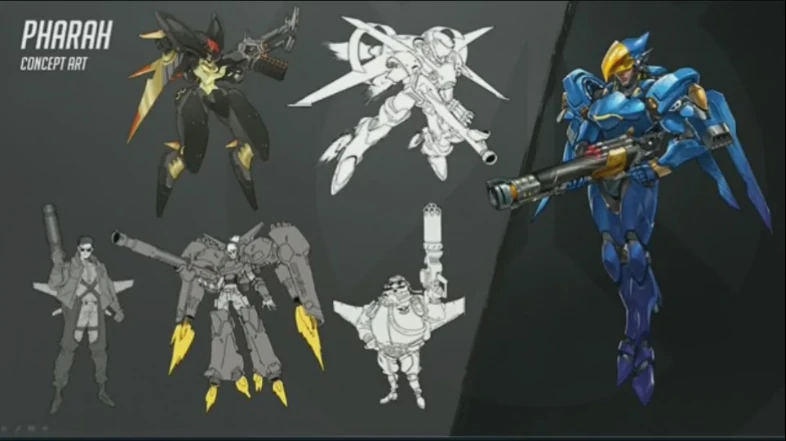
Concept art
Pharah's design stems from a playable class in the cancelled Project Titan. In the original pitch for the game that would become Overwatch, she appeared as a jetpack-equipped class called Phoenix, which used a rocket launcher and an ability that called down napalm; in a later pitch, Phoenix was re-envisioned as a hero concept with a flamethrower and explosives, while the jetpack and rocket launcher were moved to a new hero that would eventually become Pharah.[12] The design of Pharah was "bottom-up"; where developers start with gameplay mechanics, and later build a character around them.[13] Her original design was done by Geoff Goodman. It was a simple concept of a male hero with a jetpack, simply named "Rocket Dude." Another one of the original concepts was done by Justin Thavirat. More iterations were went through.[6] Her official codename was Rocket Queen.[14] Early in development she was also briefly given the name Mercy; Mercy was named Angelica at the time.[15]
Inspiration for her was taken from the Tribes series.[13] She was one of the first characters implemented in the game, coming in at around the same time of Tracer, Reaper, and Widowmaker (the first three heroes implemented).[14]
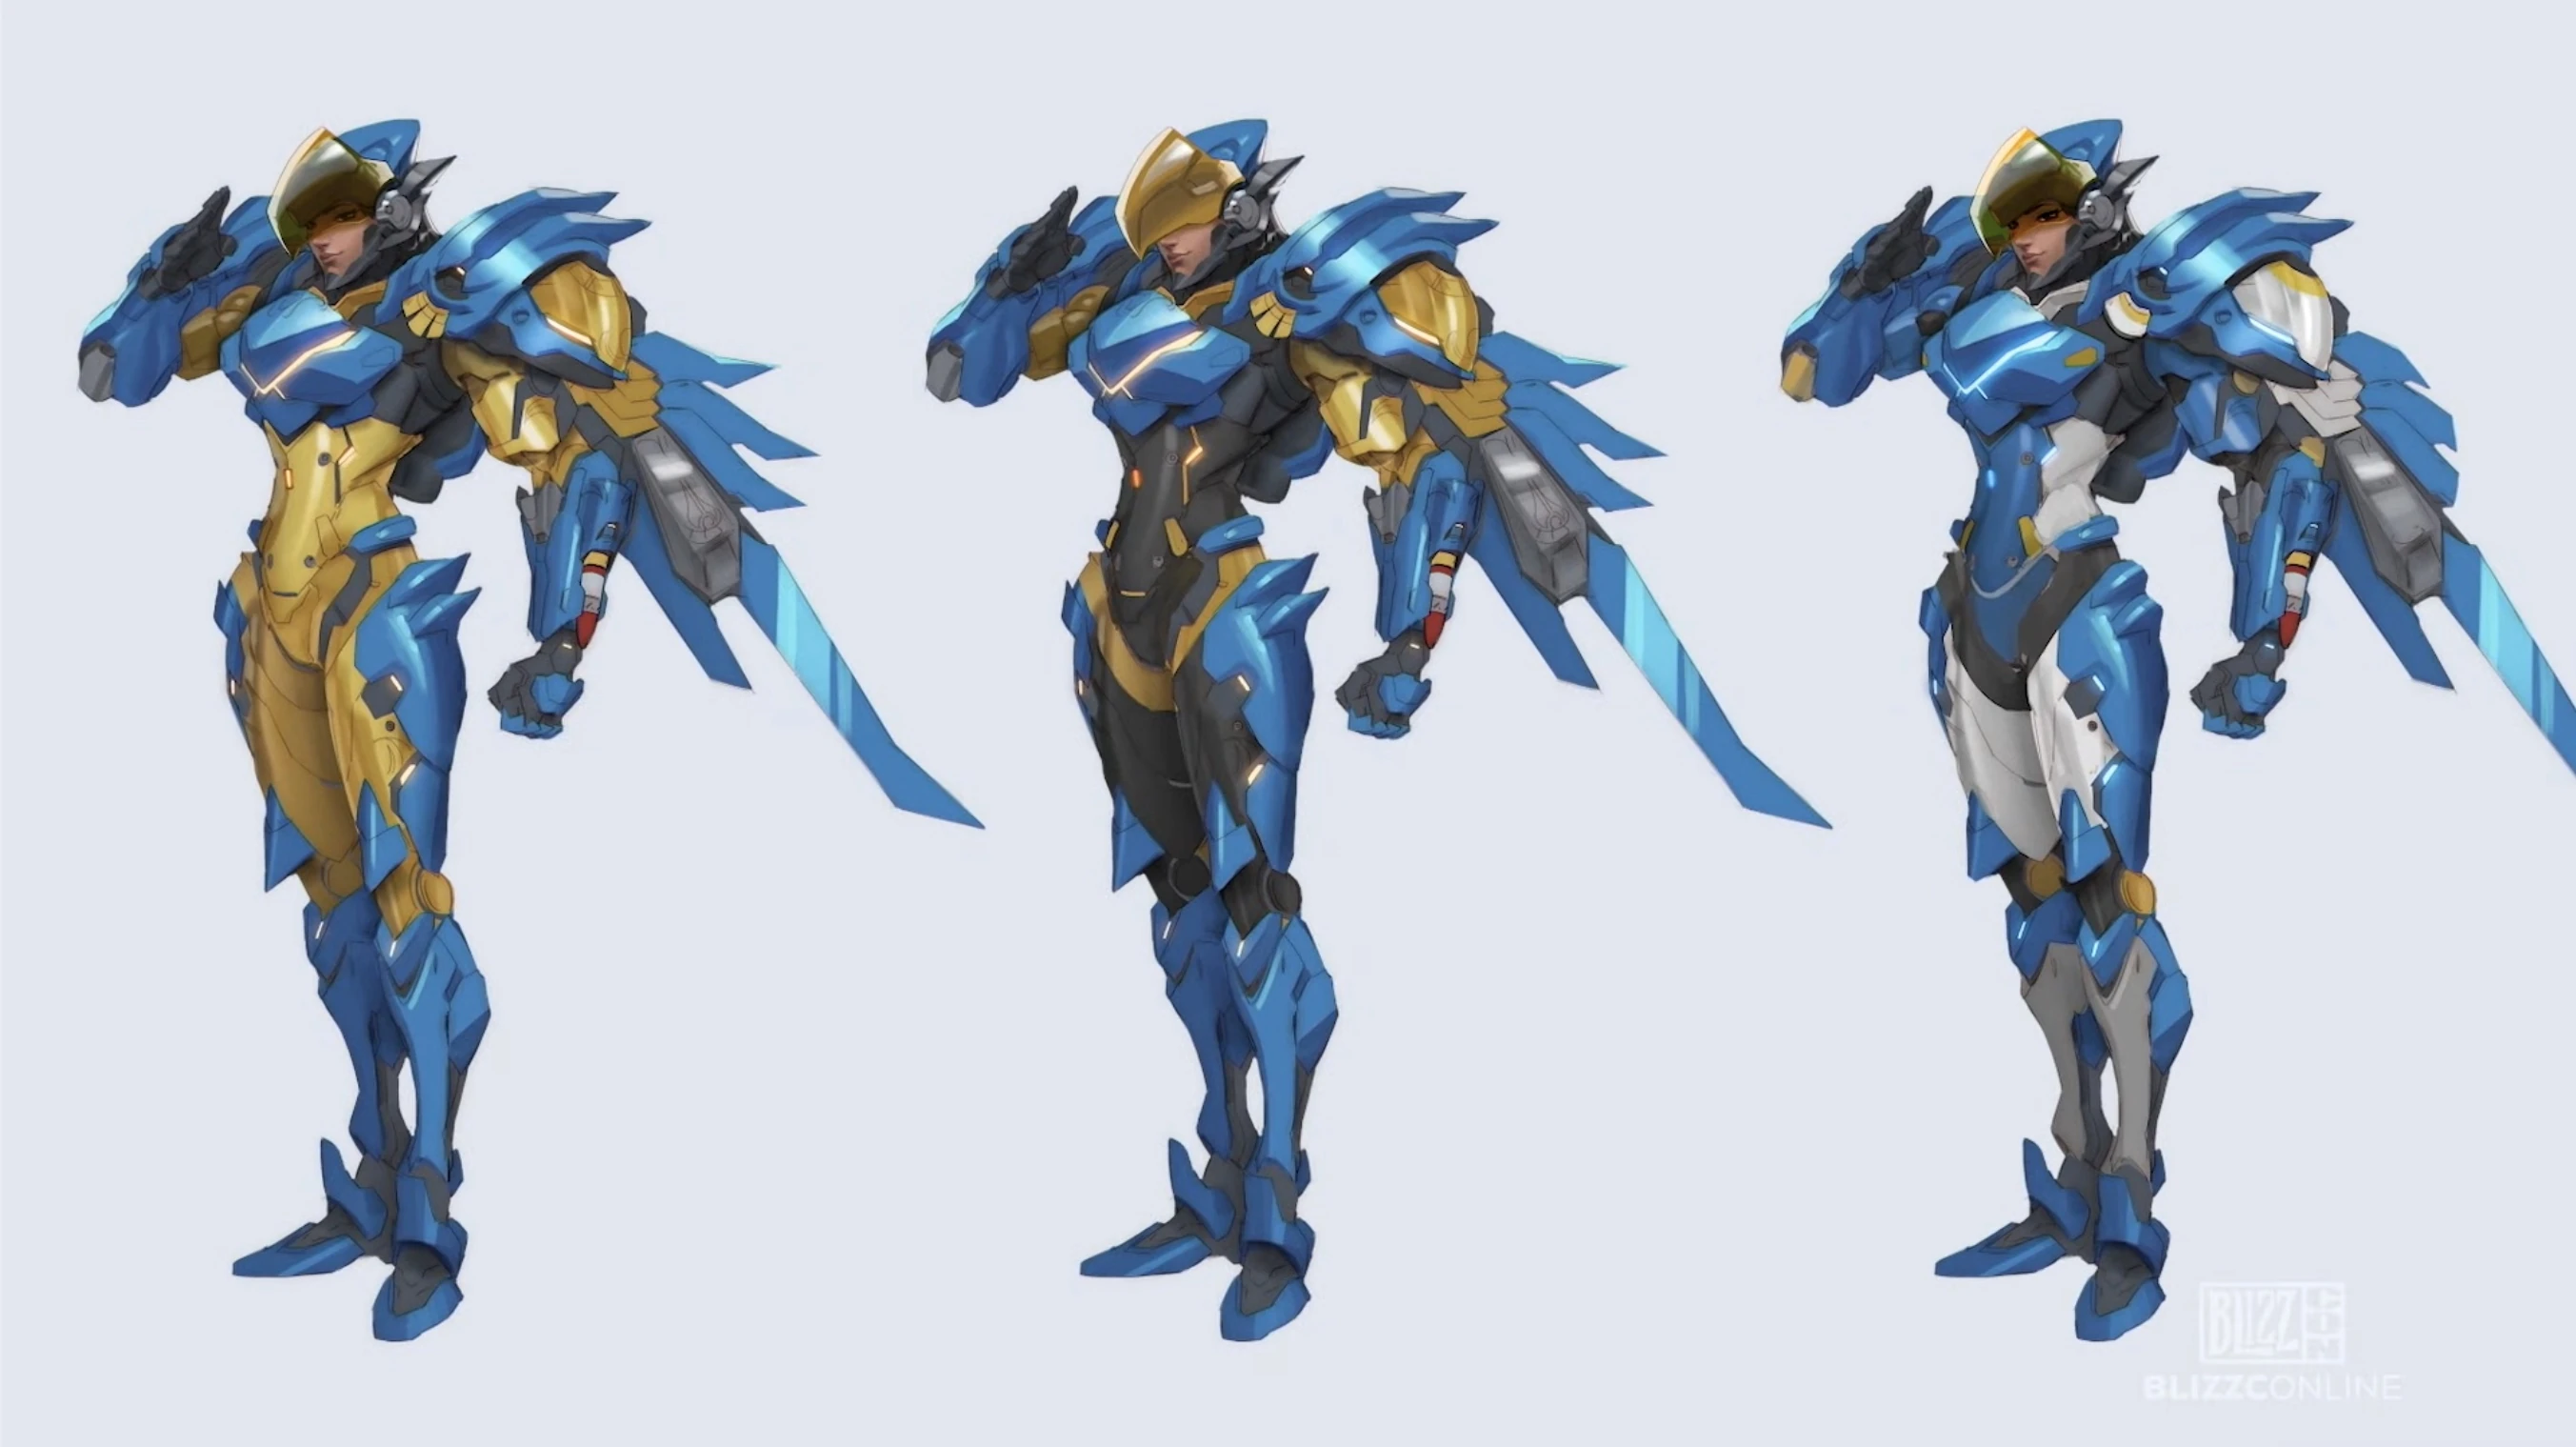
Pharah's core design wasn't altered for Overwatch 2. Rather, the developers experimented with different colors. They harkened back to white and blue (the colors of the Overwatch team). Her visor was redesigned to be less opaque, making it easier to see her emotions.[16] The new design made its debut in New Blood Issue 5.
When asked about Pharah's sexuality, Gavin Jurgens-Fyhrie commented "we don’t have anything to share on this yet."[17] Pharah was later confirmed to be a lesbian in As You Are, in which she was also implied to be attracted to Mercy.
A Starscream skin was considered for Pharah in the Transformers collaboration, but was dropped.[18]
Removed abilities
Removed Perks

8 meters (pharah)
- Removed in Season 18.
- Pull can affect Pharah as well.

- Removed in Reign of Talon Season 1
- Heroes remain revealed until the end of the duration even if the mark is triggered.

- Integrated into base kit in Reign of Talon Season 2.
- Pharah can descend with Crouch and rise with Jump. This does not consume Hover Jets fuel.
- Pharah additionally receives the move speed penalty from moving backwards or diagonally backwards.
Media
Images
- Former Portrait
-
 Overwatch 1 Hero Portrait

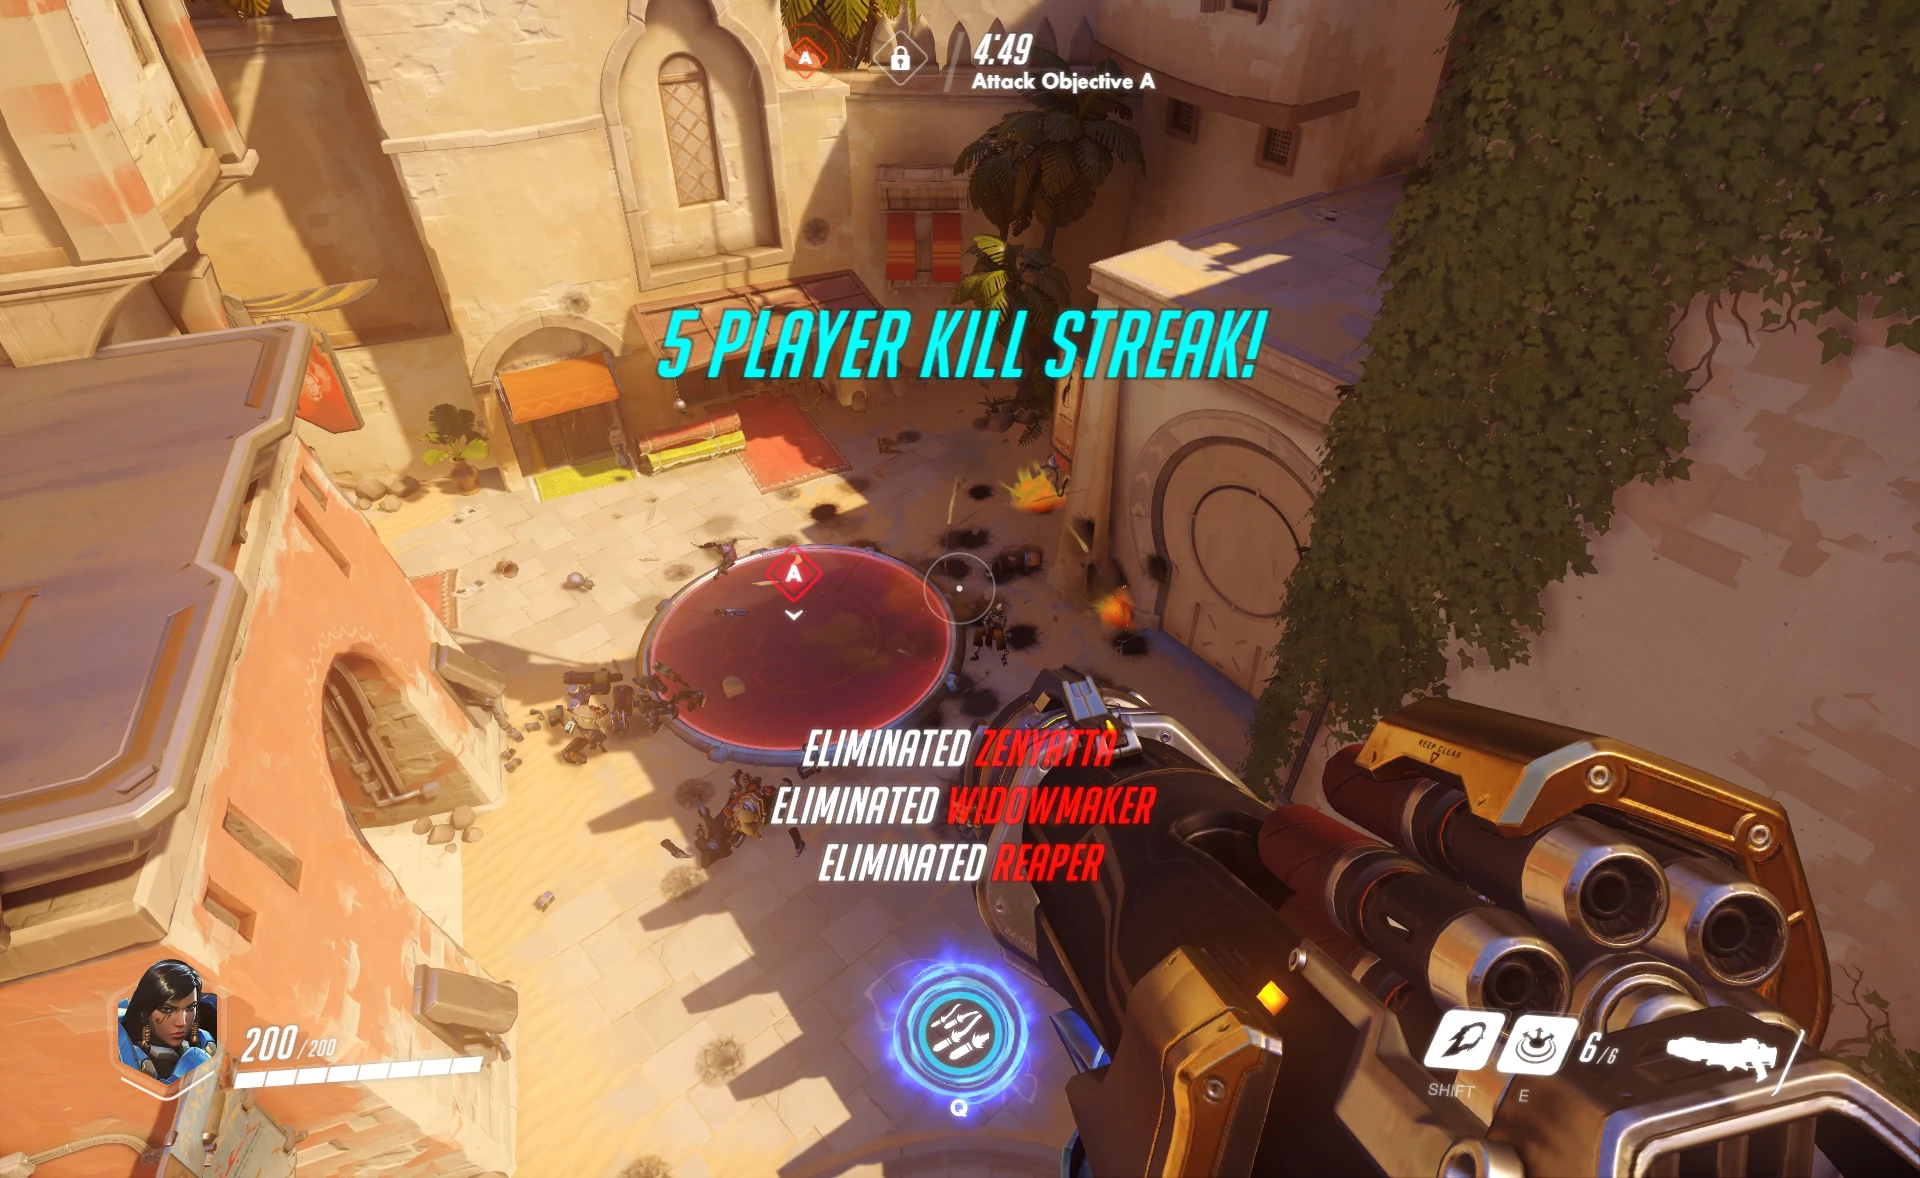
- Gameplay Screenshots
- Concept Art
-
 Overwatch 2 Pharah early concept art
 -
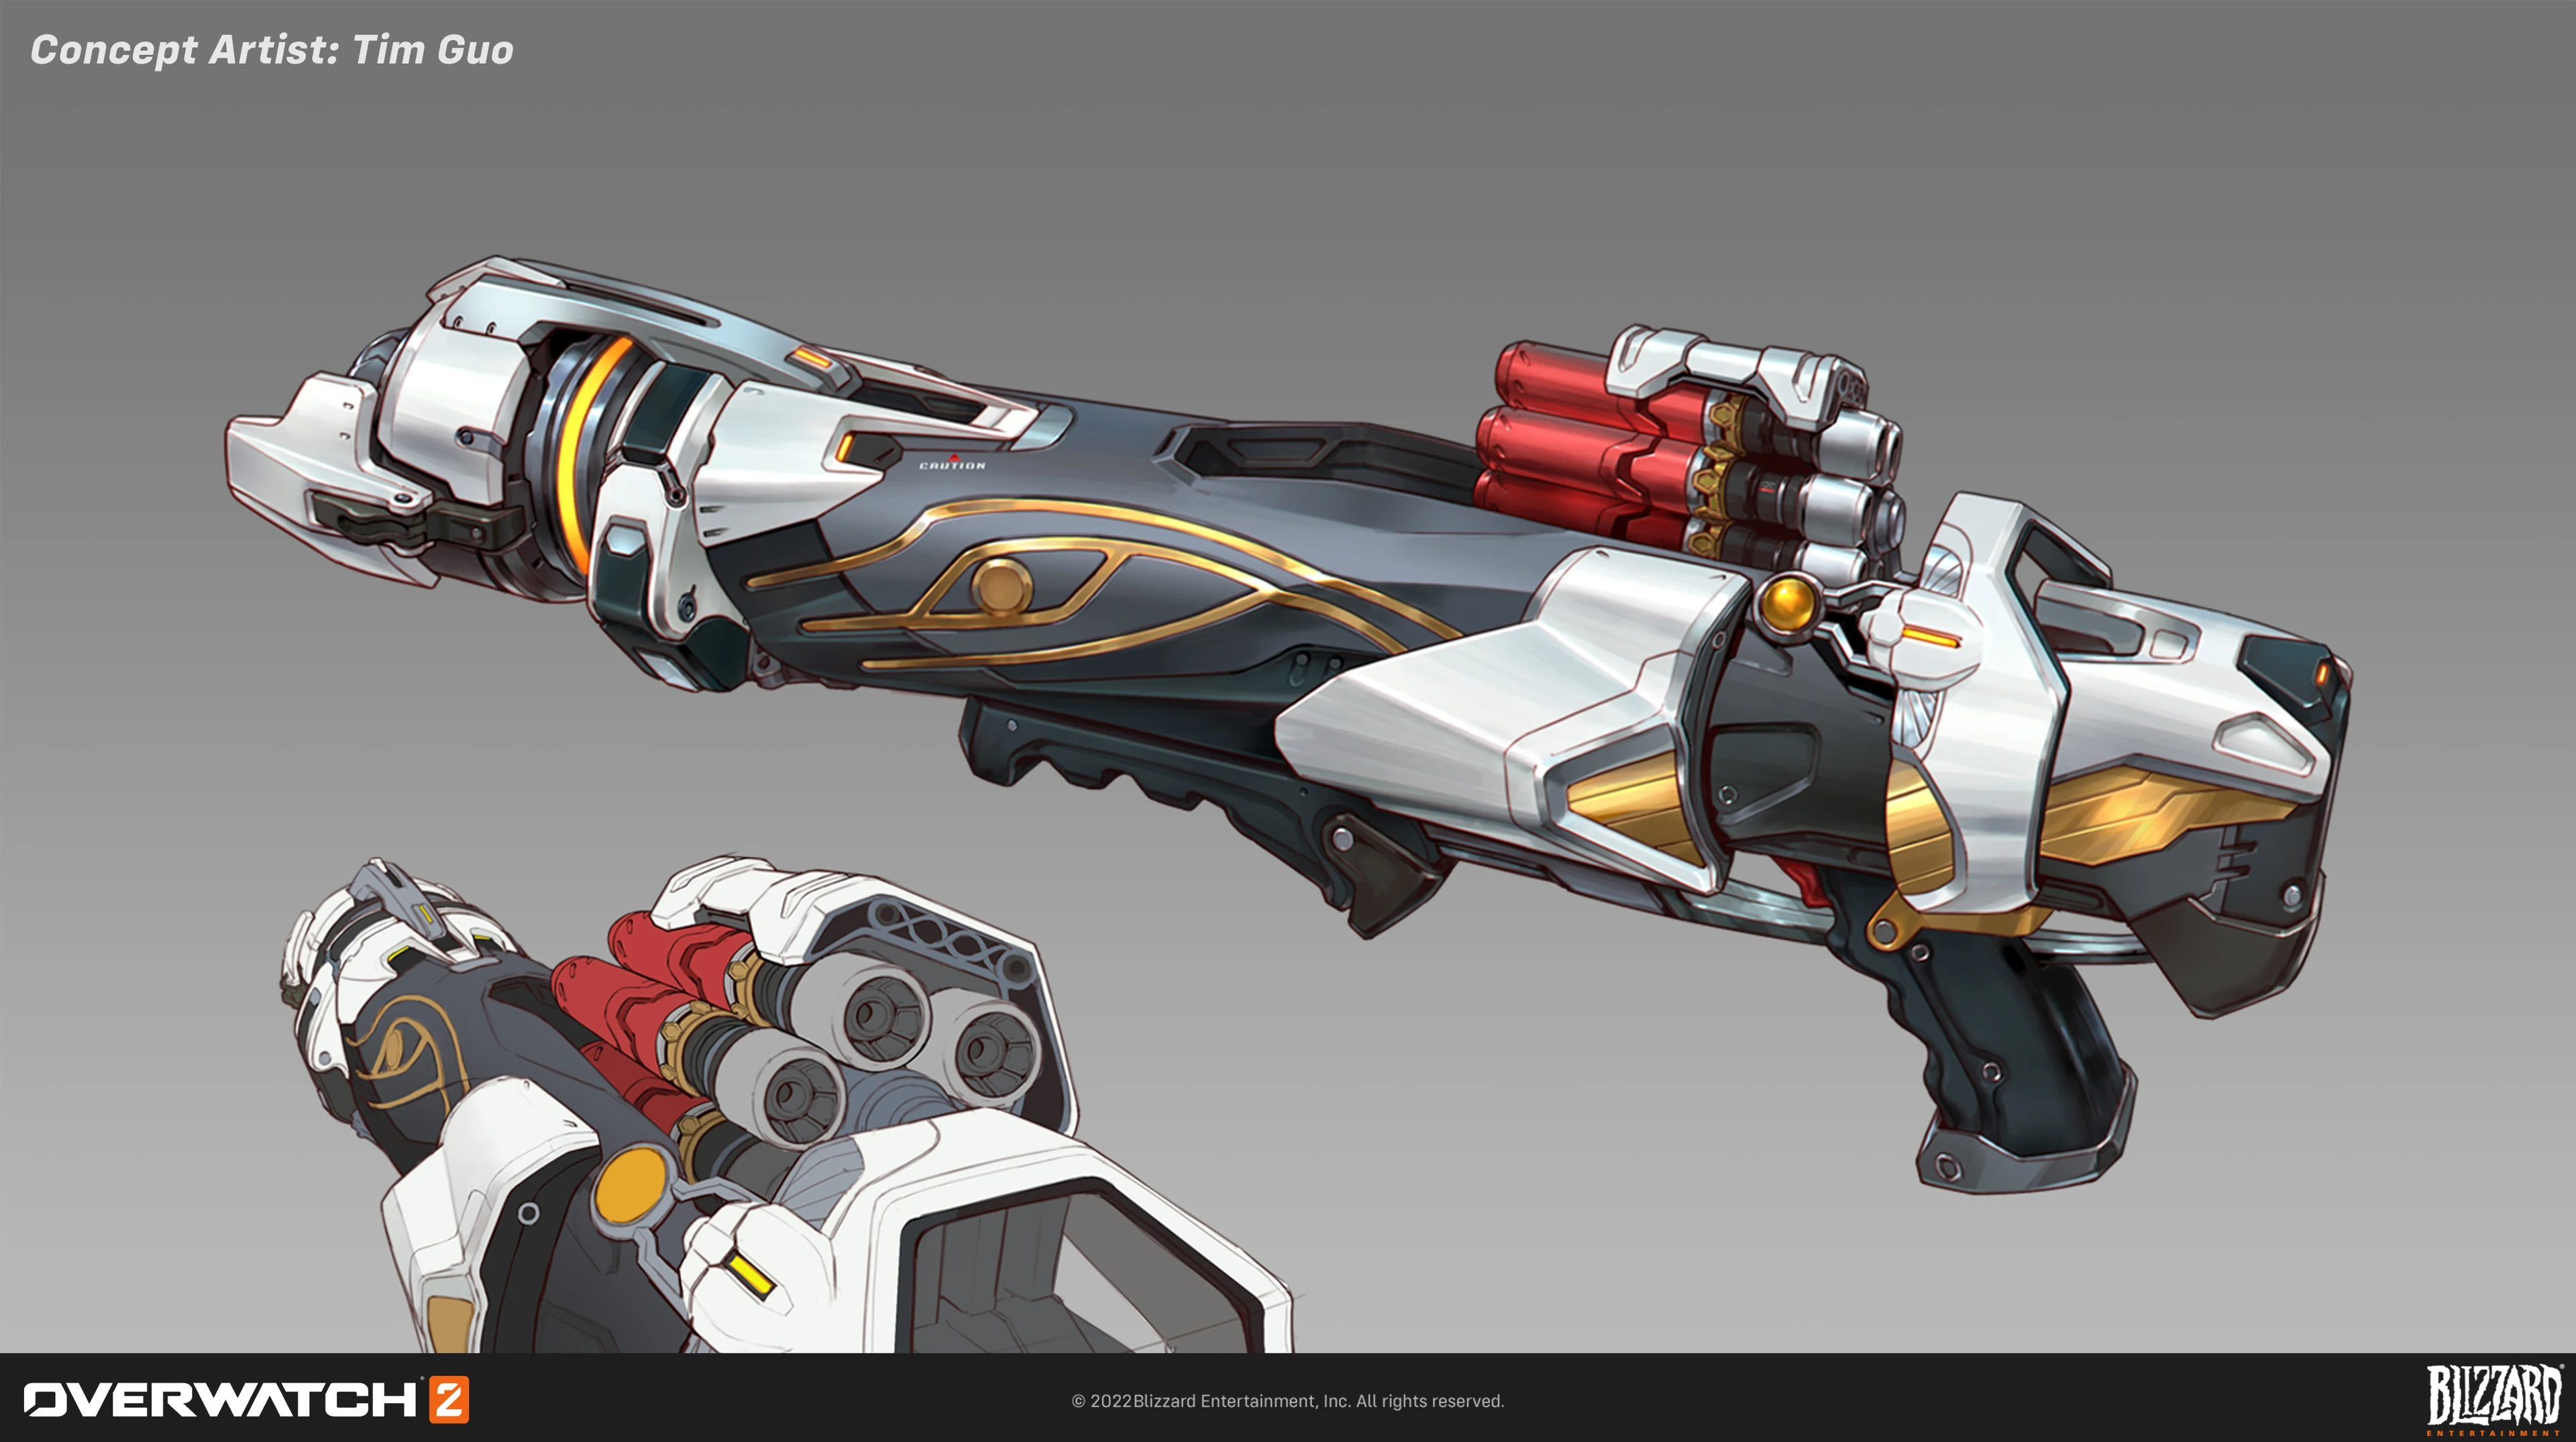
 Overwatch 2 skin weapon concept art
 -
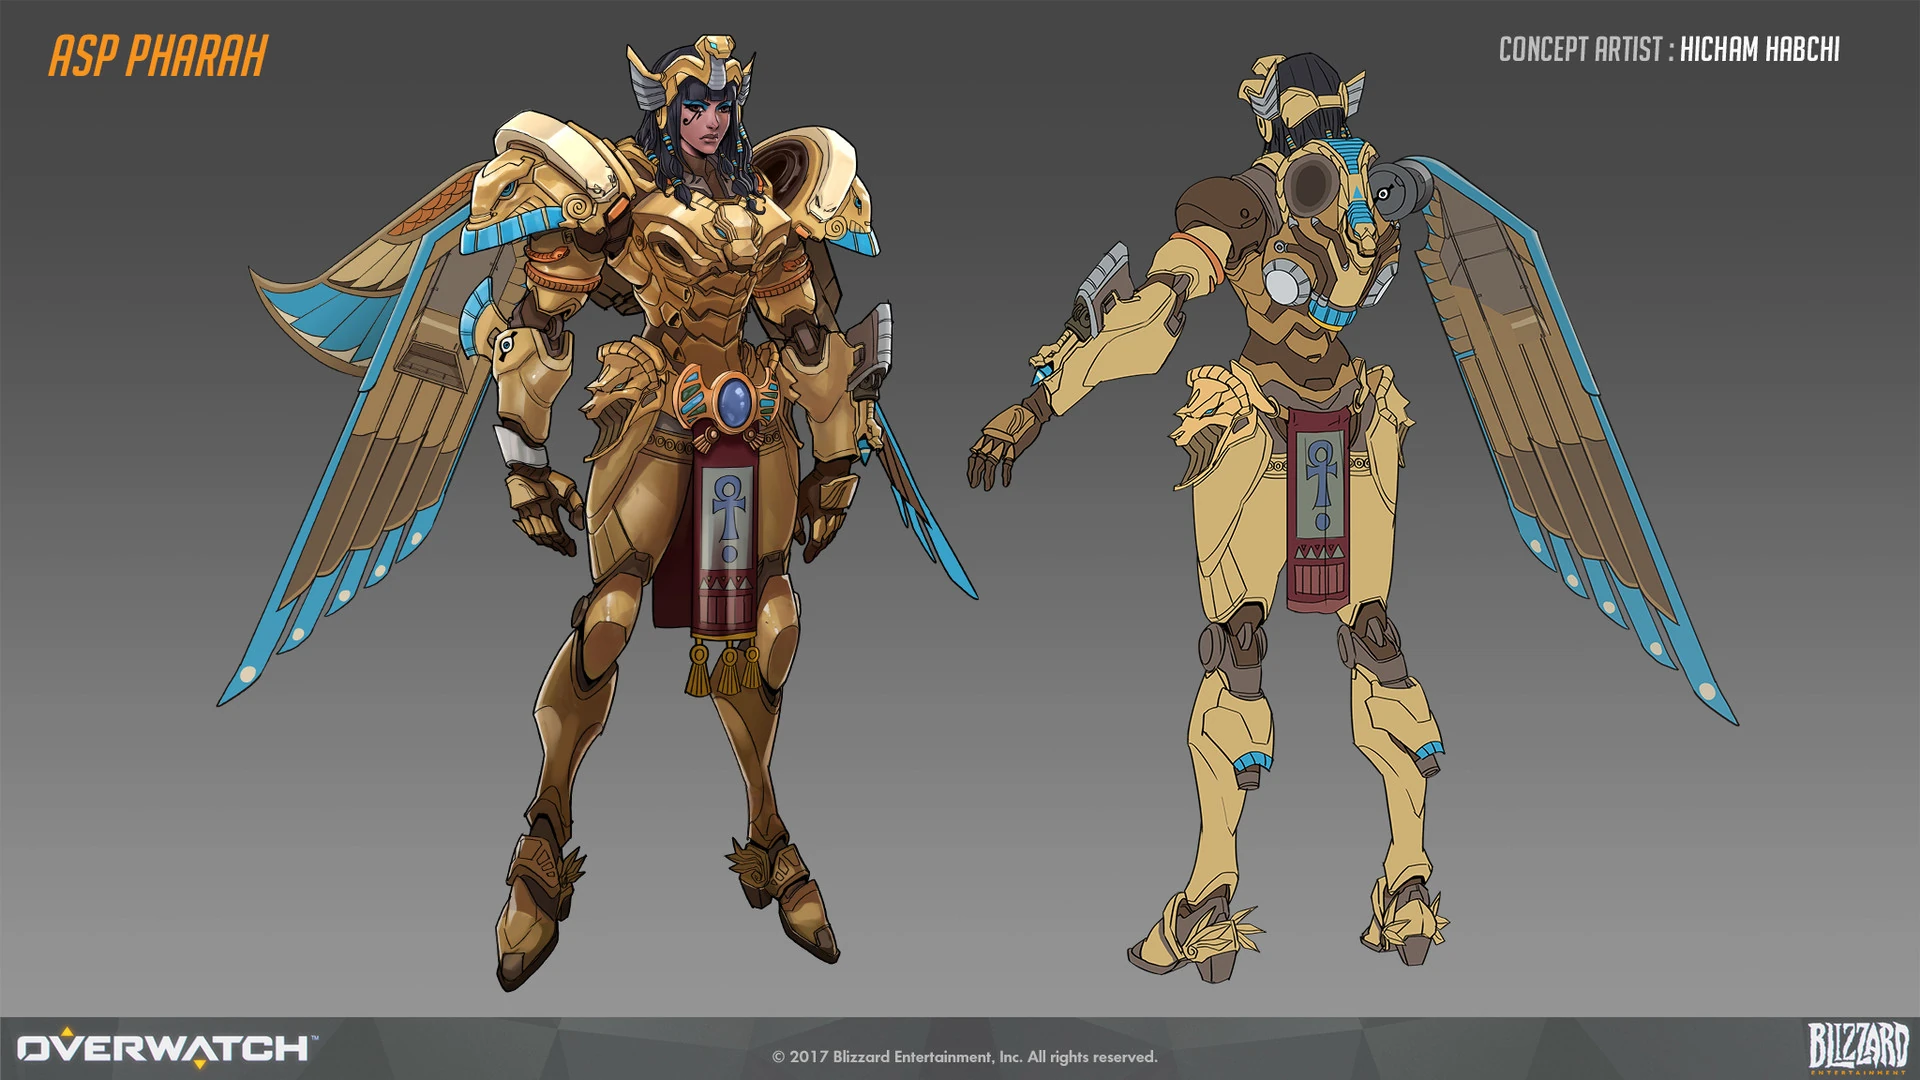
 Asp Skin Concept Art by Hicham Habchi
 -
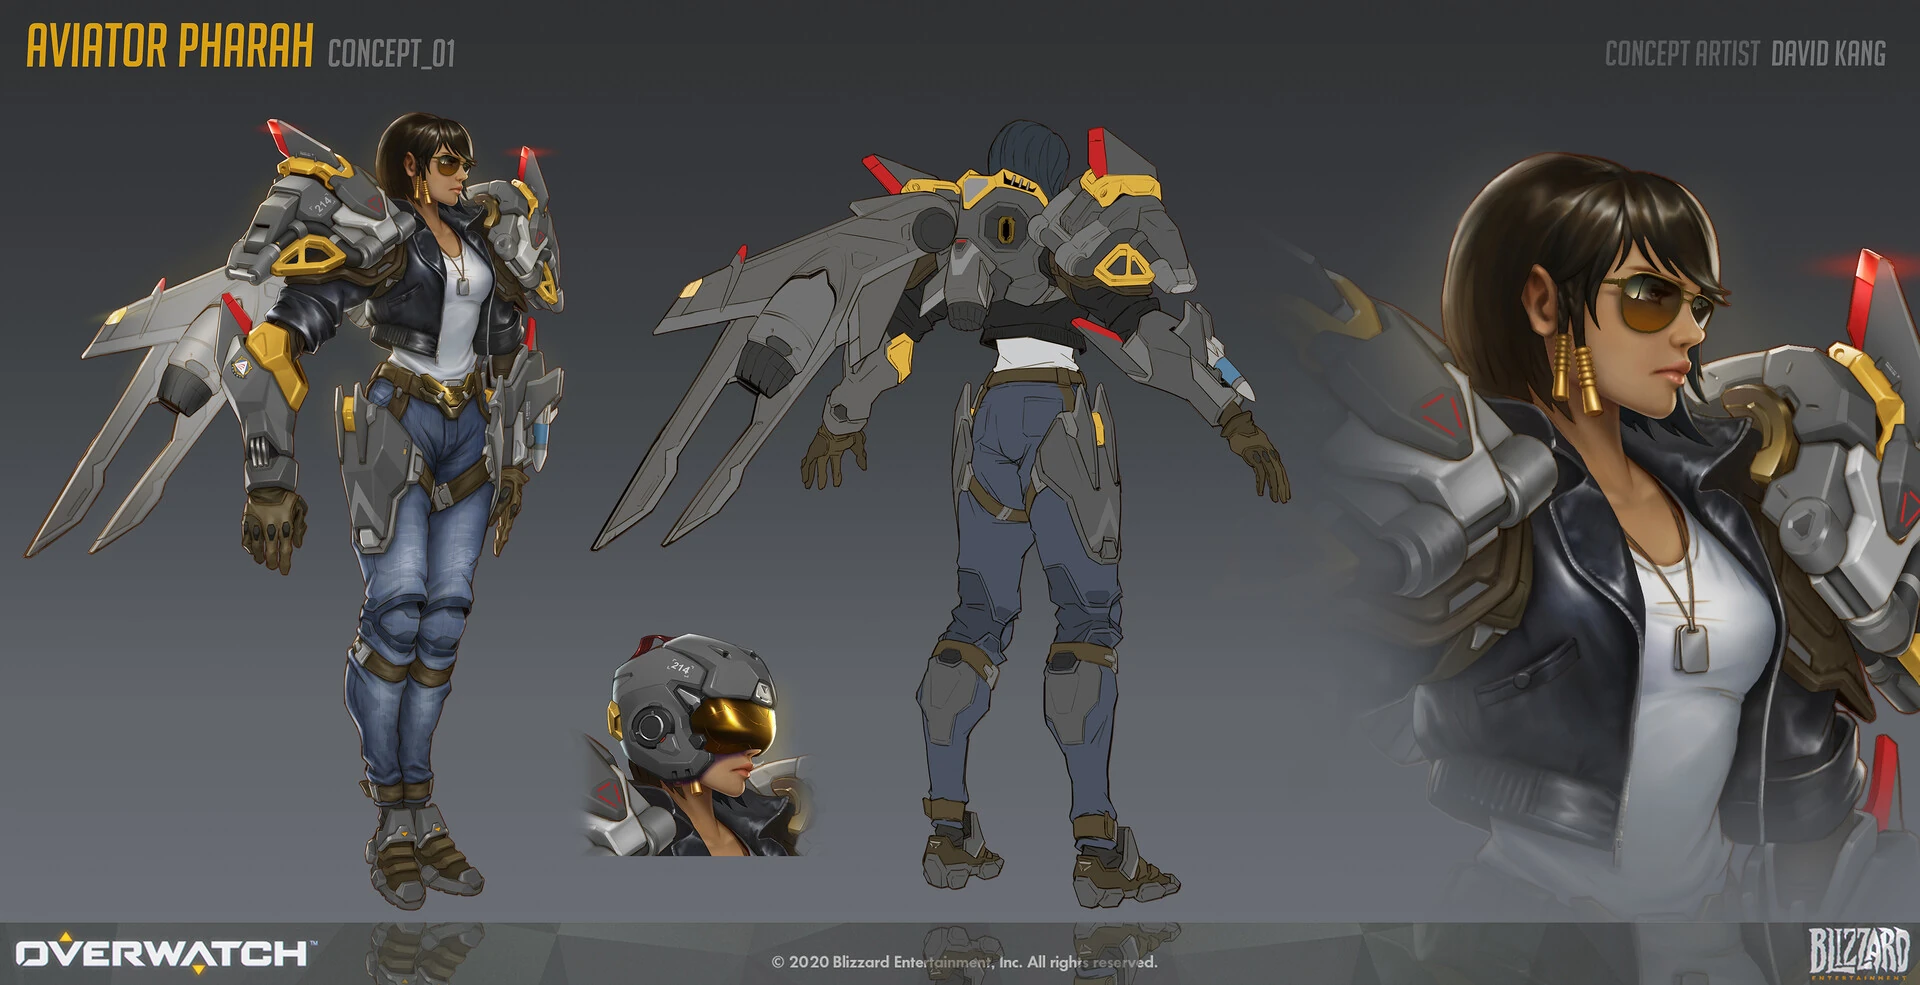
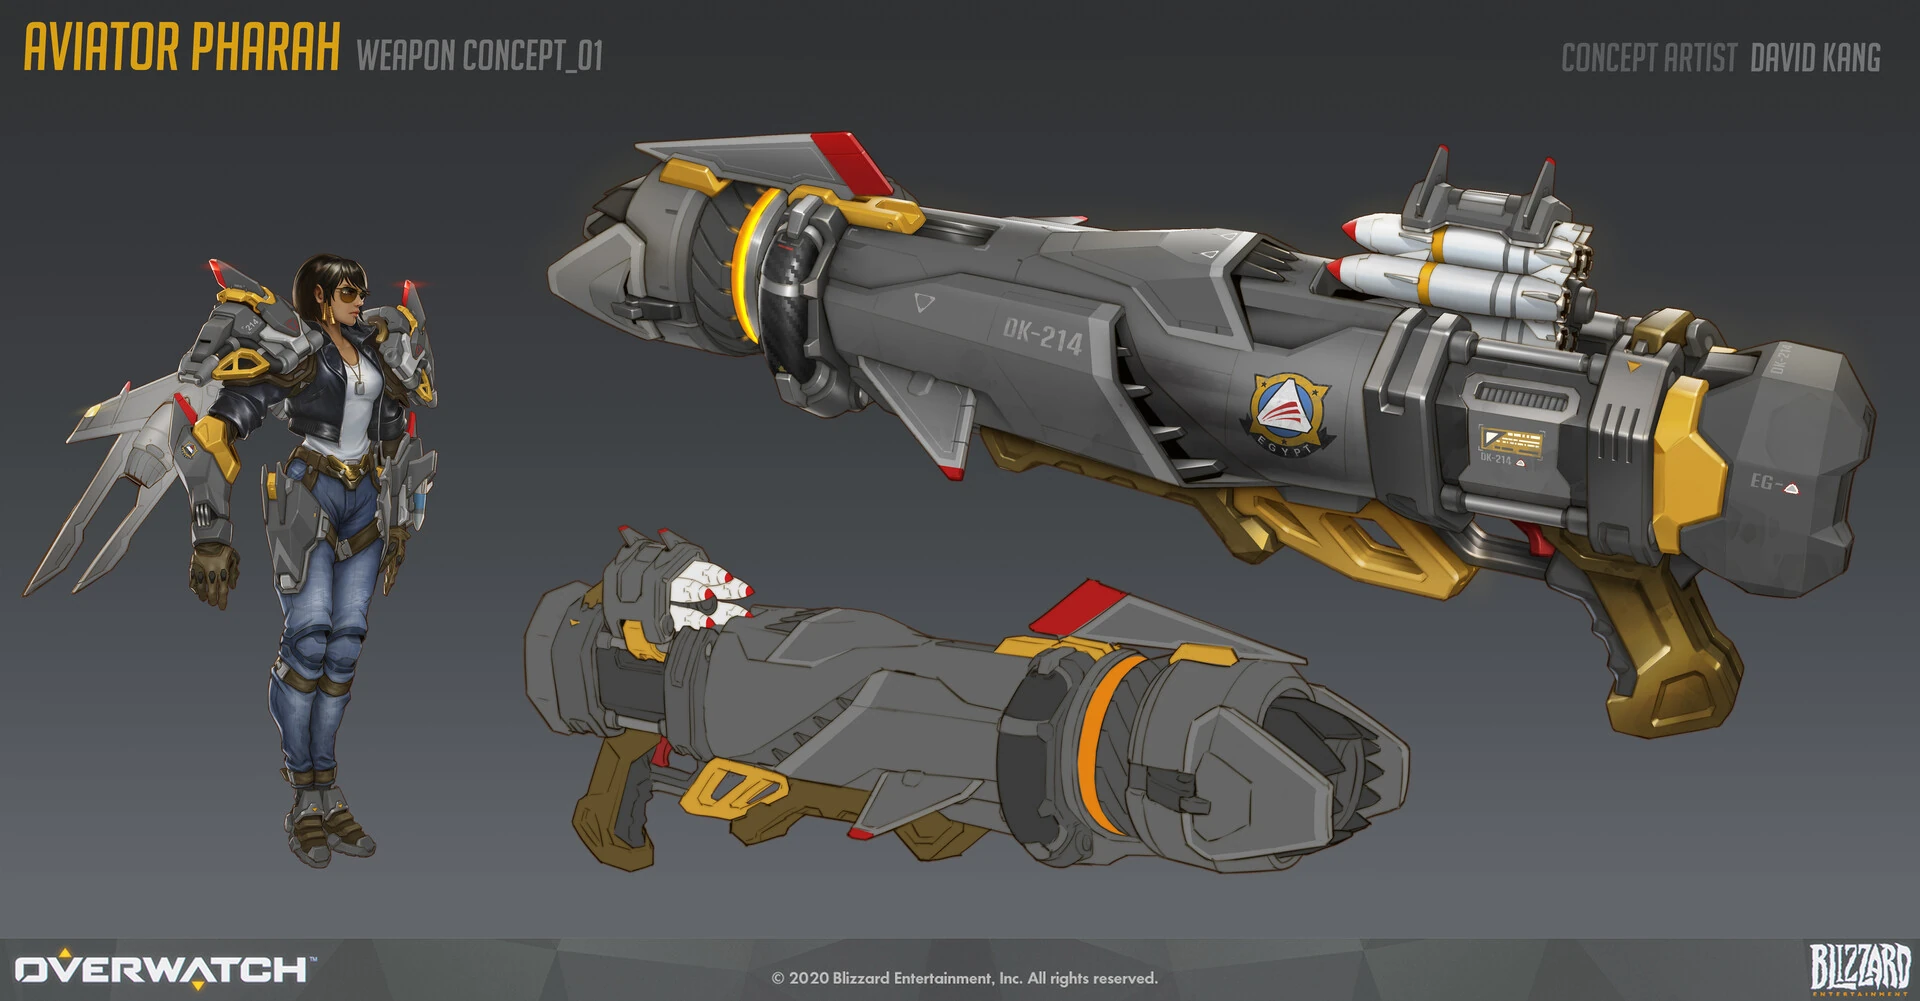
 Aviator Skin Concept Art by David Kang
 -
 Aviator Skin Weapon Concept Art by David Kang
 -
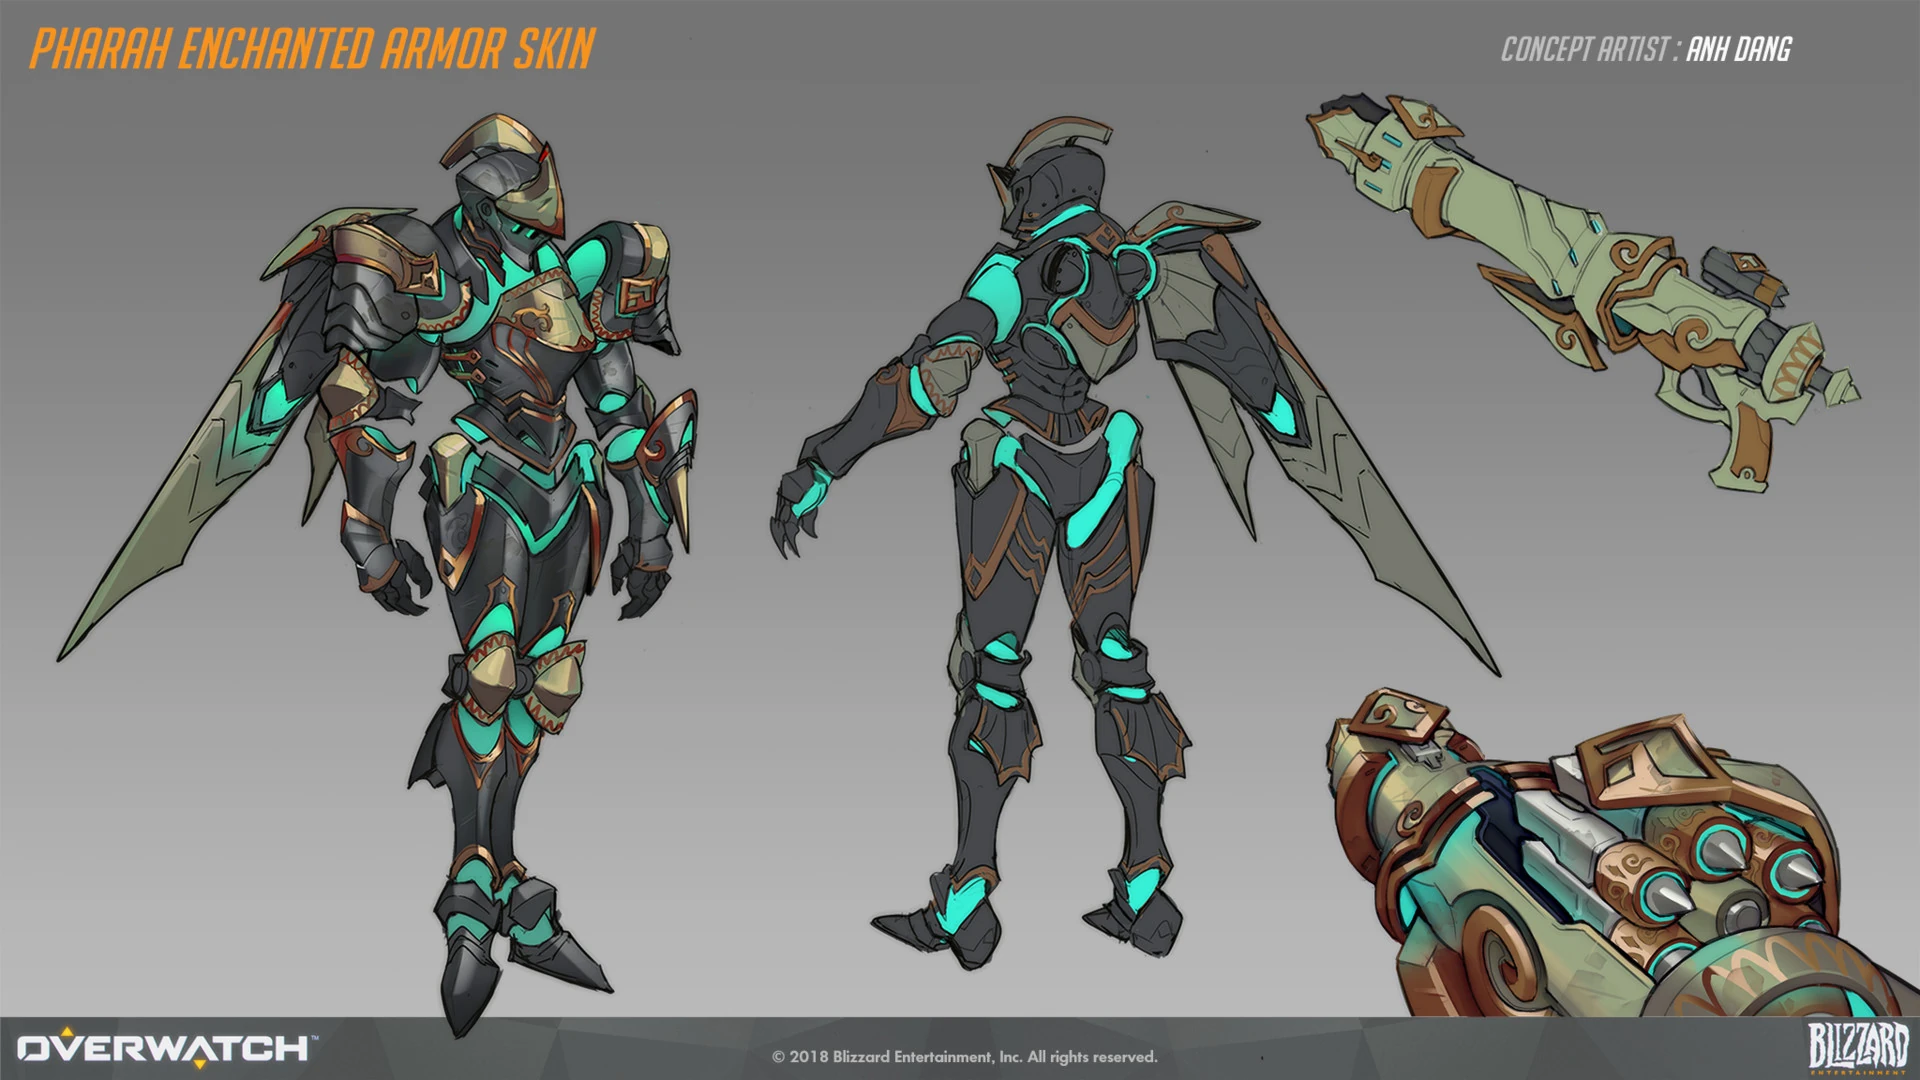
 Enchanted Armor Skin Concept Art by Anh Dang
 -
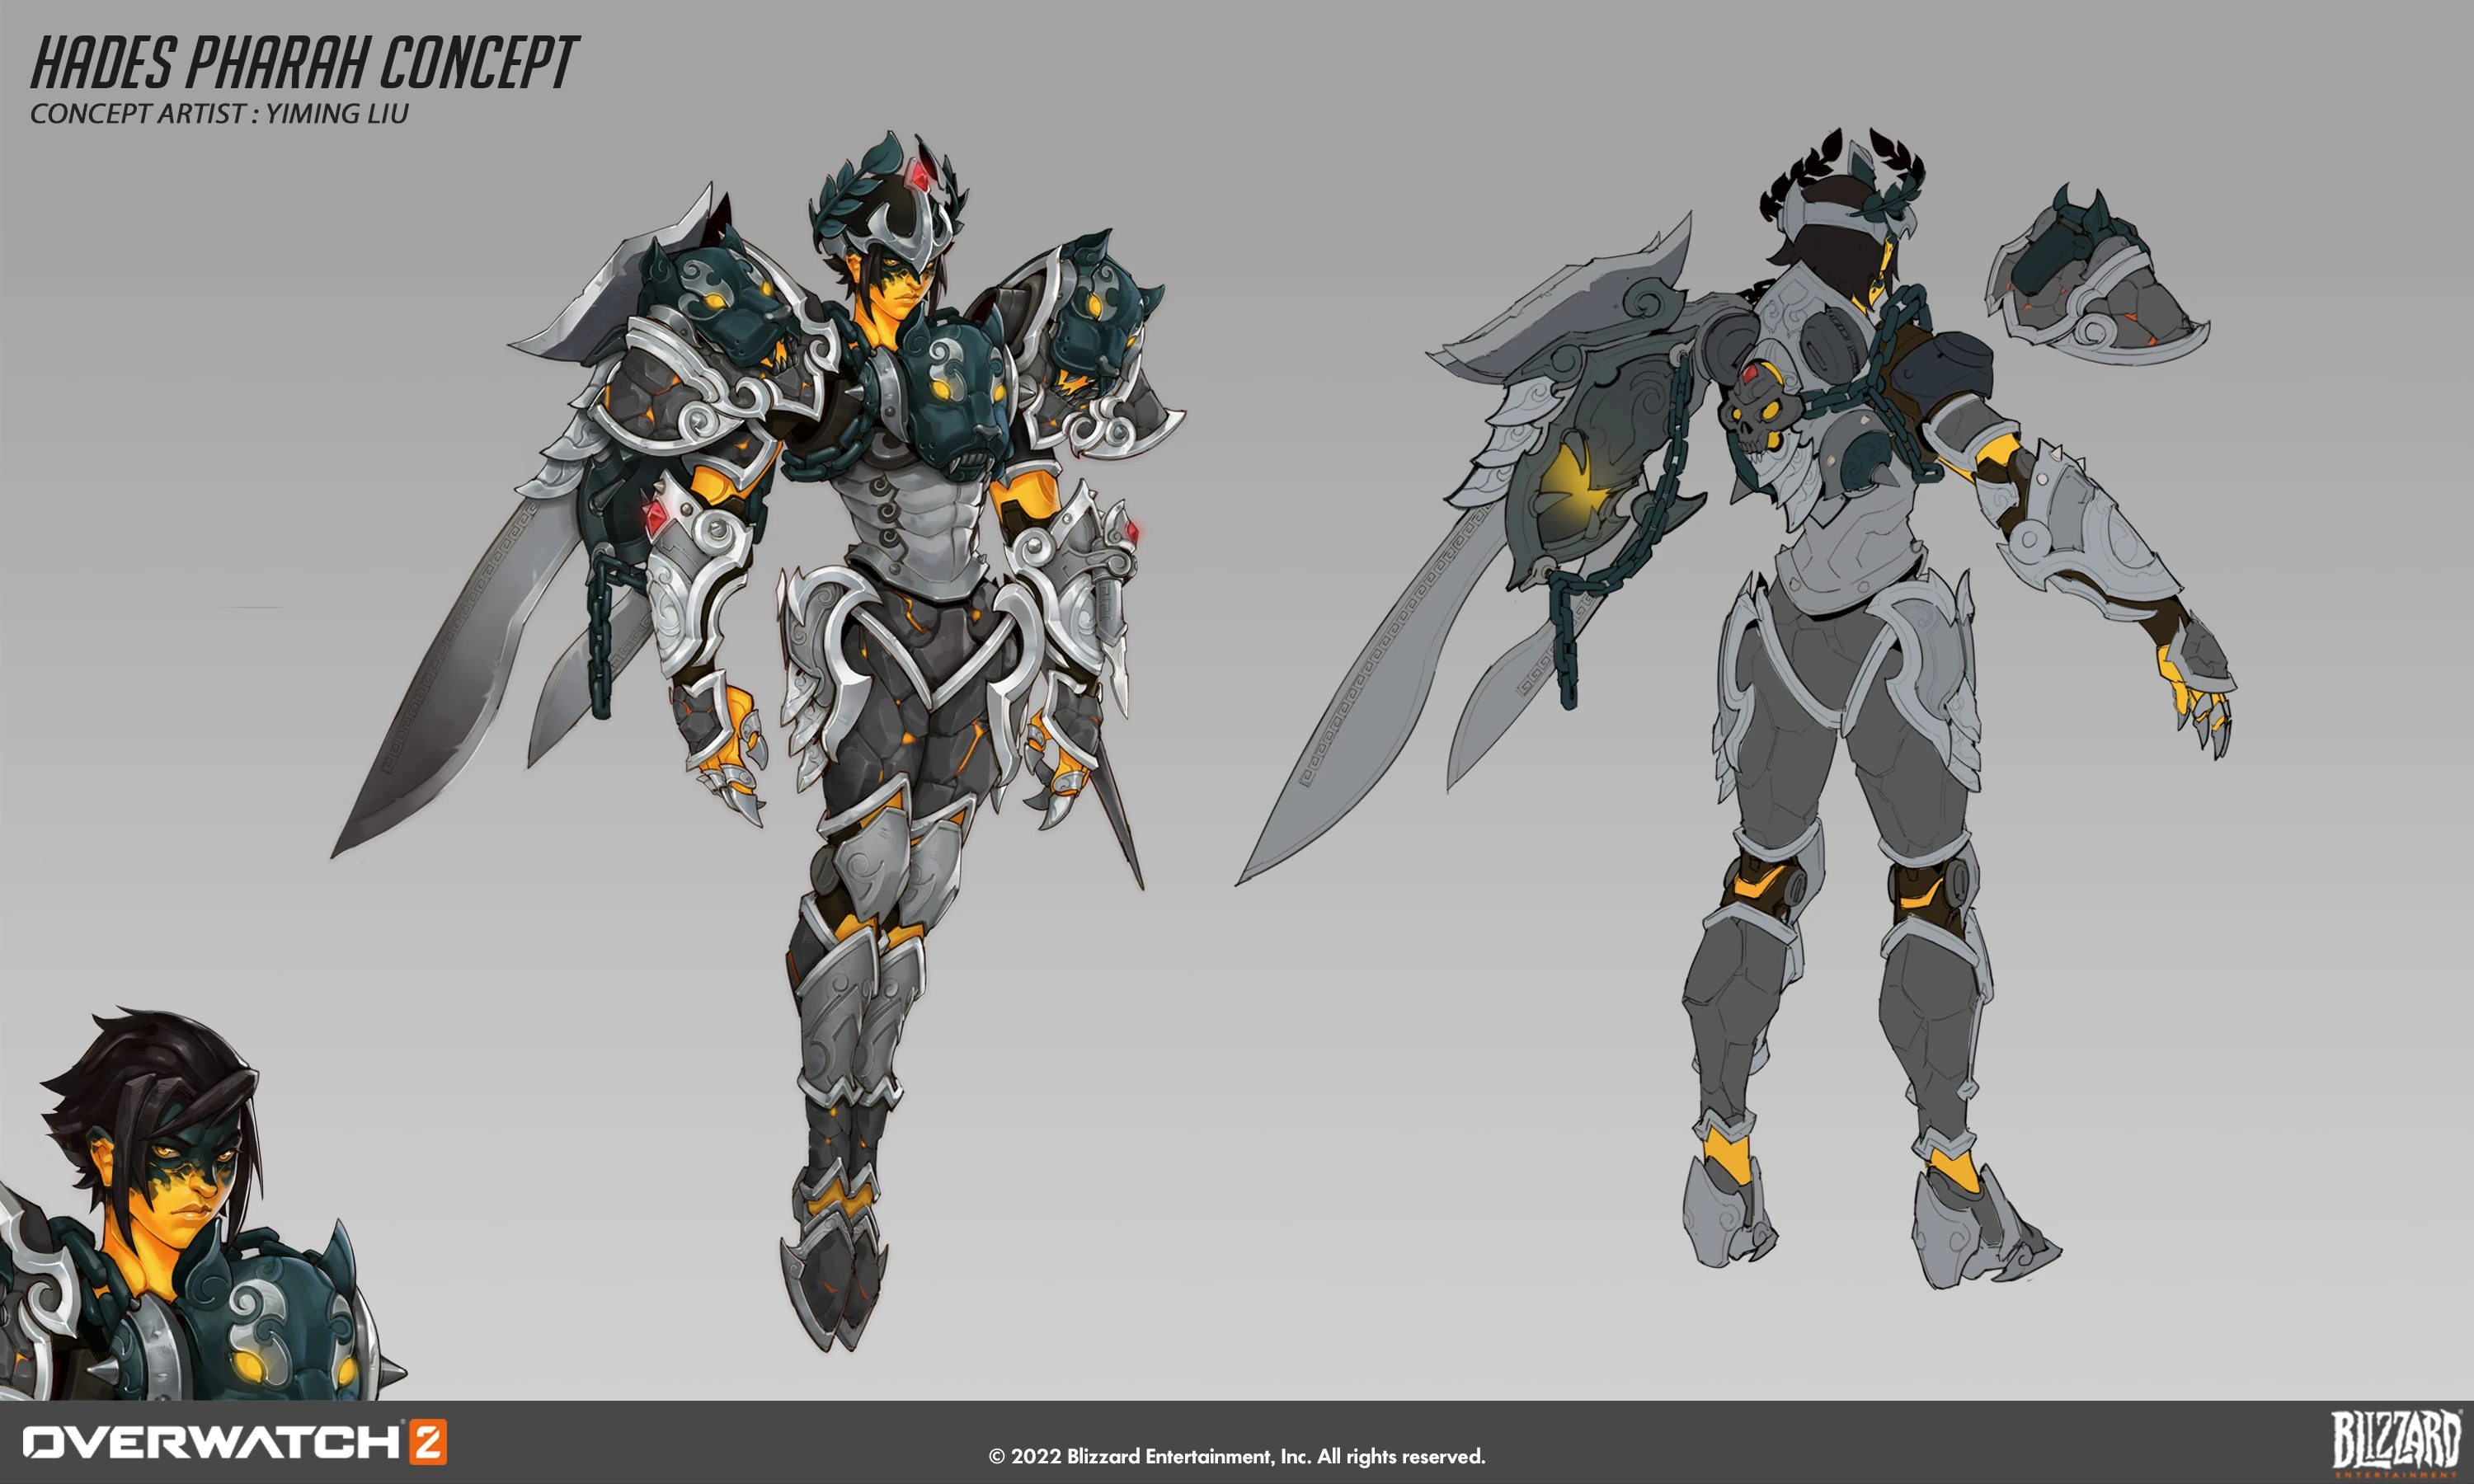
 Hades Skin Concept Art by Yiming Liu
 -
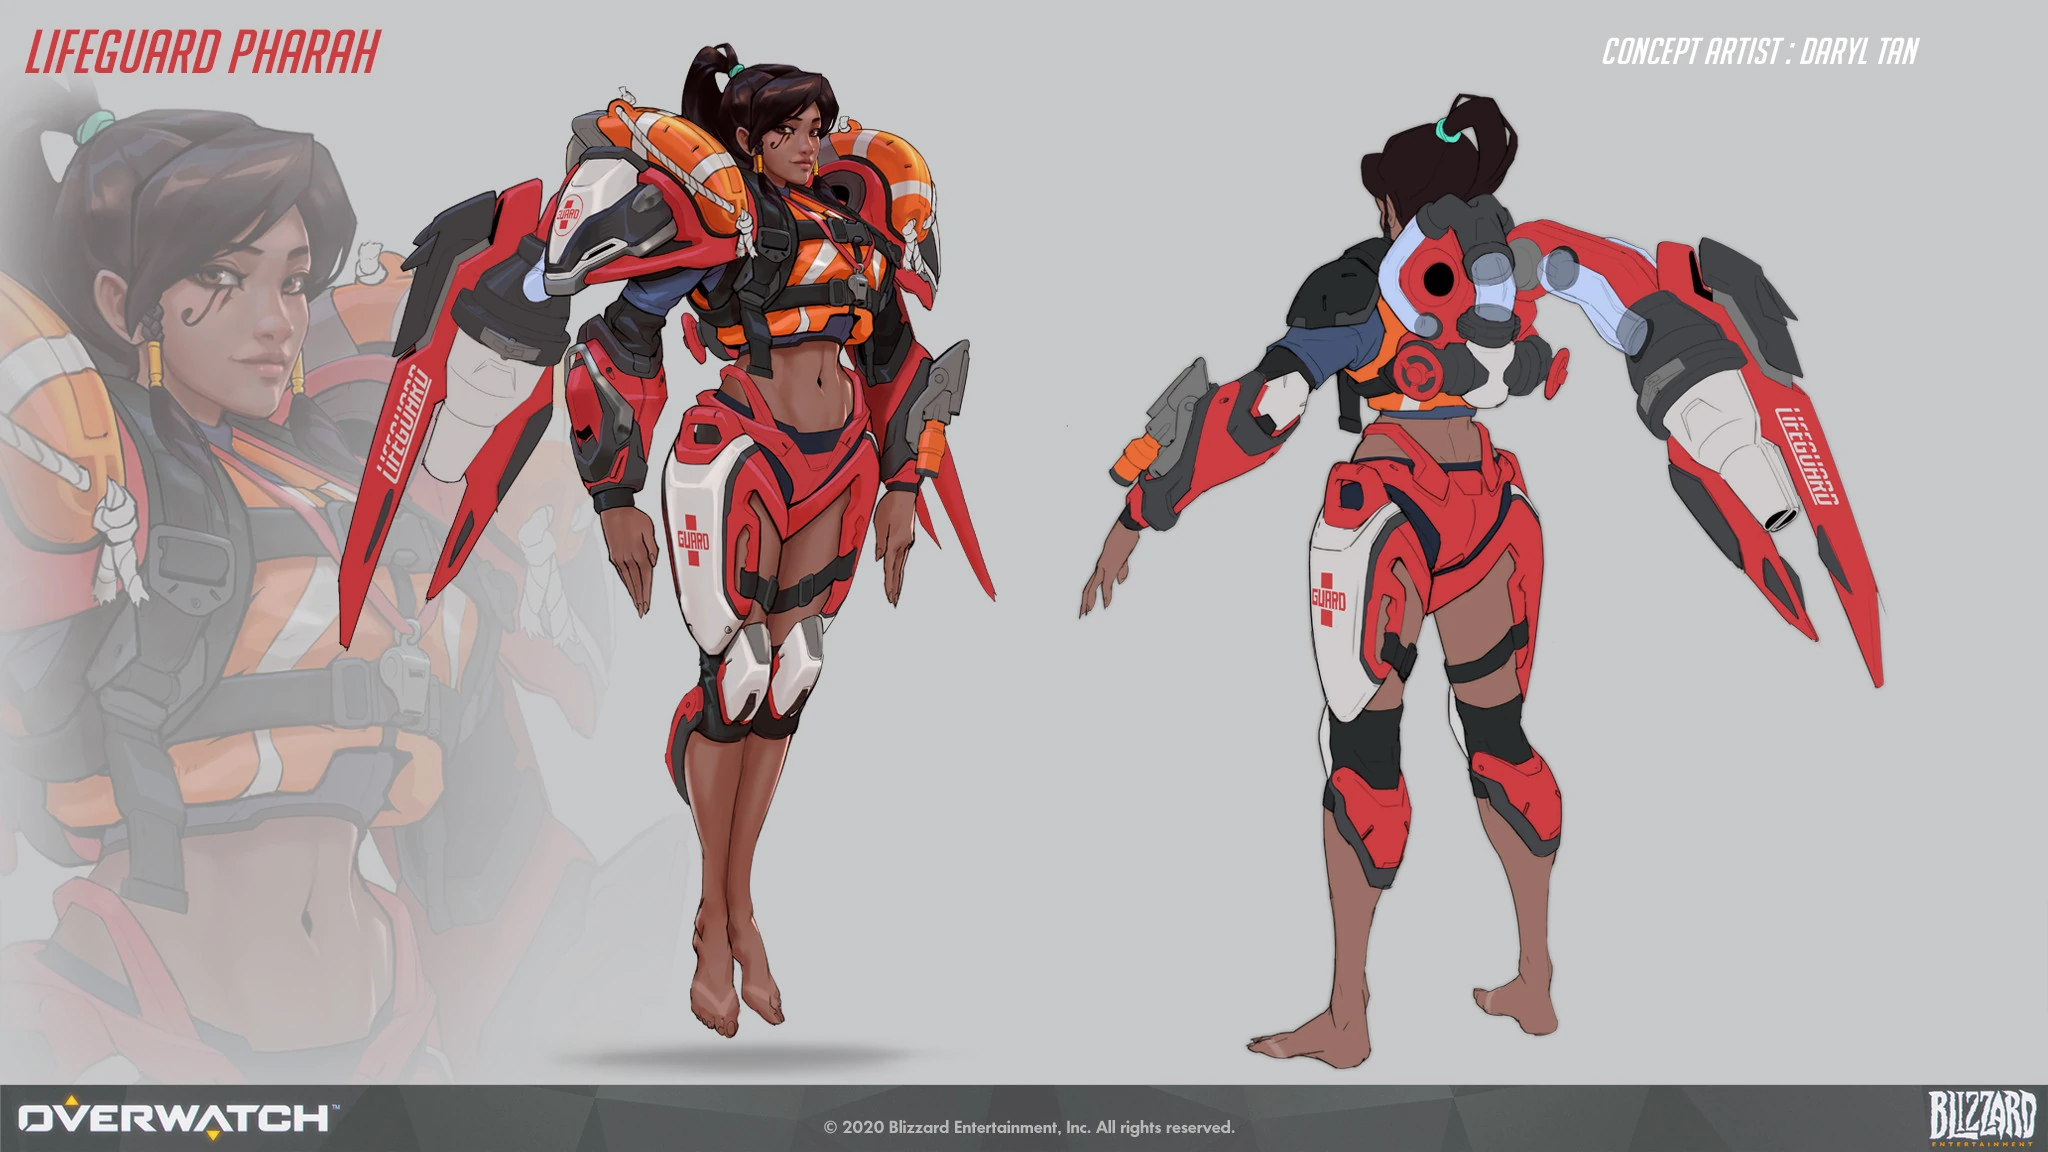
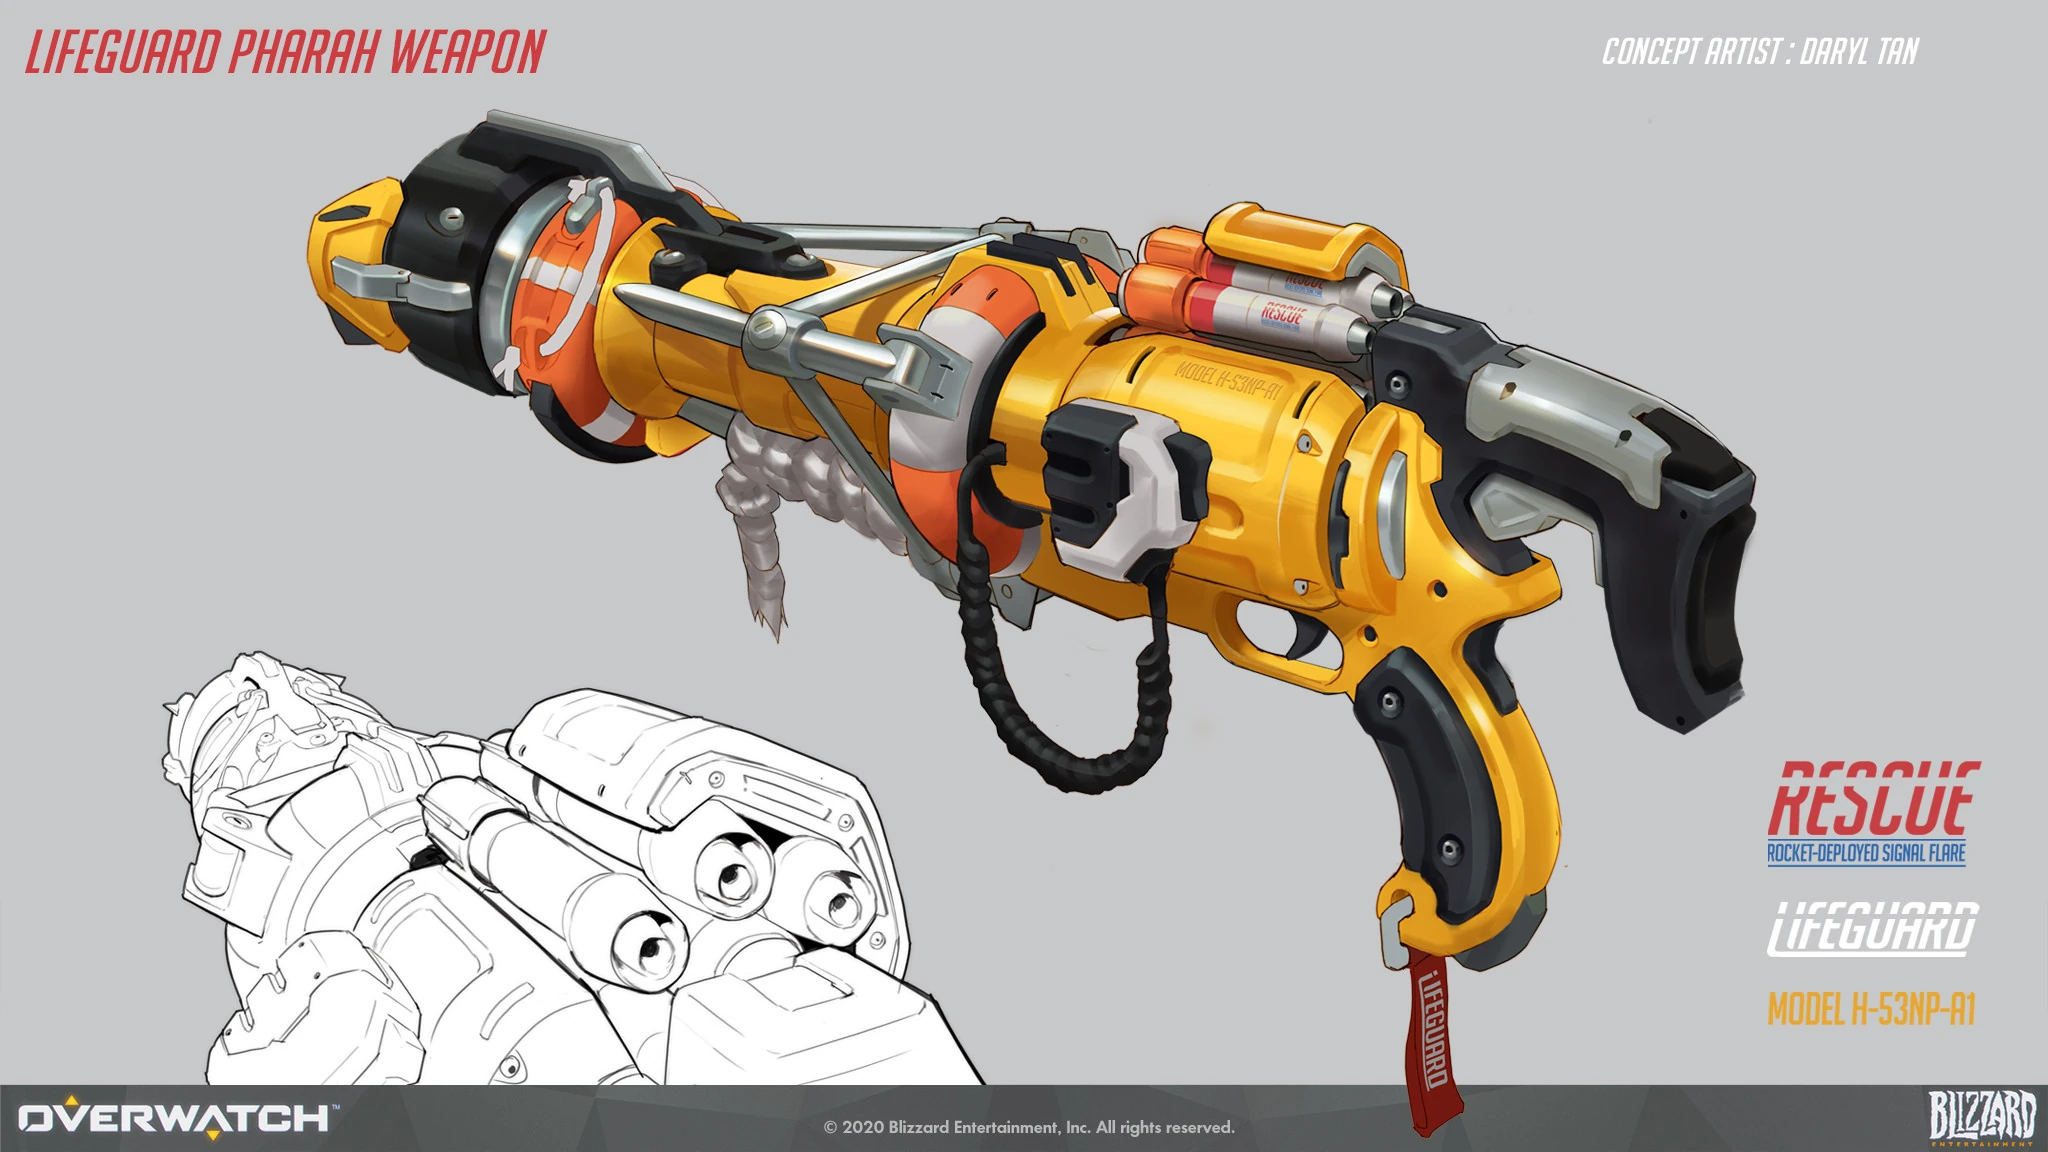
 Lifeguard Skin Concept Art by Daryl Tan
 -
 Lifeguard Skin Weapon Concept Art by Daryl Tan
 -
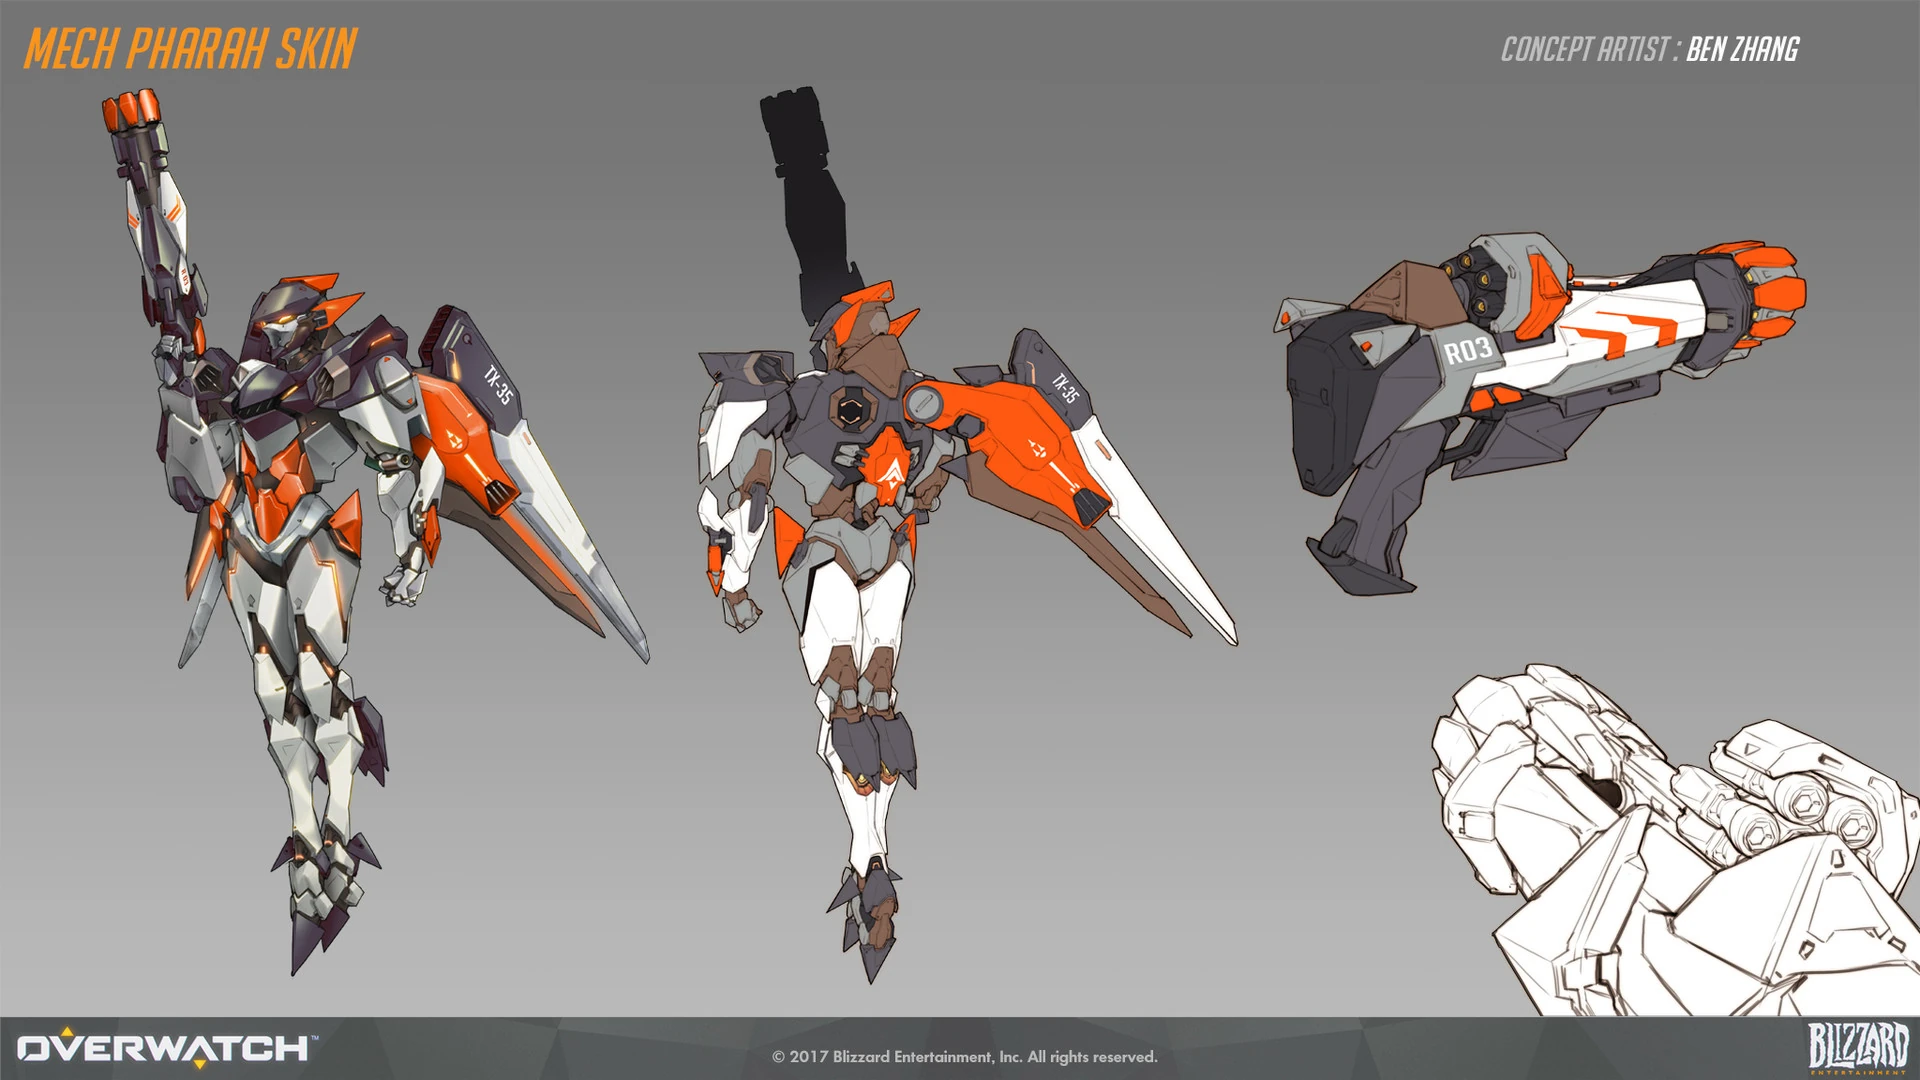
 Mechaqueen Skin Concept Art by Ben Zhang
 -
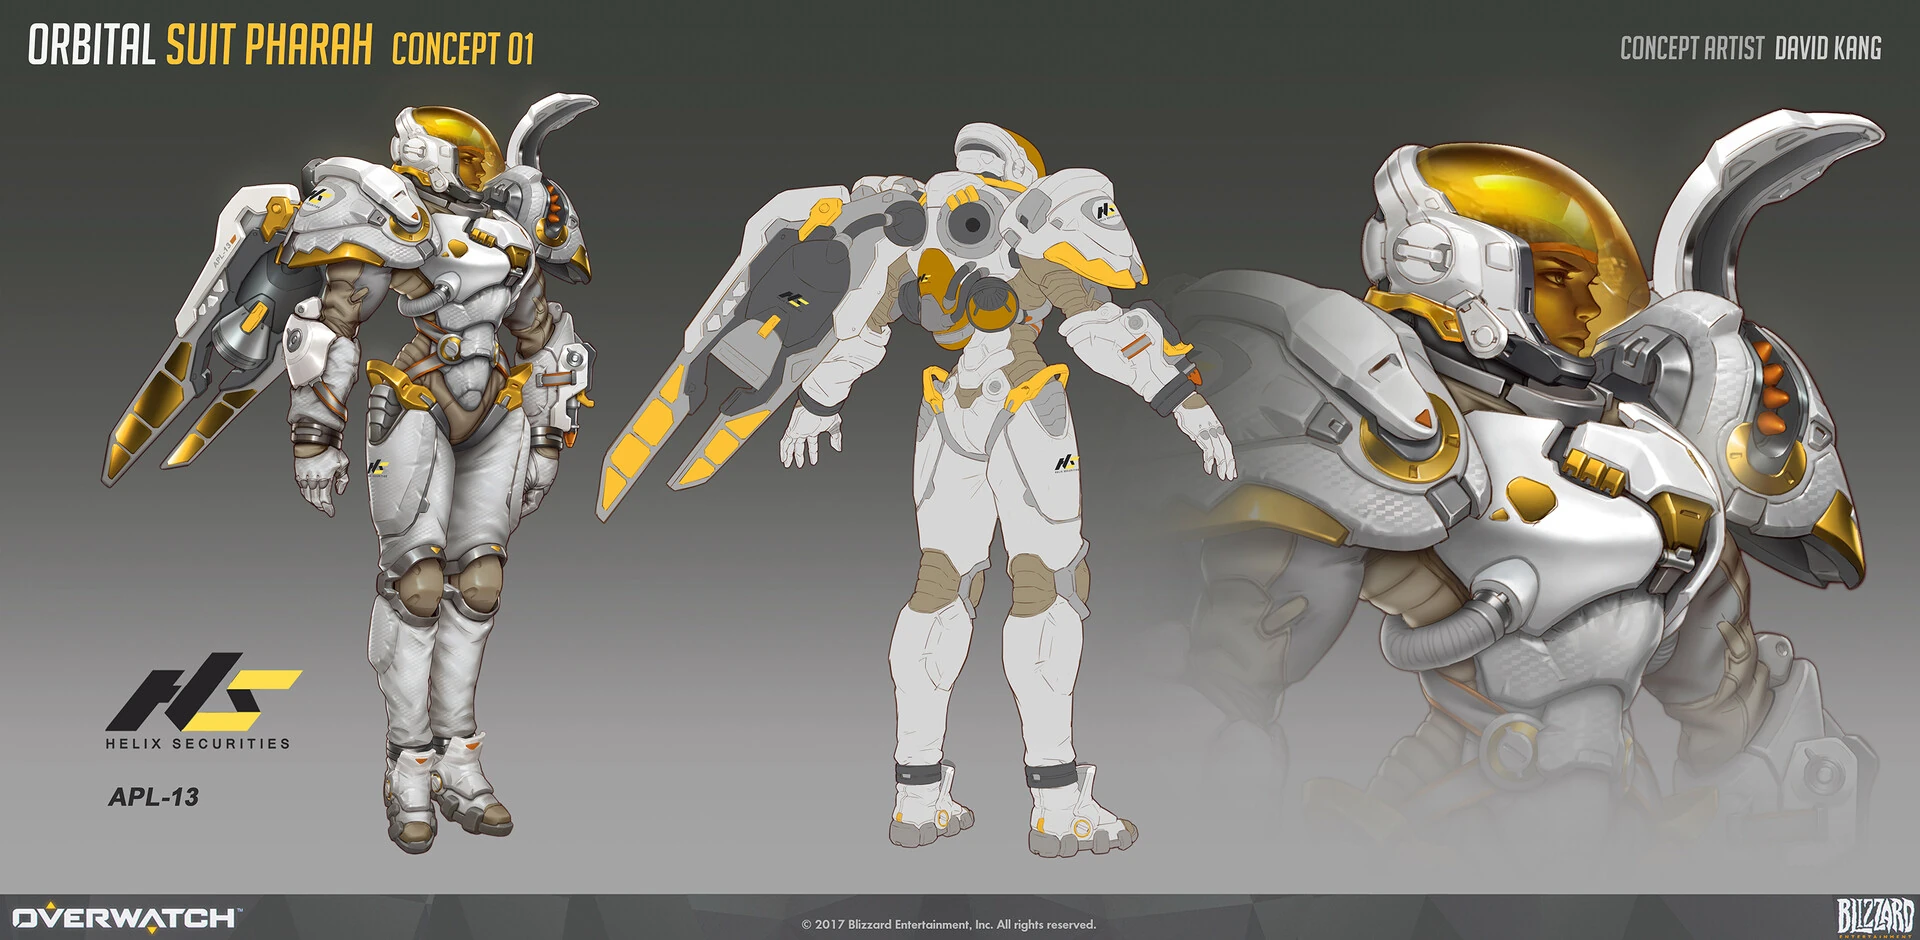
 Orbital Skin Concept Art by David Kang
 -
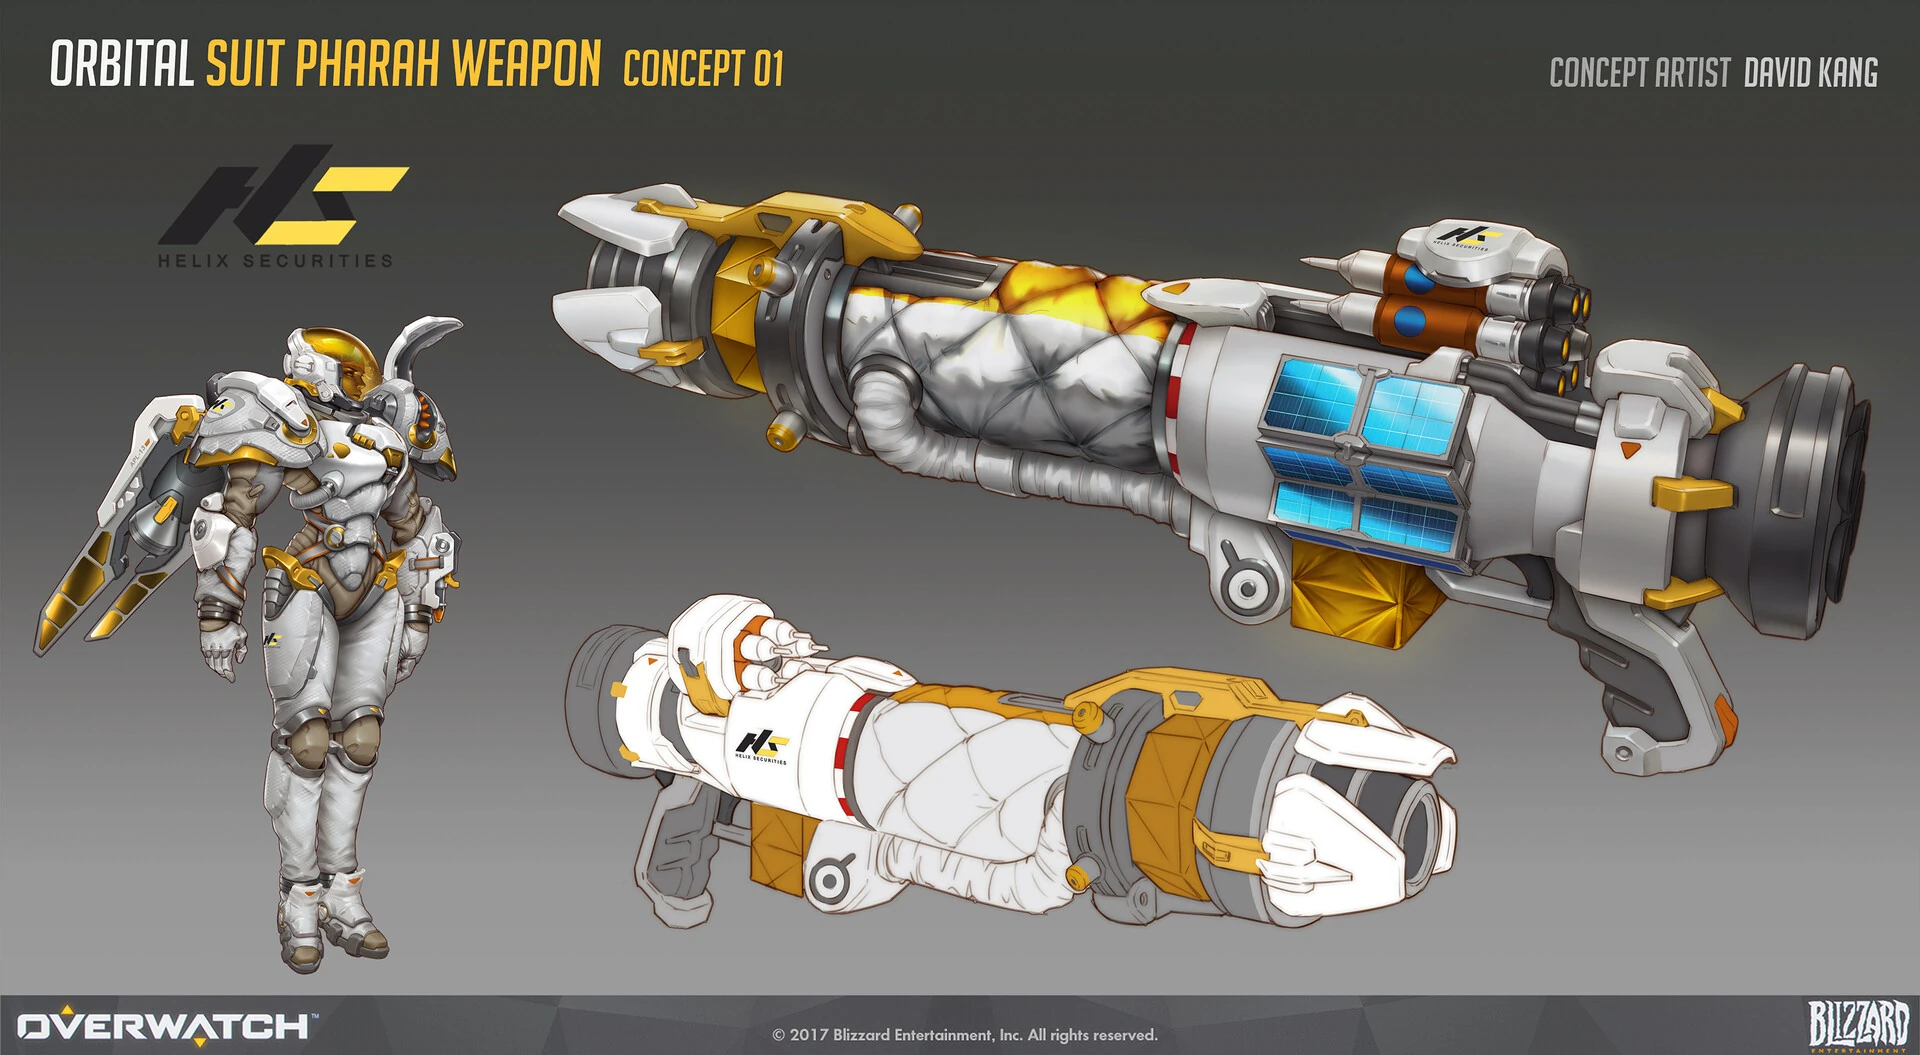
 Orbital Skin Weapon Concept Art by David Kang
 -
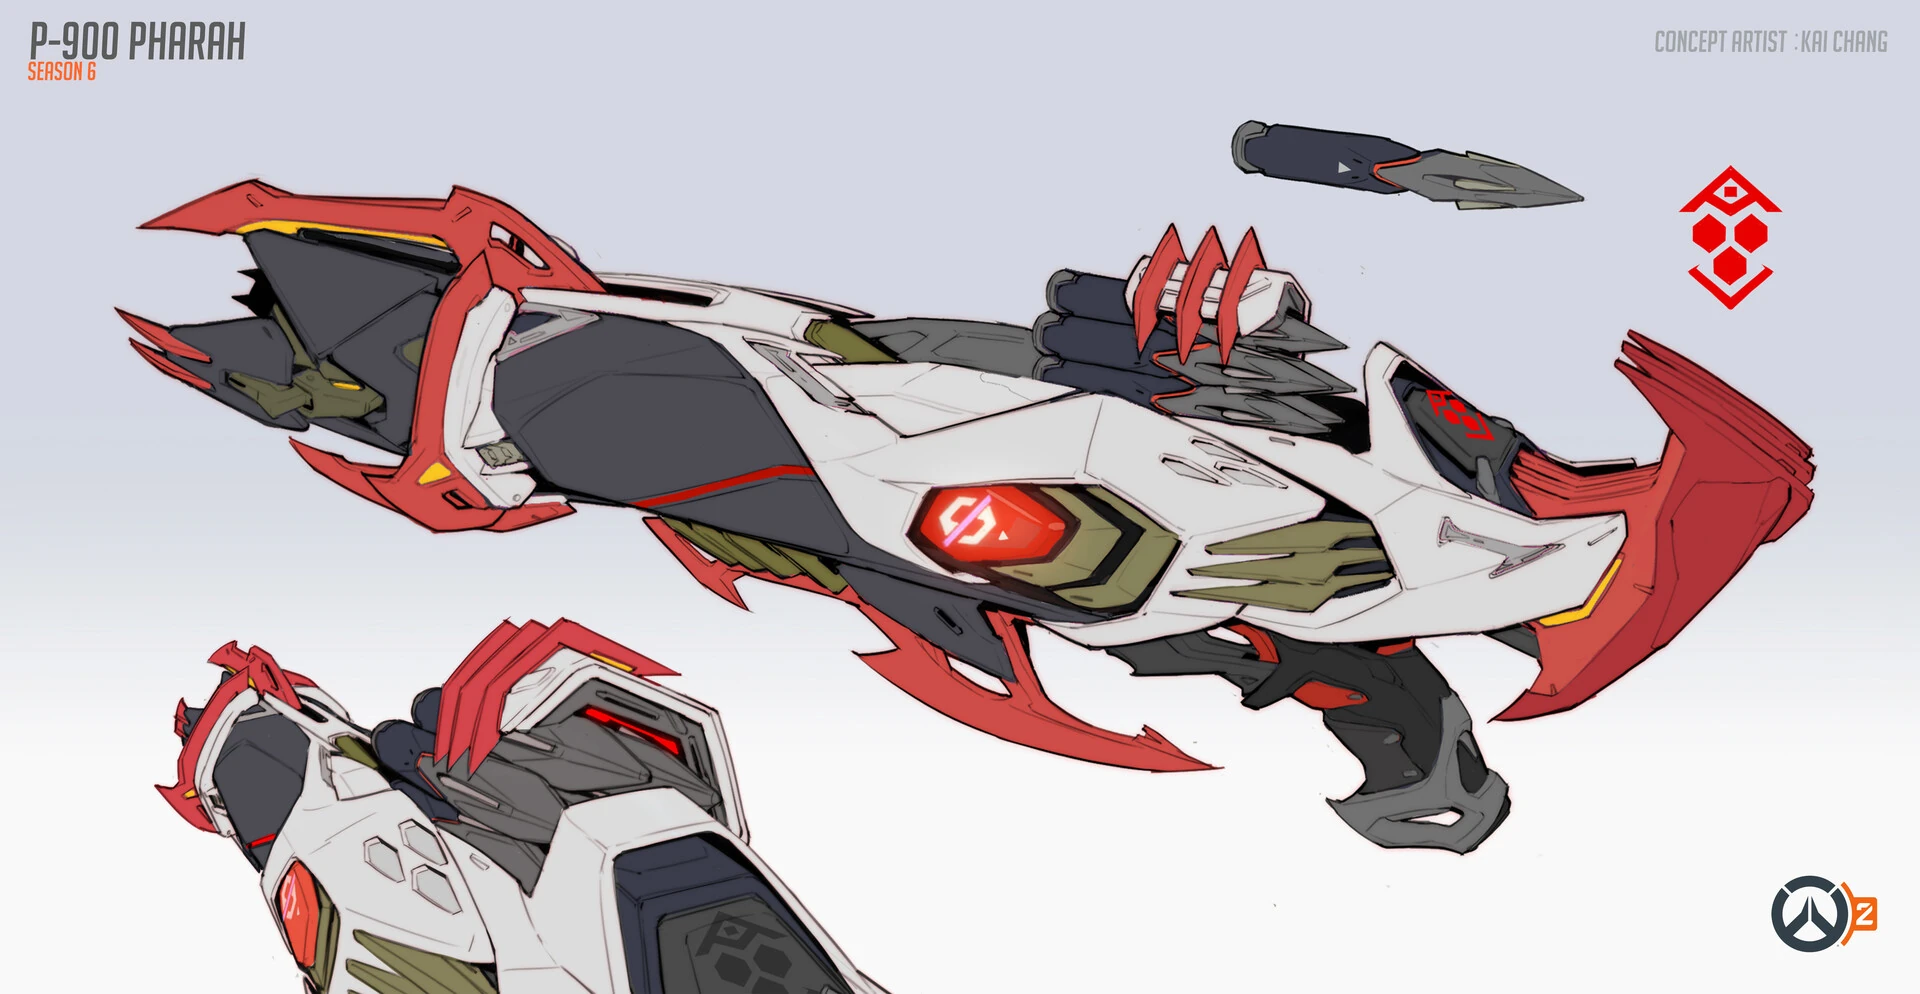
 P-900 Warhead Skin Concept Art by by Kai Chang
 -
 P-900 Warhead Skin Weapon Concept Art by Kai Chang
 -
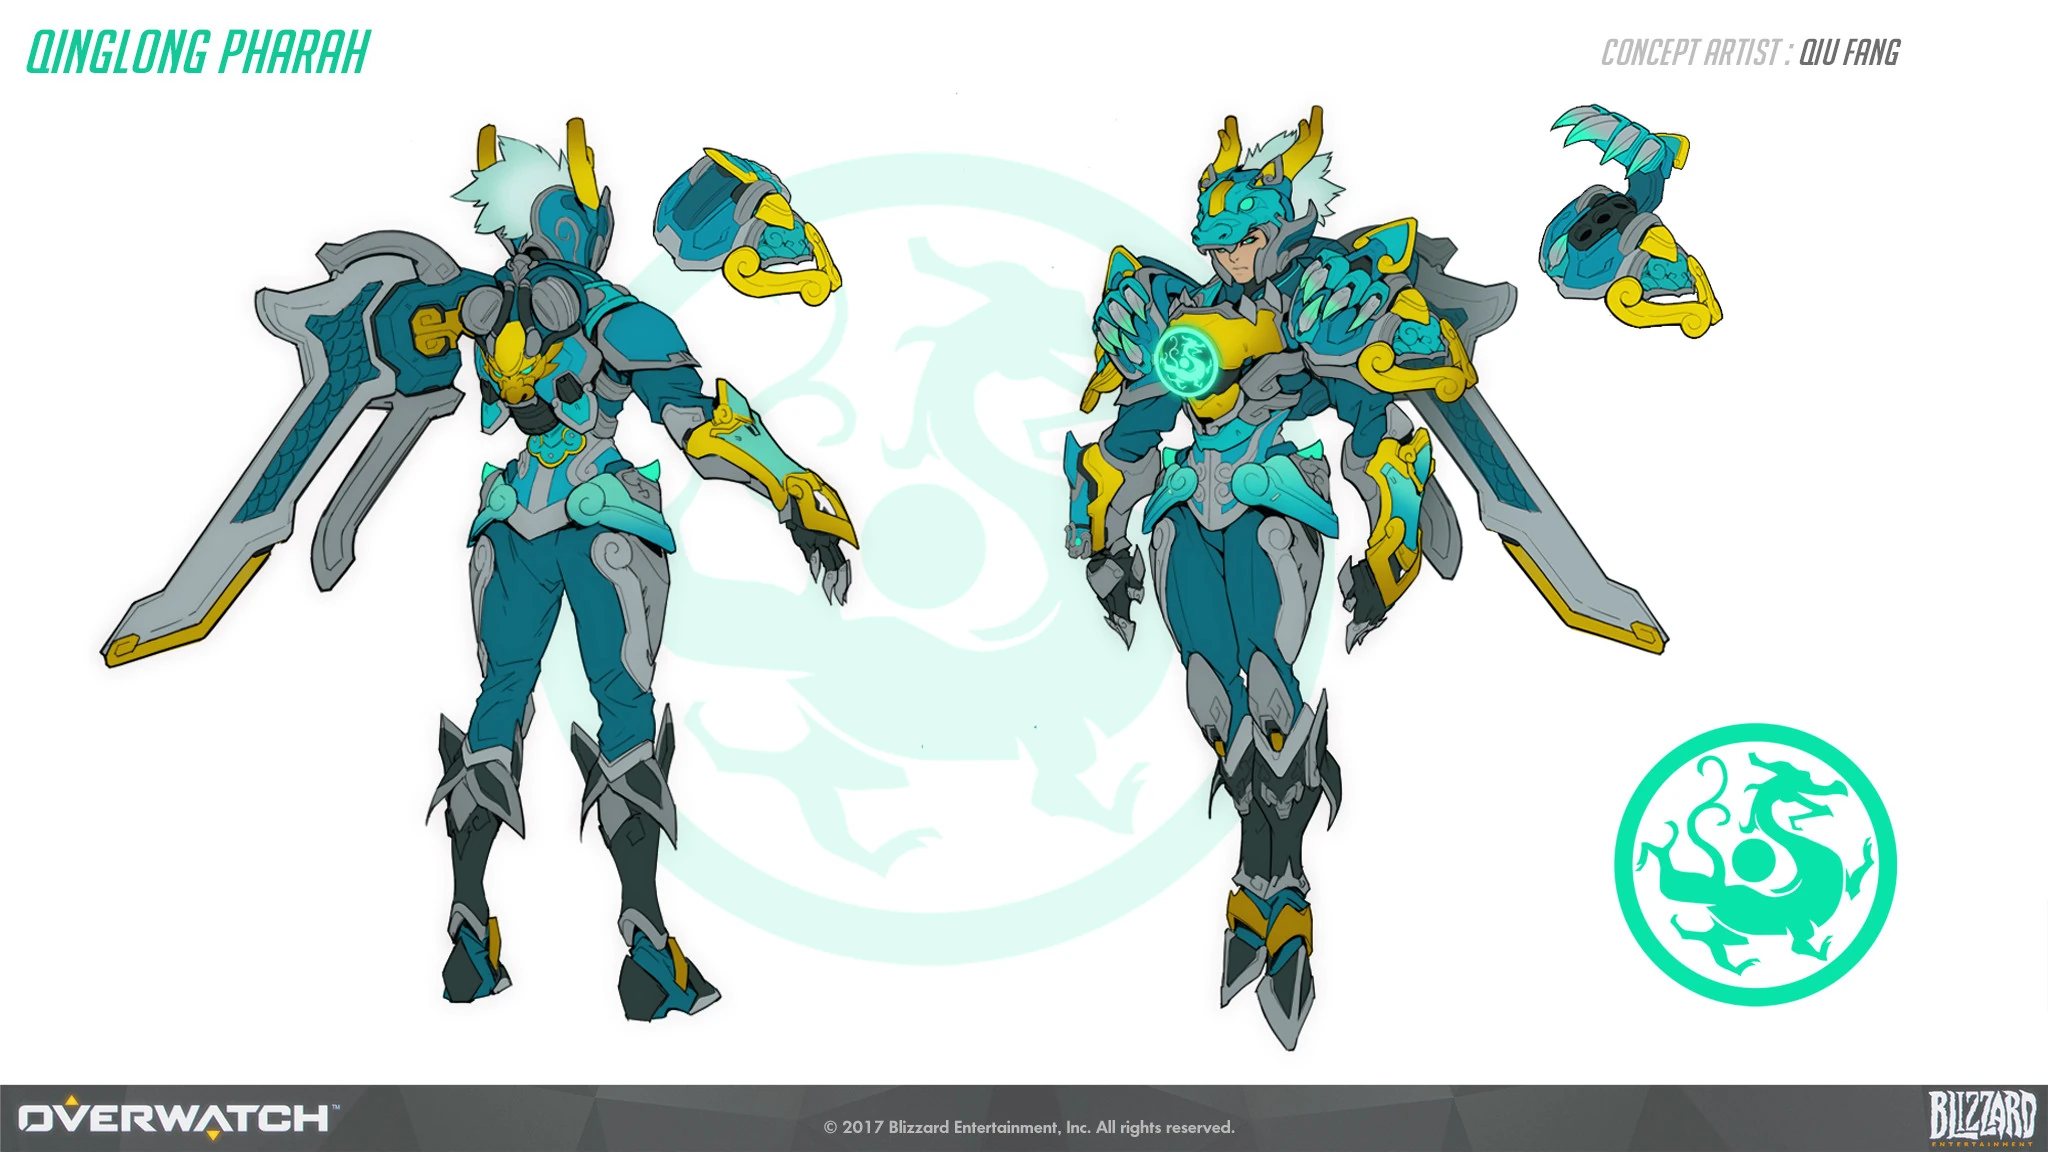
 Qinglong Skin Concept Art by Qiu Fang
 -
 Qinglong Skin Weapon Concept Art by Qiu Fang
 -
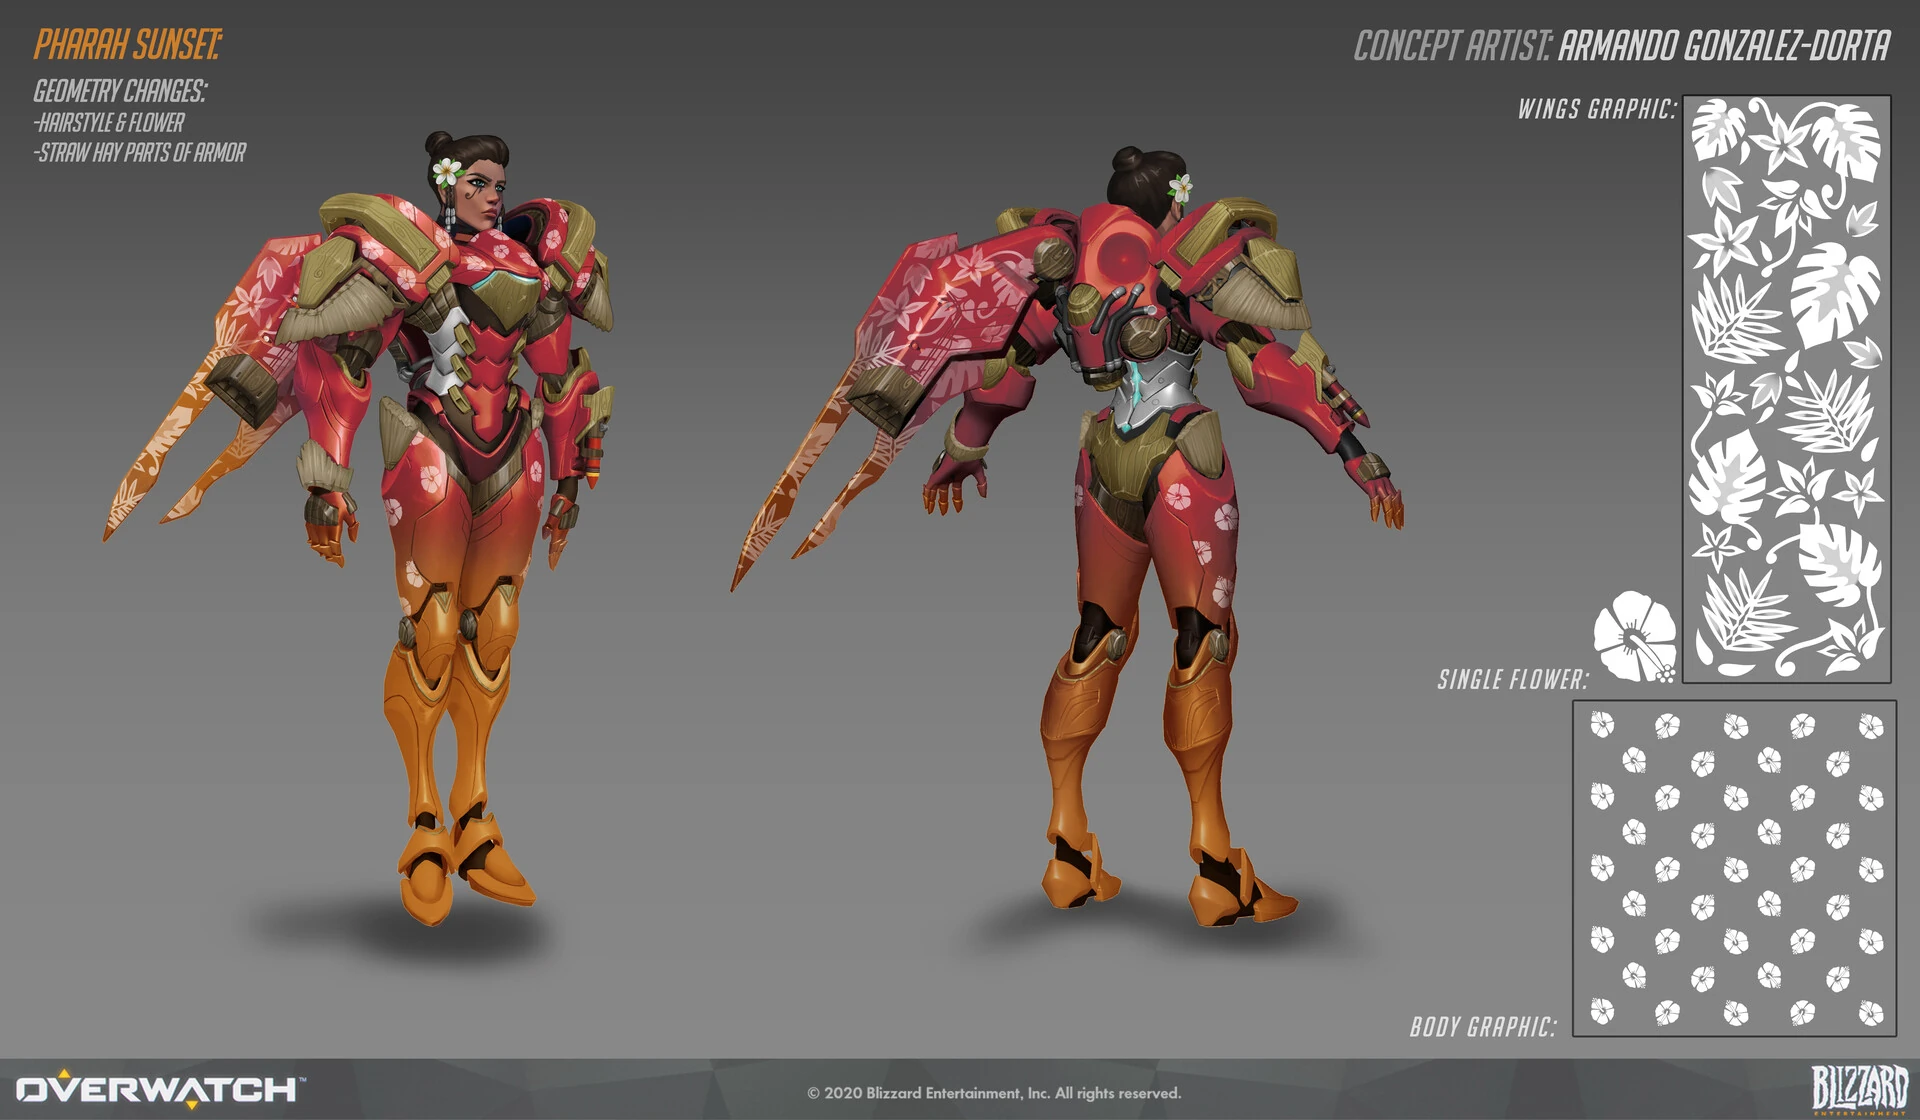
 Sunset Skin Concept Art by Armando Gonzalez-Dorta
 -
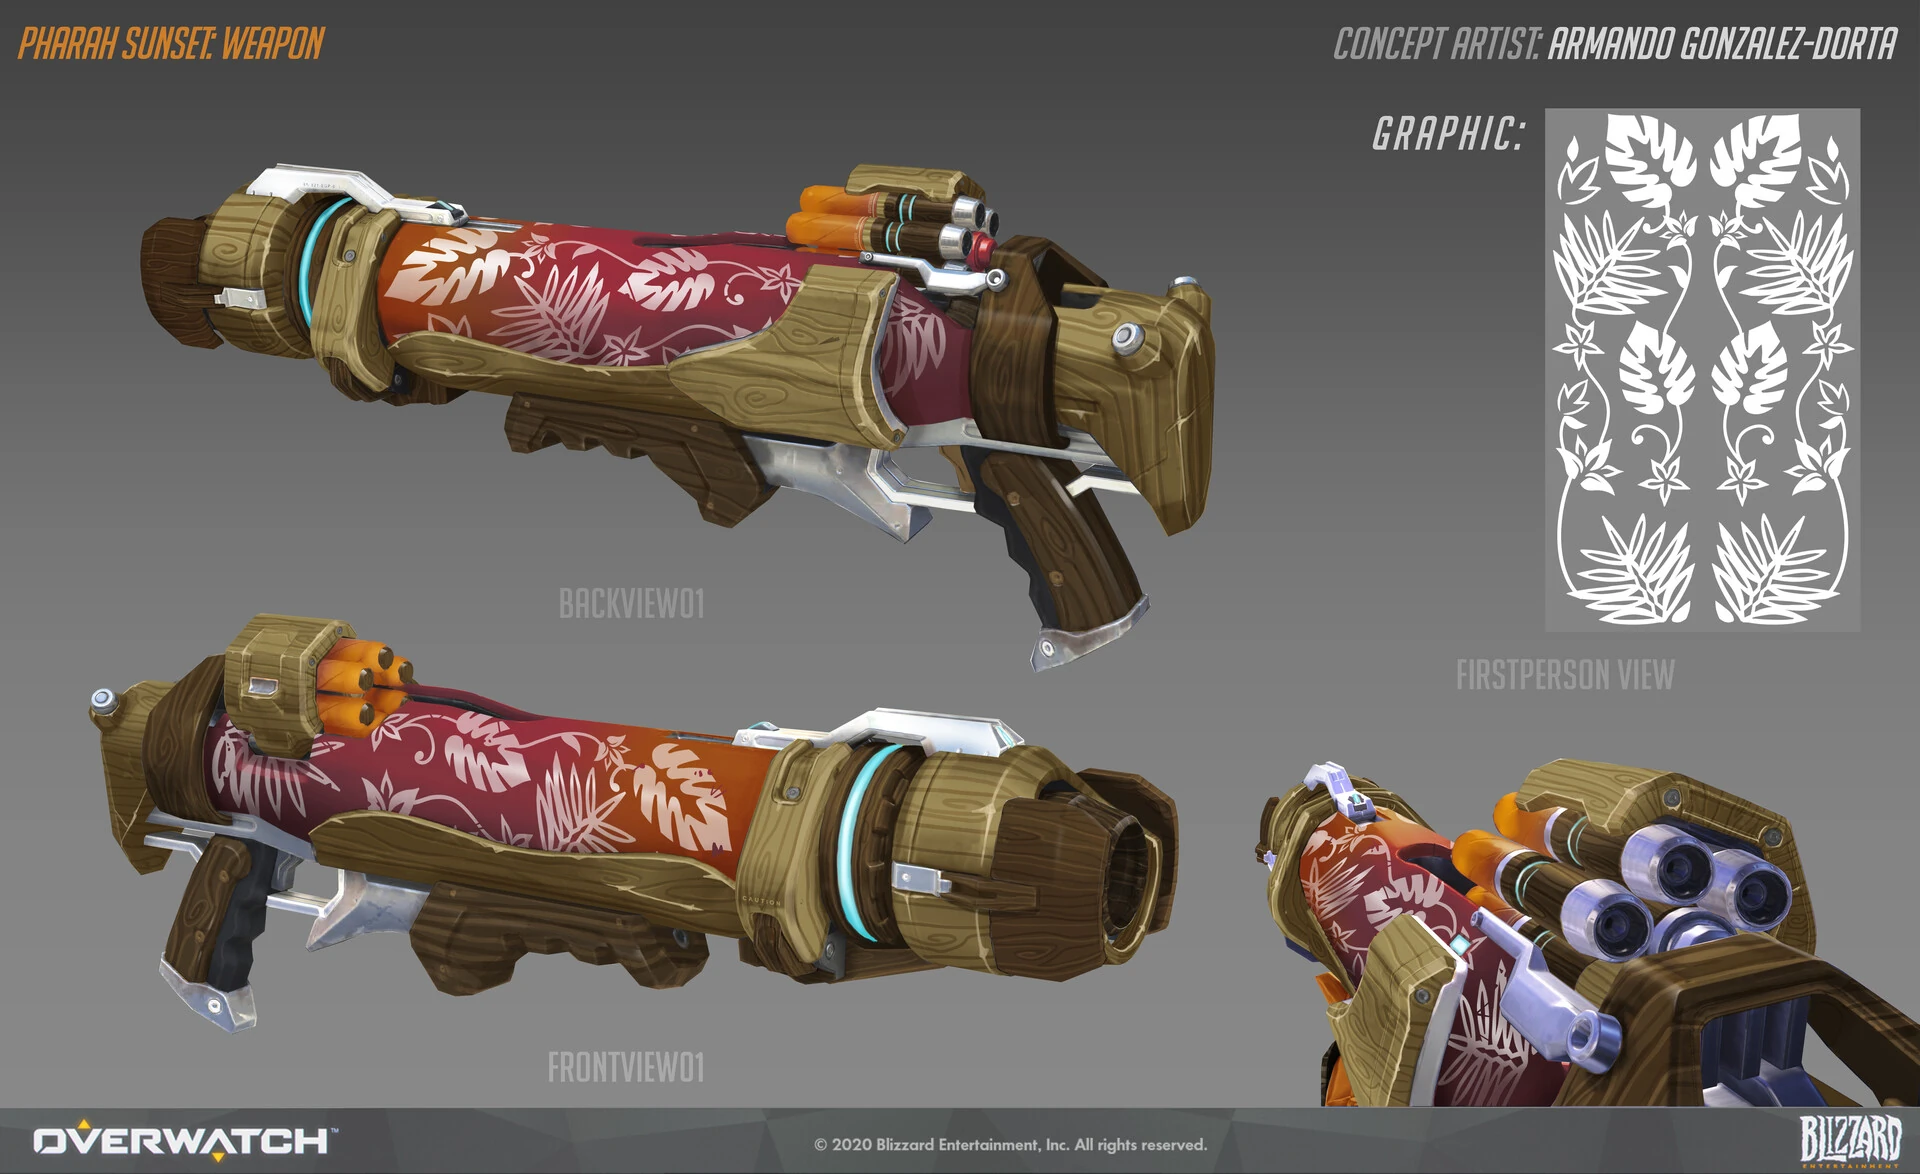
 Sunset Skin Weapon Concept Art by Armando Gonzalez-Dorta


Videos
Balance Change Log
- For more information, see Patch Notes.
![]() Concussive Force – Minor Perk
Concussive Force – Minor Perk
- Damage reduced from 50 to 30.
![]() Rocket Salvo – Major Perk
Rocket Salvo – Major Perk
- Damage reduced per rocket from 40 to 30.
- Bonus movement speed reduced from 40% to 30%.
- Pharah can now move while using Barrage.
- Explosion damage reduced from 30 to 25.
![]() Drift Thrusters – Minor Perk
Drift Thrusters – Minor Perk
- Removed.
![]() Concussive Force – Minor Perk
Concussive Force – Minor Perk
- Added.
- Concussive Blast deals up to 50 explosion damage.
![]() Sky Spy – Major Perk
Sky Spy – Major Perk
- Removed.
![]() Rocket Salvo – Major Perk
Rocket Salvo – Major Perk
- After using a movement ability, the next primary fire shoots two spiraling mini-rockets, each dealing 40 damage.
![]() Concussive Implosion - Major Perk
Concussive Implosion - Major Perk
- Removed.
![]() Sky Spy - Major Perk
Sky Spy - Major Perk
- New Major Perk.
- Concussive Blast reveals targets to Pharah for 3 seconds. During this, the next direct Rocket Launcher hit per target deals 30% extra damage.
![]() Helix Shields - Minor Perk
Helix Shields - Minor Perk
- Shield health regeneration triggers when landing direct hits with rockets.
![]() Drift Thrusters - Minor Perk
Drift Thrusters - Minor Perk
- Movement speed while using Barrage reduced by 20%.
![]() Concussive Implosion - Major Perk
Concussive Implosion - Major Perk
- Distance pulled reduced by 50%.
- Converted Shields increased from 75 to 125.
- Hero Perks
- Pharah can move while Barrage is active.
- Convert 75 health to shields.
- Concussive Blast's knockback is inverted to a pull in.
- Jet Dash grants 50% fuel. Maximum overfuel is increased by 100%.
- Global Projectile Size Bonus
- Hitscan radius large reduced from 0.08 to 0.07 meters.
- Hitscan radius small reduced from 0.05 to 0.04 meters.
- Projectile radius large reduced from 0.15 to 0.12 meters.
- Hero updates
- Cooldown increased from 8 to 9 seconds.
- Base health reduced from 250 to 225
- Explosion damage reduced from 30 to 0.
- Explosion knockback radius increased from 6 to 8 meters.
- Knockback increased by 11%.
- General updates
- Global projectile size modifier for travel time projectiles with a speed greater than 50 meters per second reduced from 0.1 to 0.075 meters.
- General updates
Most damage-dealing projectile sizes have been increased by a new global modifier added to their base size.
- +0.05 meters for hitscan projectiles with a high rate of fire or spread (e.g., Tracer's Pulse Pistols or Reaper's Hellfire Shotguns).
- +0.08 meters for hitscan projectiles that are more precise (e.g., Cassidy's Peacekeeper or Soldier:76's Heavy Pulse Rifle).
- +0.05 meters for travel time projectiles that are shotguns or have a very high rate of fire (e.g., Roadhog's Scrap Gun or Ramattra's Void Accelerator).
- +0.10 meters for travel time projectile with a speed greater than 50 meters per second (e.g., Zenyatta's Destruction Orb).
- +0.15 meters for travel time projectile with a speed less than or equal to 50 meters per second (e.g., Pharah's Rocket Launcher).
- Very large projectiles with a base size greater than 0.5 meters have been excluded from these increases (e.g., Orisa's Energy Javelin or Reinhardt's Fire Strike).
Hero combined HP (base health/armor/shields) increased by 15-25%.
- 150-175 HP heroes increased by 25 HP.
- 200-300 HP heroes increased by 50 HP.
- 300+ HP (Tanks) increased by 75-100 HP.
- Each hero's precise health increases are listed in their patch notes below.
Ultimate Charge
- All Ultimate ability costs increased by 10%.
Regenerative Passive for All Heroes
- All heroes now regenerate 20 health per second after 5 seconds of not taking damage.
Support Role Passive
- Now reduces the delay before regeneration begins by half (2.5 seconds).
Damage Role Passive
- Reload speed bonus on elimination has been removed.
- New role passive: Dealing damage reduces enemy healing received by 20% for 2 seconds.
Quick Melee
- Damage increased from 30 to 40.
- Hero Updates
- Health increased from 200 to 250.
- Recovery reduced from 0.85 to 0.80 seconds.
- Projectile speed increased from 35 to 40 meters per second.
- Explosion self-damage reduced from 50% to 25%.
- New Secondary Fire Ability.
- Provides a quick horizontal boost in the direction Pharah is moving.
- 8-second cooldown.
- Added a setting to activate Jet Dash on Double Jump instead.
- Now restores 50% of Hover Jets fuel and can briefly overfill the maximum fuel amount.
- Vertical boost height reduced by 20%.
- Cooldown increased from 10 to 14 seconds.
- Cooldown decreased from 9 to 7 seconds.
- Explosion now deals 30 damage to enemy targets.
- Explosion radius reduced from 8 to 6 meters.
- Knockback reduced by 10%.
- Now instantly refills Hover Jets fuel.
- Speed boost increased from 20% to 40%.
- Now requires landing to recharge fuel.
- Can now be activated without fuel to slow your descent.
- Jump Jet movement is now influenced by directional inputs
- Ultimate cost reduced 5%
(beta)
- Reload starts 0.25 seconds sooner when out of ammo
- Now deals 30 damage and deals additional knockback on direct hits
![]() Recursion Battery - Power
Recursion Battery - Power
- Lifesteal decreased to 25% (Down from 50%).
![]() Blitz Barrage - Power
Blitz Barrage - Power
- Rocket number reduction increased to 75% (Up from 60%).
![]() Overcharged Ordnance - Rare Ability Hero Item
Overcharged Ordnance - Rare Ability Hero Item
- Cost increased to 5500 (Up from 4000).
- Added to the Stadium Hero roster.
![]() Evasive Maneuvers - Power
Evasive Maneuvers - Power
- After using Jump Jet, Concussive Blast gains homing and hinders enemies for 1.5 seconds on direct hit.
![]() Extra Charge - Power
Extra Charge - Power
- Concussive Blast gains 1 extra charge.
![]() Launch Vector - Power
Launch Vector - Power
- Whenever you knockback an enemy with Concussive Blast, fire 3 homing mini-rockets at them.
![]() Blitz Barrage - Power
Blitz Barrage - Power
- Gain 40% Move Speed during Barrage.
- After using Jet Dash, fire a Barrage with 60% fewer Mini-Rockets.
![]() Carpet Bomb - Power
Carpet Bomb - Power
- Gain 40% Move Speed during Barrage.
- Barrage has 50% increased duration.
![]() Recursion Battery - Power
Recursion Battery - Power
- Mini-Rockets gain 50% Ability Lifesteal.
![]() Cyclic Salvo - Power
Cyclic Salvo - Power
- Rocket Launcher direct hits grant 10 fuel and reduce your cooldowns by 1 second.
![]() Fuel Depot - Power
Fuel Depot - Power
- Rocket Launcher direct hits permanently increase your maximum fuel by 2, stacking up to 25 times.
![]() Triple Volley - Power
Triple Volley - Power
- After using an ability, your next Primary Fire fires 3 rockets that each deal 40% damage.
![]() Fuel Conversion - Power
Fuel Conversion - Power
- Jet Dash gains 50% cooldown reduction but now costs 65 fuel.
![]() Heat Seekers - Power
Heat Seekers - Power
- After using Jet Dash, your next Primary Fire locks onto enemies.
![]() Speed Kills - Power
Speed Kills - Power
- Dealing Weapon Damage grants 5% Move Speed and 3% Attack Speed for 3 seconds, stacking up to 6 times. Direct hits grant double stacks.
![]() Blast Enhancer - Epic Weapon Hero Item
Blast Enhancer - Epic Weapon Hero Item
- 15% Weapon Power.
- 25% Rocket Launcher Explosion Radius.
- Cost: 11,000
![]() Precision Targeting - Epic Weapon Hero Item
Precision Targeting - Epic Weapon Hero Item
- 20% Weapon Power.
- Rocket Launcher direct hits restore 1 ammo.
- Cost: 13,500.
![]() Cairo Coolant - Rare Ability Hero Item
Cairo Coolant - Rare Ability Hero Item
- 25 Health.
- 5% Cooldown Reduction.
- When you knock yourself back with Concussive Blast, gain 20% Movement Speed for 3 seconds.
- Cost: 4,000.
![]() Overcharged Ordnance - Rare Ability Hero Item
Overcharged Ordnance - Rare Ability Hero Item
- 10% Ability Power.
- 25% Mini Rocket Explosion Radius.
- Cost: 4,000.
![]() Helix Inhibitor - Epic Ability Hero Item
Helix Inhibitor - Epic Ability Hero Item
- 20% Ability Power.
- Concussive Blast slows affected enemies by 20% for 2 seconds.
- Cost: 11,000.
![]() Flight Plan - Rare Survival Hero Item
Flight Plan - Rare Survival Hero Item
- 25 Health.
- After using Jump Jet or Jet Dash, gain 25 Overhealth for 3 seconds.
- Cost: 4,500.
![]() Tuned Turbines - Rare Survival Hero Item
Tuned Turbines - Rare Survival Hero Item
- 25 Health.
- Hover Jets consume 20% less fuel.
- Cost: 4,500.
![]() Forward Shielding - Epic Survival Hero Item
Forward Shielding - Epic Survival Hero Item
- 25 Health.
- 10% Ability Power.
- When you use Barrage, gain 25% of your Max Life as Overhealth for 3 seconds.
- Cost: 11,000.
![]() Ana's Aim Assist - Epic Survival Hero Item
Ana's Aim Assist - Epic Survival Hero Item
- 50 Health
- Rocket Launcher direct hits heal 15% of your maximum health over 3 seconds.
- Cost: 12,000.
- Hover Jets and Jump Jet now increases movement speed by 30%.
- Explosion damage increased from 0 to 30.
- Explosion damage increased from 30 to 35.
![]() Hover Jets (Passive)
Hover Jets (Passive)
- Maximum fuel increased 20%.
- Regeneration rate increased from 35 to 43 per second
Developer Comment: The intent for Pharah's Hover Jet fuel adjustments is to find a balance where it enables her to maintain an altitude reasonably well with careful fuel and cooldown management, but not so easily climb to the extreme heights some map ceilings allow for as it can lead to less interactive gameplay.
- Recovery increased from 0.75 to 0.85
- Movement speed increased 20%
- Regeneration rate reduced from 50 to 35 per second
- Duration reduced from 3 to 2.5 seconds
Developer Comment: We’re making some adjustments to Hover Jets that should increase her flight speed and make her more agile. To compensate for this change, we’re also lowering her hover uptime. Rocket Barrage has such immense damage output that the tail end of the duration was often more of a liability than a benefit, especially with fewer barriers around to blast through.
- Explosion damage increased from 65 to 80
- Impact damage decreased from 55 to 40
Knockback
- Knockback distance is now more consistent
- Heroes that are flying can now be knocked back and slowed
Developer Comments: Knockbacks are now less affected by how the enemy was moving when they were hit. Instead of having small or large knockbacks that depend on chance, knockbacks will feel similar regardless of the enemy’s movement leading up to the knockback. Allowing flying heroes, like Mercy when using her Valkyrie ability or D.Va using her Booster ability, to be properly knocked back makes for more fluid, realistic gameplay.
- Minimum explosion damage increased from 16.25 to 20
Developer Comments: This change sets the Rocket Launcher’s minimum damage to where it was before we rebalanced its direct impact and explosive damage in a recent patch.
- Cooldown reduced from 12 to 9 seconds
- Attack speed increased
- Lowered recovery time between shots from 0.9 to 0.75 seconds
- Damage redistributed between explosion and impact
- Explosion damage reduced from 80 to 65
- Impact damage increased from 40 to 55
- Explosion knock back reduced by 20%
- Self-knockback amount increased by 25%
Developer Comments: We wanted to increase how responsive Pharah’s Rocket Launcher felt, because a full second of recovery between shots made it feel sluggish. To balance out the improved recovery time, we shifted some damage from the rocket's explosion to the direct impact damage. The overall damage potential is now increased when landing direct hits and decreased slightly when only dealing explosive damage. We reduced the amount of knockback each explosion causes, as it made it very difficult to aim at Pharah with rockets coming in at a faster pace. The Concussive Blast cooldown reduction should allow the ability to sync up more closely with the Jump Jet cooldown when used for mobility.
- Now restores ammunition after completion
Developer Comments:The change removes the need to immediately reload after a long duration ultimate.
- Minimum explosion damage has been increased by 13%
- Minimum explosion knockback has been decreased to 0%
- Lift increased by 35%
Developer Comments: These changes will make the explosions from Pharah's Rocket Launcher more deadly, so hitting multiple targets should feel better. Her Jump Jets are also getting a boost to increase maneuverability while hovering.
References
- ↑ Cite error: Invalid
<ref>tag; no text was provided for refs namedSurname - ↑ 2023-11-09, What’s Next | Overwatch 2 | BlizzCon 2023. Youtube @PlayOverwatch, accessed on 2024-04-14
- ↑ 2016-05-20, Giant Overwatch action figures appear in Hollywood, Paris, Busan. Blizzard Watch, accessed on 2016-05-21
- ↑ 2017-08-22, Gamescom 2017 swag and more, including new Blizzard exclusives. Blizzard Watch, accessed on 2017-08-23
- ↑ 2023-10-07, whoever didn't go outside this year needs to confess now. Reddit, accessed on 2023-10-12
- ↑ 6.0 6.1 2015-05-27, BlizzCon 2014 – Overwatch Origins Panel Transcript. Blizzplanet, accessed on 2015-05-30
- ↑ 2015-11-06, Overwatch: Origins Edition (PC) Pre-Orders have Begun. Blizzplanet, accessed on 2015-11-07
- ↑ 8.0 8.1 8.2 Overwatch 2, Pharah Quotes
- ↑ Cite error: Invalid
<ref>tag; no text was provided for refs namedLostGhosts - ↑ Overwatch 2, Zarya Quotations
- ↑ 2024-03-28, Venture | New Hero Gameplay Trailer | Overwatch 2. YouTube, accessed on 2024-03-28
- ↑ Blizzcon 2017, Overwatch: Archives
- ↑ 13.0 13.1 2015-08-16, Reddit Q&A about Solider 76 | Overwatch. Blizzplanet, accessed on 2015-08-06
- ↑ 14.0 14.1 2016-04-22, The Story of Overwatch: Return of the 90s Shooter. YouTube, accessed on 2016-09-08
- ↑ Blizzcon 2017, Overwatch: Archives
- ↑ 2021-02-20, BlizzConline 2021 | Behind the Scenes of Overwatch 2 | Overwatch. YouTube, accessed on 2021-03-13
- ↑ 12-19-2021. Gavin Jurgens-Fyhrie on Twitter. Accessed on 4-11-2022
- ↑ 2024-07-11, Overwatch 2 Reveals Alternate Transformers Characters, Secrets of New Collab (Exclusive). Comicbook, accessed on 2024-07-14
External links
| Heroes in Overwatch
| ||||||||
|---|---|---|---|---|---|---|---|---|
Tank |
 Bruiser |
|||||||
 Initiator |
||||||||
 Stalwart |
||||||||
Damage |
 Flanker |
|||||||
Recon |
 Pharah |
|||||||
 Sharpshooter |
||||||||
 Specialist |
||||||||
Support |
 Medic |
|||||||
 Survivor |
||||||||
 Tactician |
||||||||


