Illari is a Survivor Support hero in Overwatch. She was released in Season 6 on 10 August 2023, making her the 38th hero to be added to the game.
Overview
Illari harnesses the power of the sun in her Solar Rifle, capable of dealing long range poke damage and creating a high-output healing beam. She can also deploy a healing pylon to automatically heal nearby allies. Her ultimate ability fires an explosive ball of solar energy that slows enemies in a massive area and causes them to burst upon taking more damage.
-
 3D portrait
 -
 2D portrait

Abilities
Passive Abilities


- After using a movement ability, the global passive regeneration immediately triggers
- The global passive will last for a minimum of 0.25 seconds (assuming you're damaged after using the ability).
Weapons


25 - 7.5 (min charge)
2.00 shots/s (min charge)
0.25 seconds (recovery)
- Damage per second (max charge): 77.7 while firing (68 overall w/ reload)
- Damage per second (min charge): 40 while firing (31.82 overall w/ reload)
- Using secondary fire, quick melee or abilities do not interrupt charging.
- Charge rate is affected by
 Kitsune Rush.
35% per second (regen rate)
- Can be fired continuously for 3 seconds before running out of energy.
- Takes 2.3 seconds to recharge to full once regeneration starts.
- If completely ran out of energy, it takes an additional 0.4 seconds before energy starts recharging and secondary fire cannot be used again until the energy is fully recharged.
- Using primary fire or reloading do not interrupt recharging energy.
- Healing tickrate is affected by Kitsune Rush rush, but the resource consumption remains the same.
- Is fully recharged from depleted when
 Captive Sun is used.
 - Can destroy fences and other breakables.
Special Abilities
16.7m/s (horizontal input, charged)
6 m/s (no input, no charge)
13.5 m/s (no input, charged)
- Knockback: 8 meters
14 seconds (under attack)
20 over 0.45 seconds (self)
1.3 seconds (build time)
- Heal per second: 50 (allies), 25 (self)
- Healing prioritizes the hero with the lowest health percentage within the pylon's range.
- Cooldown starts immediately upon activation.
- If a new Pylon is deployed while one is still active, the old one will be destroyed.
- A deployed Pylon can be destroyed using the Interact key at any time. If it hasn't taken damage within the last 3 seconds, this has no effect on its cooldown.
- If the pylon is damaged by the enemy, a new pylon cannot be deployed for 3 seconds. If the pylon is destroyed during this time, either by the enemy or manually by the player, Healing Pylon goes on a longer cooldown, starting from the moment it was destroyed.
- Pylon can attach itself to terrain and terrain-like objects, like
 Ice Wall.
- Bounces off of barriers, other deployables and fences and other breakables.
- Pylon can attach to payload, but not to the TS-1 robot or the barricade in Push.
- Pylon is destroyed if it is in the way of a moving payload or barricade (but not the robot).
- Healing Pylon can be placed on
 Petal Platform and lifted by it regardless of which was placed first.
 - Pylon is destroyed if a
 Tree of Life is deployed on top of it.
 - Deploying an Ice Wall or using
 Cryo-Freeze on the pylon covers it, blocking line of sight and preventing it from healing.
 - If the pylon touches Ice Wall or stays within
 Blizzard, it will "freeze" and stop healing until those abilities end.
 - If the object it was attached to expires or is destroyed the pylon falls on ground.
- The pylon has collision with heroes and blocks shots, but does not block line of sight for AoE.
 B.O.B. will destroy the pylon if he collides with it. This will stop the charge.
- Stunning movement abilities, like
 Charge or
  Shield Bash (during
  Rally), can "stun" the pylon, briefly stopping its healing.
 - Healing Pylon is unaffected by knockback.
- Pylon cannot be targeted by
 Tactical Visor,
  Deadeye or
  Biotic Orb.
 - Pylon can be targeted by
 Deploy Turret,
  Sentry Turret and B.O.B..
 - A deployed pylon can be teleported using Symmetra's
 Teleporter.
 - Sombra can
 Hack the pylon, disabling it for 10 seconds.
 - The pylon projectile before deployment cannot be blocked by barriers,
 Kinetic Grasp,
  Defense Matrix,
  Javelin Spin,
  Power Matrix and
  Kekkai Sanctuary or reflected by
  Deflect, however the healing projectiles shot by it can.
 - If the pylon breaks, a "Destroyed" UI will display for Illari.
- The interact key is shown to be blocked by a red cross while Illari is dead, but this seems to be a mistake as the key can still be pressed to break the pylon.
- If the pylon breaks while Illari is dead and is thus put on cooldown, due to an enemy attack or from Illari pressing the interact key within 3 seconds of the pylon taking damage, the otherwise 14-second cooldown of the pylon will immediately reset upon Illari respawning.
- If Illari is instead revived with
 Resurrect by Mercy, the 14-second cooldown will not reset.
Ultimate Ability
50 (splash)
160 - 120 (Sunstruck explosion)
0.02 + 0.6 seconds (solar energy ball)
6 seconds (Sunstruck debuff)
0.8 seconds (explosion delay)
1 - 5 meters (Sunstruck explosion, falloff start - max)
- Captive Sun is a channeled ability; it is interrupted by becoming stunned, knocked down or hacked, including subsidiary effects, consuming the ultimate charge.
- Launches Illari into the air granting her free flight for the duration and her next shot is replaced by solar energy ball.
- Rooted and hindered make Illari temporarily unable to fly, but do not prevent the activation or immediately end the ability.
- Upon launching, fully restores the energy of
 Solar Rifle Alt Fire and removes the overheated status.
 - After the launch, the player has 4 seconds to fire the solar energy ball.
- The ball is automatically fired at the end of the timer.
- Projectile passes through enemies (but not shields) and explodes only upon contact with a shield, terrain or terrain-like object, like Ice Wall, or if it has travelled for 10 seconds.
- Any enemy heroes, including B.O.B., damaged by the direct hit or splash of the solar energy ball are marked and slowed for 6 seconds.
- Slow slowly decays over the duration.
- If a marked enemy receives total of 90 damage after reductions or is killed, they will become "SUNSTRUCK", causing the mark to explode after 0.8 seconds dealing damage in an area.
- Damage from the direct hit and splash from Captive Sun does not count toward this, but the damage from another player's Sunstruck explosion does.
- Only one mark can be active at a time. For example, if an allied Echo duplicates Illari and hits the same target with Captive Sun.
- If the target is hit with another Captive Sun before Sunstruck is triggered, the duration of the mark is refreshed.
- If the target is hit with another Captive Sun during Sunstruck explosion delay, a new mark will not be applied.
- The mark can be removed by Zarya's
 Particle/Projected Barrier, Zenyatta's
  Transcendence, D.Va's
  Call Mech or by becoming phased out, such as through
  Wraith Form or
  Protection Suzu.
- However, if the target has already been Sunstruck, the explosion will happen regardless. Damage may still be prevented.
- Kiriko and Sombra can teleport, protecting themselves from the explosion. However, they carry the explosion with them, harming anyone around their destination. If a Sunstruck ally happens to be there, they could explode.
- Sunstruck explosion has damage falloff, reducing damage by up to 25%.
- The projectile can be destroyed while in air by Defense Matrix, Kinetic Grasp, Javelin Spin, Power Matrix and Kekkai Sanctuary and reflected by Deflect, but the splash and Sunstruck explosion are unaffected.
- Direct damage and splash damage from Captive Sun are affected by
 Amplification Matrix, as long as the projectile passes through it. However, the Sunstruck explosion damage is not.
 - The projectile's environment collision size is 0 meters, so to collide with the environment the projectile's center would have to directly hit it.
- Captive Sun's movement speed buff does not count towards global movement speed buff cap.
Perks
Minor Perks
A Minor Perk can be chosen at level 2.

14 → 12.5 seconds (under attack)

- Flight duration lasts 8.2 seconds
- Mov. speed buff: +65% (flight)
- Damage per second (max charge): 93.24 while firing (81.6 overall w/ reload)
- Damage per second (min charge): 48 while firing (38.18 overall w/ reload)
Major perks
A Major Perk can be chosen at level 3.

- Can be used as long as Solar Rifle has any energy left.
- Energy regeneration delay starts immediately when the button is pressed to activate Solar Flare.

50 total
- Sunburn counts as a damage over time effect; it ignores armor and it can be cleansed.
Hero-Specific Options
| Setting name | Options | Description |
|---|---|---|
| Toggle Healing Beam | Off (default) | Healing Beam stops when player stops holding the button. |
| On | Healing Beam stops when player presses the button again. | |
| Hold Outburst to go higher | On (default) | Holding ability button or Jump while activating Outburst causes it to go higher. |
| Off | Ability button always uses Outburst with minimum vertical momentum. Holding Jump while activating the ability causes Outburst to go higher. | |
| Solar Rifle UI | On (default) | Solar Rifle damage/healing charge UI element is displayed under the crosshair. |
| Off | UI element is hidden. | |
| Relative Healing Beam aim sensitivity | 0% ... 500% (default: 100%) | Multiplier to base aim sensitivity while firing Healing Beam. |
| Interact cancels Healing Pylon | On (default) | Pressing Interact destroys the active Healing Pylon. Ability button immediately deploys a new pylon. |
| Off | Pressing ability button destroys the active Healing Pylon. Ability button must be pressed again to deploy a new pylon. | |
| Relative aim sensitivity during Captive Sun | 0% ... 500% (default: 100%) | Multiplier to base aim sensitivity during Captive Sun. |
| Rise during Captive Sun with Ability 3 | Off (default) | Ability 3 does nothing during Captive Sun. |
| On | Ability 3 makes Illari rise during Captive Sun. |
Strategy
Illari is a damage-oriented Support under the Survivor sub-role who excels at holding space and applying poke pressure from off-angles, all while her ![]() Healing Pylon provides automated sustain for her team. Unlike most supports, Illari's playstyle closely mirrors that of a Damage hero. Her
Healing Pylon provides automated sustain for her team. Unlike most supports, Illari's playstyle closely mirrors that of a Damage hero. Her ![]() Solar Rifle can consistently pressure squishy targets and contest flying heroes, making her a threat if left unchecked. Because her hands-free
Solar Rifle can consistently pressure squishy targets and contest flying heroes, making her a threat if left unchecked. Because her hands-free ![]() Healing Pylon handles the majority of the team's chip damage, Illari is free to focus on dealing damage to build her ultimate quickly. However, her secondary fire provides incredible burst healing when her Tank allies are taking heavy focused fire.
Healing Pylon handles the majority of the team's chip damage, Illari is free to focus on dealing damage to build her ultimate quickly. However, her secondary fire provides incredible burst healing when her Tank allies are taking heavy focused fire.
Illari thrives in poke and bunker compositions where the team holds a specific area, allowing her Pylon to get maximum value. While she is somewhat vulnerable to coordinated dive compositions, her ![]() Outburst provides excellent self-peel, creating distance between her and aggressive flankers. To master Illari, players must learn the maps intimately to find the best, most obscured Pylon placements, while balancing their aggressive damage output with the resource management of her secondary healing beam.
Outburst provides excellent self-peel, creating distance between her and aggressive flankers. To master Illari, players must learn the maps intimately to find the best, most obscured Pylon placements, while balancing their aggressive damage output with the resource management of her secondary healing beam.
Weapon Strategies
- Survivor (Sub-Role): Being a Survivor, activating your movement ability (
 Outburst) instantly triggers the global passive health regeneration system for a guaranteed minimum of 0.25 seconds.
- This fundamentally determines how you duel; you don't need to run and hide to start healing. If a flanker dives you, using Outburst not only creates distance but immediately forces your health to start regenerating mid-fight, giving you a massive sustain advantage. It also means you can dedicate your
 Healing Pylon entirely to your frontline Tanks, relying on Outburst for your own self-sustain.
- This fundamentally determines how you duel; you don't need to run and hide to start healing. If a flanker dives you, using
 Solar Rifle (Primary Fire): A hitscan rifle that automatically charges up, dealing heavy damage at maximum charge.
- For maximum efficiency, always wait for the weapon to fully charge (0.9 seconds) before firing. Firing rapidly deals drastically reduced damage and is rarely worth it unless an enemy is at absolute minimum health.
- Since it is a hitscan weapon with a 1.5x critical multiplier, Illari is excellent at pressuring airborne targets like Pharah, Echo, or Jetpack Cat.
- You can weave in quick melee attacks or use Outburst without interrupting the weapon's charge cycle.
- Because Illari's damage is so high, prioritizing enemy Support and Damage heroes over Tanks is heavily recommended. A fully charged headshot will force most squishy heroes to retreat immediately.
- Solar Rifle Alt Fire (Secondary Fire): A channeled beam that provides massive burst healing but runs on a strict resource meter.
- With 115 healing per second, this is one of the highest single-target healing abilities in the game. It is best used to save allies who are taking heavy, concentrated damage, such as a Reinhardt or Domina holding the frontline.
- Manage your resource meter carefully. If you completely deplete the energy, it triggers a penalty delay of 0.4 seconds before it begins to recharge.
- It is always better to manually stop healing right before the meter empties to ensure it recharges as fast as possible. Listen for the pitch of the Solar Rifle healing sound effect increase to know when to let go of the alt fire button to help charge replenish faster.
- Tap-healing instead of holding the beam down is a great way to top off allies without burning through your meter unnecessarily.
- Outburst: A mobility tool that launches Illari and knocks back nearby enemies.
- Holding jump or the ability button allows you to achieve maximum vertical height. This is crucial for reaching high ground to set up a Healing Pylon in hard-to-reach places or to take an off-angle for your Solar Rifle.
- Outburst's knockback is invaluable for peeling aggressive dive heroes like Winston, Vendetta, or Tracer off yourself or your fellow Support.
- It ignores shields, meaning you can knock a shielding Reinhardt or Sigma out of position, potentially exposing them to your team's damage.
- Use this to quickly escape dangerous area-of-effect ultimates like
 Meteor Strike or
  Terra Surge.
- Holding jump or the ability button allows you to achieve maximum vertical height. This is crucial for reaching high ground to set up a
- Healing Pylon: A deployable device that automatically fires healing projectiles at the lowest-health ally in its range.
- Placement is everything. Your Pylon should always be placed out of the enemy's direct line of sight (LOS), but within LOS of your team. High up on walls, tucked behind doorways, or stuck to the back of environmental cover are ideal spots.
- Always be ready to manually destroy your Pylon using the Interact key when your team moves forward or if the enemy is about to break it. If an enemy destroys it, the cooldown is heavily penalized (14 seconds). Manually destroying it safely keeps the cooldown at a much more manageable 7 seconds.
- The Pylon's healing projectiles can be blocked by enemy barriers. Avoid placing it low to the ground where a Ramattra or Domina shield can easily cut off its healing path.
- Pylon can be hacked by Sombra, which disables it for 10 seconds. If Sombra is in the match, try to place the Pylon closer to your team so they can interrupt her hack.
- Captive Sun: Illari launches into the air and fires an explosive solar energy ball that slows enemies and applies the "Sunstruck" debuff.
- Captive Sun grants you free flight. Use this verticality to bypass enemy shields, find a clear angle to fire the projectile, and dodge incoming ground-based attacks.
- The Sunstruck debuff requires an enemy to take 90 additional damage to detonate. The explosion deals massive AoE damage that can chain-react and wipe a team.
- Communication is key. Coordinate Captive Sun with your team's area-of-effect damage or aggressive pushes. It pairs incredibly well with ultimates that group enemies together, such as Zarya's
 Graviton Surge, or high-burst follow-ups like Emre's
  Cyber Frags or Ashe's
  Dynamite.
 - Be incredibly mindful of tracking defensive cooldowns. Captive Sun's projectile can be eaten by Defense Matrix or Kinetic Grasp. Furthermore, the Sunstruck debuff can be completely cleansed by Kiriko's Protection Suzu or Zarya's Particle Barrier. Always wait out these abilities before using your ultimate.
Perk Strategies
As Illari levels up during a match, she can select one Minor Perk at Level 2 and one Major Perk at Level 3. Choosing the right combination is critical, as it allows you to adapt to the enemy team's composition and shore up your own team's weaknesses.
- Minor Perks (Level 2):
 Rapid Construction: This perk reduces the cooldown of your Healing Pylon by 1.5 seconds and makes it build 300% faster.
- This is the go-to choice if the enemy team is highly coordinated at destroying your Pylon, or if you are playing a highly mobile composition that requires you to constantly relocate it. The near-instant build time allows it to begin dispensing healing almost the exact second it attaches to a surface.
 Summer Solstice: This perk supercharges Captive Sun, granting 3 extra seconds of flight, 20% increased flight speed, and 20% increased attack speed.
- This turns Illari into an aerial menace. The increased attack speed applies to your Solar Rifle, allowing you to output terrifying damage from above. It is best used when your team lacks follow-up damage for your ultimate, allowing you to easily secure the Sunstruck detonators yourself.
- This turns Illari into an aerial menace. The increased attack speed applies to your
- You are choosing between consistent, neutral-game sustain (Rapid Construction) and explosive, ultimate-based lethality (Summer Solstice). If your team is struggling to survive prolonged team fights, take Rapid Construction. If you need a powerful win-condition to break a tough enemy defense, Summer Solstice is the better pick.
- Major Perks (Level 3):
 Solar Flare: Pressing Primary Fire while channeling your healing beam releases a 20-meter, 100-HP burst heal to all allies in front of you (10-second cooldown).
- This perk covers Illari's biggest weakness: a lack of AoE burst healing. It is incredibly powerful in "brawl" compositions where your team is grouped up tightly (e.g., behind a Reinhardt or Ramattra). Because it only requires you to have a tiny amount of Alt-Fire energy left, you can use it as a last-second burst to save your frontline right before your resource meter empties.
 Sunburn: Outburst ignites enemies, dealing an additional 50 damage over 3 seconds.
- This perk turns your primary escape tool into a lethal dueling and anti-dive ability. It synergizes perfectly with your Survivor Sub-Role passive. If an aggressive flanker like Tracer, Genji, or Vendetta dives you, hitting them with Outburst simultaneously applies a 50-damage over time (DoT) effect while instantly triggering your health regeneration. This swing in momentum makes you difficult to kill in 1v1 duels. A single fully-charged Solar Rifle body shot combined with the Outburst DoT will force most squishy heroes to retreat or even possibly eliminate them. The DoT also ignores armor, making it highly effective chip damage against diving Tanks.
- This perk turns your primary escape tool into a lethal dueling and anti-dive ability. It synergizes perfectly with your Survivor Sub-Role passive. If an aggressive flanker like Tracer, Genji, or Vendetta dives you, hitting them with Outburst simultaneously applies a 50-damage over time (DoT) effect while instantly triggering your health regeneration. This swing in momentum makes you difficult to kill in 1v1 duels. A single fully-charged
- You are choosing between massive team utility (Solar Flare) and self-preservation/lethality (Sunburn). If the enemy team is ignoring you and focusing your Tanks, Solar Flare will keep your team alive. However, if you are being constantly harassed by flankers or diving Tanks, Sunburn gives you the teeth needed to win those duels and hold your ground.
General Strategies
- Illari functions best as an off-angle pressure tool. Rather than standing directly behind your two Tanks, position yourself on a slight flank or high ground. Place your Healing Pylon near your frontline to keep them sustained, while you use your Solar Rifle to crossfire the enemy team. This forces the enemy to look in two different directions, relieving pressure from your main group.
- Illari pairs brilliantly with a highly mobile "Initiator" tank like D.Va or Doomfist. While your Pylon sustains the core team, you can use your mobility and high burst damage to follow up on your mobile tank's engagements.
- Remember that while your damage is vital, your team is relying on your Solar Rifle Alt Fire for burst sustain. Don't get so caught up in securing eliminations that you let your frontline crumble. Be prepared to use Outburst to quickly dash back to your team if the Pylon goes down, should they need immediate manual healing.
- Treat Healing Pylon like a bonus teammate. If the enemy team is running heroes like Junkrat or Pharah who can easily destroy your Pylon with splash damage, you will need to constantly reposition it. A destroyed Pylon mid-fight cripples Illari's healing output, forcing you to drain your Alt-Fire resource immediately.
Match-Ups and Team Synergy
Tank
| Hero | Match-Up | Team Synergy |
|---|---|---|
 D.Va |
TBA MATCHUP OR PRIORITY | TBA RISK
Matchup details for D.Va are currently missing. You can help the Overwatch Wiki by adding them!
|
TBA SYNERGY
Team synergy details with D.Va are currently missing. You can help the Overwatch Wiki by adding them!
|
 Domina |
TBA MATCHUP OR PRIORITY | TBA RISK
Matchup details for Domina are currently missing. You can help the Overwatch Wiki by adding them!
|
TBA SYNERGY
Team synergy details with Domina are currently missing. You can help the Overwatch Wiki by adding them!
|
 Doomfist |
STRONG VS. | MEDIUM RISK
Illari is one of the more difficult supports for Doomfist to dive successfully, primarily due to the Survivor sub-role passive. If Doomfist initiates with Seismic Slam, a well-timed
The key to this matchup is |
STRONG SYNERGY
Illari and Doomfist work well in aggressive "dive-hybrid" compositions. While Doomfist creates chaos in the enemy backline, your
|
 Hazard |
TBA MATCHUP OR PRIORITY | TBA RISK
Matchup details for Hazard are currently missing. You can help the Overwatch Wiki by adding them!
|
TBA SYNERGY
Team synergy details with Hazard are currently missing. You can help the Overwatch Wiki by adding them!
|
 Junker Queen |
TBA MATCHUP OR PRIORITY | TBA RISK
Matchup details for Junker Queen are currently missing. You can help the Overwatch Wiki by adding them!
|
TBA SYNERGY
Team synergy details with Junker Queen are currently missing. You can help the Overwatch Wiki by adding them!
|
 Mauga |
TBA MATCHUP OR PRIORITY | TBA RISK
Matchup details for Mauga are currently missing. You can help the Overwatch Wiki by adding them!
|
TBA SYNERGY
Team synergy details with Mauga are currently missing. You can help the Overwatch Wiki by adding them!
|
 Orisa |
TBA MATCHUP OR PRIORITY | TBA RISK
Matchup details for Orisa are currently missing. You can help the Overwatch Wiki by adding them!
|
TBA SYNERGY
Team synergy details with Orisa are currently missing. You can help the Overwatch Wiki by adding them!
|
 Ramattra |
TBA MATCHUP OR PRIORITY | TBA RISK
Matchup details for Ramattra are currently missing. You can help the Overwatch Wiki by adding them!
|
TBA SYNERGY
Team synergy details with Ramattra are currently missing. You can help the Overwatch Wiki by adding them!
|
 Reinhardt |
TBA MATCHUP OR PRIORITY | TBA RISK
Matchup details for Reinhardt are currently missing. You can help the Overwatch Wiki by adding them!
|
TBA SYNERGY
Team synergy details with Reinhardt are currently missing. You can help the Overwatch Wiki by adding them!
|
 Roadhog |
TBA MATCHUP OR PRIORITY | TBA RISK
Matchup details for Roadhog are currently missing. You can help the Overwatch Wiki by adding them!
|
TBA SYNERGY
Team synergy details with Roadhog are currently missing. You can help the Overwatch Wiki by adding them!
|
 Sigma |
TBA MATCHUP OR PRIORITY | TBA RISK
Matchup details for Sigma are currently missing. You can help the Overwatch Wiki by adding them!
|
TBA SYNERGY
Team synergy details with Sigma are currently missing. You can help the Overwatch Wiki by adding them!
|
 Winston |
TBA MATCHUP OR PRIORITY | TBA RISK
Matchup details for Winston are currently missing. You can help the Overwatch Wiki by adding them!
|
TBA SYNERGY
Team synergy details with Winston are currently missing. You can help the Overwatch Wiki by adding them!
|
 Wrecking Ball |
TBA MATCHUP OR PRIORITY | TBA RISK
Matchup details for Wrecking Ball are currently missing. You can help the Overwatch Wiki by adding them!
|
TBA SYNERGY
Team synergy details with Wrecking Ball are currently missing. You can help the Overwatch Wiki by adding them!
|
 Zarya |
TBA MATCHUP OR PRIORITY | TBA RISK
Matchup details for Zarya are currently missing. You can help the Overwatch Wiki by adding them!
|
TBA SYNERGY
Team synergy details with Zarya are currently missing. You can help the Overwatch Wiki by adding them!
|
Damage
| Hero | Match-Up | Team Synergy |
|---|---|---|
 Anran |
TBA MATCHUP OR PRIORITY | TBA RISK
Matchup details for Anran are currently missing. You can help the Overwatch Wiki by adding them!
|
TBA SYNERGY
Team synergy details with Anran are currently missing. You can help the Overwatch Wiki by adding them!
|
 Ashe |
TBA MATCHUP OR PRIORITY | TBA RISK
Matchup details for Ashe are currently missing. You can help the Overwatch Wiki by adding them!
|
TBA SYNERGY
Team synergy details with Ashe are currently missing. You can help the Overwatch Wiki by adding them!
|
 Bastion |
TBA MATCHUP OR PRIORITY | TBA RISK
Matchup details for Bastion are currently missing. You can help the Overwatch Wiki by adding them!
|
TBA SYNERGY
Team synergy details with Bastion are currently missing. You can help the Overwatch Wiki by adding them!
|
 Cassidy |
TBA MATCHUP OR PRIORITY | TBA RISK
Matchup details for Cassidy are currently missing. You can help the Overwatch Wiki by adding them!
|
TBA SYNERGY
Team synergy details with Cassidy are currently missing. You can help the Overwatch Wiki by adding them!
|
 Echo |
TBA MATCHUP OR PRIORITY | TBA RISK
Matchup details for Echo are currently missing. You can help the Overwatch Wiki by adding them!
|
TBA SYNERGY
Team synergy details with Echo are currently missing. You can help the Overwatch Wiki by adding them!
|
 Emre |
TBA MATCHUP OR PRIORITY | TBA RISK
Matchup details for Emre are currently missing. You can help the Overwatch Wiki by adding them!
|
TBA SYNERGY
Team synergy details with Emre are currently missing. You can help the Overwatch Wiki by adding them!
|
 Freja |
TBA MATCHUP OR PRIORITY | TBA RISK
Matchup details for Freja are currently missing. You can help the Overwatch Wiki by adding them!
|
TBA SYNERGY
Team synergy details with Freja are currently missing. You can help the Overwatch Wiki by adding them!
|
 Genji |
TBA MATCHUP OR PRIORITY | TBA RISK
Matchup details for Genji are currently missing. You can help the Overwatch Wiki by adding them!
|
TBA SYNERGY
Team synergy details with Genji are currently missing. You can help the Overwatch Wiki by adding them!
|
 Hanzo |
TBA MATCHUP OR PRIORITY | TBA RISK
Matchup details for Hanzo are currently missing. You can help the Overwatch Wiki by adding them!
|
TBA SYNERGY
Team synergy details with Hanzo are currently missing. You can help the Overwatch Wiki by adding them!
|
 Junkrat |
TBA MATCHUP OR PRIORITY | TBA RISK
Matchup details for Junkrat are currently missing. You can help the Overwatch Wiki by adding them!
|
TBA SYNERGY
Team synergy details with Junkrat are currently missing. You can help the Overwatch Wiki by adding them!
|
 Mei |
TBA MATCHUP OR PRIORITY | TBA RISK
Matchup details for Mei are currently missing. You can help the Overwatch Wiki by adding them!
|
TBA SYNERGY
Team synergy details with Mei are currently missing. You can help the Overwatch Wiki by adding them!
|
 Pharah |
TBA MATCHUP OR PRIORITY | TBA RISK
Matchup details for Pharah are currently missing. You can help the Overwatch Wiki by adding them!
|
TBA SYNERGY
Team synergy details with Pharah are currently missing. You can help the Overwatch Wiki by adding them!
|
 Reaper |
TBA MATCHUP OR PRIORITY | TBA RISK
Matchup details for Reaper are currently missing. You can help the Overwatch Wiki by adding them!
|
TBA SYNERGY
Team synergy details with Reaper are currently missing. You can help the Overwatch Wiki by adding them!
|
Shion |
TBA MATCHUP OR PRIORITY | TBA RISK
Matchup details for Shion are currently missing. You can help the Overwatch Wiki by adding them!
|
TBA SYNERGY
Team synergy details with Shion are currently missing. You can help the Overwatch Wiki by adding them!
|
 Sierra |
TBA MATCHUP OR PRIORITY | TBA RISK
Matchup details for Sierra are currently missing. You can help the Overwatch Wiki by adding them!
|
TBA SYNERGY
Team synergy details with Sierra are currently missing. You can help the Overwatch Wiki by adding them!
|
 Sojourn |
TBA MATCHUP OR PRIORITY | TBA RISK
Matchup details for Sojourn are currently missing. You can help the Overwatch Wiki by adding them!
|
TBA SYNERGY
Team synergy details with Sojourn are currently missing. You can help the Overwatch Wiki by adding them!
|
 Soldier: 76 |
TBA MATCHUP OR PRIORITY | TBA RISK
Matchup details for Soldier: 76 are currently missing. You can help the Overwatch Wiki by adding them!
|
TBA SYNERGY
Team synergy details with Soldier: 76 are currently missing. You can help the Overwatch Wiki by adding them!
|
 Sombra |
TBA MATCHUP OR PRIORITY | TBA RISK
Matchup details for Sombra are currently missing. You can help the Overwatch Wiki by adding them!
|
TBA SYNERGY
Team synergy details with Sombra are currently missing. You can help the Overwatch Wiki by adding them!
|
 Symmetra |
TBA MATCHUP OR PRIORITY | TBA RISK
Matchup details for Symmetra are currently missing. You can help the Overwatch Wiki by adding them!
|
TBA SYNERGY
Team synergy details with Symmetra are currently missing. You can help the Overwatch Wiki by adding them!
|
 Torbjörn |
TBA MATCHUP OR PRIORITY | TBA RISK
Matchup details for Torbjörn are currently missing. You can help the Overwatch Wiki by adding them!
|
TBA SYNERGY
Team synergy details with Torbjörn are currently missing. You can help the Overwatch Wiki by adding them!
|
 Tracer |
TBA MATCHUP OR PRIORITY | TBA RISK
Matchup details for Tracer are currently missing. You can help the Overwatch Wiki by adding them!
|
TBA SYNERGY
Team synergy details with Tracer are currently missing. You can help the Overwatch Wiki by adding them!
|
 Vendetta |
TBA MATCHUP OR PRIORITY | TBA RISK
Matchup details for Vendetta are currently missing. You can help the Overwatch Wiki by adding them!
|
TBA SYNERGY
Team synergy details with Vendetta are currently missing. You can help the Overwatch Wiki by adding them!
|
 Venture |
TBA MATCHUP OR PRIORITY | TBA RISK
Matchup details for Venture are currently missing. You can help the Overwatch Wiki by adding them!
|
TBA SYNERGY
Team synergy details with Venture are currently missing. You can help the Overwatch Wiki by adding them!
|
 Widowmaker |
TBA MATCHUP OR PRIORITY | TBA RISK
Matchup details for Widowmaker are currently missing. You can help the Overwatch Wiki by adding them!
|
TBA SYNERGY
Team synergy details with Widowmaker are currently missing. You can help the Overwatch Wiki by adding them!
|
Support
| Hero | Match-Up | Team Synergy |
|---|---|---|
 Ana |
TBA MATCHUP OR PRIORITY | TBA RISK
Matchup details for Ana are currently missing. You can help the Overwatch Wiki by adding them!
|
TBA SYNERGY
Team synergy details with Ana are currently missing. You can help the Overwatch Wiki by adding them!
|
 Baptiste |
TBA MATCHUP OR PRIORITY | TBA RISK
Matchup details for Baptiste are currently missing. You can help the Overwatch Wiki by adding them!
|
TBA SYNERGY
Team synergy details with Baptiste are currently missing. You can help the Overwatch Wiki by adding them!
|
 Brigitte |
TBA MATCHUP OR PRIORITY | TBA RISK
Matchup details for Brigitte are currently missing. You can help the Overwatch Wiki by adding them!
|
TBA SYNERGY
Team synergy details with Brigitte are currently missing. You can help the Overwatch Wiki by adding them!
|
 Illari |
MIRROR MATCHUP | MEDIUM RISK
An Illari mirror match is primarily a "Pylon War." The winner is usually the one who can identify and destroy the enemy's
When the enemy uses |
MIRROR SYNERGY
In game modes with no role limits, a double Illari composition provides an incredible amount of "hands-free" sustain. By placing two
|
 Jetpack Cat |
EXTREMELY HIGH PRIORITY TARGET | MEDIUM RISK
Illari is one of the hardest counters to Jetpack Cat in the Support roster. Because Fika is permanently airborne, she is a massive target for your hitscan
Be wary of her |
STRONG SYNERGY
Jetpack Cat and Illari cover each other’s vertical and horizontal blind spots. While Jetpack Cat provides aerial utility and winch-based movement to get your team into better positions, you can provide the long-range hitscan pressure that protects her from enemy fliers. Additionally, Jetpack Cat can use
|
 Juno |
TBA MATCHUP OR PRIORITY | TBA RISK
Matchup details for Juno are currently missing. You can help the Overwatch Wiki by adding them!
|
TBA SYNERGY
Team synergy details with Juno are currently missing. You can help the Overwatch Wiki by adding them!
|
 Kiriko |
TBA MATCHUP OR PRIORITY | TBA RISK
Matchup details for Kiriko are currently missing. You can help the Overwatch Wiki by adding them!
|
TBA SYNERGY
Team synergy details with Kiriko are currently missing. You can help the Overwatch Wiki by adding them!
|
 Lifeweaver |
TBA MATCHUP OR PRIORITY | TBA RISK
Matchup details for Lifeweaver are currently missing. You can help the Overwatch Wiki by adding them!
|
TBA SYNERGY
Team synergy details with Lifeweaver are currently missing. You can help the Overwatch Wiki by adding them!
|
 Lúcio |
TBA MATCHUP OR PRIORITY | TBA RISK
Matchup details for Lúcio are currently missing. You can help the Overwatch Wiki by adding them!
|
TBA SYNERGY
Team synergy details with Lúcio are currently missing. You can help the Overwatch Wiki by adding them!
|
 Mercy |
TBA MATCHUP OR PRIORITY | TBA RISK
Matchup details for Mercy are currently missing. You can help the Overwatch Wiki by adding them!
|
TBA SYNERGY
Team synergy details with Mercy are currently missing. You can help the Overwatch Wiki by adding them!
|
 Mizuki |
EVEN MATCHUP | MEDIUM RISK
Mizuki possesses several tools that can frustrate an Illari player. Most notably, his
However, you have a distinct advantage in range and hitscan reliability. Mizuki's Spirit Glaives are projectiles with travel time, making him easier to out-duel at long distances. If you stay on high ground and keep your distance, you can poke him out or destroy his |
STRONG SYNERGY
This is a very powerful survivability duo. Mizuki's
If you choose the |
 Moira |
TBA MATCHUP OR PRIORITY | TBA RISK
Matchup details for Moira are currently missing. You can help the Overwatch Wiki by adding them!
|
TBA SYNERGY
Team synergy details with Moira are currently missing. You can help the Overwatch Wiki by adding them!
|
 Wuyang |
TBA MATCHUP OR PRIORITY | TBA RISK
Matchup details for Wuyang are currently missing. You can help the Overwatch Wiki by adding them!
|
TBA SYNERGY
Team synergy details with Wuyang are currently missing. You can help the Overwatch Wiki by adding them!
|
 Zenyatta |
TBA MATCHUP OR PRIORITY | TBA RISK
Matchup details for Zenyatta are currently missing. You can help the Overwatch Wiki by adding them!
|
TBA SYNERGY
Team synergy details with Zenyatta are currently missing. You can help the Overwatch Wiki by adding them!
|
Map Strategies
Control
| Map | Strategy & Stage Tips |
|---|---|
 Overall Strategy |
TBA RATING | TBA FEATURE
Map strategy details for Overall Strategy are currently missing. You can help the Overwatch Wiki by adding them!
|
 Antarctic Peninsula |
TBA RATING | TBA FEATURE
Map strategy details for Antarctic Peninsula are currently missing. You can help the Overwatch Wiki by adding them! Labs
Strategy details missing.
Sublevel
Strategy details missing.
Icebreaker
Strategy details missing.
|

|
TBA RATING | TBA FEATURE
Map strategy details for Busan are currently missing. You can help the Overwatch Wiki by adding them! Downtown
Strategy details missing.
Sanctuary
Strategy details missing.
MEKA Base
Strategy details missing.
|

|
TBA RATING | TBA FEATURE
Map strategy details for Ilios are currently missing. You can help the Overwatch Wiki by adding them! Lighthouse
Strategy details missing.
Well
Strategy details missing.
Ruins
Strategy details missing.
|

|
TBA RATING | TBA FEATURE
Map strategy details for Lijiang Tower are currently missing. You can help the Overwatch Wiki by adding them! Control Center
Strategy details missing.
Garden
Strategy details missing.
Night Market
Strategy details missing.
|

|
TBA RATING | TBA FEATURE
Map strategy details for Nepal are currently missing. You can help the Overwatch Wiki by adding them! Village
Strategy details missing.
Shrine
Strategy details missing.
Sanctum
Strategy details missing.
|

|
TBA RATING | TBA FEATURE
Map strategy details for Oasis are currently missing. You can help the Overwatch Wiki by adding them! City Center
Strategy details missing.
Gardens
Strategy details missing.
University
Strategy details missing.
|

|
TBA RATING | TBA FEATURE
Map strategy details for Samoa are currently missing. You can help the Overwatch Wiki by adding them! Beach
Strategy details missing.
Downtown
Strategy details missing.
Volcano
Strategy details missing.
|
Escort
| Map | Strategy & Stage Tips |
|---|---|
 Overall Strategy |
TBA RATING | TBA FEATURE
Map strategy details for Overall Strategy are currently missing. You can help the Overwatch Wiki by adding them!
|

|
TBA RATING | TBA FEATURE
Map strategy details for Circuit Royal are currently missing. You can help the Overwatch Wiki by adding them! Attack
Strategy details missing.
Defense
Strategy details missing.
|

|
TBA RATING | TBA FEATURE
Map strategy details for Dorado are currently missing. You can help the Overwatch Wiki by adding them! Attack
Strategy details missing.
Defense
Strategy details missing.
|

|
TBA RATING | TBA FEATURE
Map strategy details for Havana are currently missing. You can help the Overwatch Wiki by adding them! Attack
Strategy details missing.
Defense
Strategy details missing.
|

|
TBA RATING | TBA FEATURE
Map strategy details for Junkertown are currently missing. You can help the Overwatch Wiki by adding them! Attack
Strategy details missing.
Defense
Strategy details missing.
|

|
TBA RATING | TBA FEATURE
Map strategy details for Rialto are currently missing. You can help the Overwatch Wiki by adding them! Attack
Strategy details missing.
Defense
Strategy details missing.
|

|
TBA RATING | TBA FEATURE
Map strategy details for Route 66 are currently missing. You can help the Overwatch Wiki by adding them! Attack
Strategy details missing.
Defense
Strategy details missing.
|

|
TBA RATING | TBA FEATURE
Map strategy details for Shambali Monastery are currently missing. You can help the Overwatch Wiki by adding them! Attack
Strategy details missing.
Defense
Strategy details missing.
|

|
TBA RATING | TBA FEATURE
Map strategy details for Watchpoint: Gibraltar are currently missing. You can help the Overwatch Wiki by adding them! Attack
Strategy details missing.
Defense
Strategy details missing.
|
Hybrid
| Map | Strategy & Stage Tips |
|---|---|
 Overall Strategy |
TBA RATING | TBA FEATURE
Map strategy details for Overall Strategy are currently missing. You can help the Overwatch Wiki by adding them!
|
 Blizzard World |
TBA RATING | TBA FEATURE
Map strategy details for Blizzard World are currently missing. You can help the Overwatch Wiki by adding them! Attack
Strategy details missing.
Defense
Strategy details missing.
|

|
TBA RATING | TBA FEATURE
Map strategy details for Eichenwalde are currently missing. You can help the Overwatch Wiki by adding them! Attack
Strategy details missing.
Defense
Strategy details missing.
|

|
TBA RATING | TBA FEATURE
Map strategy details for Hollywood are currently missing. You can help the Overwatch Wiki by adding them! Attack
Strategy details missing.
Defense
Strategy details missing.
|

|
TBA RATING | TBA FEATURE
Map strategy details for King's Row are currently missing. You can help the Overwatch Wiki by adding them! Attack
Strategy details missing.
Defense
Strategy details missing.
|

|
TBA RATING | TBA FEATURE
Map strategy details for Midtown are currently missing. You can help the Overwatch Wiki by adding them! Attack
Strategy details missing.
Defense
Strategy details missing.
|
 Numbani |
TBA RATING | TBA FEATURE
Map strategy details for Numbani are currently missing. You can help the Overwatch Wiki by adding them! Attack
Strategy details missing.
Defense
Strategy details missing.
|

|
TBA RATING | TBA FEATURE
Map strategy details for Paraíso are currently missing. You can help the Overwatch Wiki by adding them! Attack
Strategy details missing.
Defense
Strategy details missing.
|
Push
| Map | Strategy & Stage Tips |
|---|---|
 Overall Strategy |
TBA RATING | TBA FEATURE
Map strategy details for Overall Strategy are currently missing. You can help the Overwatch Wiki by adding them!
|

|
TBA RATING | TBA FEATURE
Map strategy details for Colosseo are currently missing. You can help the Overwatch Wiki by adding them! Pushing
Strategy details missing.
Defending
Strategy details missing.
|

|
TBA RATING | TBA FEATURE
Map strategy details for Esperança are currently missing. You can help the Overwatch Wiki by adding them! Pushing
Strategy details missing.
Defending
Strategy details missing.
|

|
TBA RATING | TBA FEATURE
Map strategy details for New Queen Street are currently missing. You can help the Overwatch Wiki by adding them! Pushing
Strategy details missing.
Defending
Strategy details missing.
|

|
TBA RATING | TBA FEATURE
Map strategy details for Runasapi are currently missing. You can help the Overwatch Wiki by adding them! Pushing
Strategy details missing.
Defending
Strategy details missing.
|
Flashpoint
| Map | Strategy & Stage Tips |
|---|---|
 Overall Strategy |
TBA RATING | TBA FEATURE
Map strategy details for Overall Strategy are currently missing. You can help the Overwatch Wiki by adding them!
|

|
TBA RATING | TBA FEATURE
Map strategy details for Aatlis are currently missing. You can help the Overwatch Wiki by adding them! Station
Strategy details missing.
Garden
Strategy details missing.
Town Center
Strategy details missing.
Bazaar
Strategy details missing.
Resort
Strategy details missing.
|

|
TBA RATING | TBA FEATURE
Map strategy details for New Junk City are currently missing. You can help the Overwatch Wiki by adding them! Arena
Strategy details missing.
The Ducts
Strategy details missing.
Refinery
Strategy details missing.
Junkyard
Strategy details missing.
Bomb Flats
Strategy details missing.
|

|
TBA RATING | TBA FEATURE
Map strategy details for Suravasa are currently missing. You can help the Overwatch Wiki by adding them! Market
Strategy details missing.
Garden
Strategy details missing.
Palace
Strategy details missing.
Temple
Strategy details missing.
Ruins
Strategy details missing.
|
Achievements
| Name | Icon | Description | Reward |
|---|---|---|---|
| Detonate 3 Sunstruck enemies after a single use of Illari's Captive Sun. (Excludes Total Mayhem and co-op modes.) |  | ||
| Restore 8000 health with Illari's Healing Pylon in a single game. (Exclides Total Mayhem and co-op modes.) |  |
Trivia

Illari
- Illari is the 38th Hero and the 6th new hero added in Overwatch 2.
- Illari is the third trilingual hero (after Baptiste and Kiriko and before Vendetta, Domina and Emre) as she speaks English, Spanish and Quechua.
- Illari is the second South American hero after Lúcio.
- Illari's voice actor Andre Cisneros also voices her in the Latin American Spanish dubbing.
- Illari is currently the youngest human hero in the game.
Cultural References
- "Illari" is an Quechuan female name which translates as "sunrise."
- Her ultimate ability hostile voiceline is "Inti lluqsimun" , which translates to "The sun rises."
- Her birthday (December 21st) falls on the summer solstice in the southern hemisphere.
Misc. Character Information
Development
Early Development
The starting point for Illari was the developers' desire to have a sun-themed hero. These themes inspired her early abilities as well as her internal codename, "Solar." One of the earliest prototypes the developers played around with was a blinding ability, matching the sun-theme. Solar would throw a grenade-like stun orb, which would explode and blind enemies within its AOE. The team experimented with the physics of this ability and how it would affect enemies. After a few changes, the team added VFX of Solar jumping into the air and throwing the blind down onto her enemies. In the end, the developers moved away from a blind ability because of the somewhat hidden effectiveness and frustration caused when played against. Solar didn’t feel a noticeable impact using blind, but the person getting blinded felt too much of an impact. A full-screen blind was decided to be too much in the context of Overwatch, given its nature of fast-paced gameplay.[4]
The mobility of Solar leaping into the air felt symbolic to a sunrise, and was integrated into the Captive Sun ultimate. The ability went through a number of iterations; one of the first ideas involved a debuff called "solar flares" against up to five enemies. The flares would damage enemies, reveal their location, and increase their damage taken. While this ultimate was "cool" to play with, it wasn’t enjoyable to play against. The debuff paired with the damage was a little too much, and the chaotic nature of the ultimate was frustrating to play against. Another iteration riffed off solar flares, but the debuff was only applied to enemies within an area of effect, rather than targeting them automatically. The area would also heal allies. Many versions of her ultimate increased the amount of damage she dealt, but the developers felt those would better suit damage heroes. While the developers wanted to encourage Solar players to support their team by enabling and finishing off opponents, some of the early ideas were doing too much damage for a support class. In the final version, Captive Sun's status effect keeps the ultimate ability attack oriented, while also encouraging team play to get as many detonations as possible.[4]
Solar's healing capabilities went through a lot of ideations and prototypes. One of the first ideas was an ability that created pockets of healing with a deployable drone—she would throw a drone-grenade to allies, and the drone would hover over them to heal. Pocket healing went through a lot of tweaks and adjustments. For example, one version provided more healing to lower-HP allies but was limited in mobility. Another provided a burst heal within the first second to give allies a little more flexibility regarding their placement. There was also an iteration where the drones would automatically track allies.[4]
This type of healing mechanic required a ton of management and attention, and the developers wanted something more strategic that allowed Solar to focus more of her time using the solar rifle. The turrets of Torbjörn and Symmetra were looked at, where during development, Symmetra had a healing turret ability which had problems, though players enjoyed the concept. This was turned into the solar rifle having a healing function as its primary fire. Its alt fire was initially a burst heal that could pierce allies (similar to Sojourn's railgun), albeit with a hefty cooldown. This was changed to a single-target shot with a shorter cooldown, as the developers wanted a simple secondary fire to encourage players to support through damage. The rifle's current secondary was settled upon.[4]
As Solar's abilities were constantly iterated upon, this influenced her theme and personality. Eventually, "Solar" was renamed as "Illari."[4]
Reveals
The Illari teaser
Illari was hinted at in May, 2023, where it was revealed that she would debut in Season 6.[5] It was stated that Illari be fully revealed before the season's launch.[6] An image of Illari (Illari Quispe Ruiz) was revealed in June, 2023.[7] At the time, many speculated that she was Peruvian,[8] and the blade she carried was noted to possess similarities to Incan swords.[9] It was further speculated that the hero's name was "Luzdesol" (Spanish for "sunlight"), based on the appearance of the name in a livestream for Overwatch 2: Invasion.[10] After the silouette was released, a fan-made concept piece was released, and the developers were surprised as to how close the artwork was to the hero's final version. In recognition of the work, an official piece of concept art was released in July, 2023, showing Illari undergoing a "solar threading ritual."[6]
Illari was leaked in early August when an image of her was revealed on the Xbox Overwatch website.[11] She was formally named/revealed on August 8.[12]
Removed abilities

- Removed in Season 18.
Media
Concept Art
- Hero Kit
-
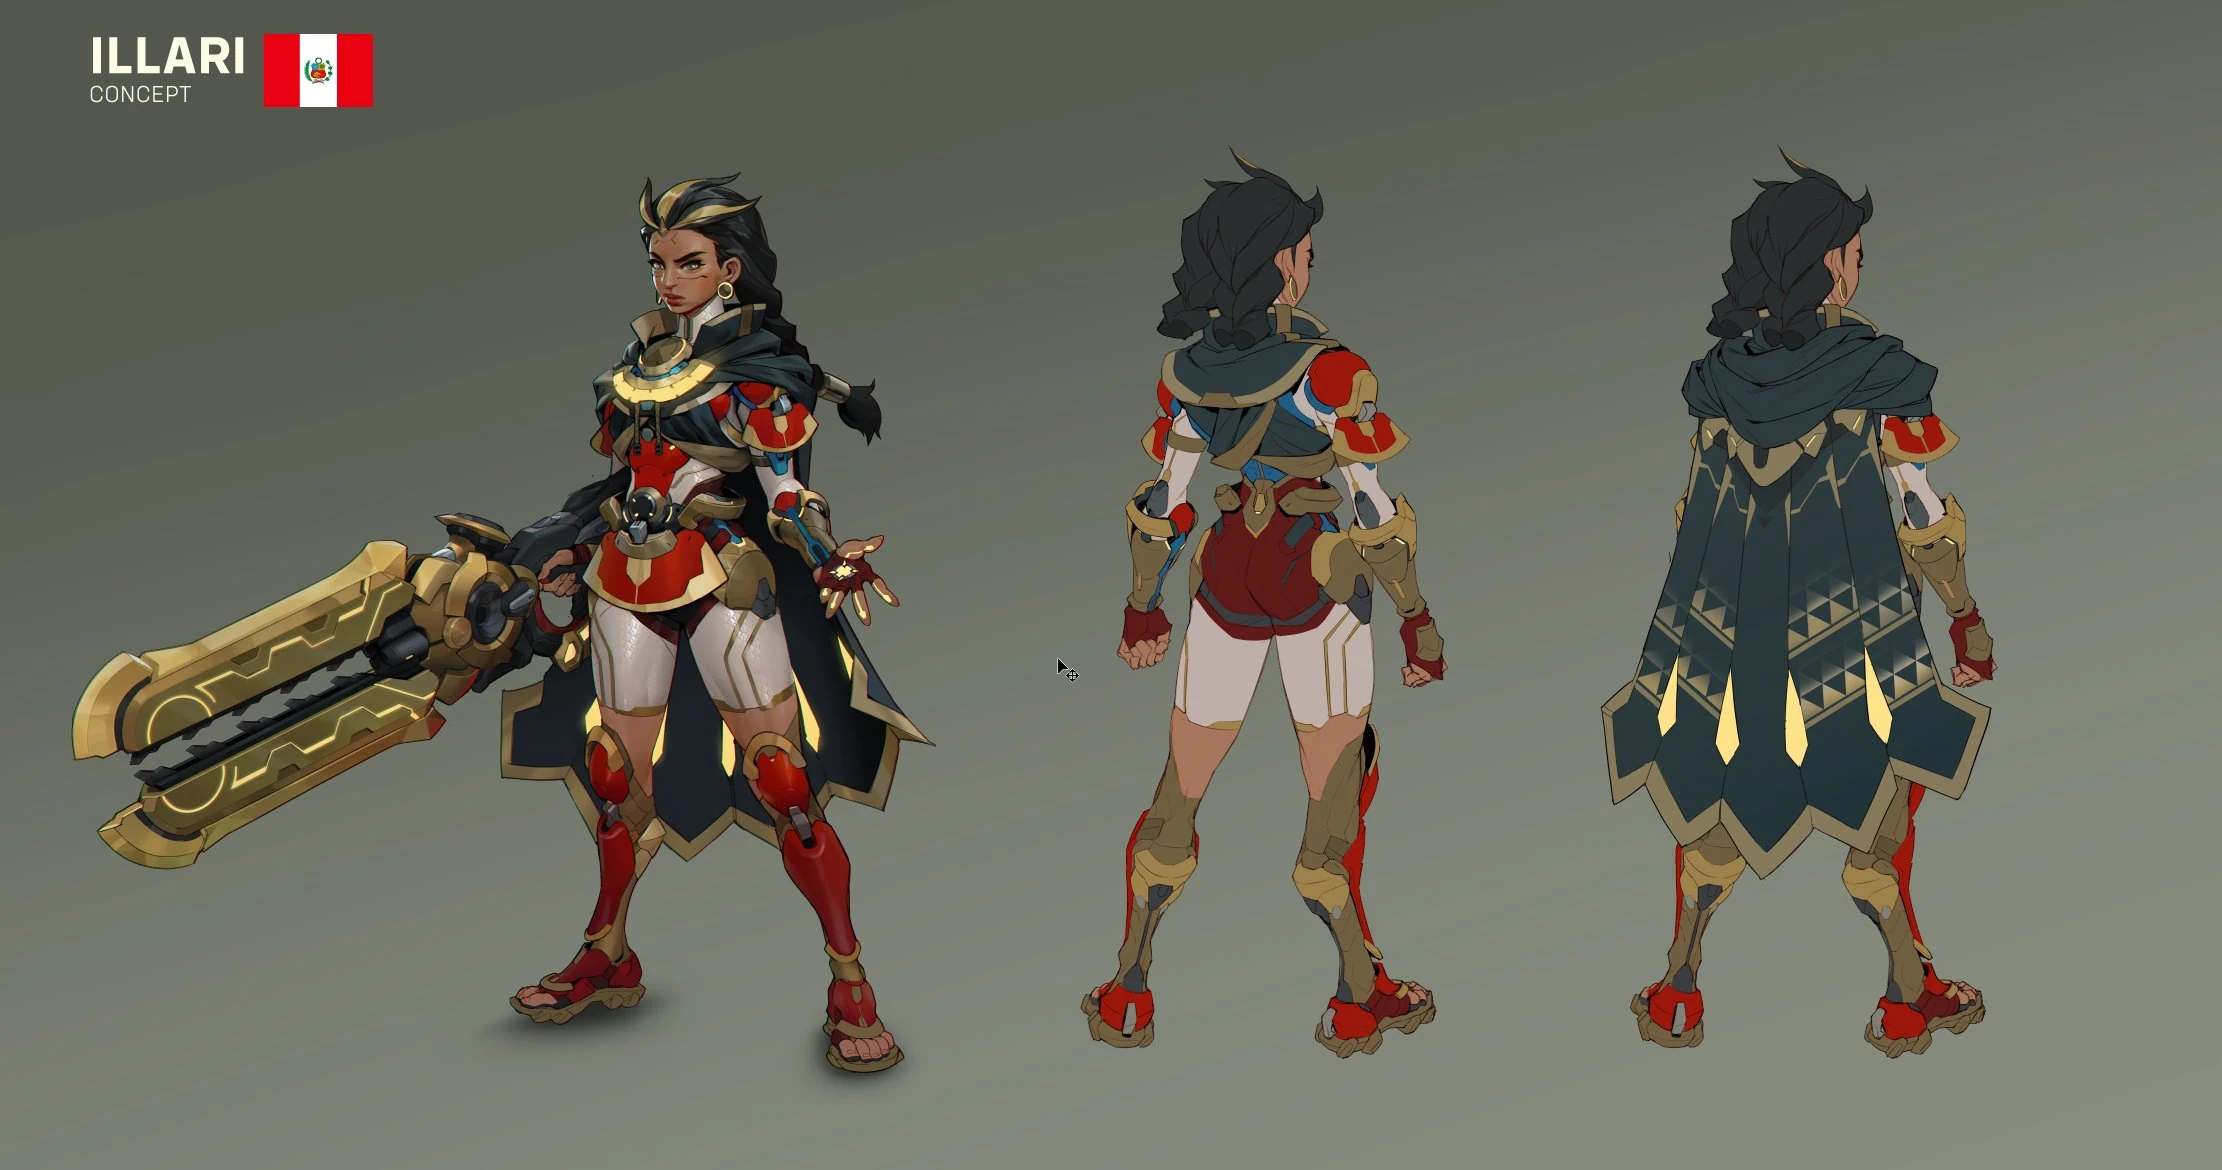
 Illari Concept Art by Qiu Fang
 -
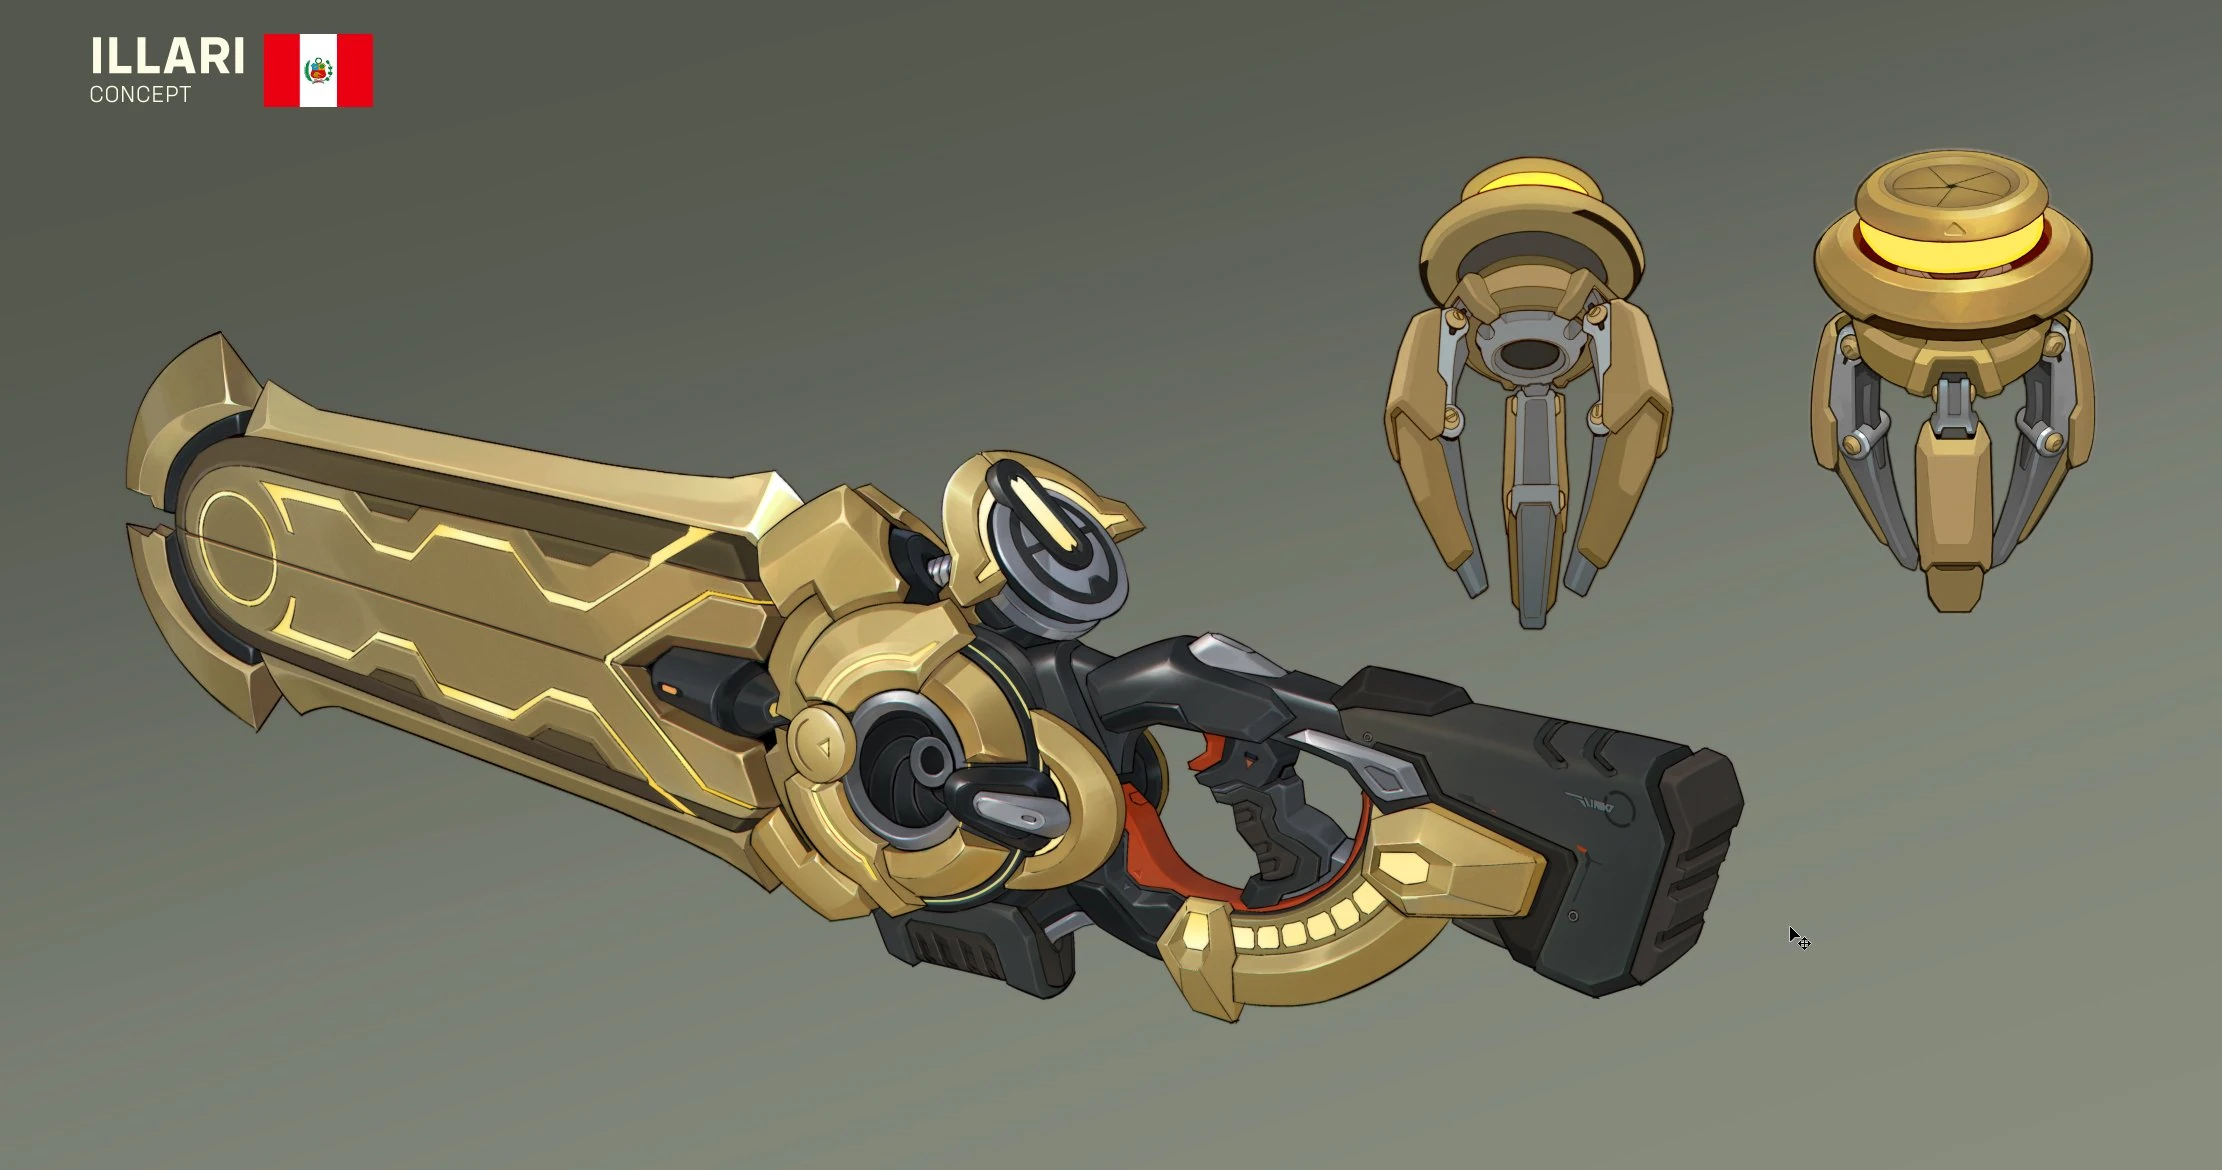
 Illari Weapons Concept Art by Qiu Fang
 -
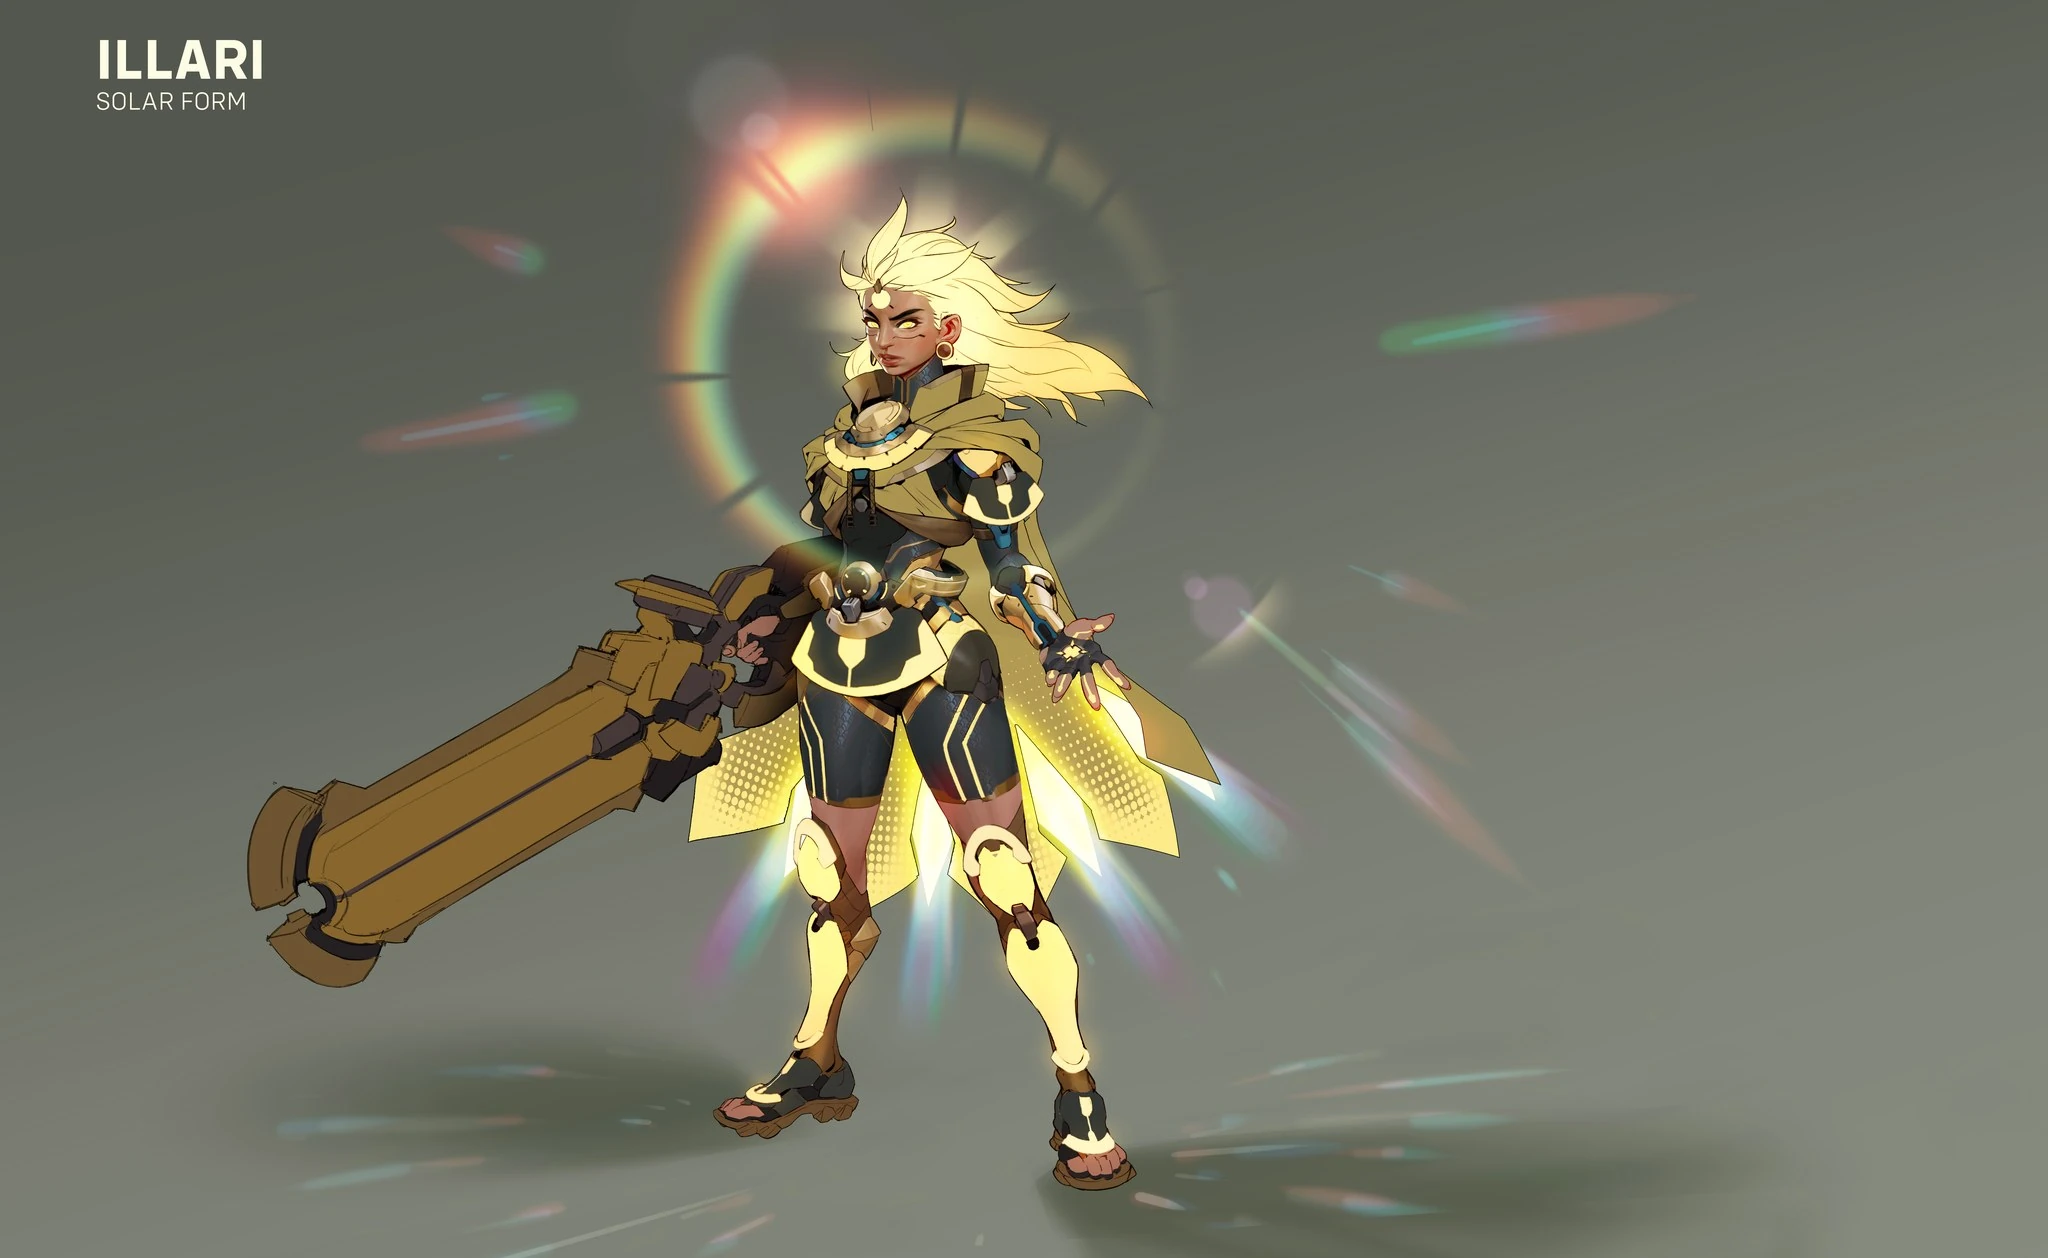
 Illari Solar Form Concept Art by Qiu Fang
 -
 Illari Captive Sun Concept Art by Qiu Fang
- Skins
-
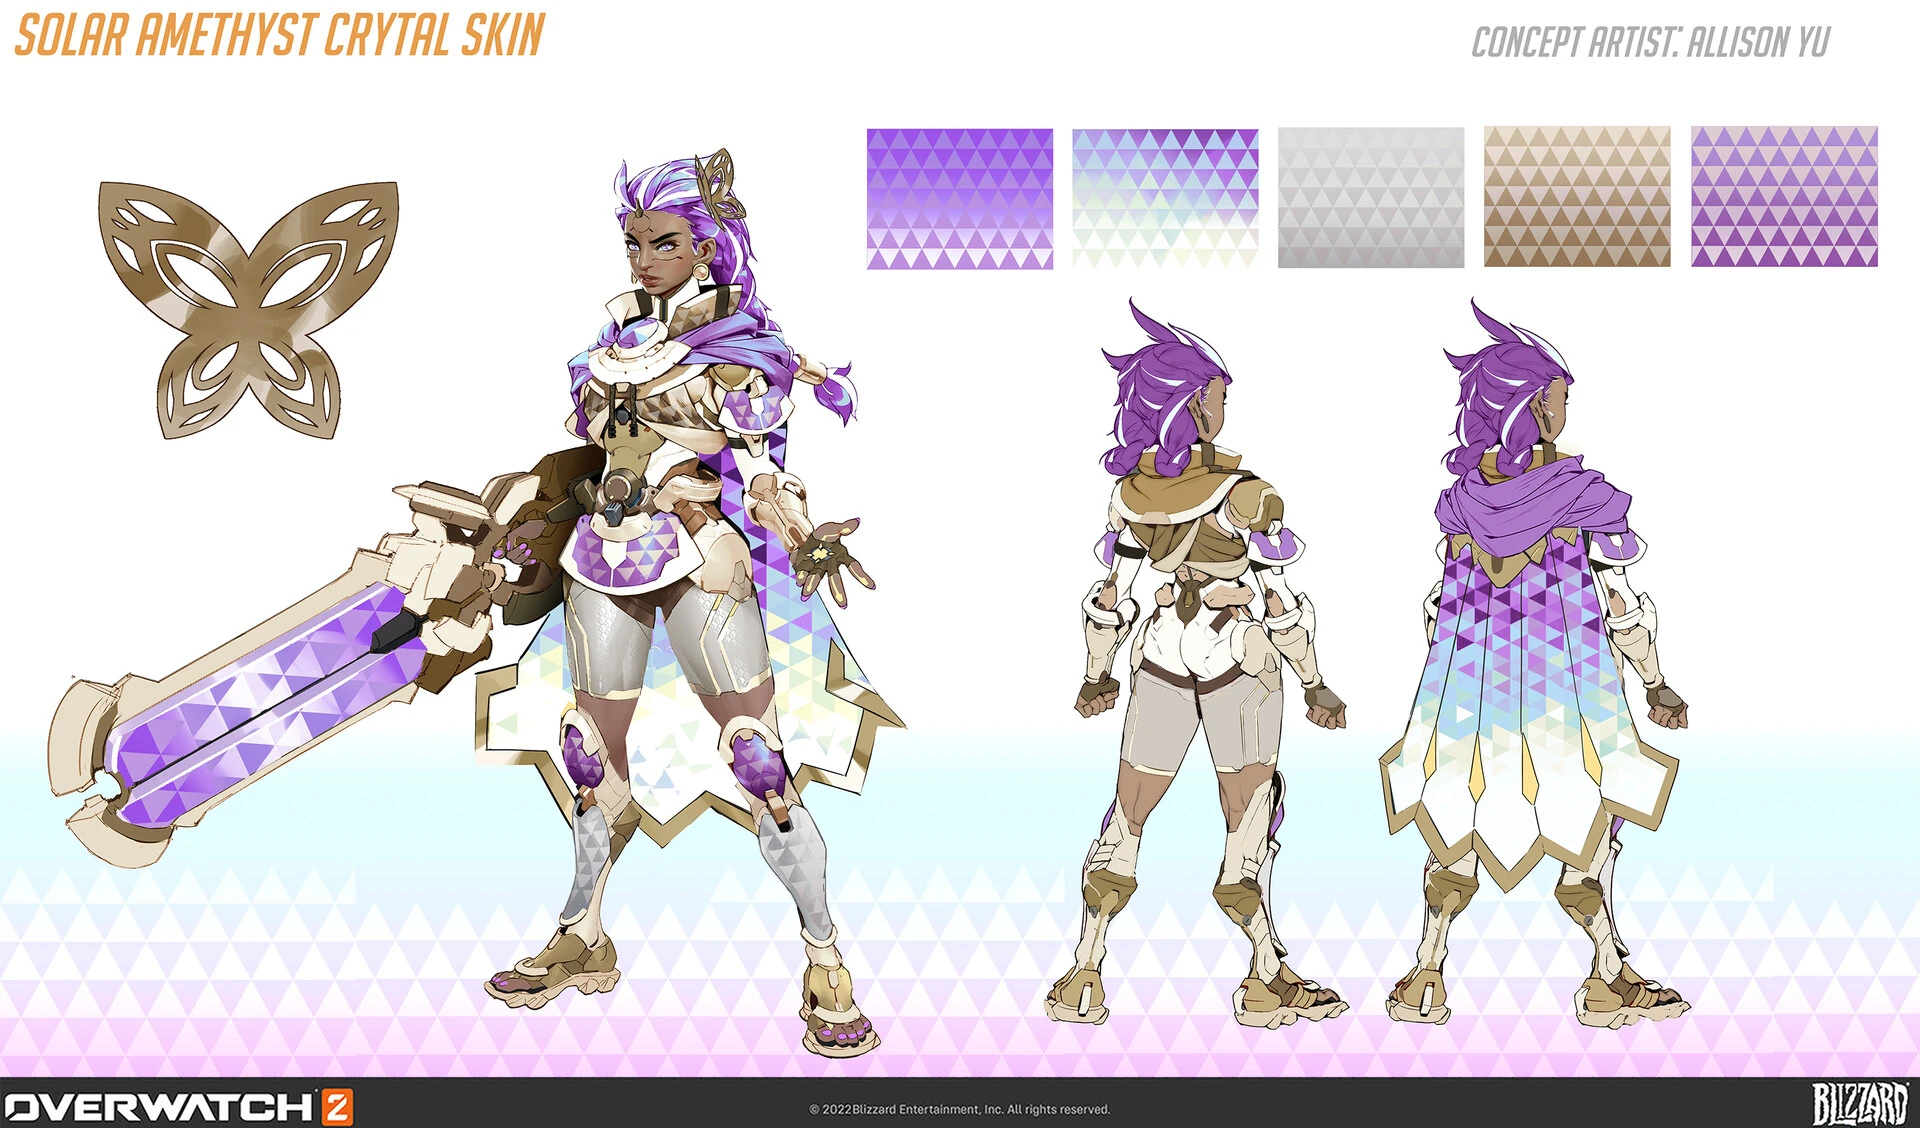
 Amethyst Skin Concept Art by Allison Yu
 -
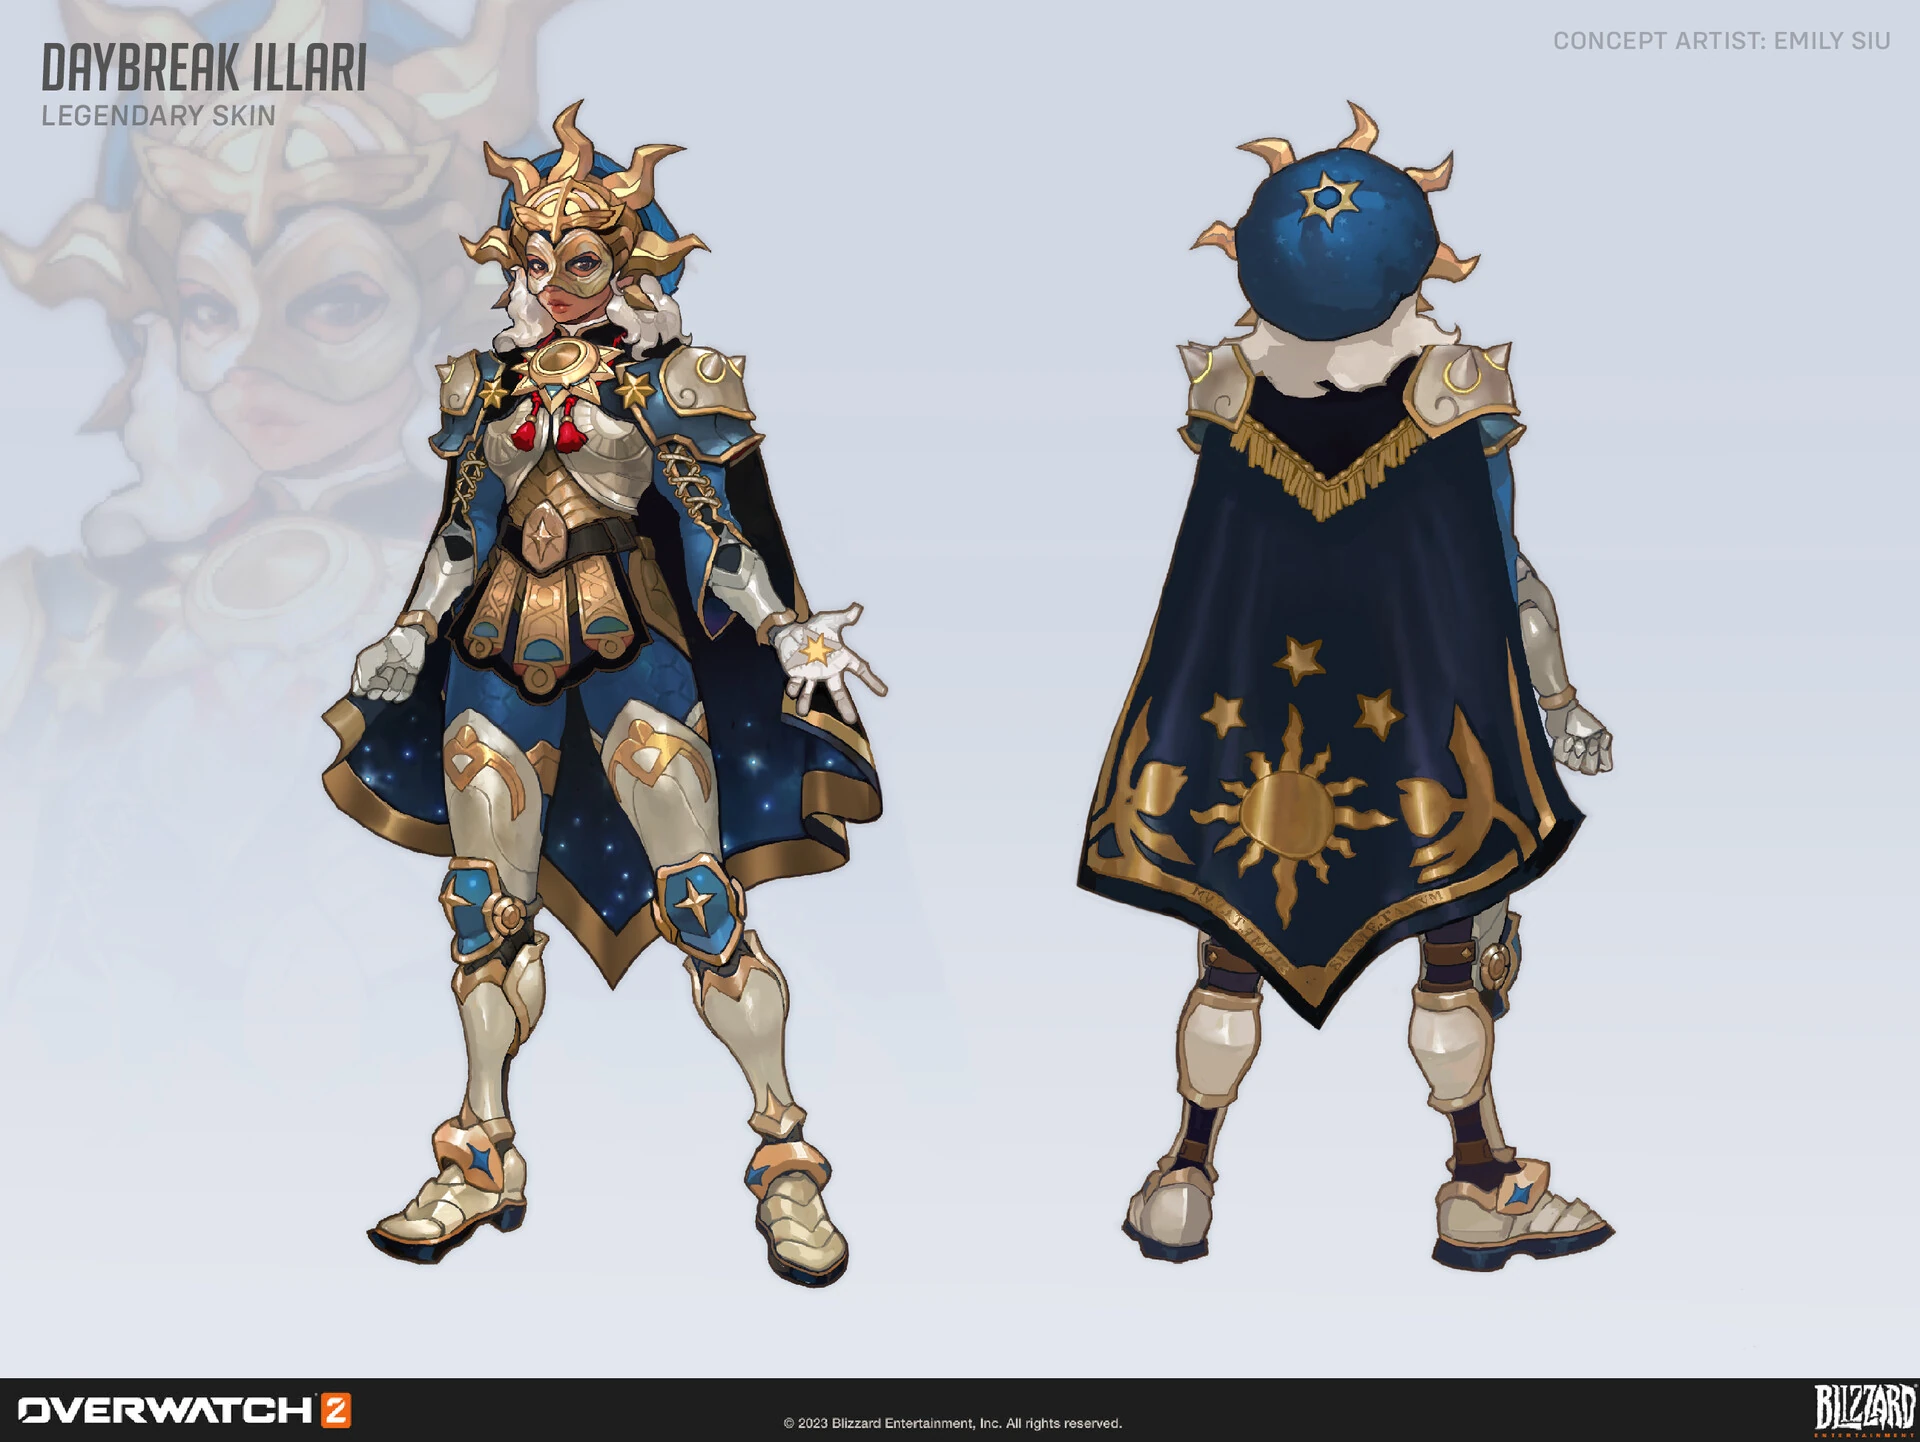
 Daybreak Skin Concept Art by Emily Siu
 -
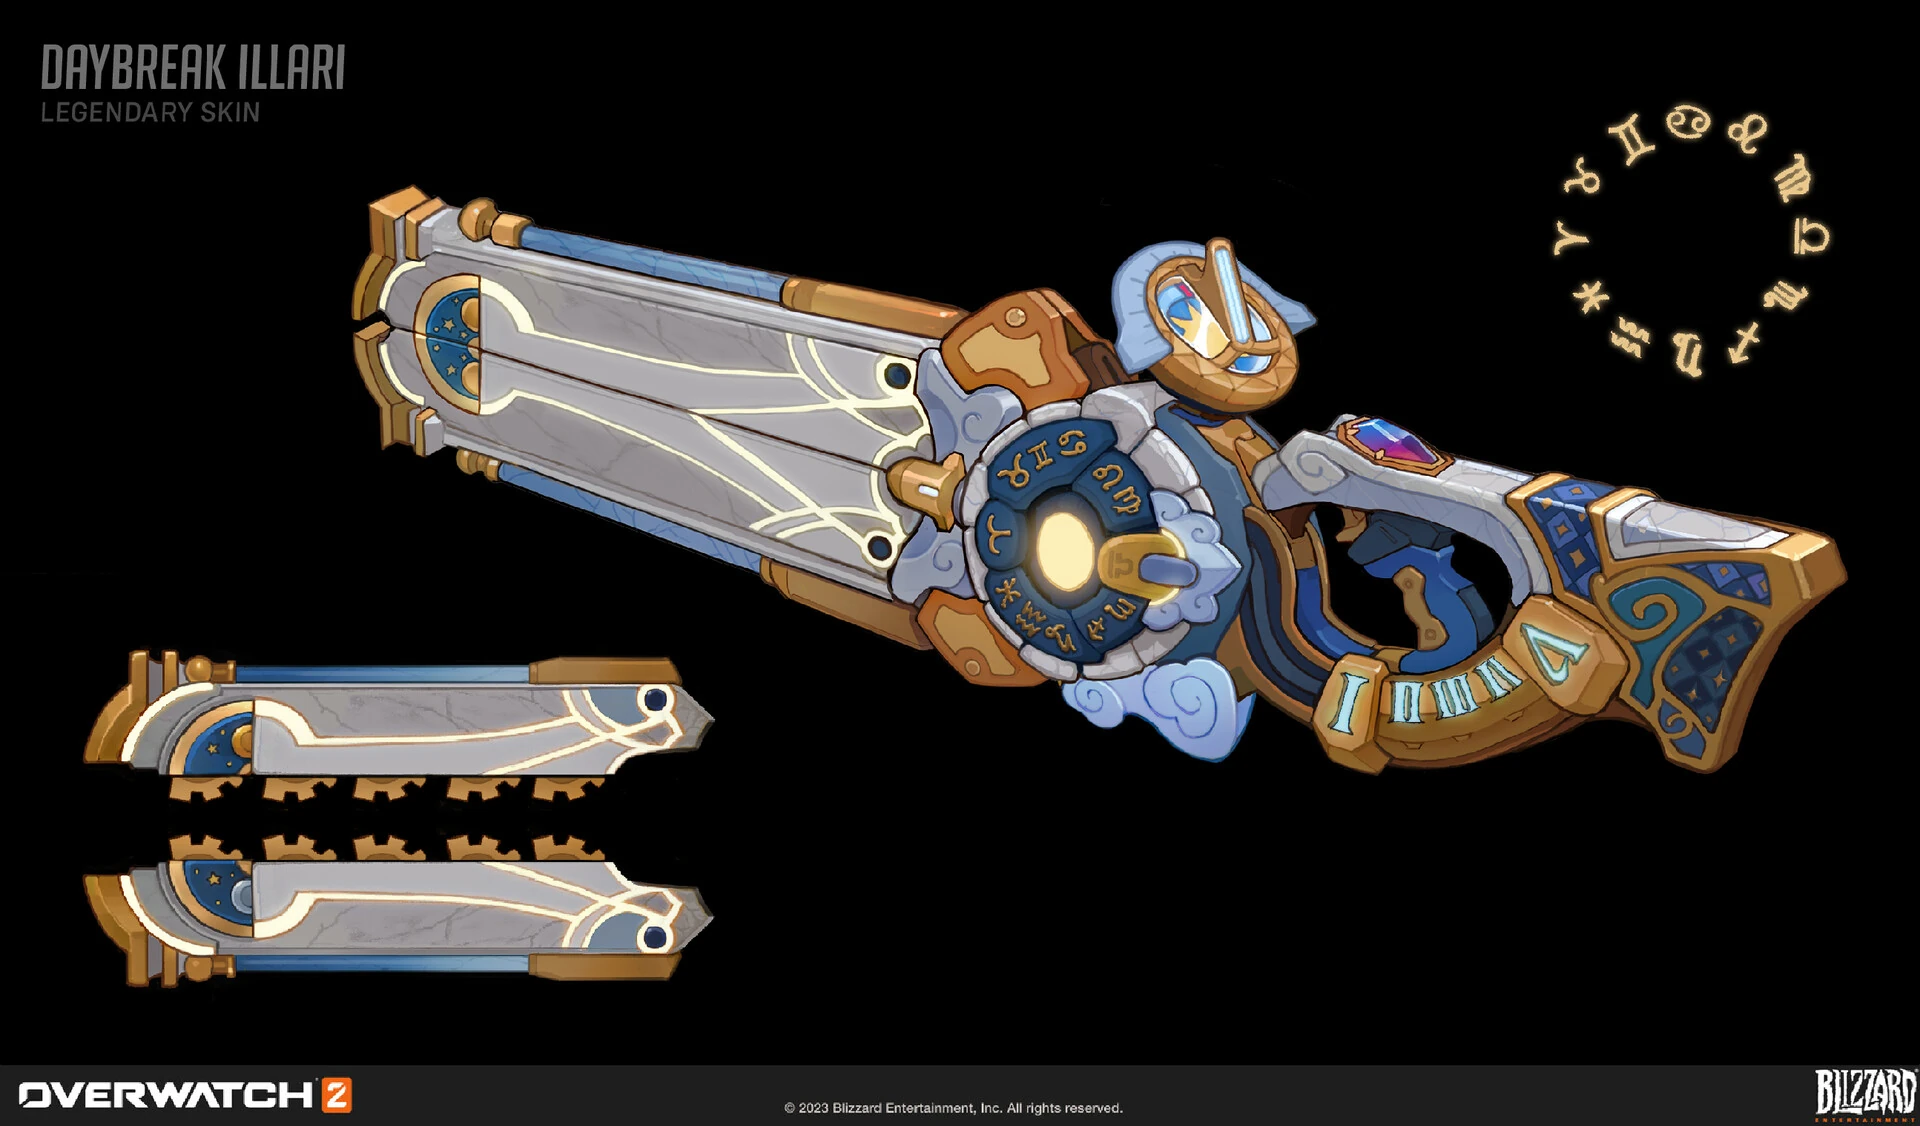
 Daybreak Skin Weapon Concept Art by Emily Siu
 -
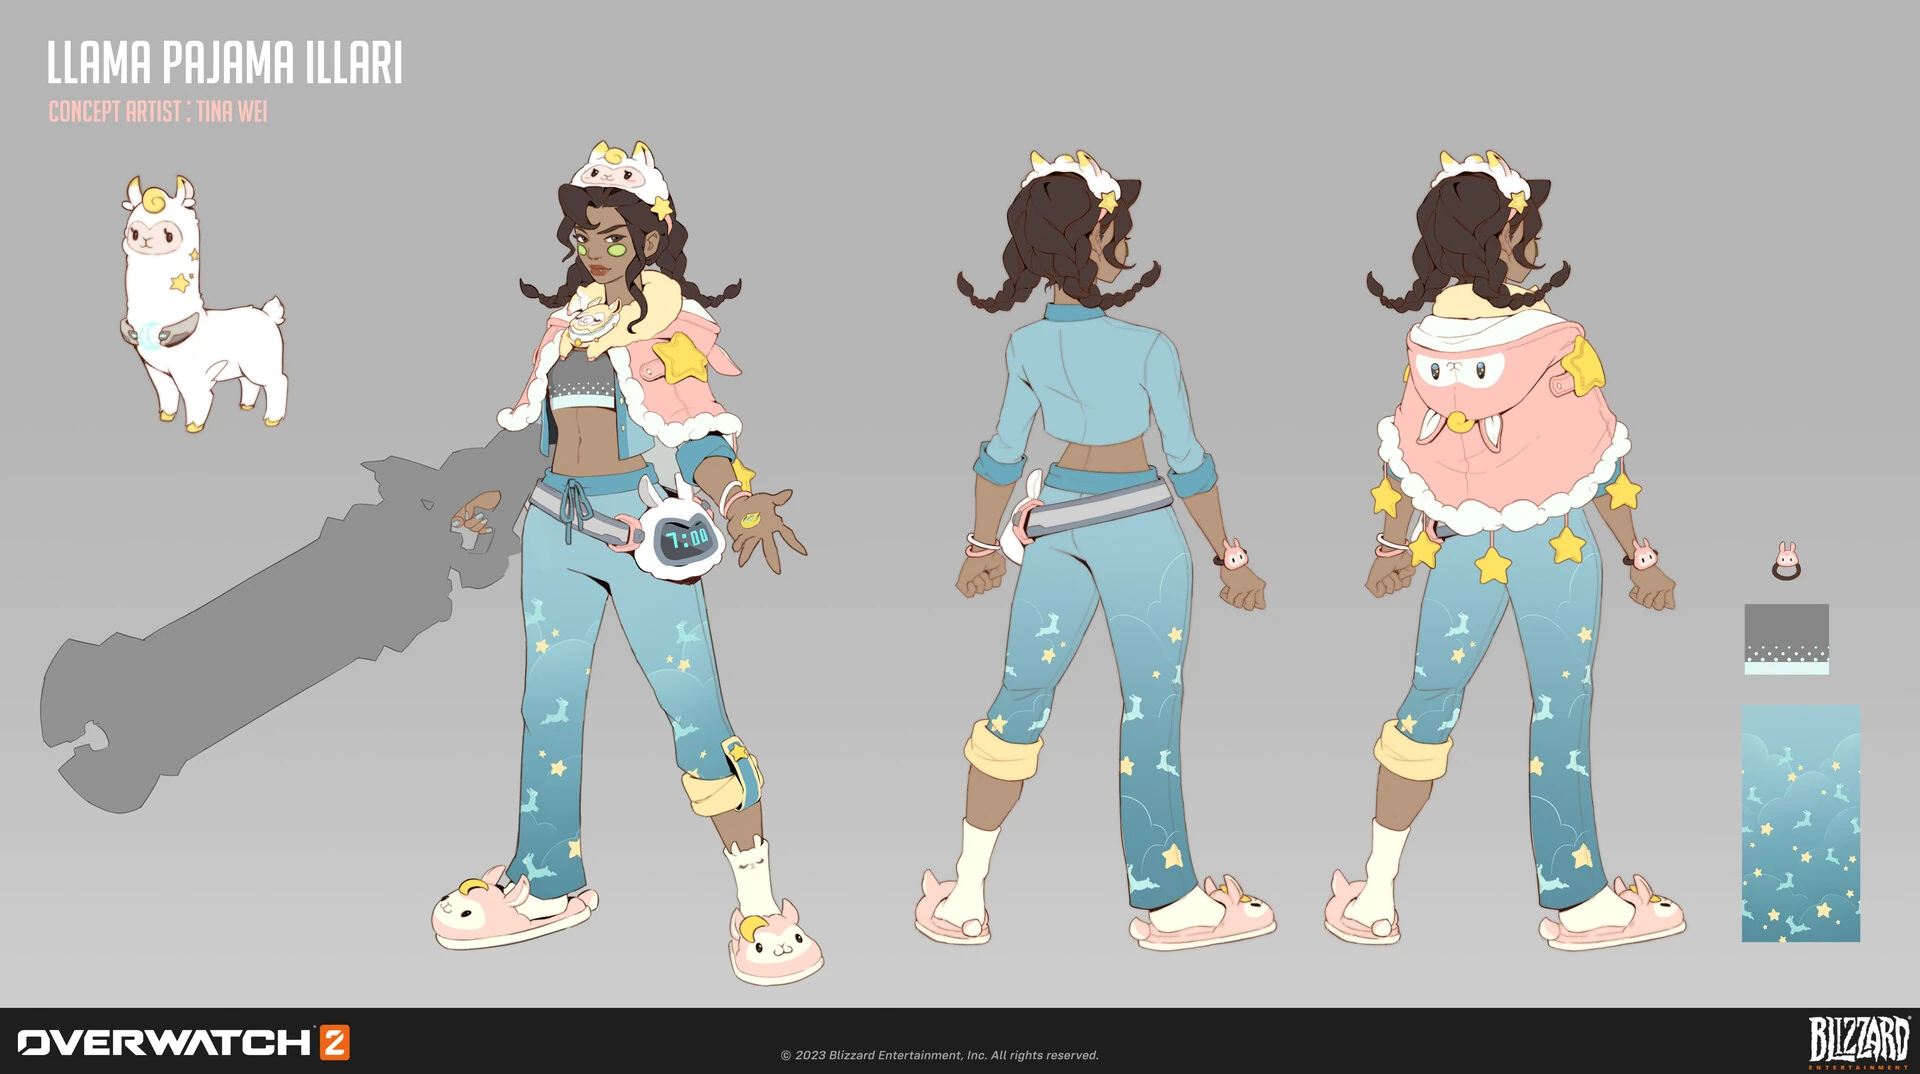
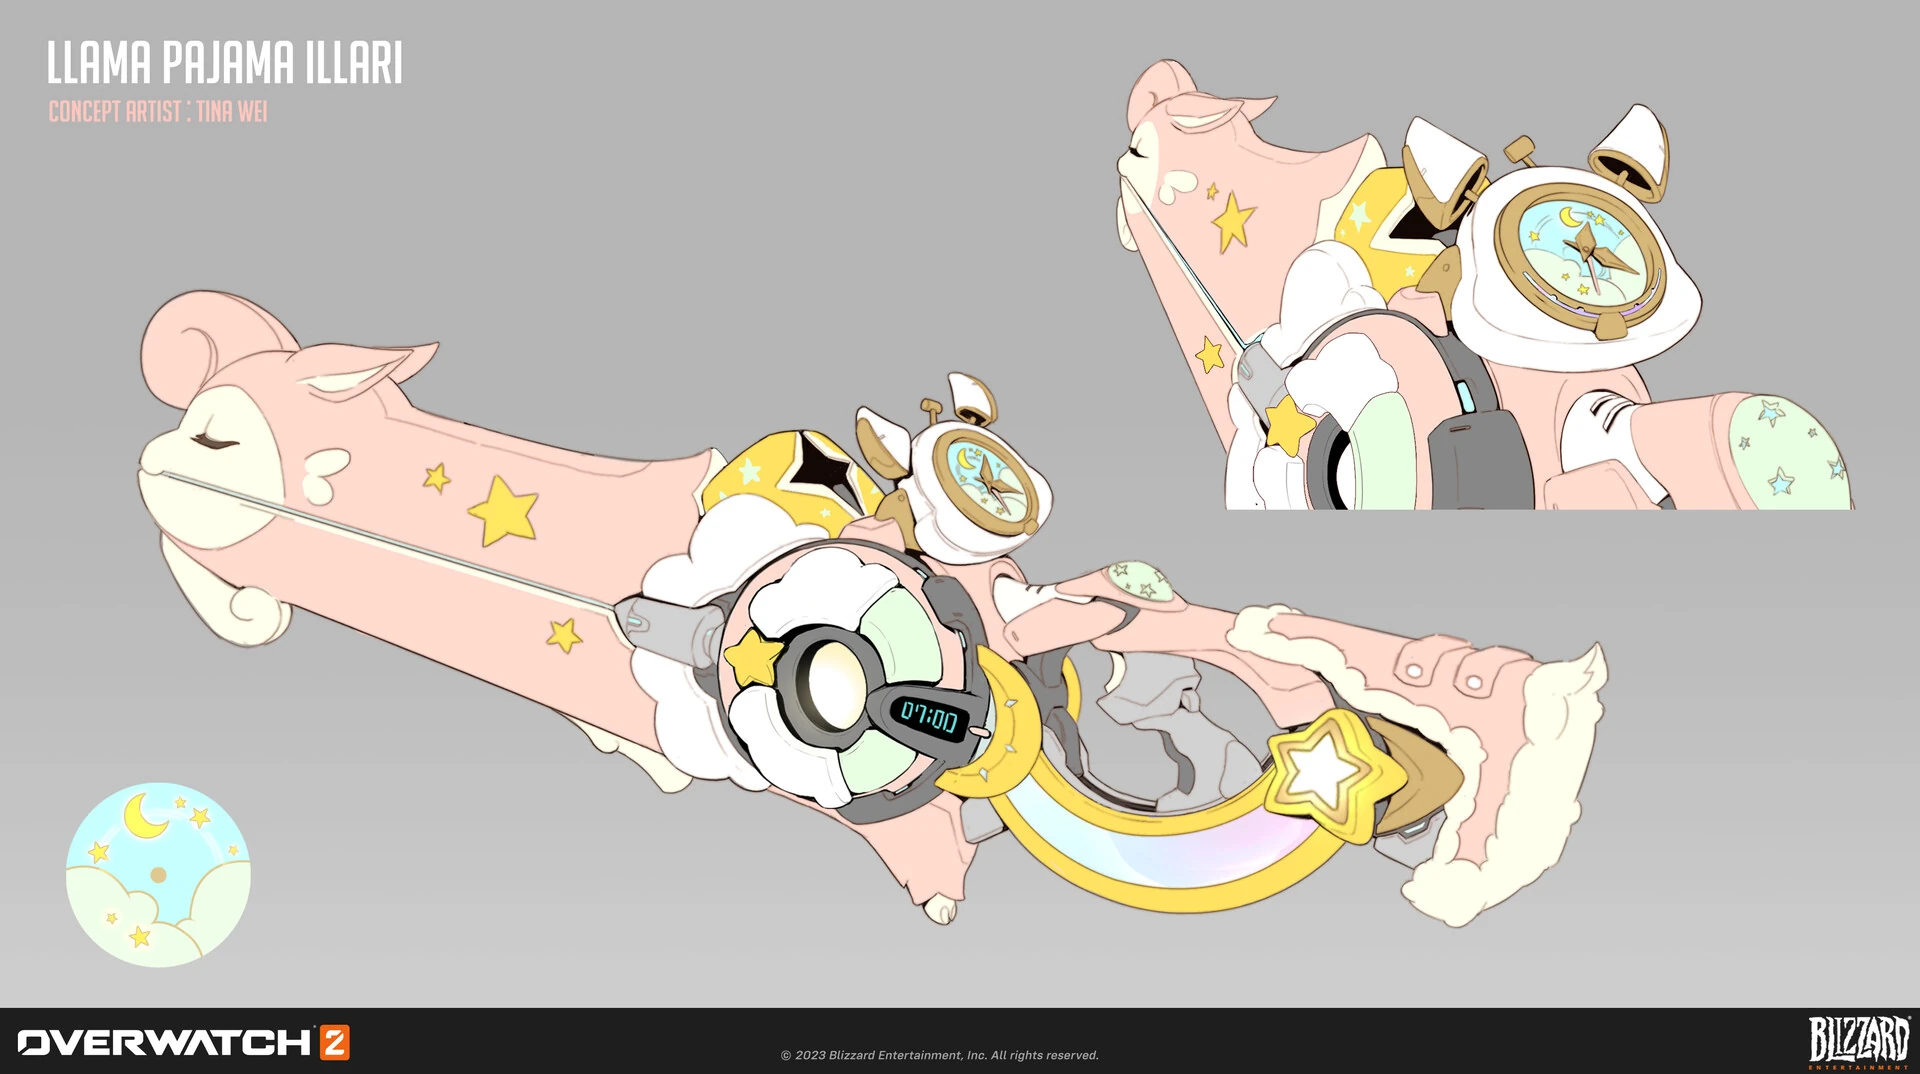
 Llama Pajamas Skin Concept Art by Tina Wei
 -
 Llama Pajamas Skin Weapon Concept Art by Tina Wei
 -
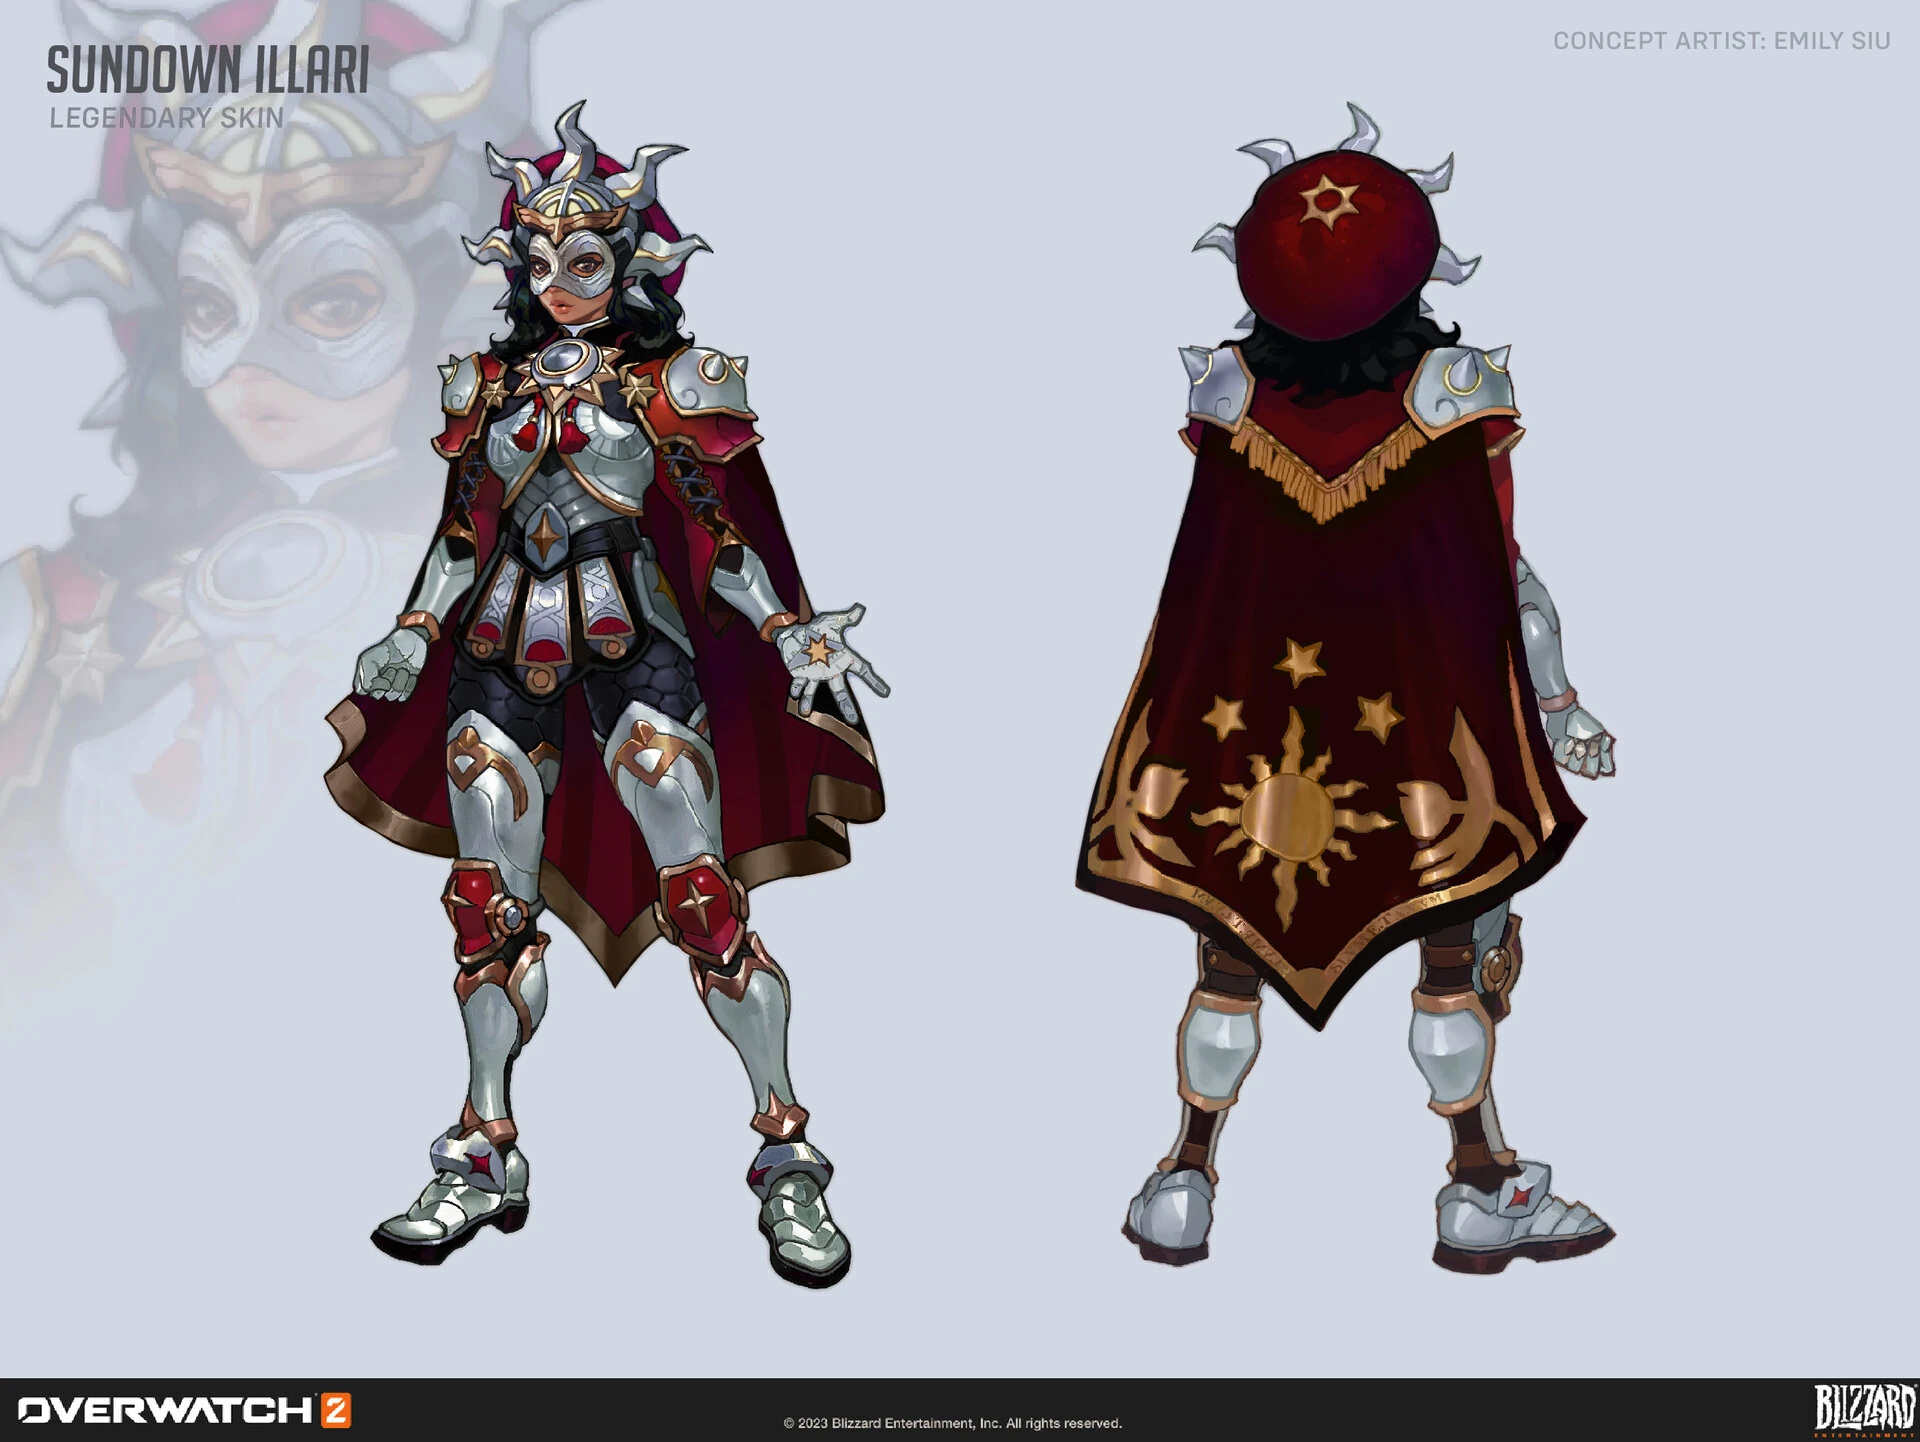
 Sundown Skin Concept Art by Emily Siu
 -
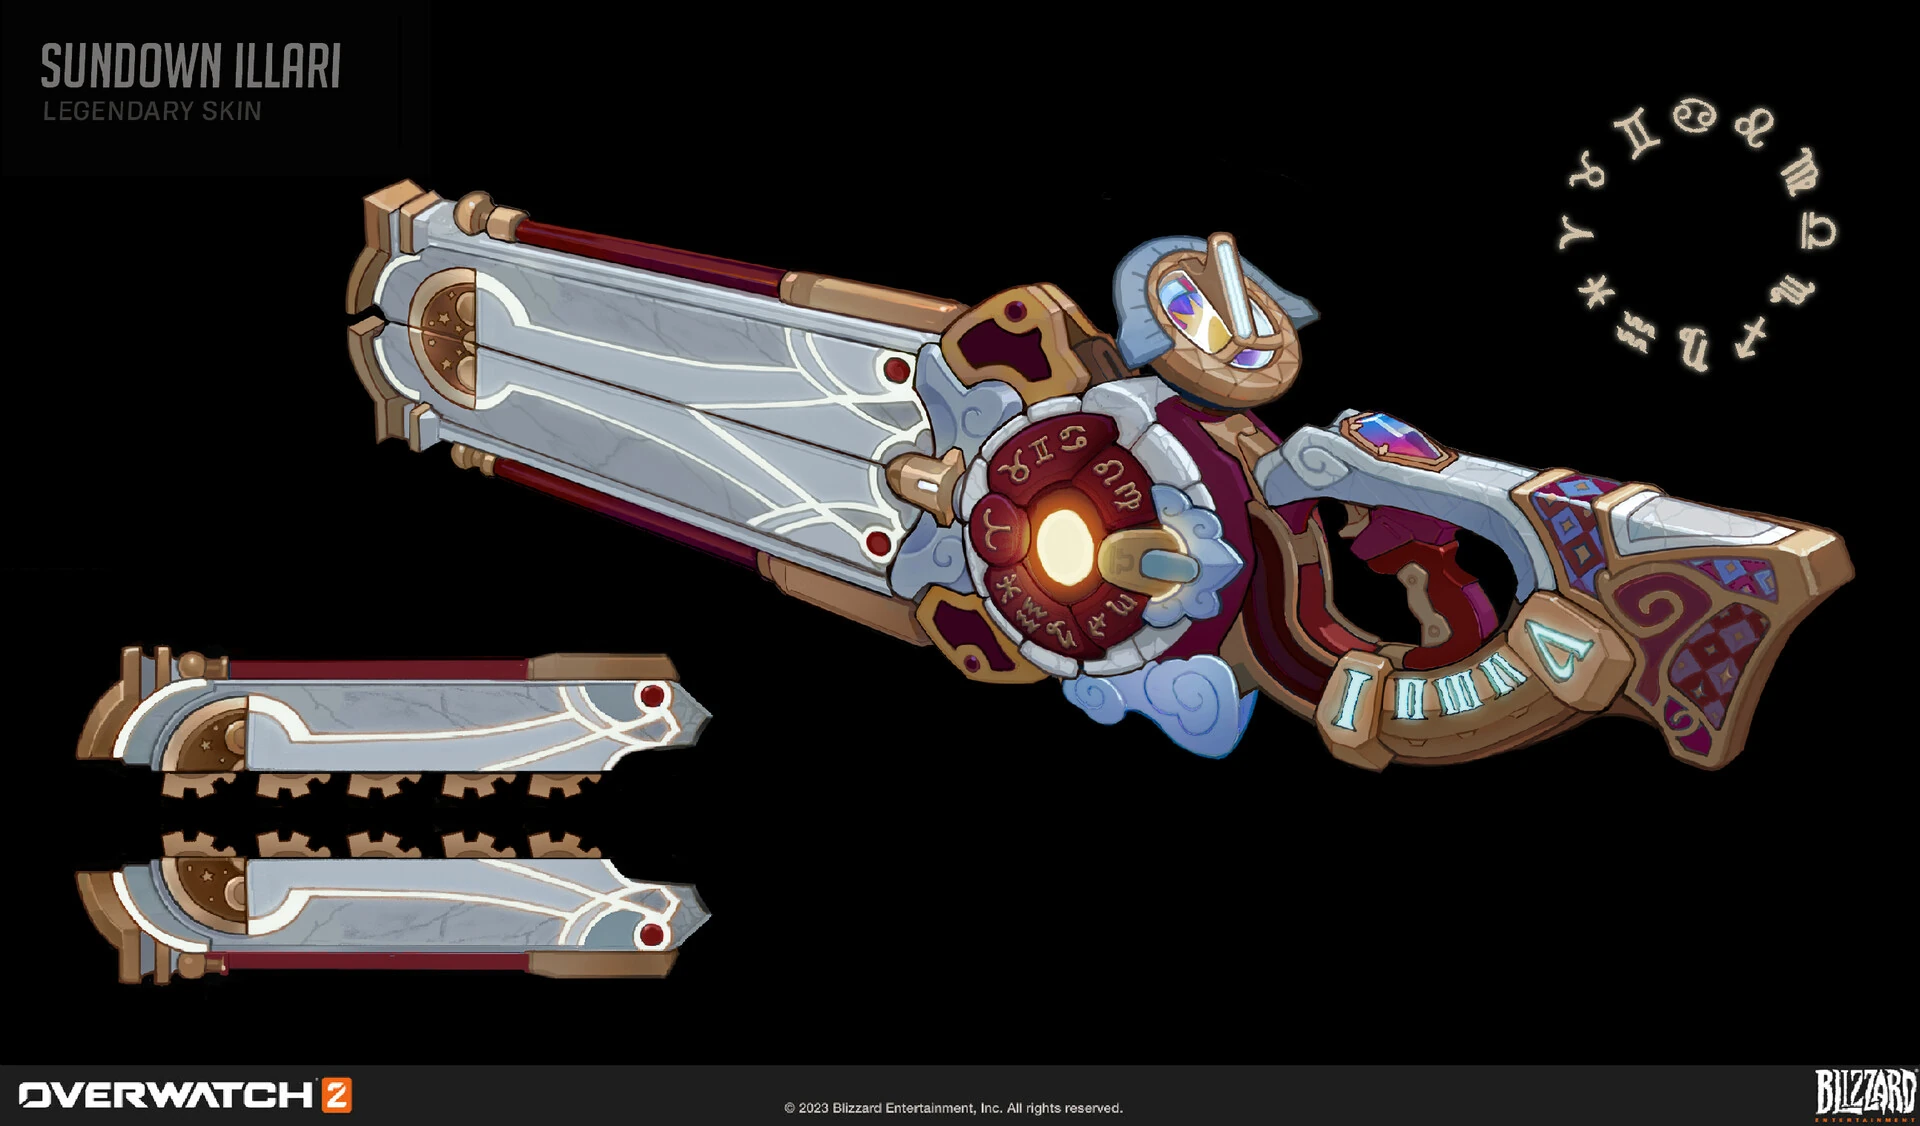
 Sundown Skin Weapon Concept Art by Emily Siu
 -
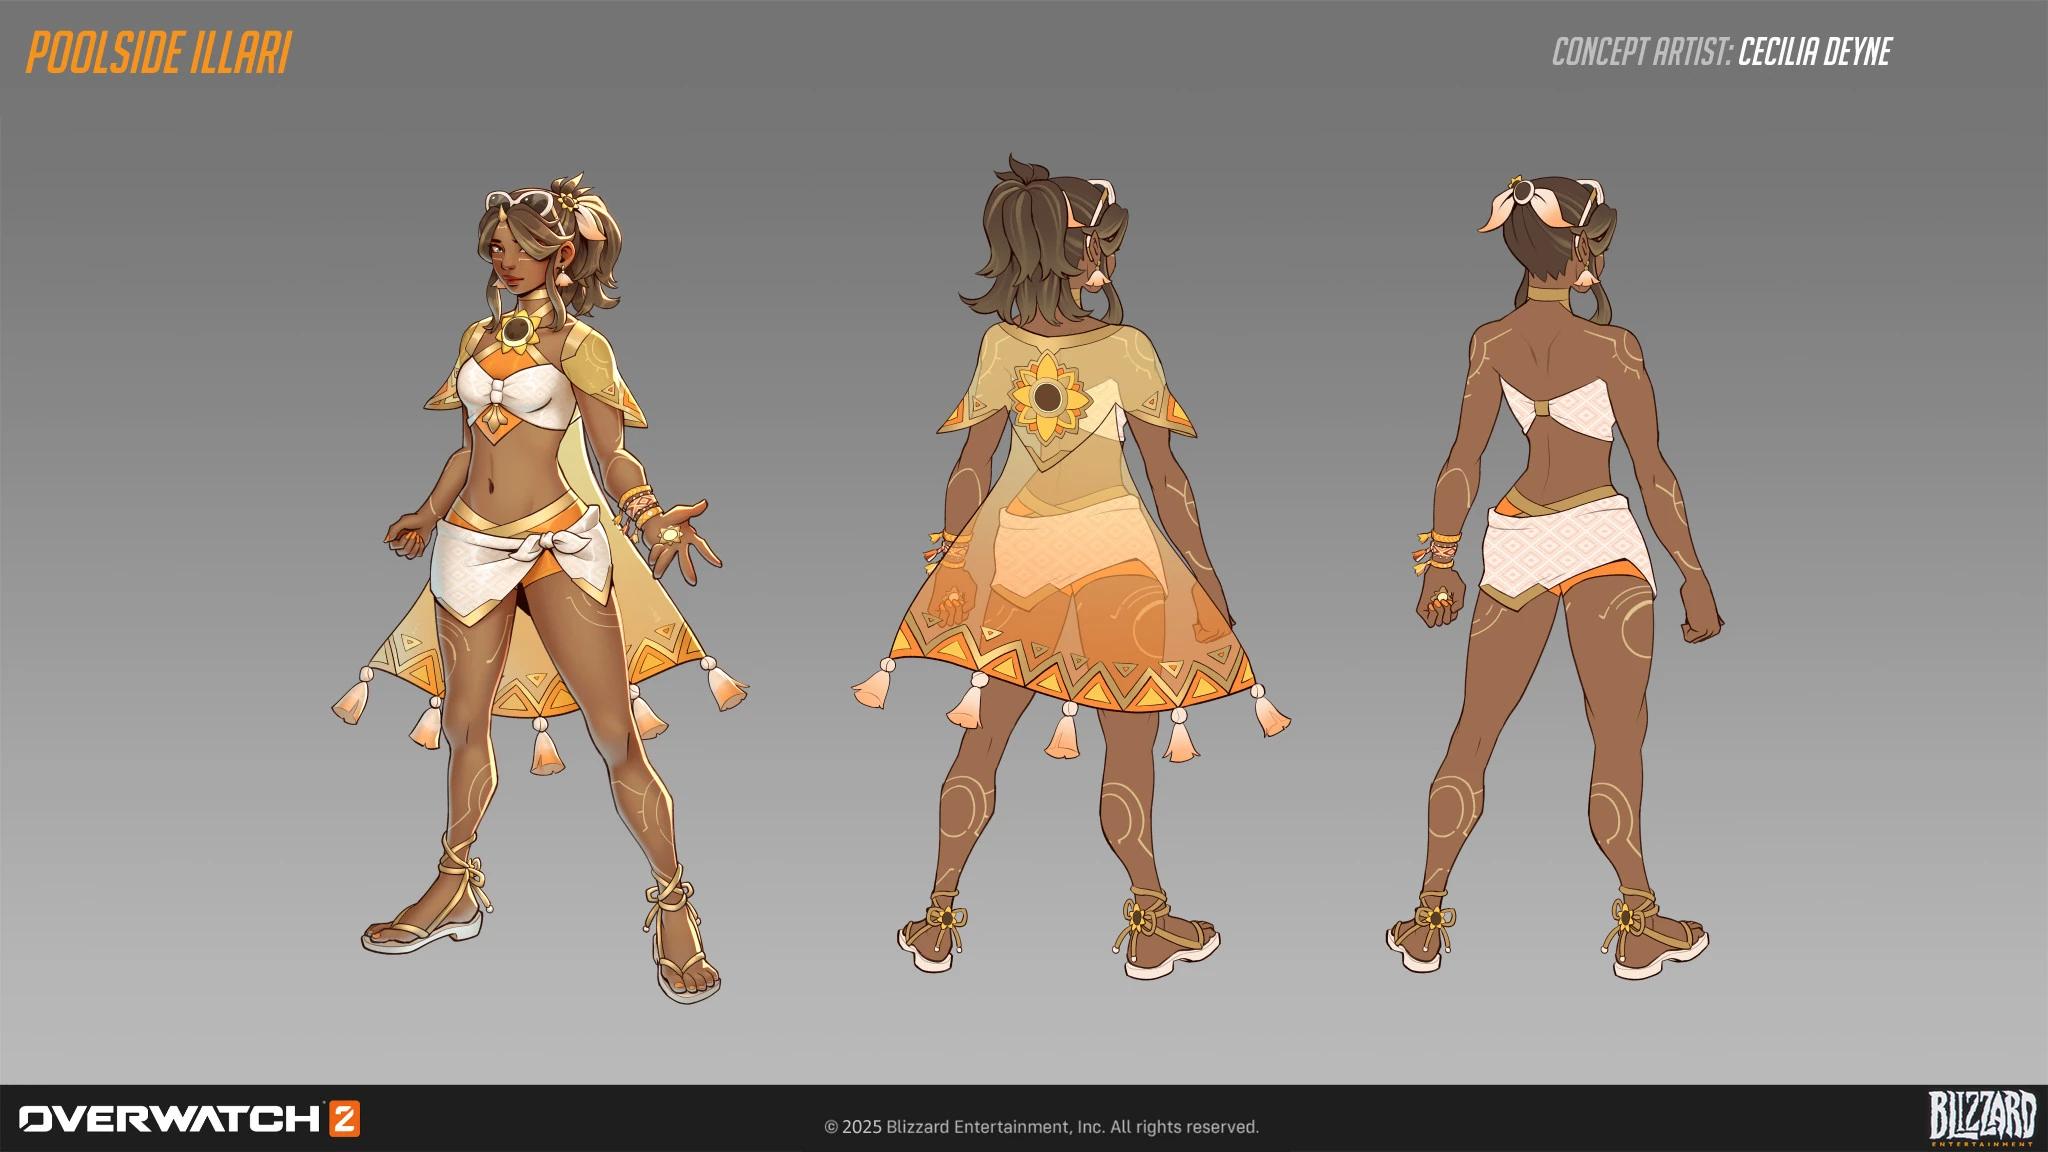
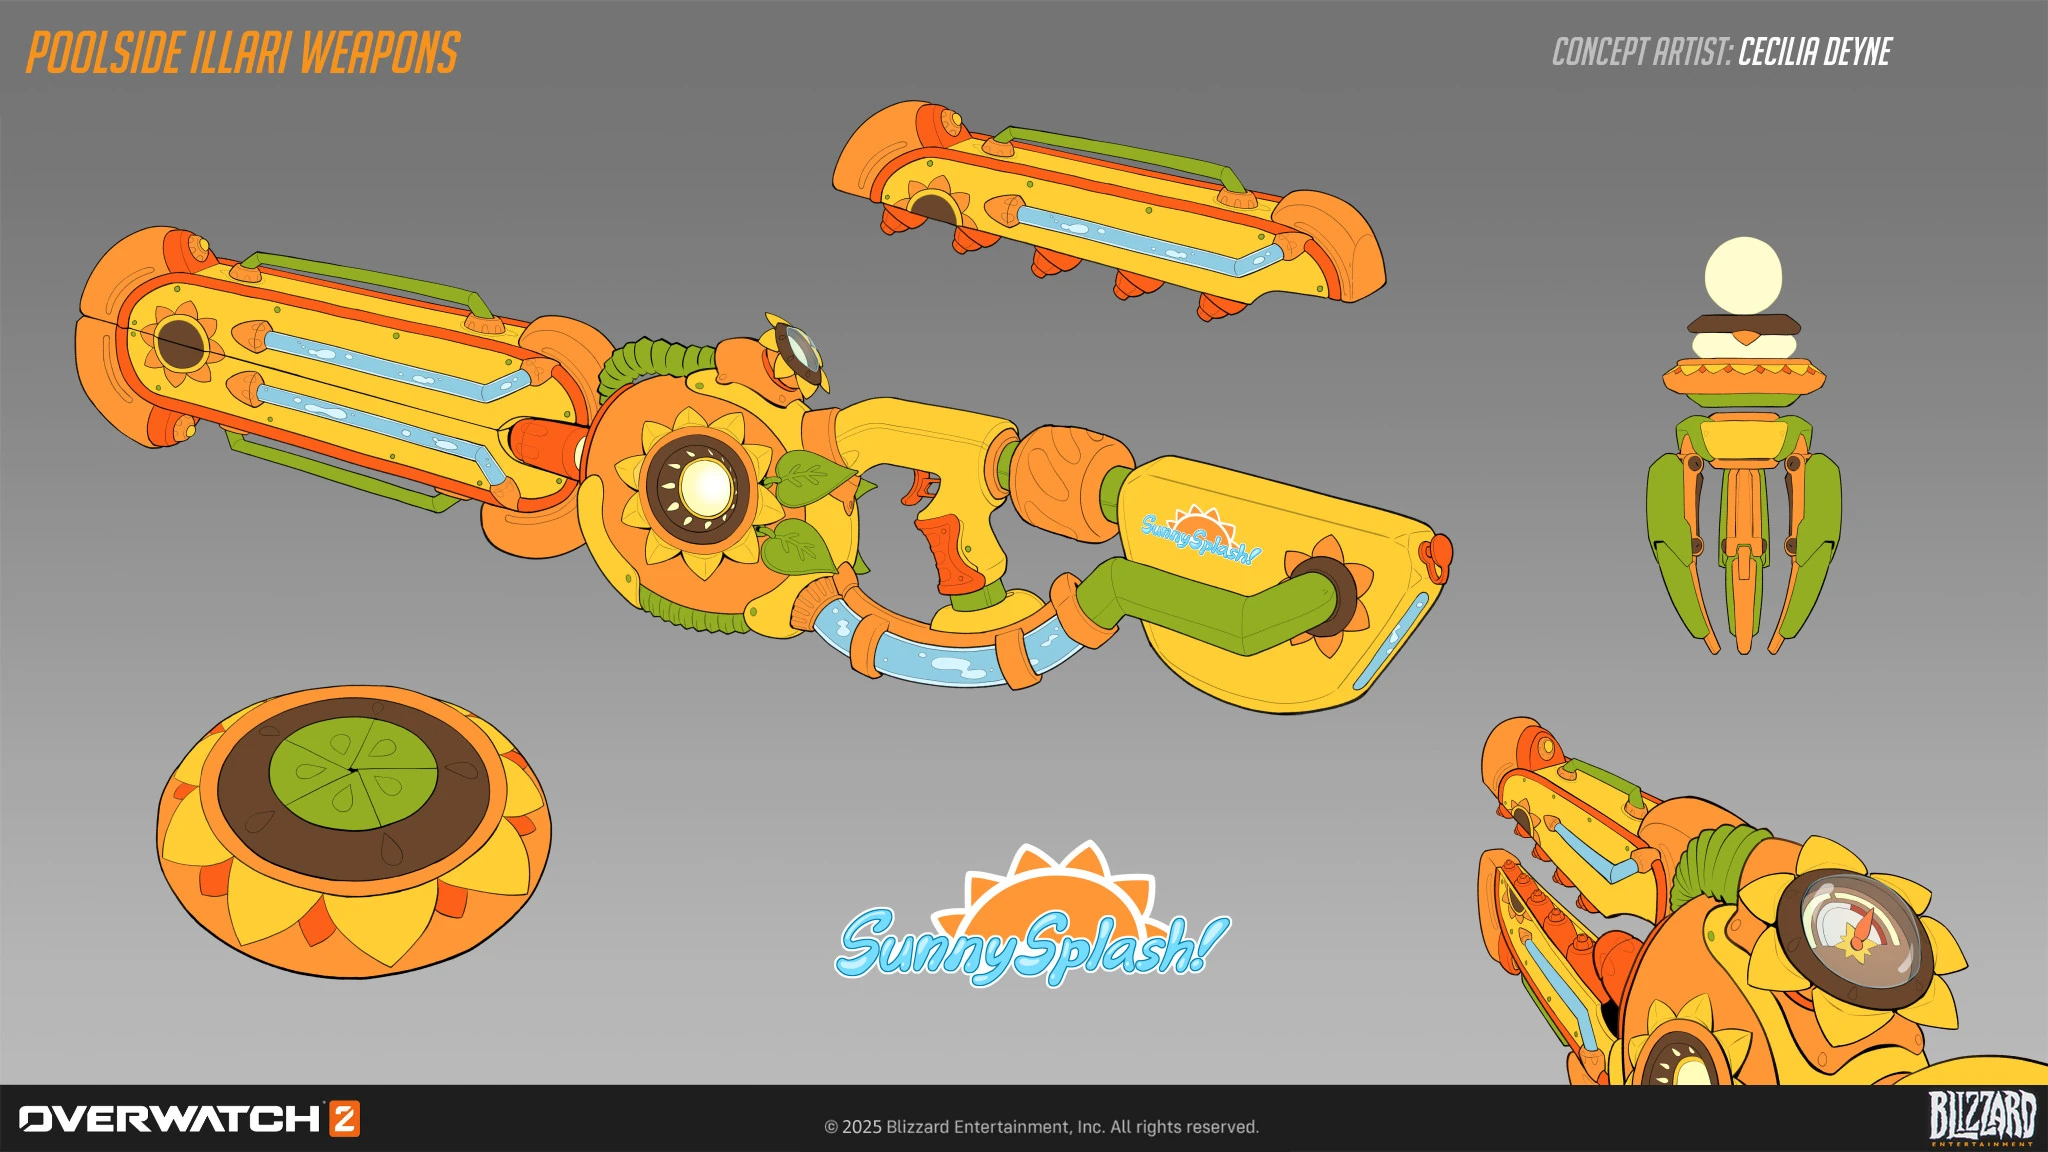
 Poolside Skin Concept Art by Cecilia Deyne
 -
 Poolside Skin Weapon Concept Art by Cecilia Deyne
Videos
Balance Change Logs
- For more information, see Patch Notes.
- Base projectile size reduced from 0.05 to 0.
- Hitscan Global Projectile Size Bonus still applies (0.07).
![]() Summer Solstice – Minor Perk
Summer Solstice – Minor Perk
- Attack speed gained reduced from 30% to 20%.
![]() Sunburn – Major Perk
Sunburn – Major Perk
- Damage reduced from 70 to 50.
- Secondary Fire Maximum resource reduced from 3.5 to 3 seconds.
![]() Solar Rifle – Secondary Fire
Solar Rifle – Secondary Fire
- Resource regeneration reduced from 43 to 35.
- Cooldown increased from 7 to 8 seconds.
![]() Solar Flare – Major Perk
Solar Flare – Major Perk
- No longer costs resource.
- Now has a 10-second cooldown.
- Maximum damage increased from 70 to 75.
- Minimum damage increased from 20 to 25.
- Projectile size reduced from 0.75 to 0.45.
![]() Solar Flare – Major Perk
Solar Flare – Major Perk
- Resource cost reduced from 100% to 50% of max energy.
- Healing amount no longer scales with energy spent.
- Explosion healing is now a flat 100 healing.
![]() Solar Power - Major Perk
Solar Power - Major Perk
- Removed.
![]() Solar Flare - Major Perk
Solar Flare - Major Perk
- Press Primary Fire while using Solar Rifle's healing beam to consume all energy, healing allies in front of Illari for up to 120 healing.
![]() Solar Rifle - Secondary Fire
Solar Rifle - Secondary Fire
- Range increased from 15 to 20 meters.
- Weapon recharging is no longer paused while using Quick Melee.
- Additionally provides 30% increased attack speed while Captive Sun is active.
- Hero Perks
- Healing Pylon builds 300% faster and its cooldown is reduced by 1.5 seconds.
- Illari's flight time during Captive Sun is increased by 3 seconds and her flight speed is increased by 20%.
- Fully charged Solar Rifle hits grant 12.5% of your maximum solar energy, overfilling up to 50%.
- Outburst ignites enemies, dealing an additional 70 damage over 3 seconds.
- Secondary Fire Maximum resource increased from 3 to 3.5 seconds.
- Global Projectile Size Bonus
- Hitscan radius large reduced from 0.08 to 0.07 meters.
- Hero Updates
- Explosion radius increased from 8 to 10 meters.
- Maximum damage reduced from 75 to 70.
- Minimum damage reduced from 25 to 20.
- Maximum ammo reduced from 16 to 14.
- Projectile environment collision size reduced from 0.15 to 0 meters.
- Allies no longer see the "Destroyed" UI when Healing Pylon breaks.
- Damage increased from 10 to 25.
- Healing per projectile increased from 30 to 40.
- Pylon healing is now only half as effective when targeting Illari.
- Max health increased from 100 to 125.
- Primary fire recovery increased from 0.2 to 0.25 seconds.
- Secondary fire heal-per-second increased from 105 to 115.
- Primary fire recovery time reduced from 0.3 to 0.2 seconds.
- Maximum charge time reduced from 0.7 to 0.65 seconds.
- Cooldown decreased from 8 to 6 seconds.
- Cooldown when destroyed by enemies decreased from 15 to 12 seconds.
- Sunstruck explosion damage increased from 100 to 160.
- Sunstruck explosion now has damage falloff again, reducing damage by up to 25%.
- General updates
Most damage-dealing projectile sizes have been increased by a new global modifier added to their base size.
- +0.05 meters for hitscan projectiles with a high rate of fire or spread (e.g., Tracer's Pulse Pistols or Reaper's Hellfire Shotguns).
- +0.08 meters for hitscan projectiles that are more precise (e.g., Cassidy's Peacekeeper or Soldier:76's Heavy Pulse Rifle).
- +0.05 meters for travel time projectiles that are shotguns or have a very high rate of fire (e.g., Roadhog's Scrap Gun or Ramattra's Void Accelerator).
- +0.10 meters for travel time projectile with a speed greater than 50 meters per second (e.g., Zenyatta's Destruction Orb).
- +0.15 meters for travel time projectile with a speed less than or equal to 50 meters per second (e.g., Pharah's Rocket Launcher).
- Very large projectiles with a base size greater than 0.5 meters have been excluded from these increases (e.g., Orisa's Energy Javelin or Reinhardt's Fire Strike).
Hero combined HP (base health/armor/shields) increased by 15-25%.
- 150-175 HP heroes increased by 25 HP.
- 200-300 HP heroes increased by 50 HP.
- 300+ HP (Tanks) increased by 75-100 HP.
- Each hero's precise health increases are listed in their patch notes below.
Ultimate Charge
- All Ultimate ability costs increased by 10%.
Regenerative Passive for All Heroes
- All heroes now regenerate 20 health per second after 5 seconds of not taking damage.
Support Role Passive
- Now reduces the delay before regeneration begins by half (2.5 seconds).
Quick Melee
- Damage increased from 30 to 40.
- Hero updates
- Health increased from 200 to 250.
- Primary fire charge gain is no longer paused by secondary fire, nor channeling Captive Sun.
- Ammo increased from 14 to 16.
- Now fully refills secondary fire resource and resets overheated status.
- Removed the damage falloff penalty on the Sunstruck explosion.
- Primary fire projectile size reduced from 0.1 to 0.05 meters.
- Base health reduced from 75 to 50 (total 100 HP).
- Cooldown when destroyed increased from 12 to 15 seconds.
- Secondary fire healing per second decreased from 120 to 105.
- Heal decreased from 40 to 30.
- Shields decreased from 75 to 50.
- Projectile Impact and explosion are now blocked by barriers.
- Projectile size decreased from 1.5 to 0.75 meters.
- Sunstruck duration decreased from 7 to 6 seconds.
- Illari has been added to the line-up.
![]() Solar Rifle (Primary Fire)
Solar Rifle (Primary Fire)
- Long-range auto-charging rifle.
![]() Solar Rifle (Secondary Fire)
Solar Rifle (Secondary Fire)
- Medium-range healing beam that consumes solar energy.
![]() Outburst (Ability 1)
Outburst (Ability 1)
- Launches you in the direction you are moving, knocking back enemies. Hold jump to go higher.
![]() Healing Pylon (Ability 2)
Healing Pylon (Ability 2)
- Deploy a pylon that heals allies.
![]() Captive Sun (Ultimate)
Captive Sun (Ultimate)
- Fire an explosive ball of solar energy. Enemies hit are slowed and explode after taking significant damage.
- Primary fire maximum damage reduced from 75 to 70. (undocumented)
- Primary fire minimum damage reduced from 25 to 20. (undocumented)
- Cooldown increased from 12 to 14 seconds. (undocumented)
Note: The damage nerf was reverted in both formats on January 8, 2026.
- Max damage increased from 70 to 75.
- Min damage increased from 20 to 25.
- Cooldown reduced from 14 to 12 seconds.
References
- ↑ 1.0 1.1 1.2 Illari, PlayOverwatch. Accessed on 2023-09-12
- ↑ Cite error: Invalid
<ref>tag; no text was provided for refs namedInvasionEmail - ↑ 3.0 3.1 Cite error: Invalid
<ref>tag; no text was provided for refs namedIllariQuotes - ↑ 4.0 4.1 4.2 4.3 4.4 2023-09-28, CATCHING SUNLIGHT - PROTOTYPING ILLARI’S ABILITIES WITH THE HERO DESIGN TEAM. PlayOverwatch, accessed on 2023-09-29
- ↑ 2023-05-16, Overwatch 2's Update Roadmap Features New Characters, Story Missions, And Reworks. GameSpot, accessed on 2023-05-20
- ↑ 6.0 6.1 2023-06-30, DIRECTOR’S TAKE – FLASHPOINT, CINEMATICS, & THE DAWN OF A NEW HERO. Blizzard Entertainment, accessed on 2023-07-19
- ↑ 2023-06-12, INTRODUCING OUR MOST EXCITING SEASON YET... OVERWATCH 2: INVASION. Blizzard Entertainment, accessed on 2023-06-13
- ↑ 2023-06-19, Overwatch 2 Shares Better Look at New Support Hero. Microsoft Start, accessed on 2023-06-20
- ↑ 2023-07-10, Who could be the new Overwatch 2 support hero?. Dot Esports, accessed on 2023-07-19
- ↑ 2023-06-25, Some Overwatch 2 Fans Think They've Figured Out the New Hero's Name. MSN, accessed on 2023-06-27
- ↑ 2023-08-07, A new Illari (next support) leak was found on the Xbox website!. Reddit, accessed on 2023-08-09
- ↑ 2023-08-08, Overwatch 2: Invasion | Official Trailer | New Support Hero, Flashpoint, and More. YouTube, accessed on 2023-08-09
| Heroes in Overwatch
| ||||||||
|---|---|---|---|---|---|---|---|---|
Tank |
 Bruiser |
|||||||
 Initiator |
||||||||
 Stalwart |
||||||||
Damage |
 Flanker |
|||||||
 Recon |
||||||||
 Sharpshooter |
||||||||
 Specialist |
||||||||
Support |
 Medic |
|||||||
Survivor |
 Illari |
|||||||
 Tactician |
||||||||


.png)