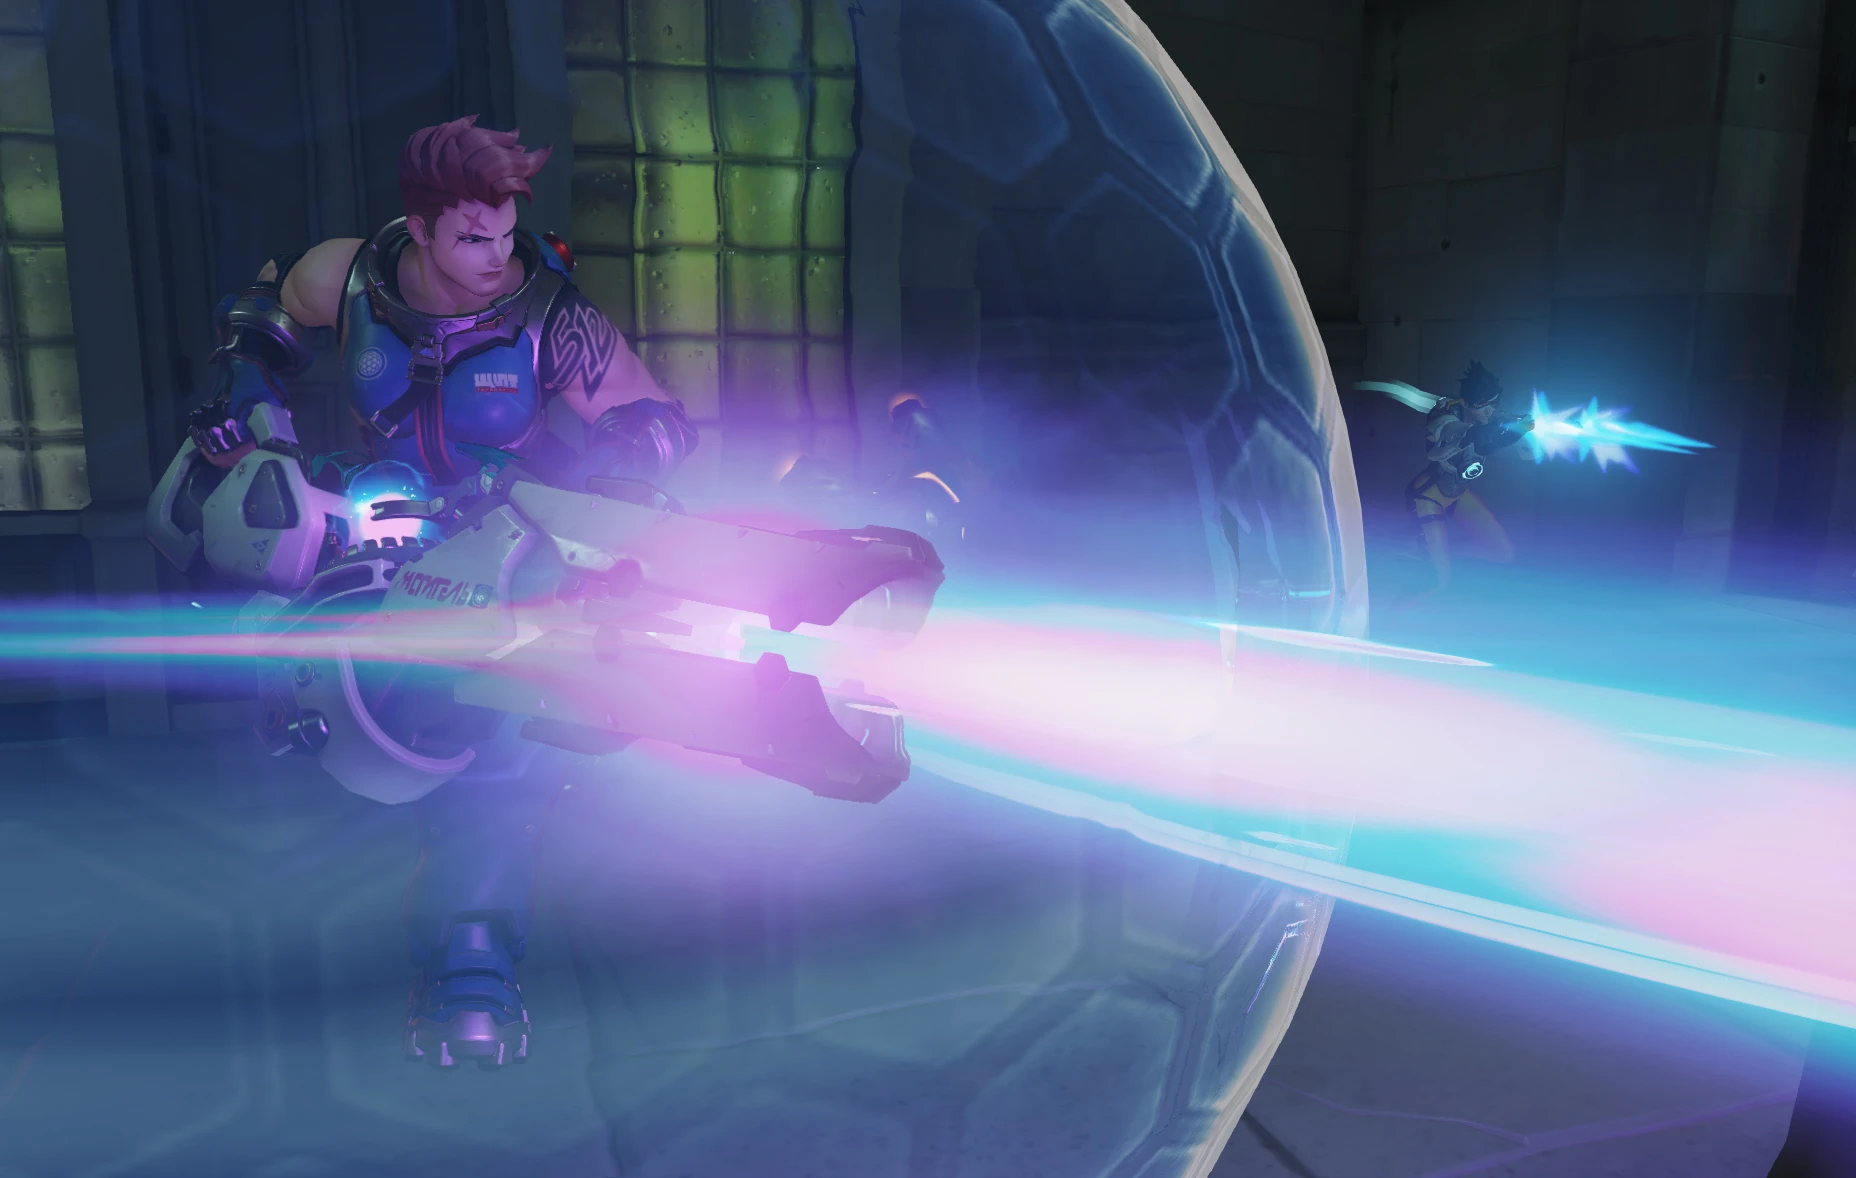
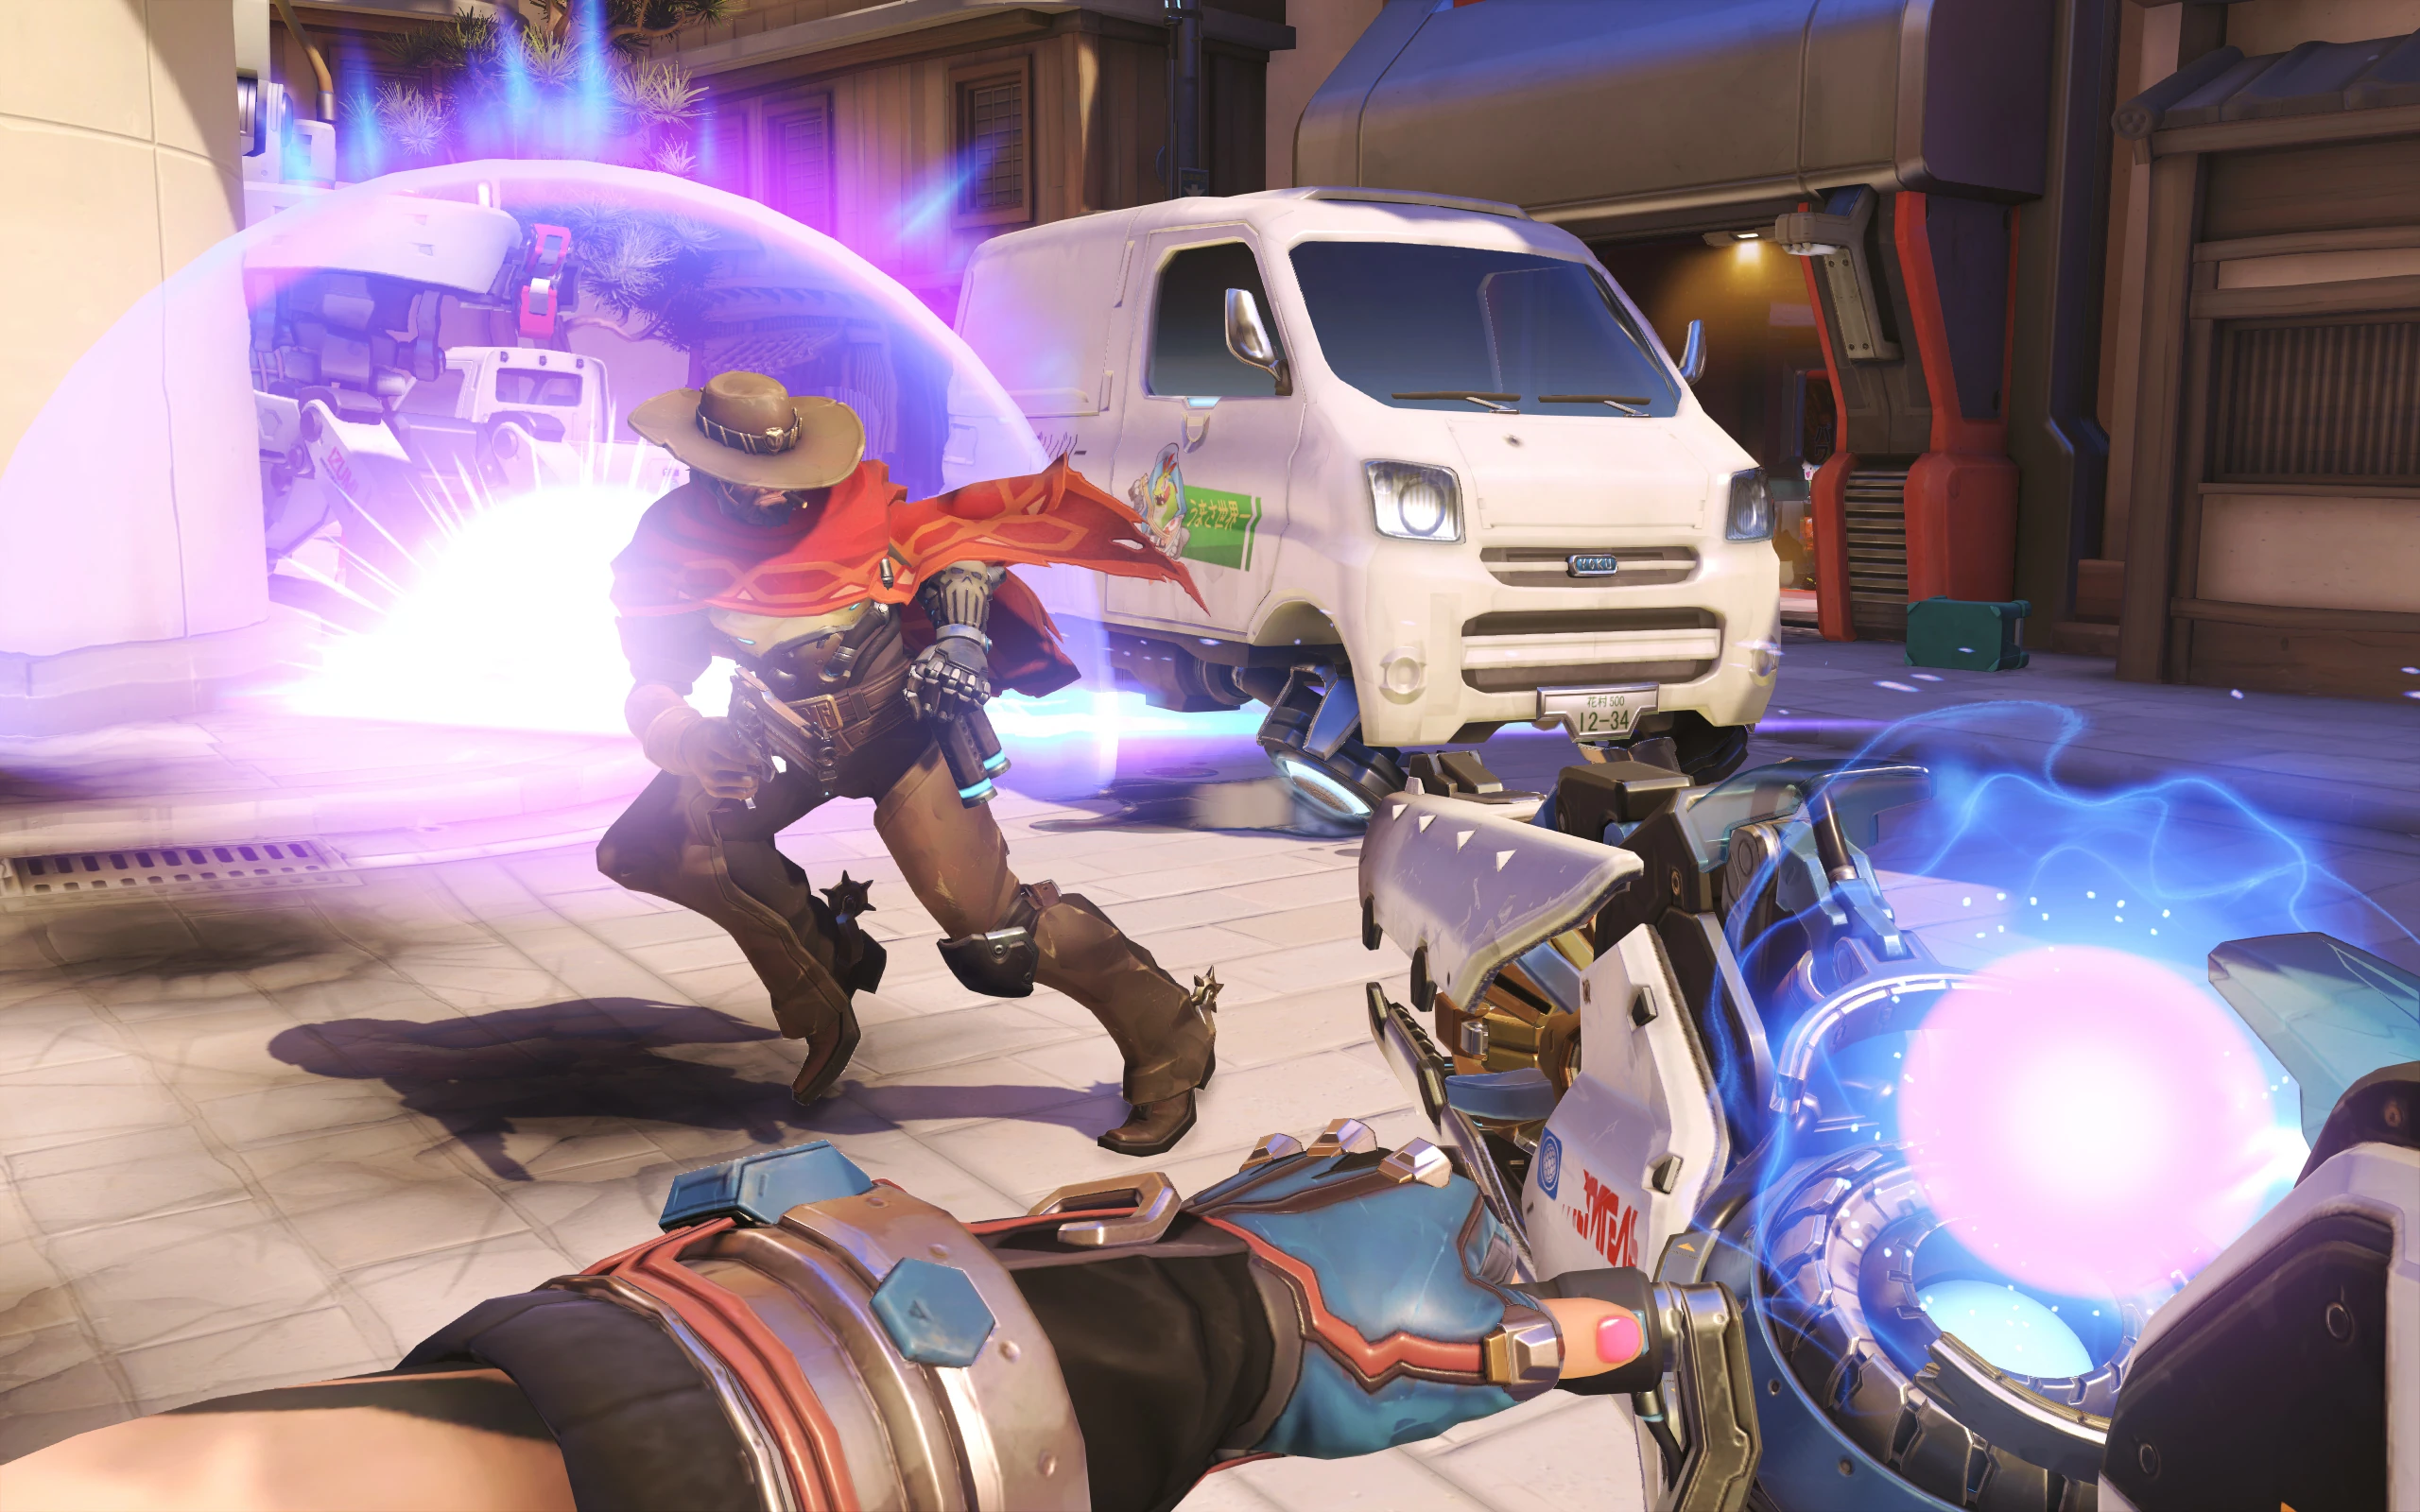
Deploying powerful personal barriers that convert incoming damage into energy for her massive Particle Cannon, Zarya is an invaluable asset on the front lines of any battle.
Weapons with a lower 1.5x headshot modifier ignore this damage reduction completely.
The effectiveness on abilities that deal critical damage through other means than headshots is ambiguous: Earthshatter and Overrun are affected by the damage reduction, but Virus and Volatile Chaingun's forced critical hits against burning targets are not.
The reduction stacks additively with other modifiers affecting damage taken.
Energy
Type
Passive Ability
Damage blocked by barriers increases Particle Cannon damage.
Amplification Matrix affects all damage dealt, if the projectile passes through it. Splash damage alone going through is not amplified.
Self-damage is blocked by Particle Barrier, but does not generate energy.
Keywords:
area of effect✱
Affects targets in a spherical area.
self-damage
Explosion that can damage the attacker.
travel time
Projectile attacks and healing with travel time. Can be Negated.
Example video:
Special Abilities
Particle Barrier
LSHIFT
11 seconds, 2 charges
Type
Ability
Effect Type
Self
Create a damage barrier around you.
Barrier health:
225
Duration:
2.25 seconds
Radius:
1.5 meters
attached
This Bubble or Barrier cannot be applied to a hero with another active Attached ability.
bubble
A Barrier that absorbs all damage and prevents most crowd control until it breaks.
deployable
A non-player entity with a unique health pool.
lesser cleanse
Removes Cleansable status effects. Ignored by Stun, Knockdown, and Displace.
The Particle Cannon can emit a personal barrier that shields Zarya against incoming attacks, redirecting their energy to enhance her weapon’s damage and the width of its beam.
Charges are shared with Projected Barrier. The charge cooldown of the next charge is set depending on which ability was used.
Zarya gains 0.2% Energy per damage blocked by the barrier, or 1% Energy per 5 damage blocked.
Single Particle Barrier can generate up to 45 energy before it breaks.
Another Particle Barrier cannot be cast while Zarya is affected by her own Personal Barrier, Projected Barrier from another Zarya or enemy Domina's Panopticon.
While the barrier is up, Zarya is immune to all damage and most negative status effects, even if the attack pierces barriers.
Removes and prevents slowed, hacked, hindered, anti-heal and damage over time effects.
Prevents stunned, knocked down, knocked back, asleep, hooked and frozen but does not remove them.
Does not protect Zarya from knockbacks from attacks that can pierce barriers, like Rocket Punch or Charge.
Prevents Junkrat's Steel Trap from activating but does not remove its effects.
While a Barrier is active, dealing damage with Particle Cannon’s beam generates energy.
Hero-specific options
Setting name
Options
Description
Projected Barrier sensitivity
10% ... 100% (default: 100%)
Adjusts the targeting sensitivity of Projected Barrier. Setting this to a lower value reduces the maximum view angle for acquiring a target.
Strategy
Zarya is a challenging Tank to play, though one of the most rewarding when played well. She gains Energy by absorbing damage with her barrier abilities, increasing her own damage substantially. At maximum Energy, she is a monstrous threat to the enemy team, tearing them apart in seconds with her Particle Cannon. Her Ultimate has some of the highest play-making potential in the game, with the ability to trap entire teams in a single spot for her allies to fire upon.
All of this comes with a severe weakness: she is the softest of the Tanks, with the lowest base Health out of them (save for Orisa), no movement abilities, and only an infrequent, short-duration barrier to protect her and her team. She is heavily reliant on her teammates to charge up her Energy, provide cover/healing when she is out of position, and coordinate with her ultimate.
Weapons & Abilities
Energy (Passive): Zarya spawns with 0 Energy and can gain a maximum of 100 Energy. Energy is gained when her Particle Barrier or Projected Barrier absorb damage, at a rate of 1% energy for every 5 points of damage absorbed. For every 1 Energy Zarya has, the damage of her Particle Cannon is increased by approximately .7895%. Energy will slowly decay over time at 1.8% every second.
Maintaining a high level of Energy is critical to Zarya's gameplay. At low Energy levels, Zarya isn't much of a threat. At high Energy levels, Zarya is a significant damage dealer that the enemy team ignores at their peril.
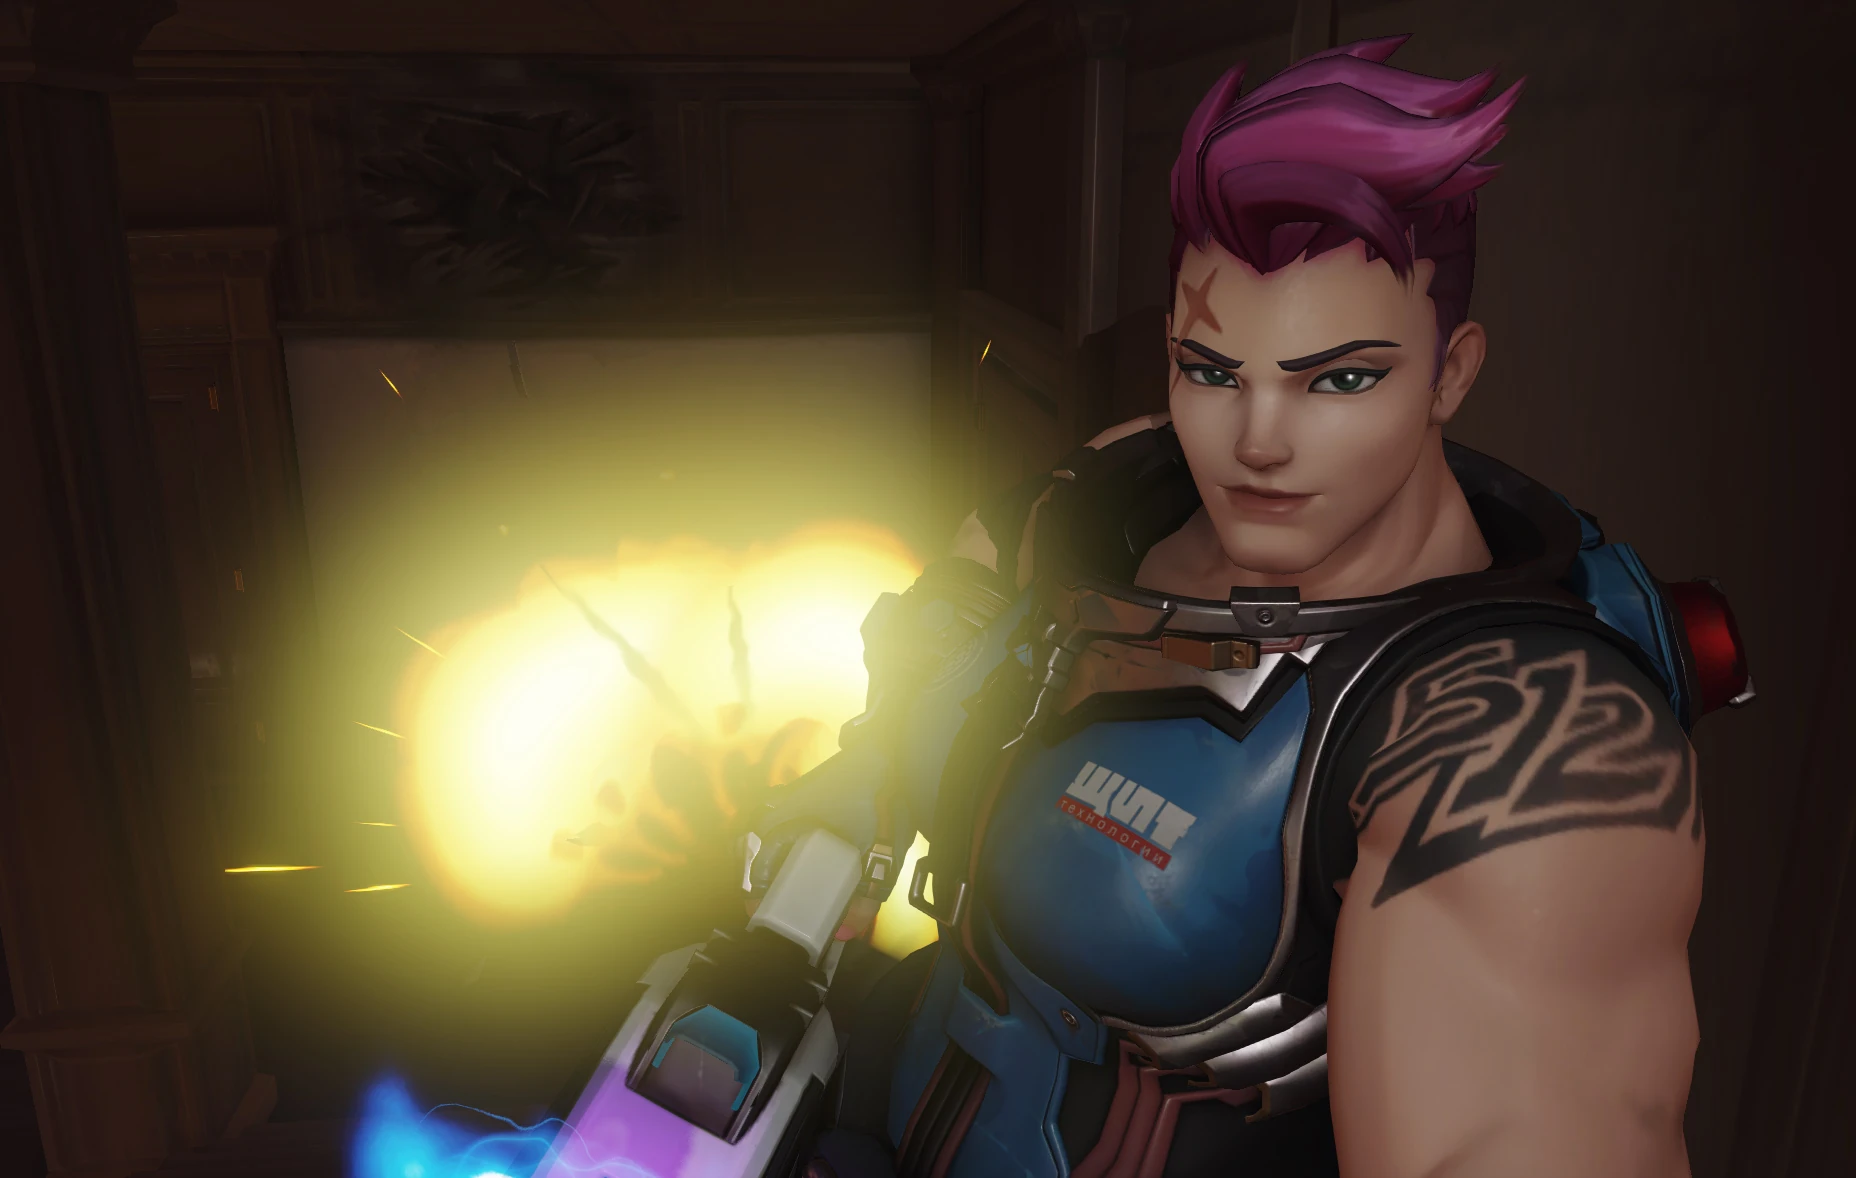
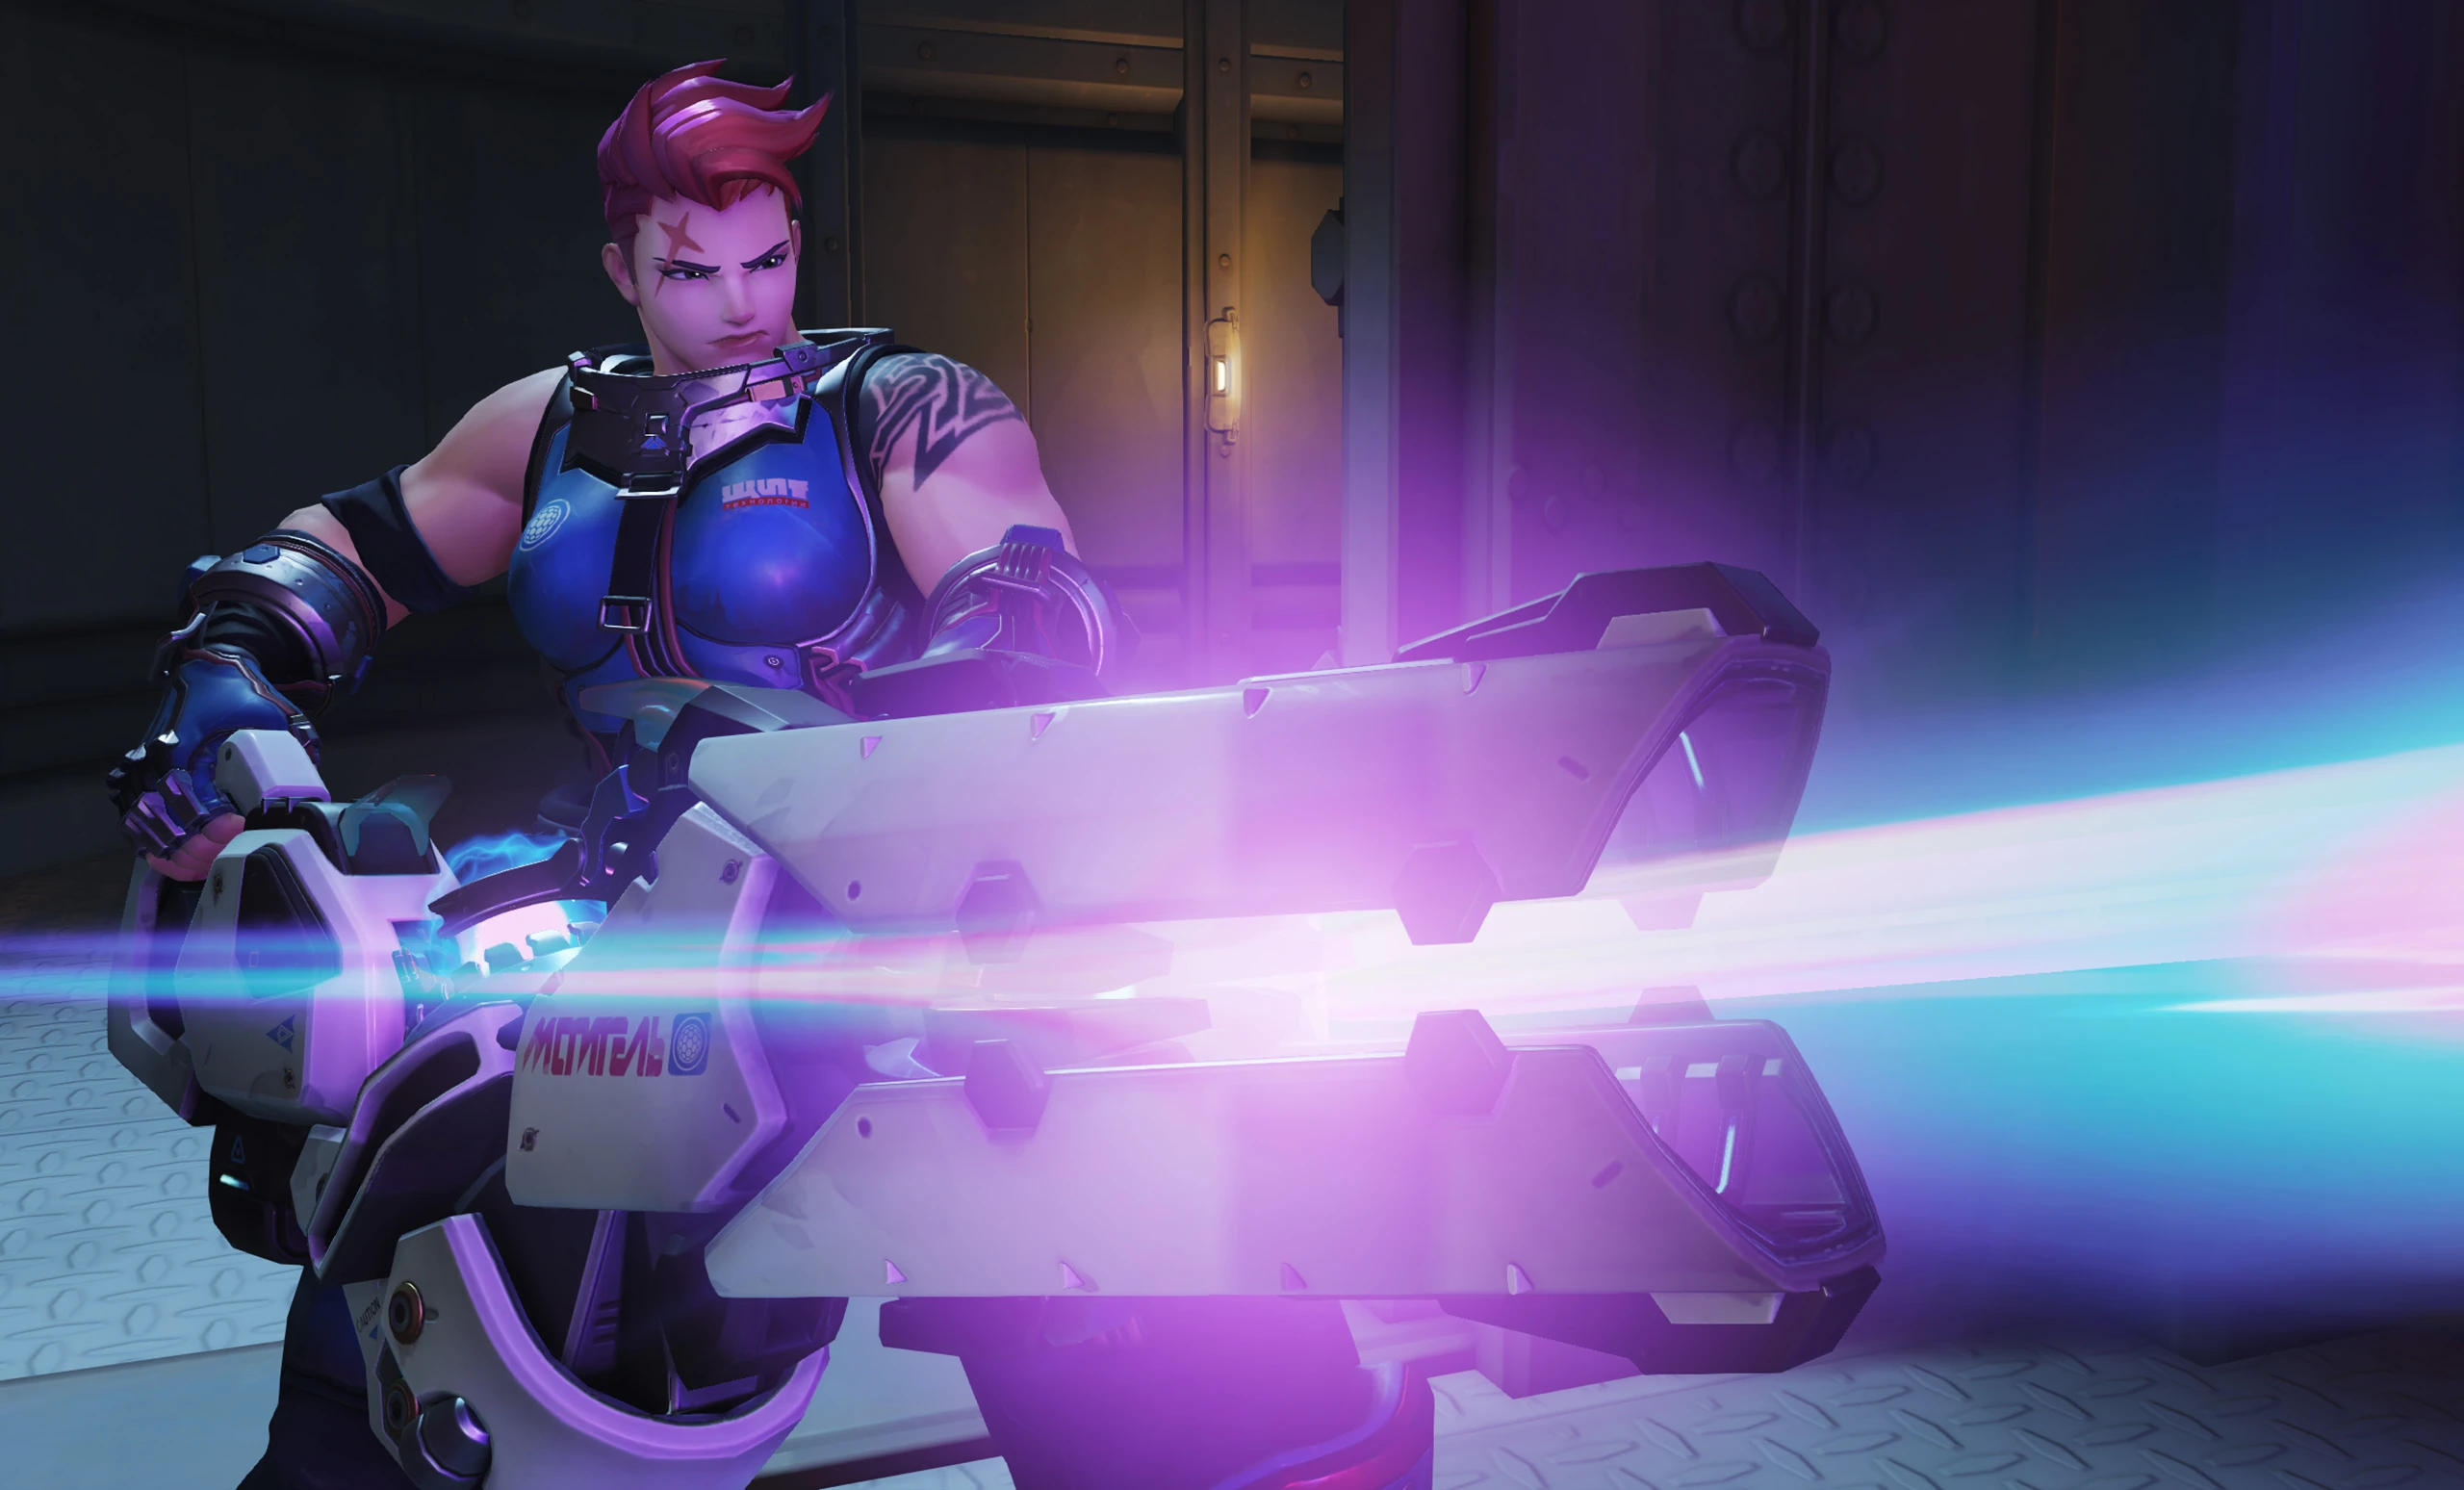
Particle Cannon: Zarya's main weapon. The primary fire, when held down, shoots out a hitscan beam that deals continuous damage to the first enemy it hits. The secondary fire consumes more ammunition and shoots out a grenade-like ball of energy that detonates when it hits an enemy or solid surface, dealing damage in an area. This detonation will damage Zarya; the damage will be negated by Particle Barrier, but does not return any Energy.
The primary fire is useful for taking down single targets, while the secondary fire is useful for damaging groups or hitting particularly evasive enemies like Tracer. Switch between the two depending on the situation.
The primary fire pierces Genji's Deflect and D.Va's Defense Matrix. Contrary to some reports, it does not ignore enemy armor.
Particle Barrier: When activated, Zarya will completely surround herself with a barrier for a brief period of time, absorbing a large amount of damage and making her immune to all negative effects (such as knockback or stun) while the barrier holds. Damage dealt to the Particle Barrier contributes to her Energy.
Be cautious when activating Particle Barrier. It has a lengthy cooldown time and a short duration, leaving Zarya vulnerable during the time when it's down. Don't activate it unless your enemies are already firing at you.
Particle Barrier is best used when you predict a sudden incoming burst of damage, such as running into a Reaper around a corner or when you see Junkrat'sRIP-Tire getting within explosion range.
Zarya will receive knockback from any attack that pierce barriers. For example, if Zarya has a barrier on herself and is hit by one of Pharah’s concussive blasts, she won’t be affected, because the barrier blocked the effect. However, if Winston uses his ultimate and starts to swing at Zarya, it will now knock her back even if a protective barrier is active, since melee attacks pierce barriers.
Projected Barrier: When activated, Zarya grants the targeted ally a barrier that will completely surround them for a brief period of time, absorbing a large amount of damage and making them immune to all negative effects (such as knockback or stun) while the barrier holds. Damage dealt to the Particle Barrier contributes to Zarya's Energy. This ability auto-targets the ally closest to Zarya's crosshairs.
Projected Barrier behaves otherwise identically to Particle Barrier in terms of damage absorption and immunity to negative effects.
Projected Barrier has 2-seconds faster cooldown than Particle Barrier, which means that you can use it more often than the other one.
Much like Particle Barrier, the short duration of Projected Barrier means that you must choose an ideal time to use it. Predict when an ally is about to take a large amount of damage and use it to both keep them alive and give yourself Energy.
Using Projected Barrier on a stealthed Sombra will reveal her location to the enemy. Don't do this.
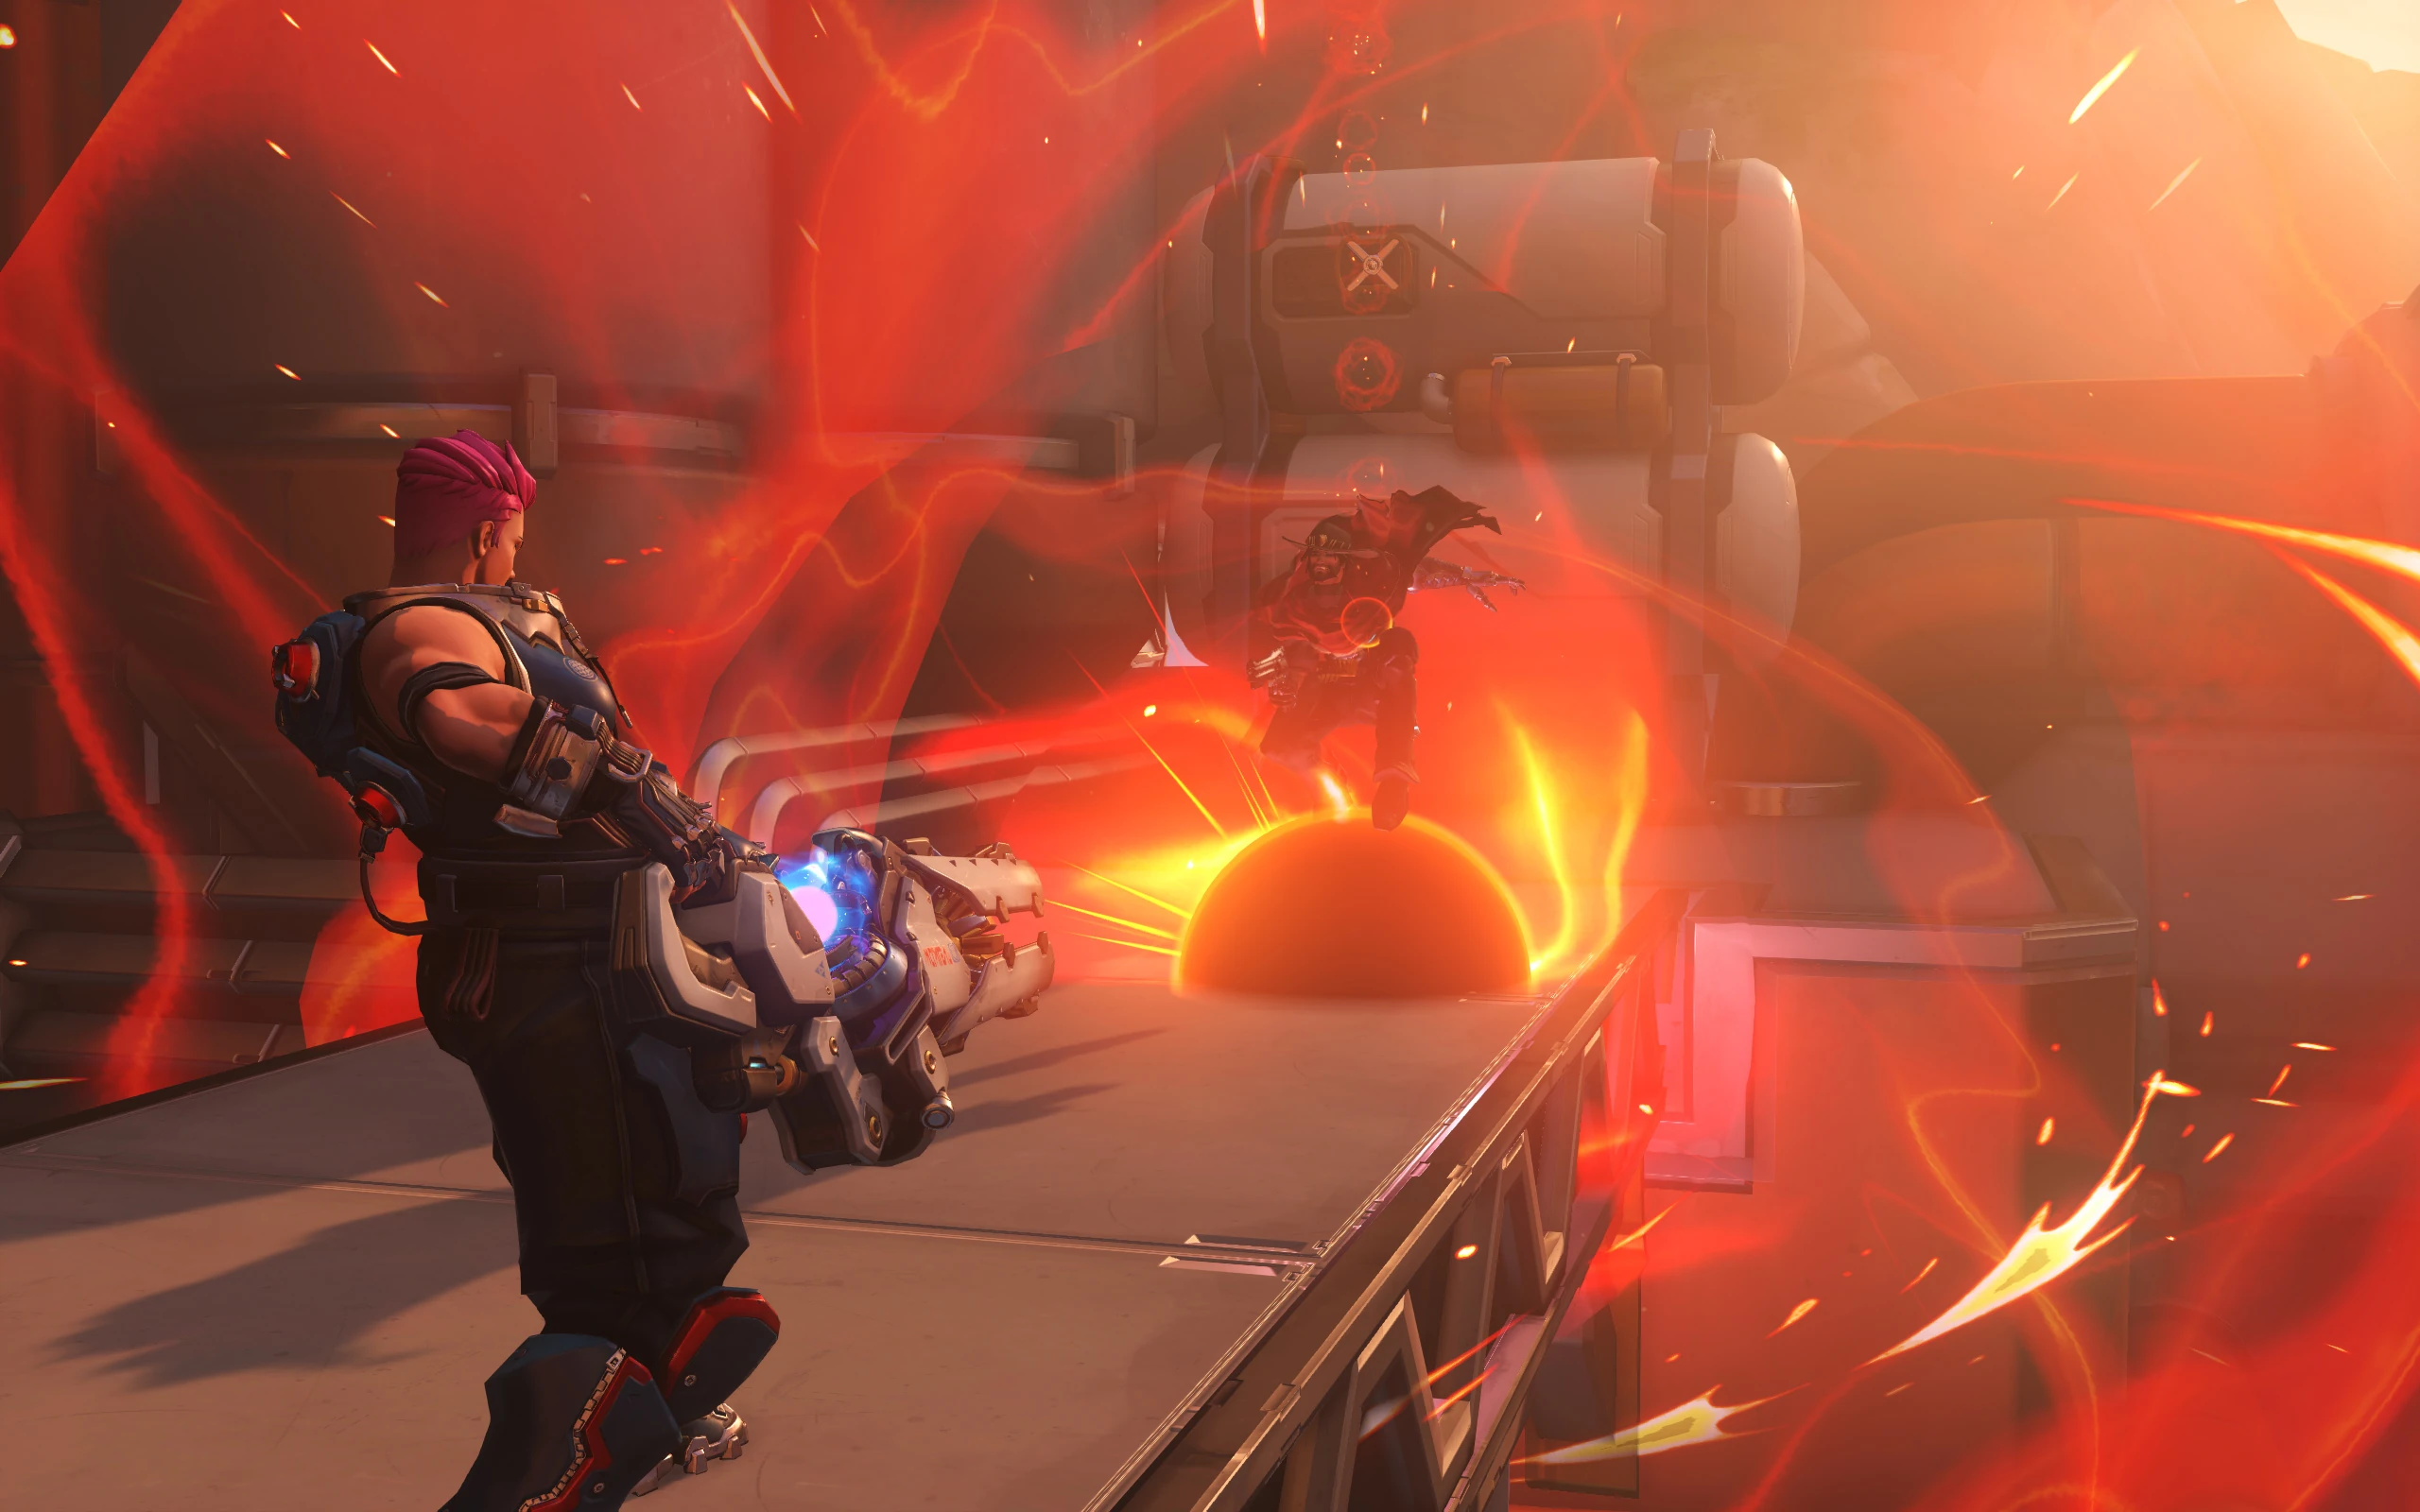
Graviton Surge (Ultimate): Zarya's Ultimate ability. When activated, Zarya fires an energy projectile in an arc. When the projectile impacts a solid surface, it creates a temporary gravity well that continually pulls in all nearby enemies and deals damage over time to them. Movement abilities are disabled within the effect of Graviton Surge.
Although Graviton Surge is not a devastating Ultimate on its own, it is easily the most powerful Ultimate in the game when coordinated with other Ultimates.
The projectile from Graviton Surge is destroyed if it hits an enemy Zarya's barrier or D.Va's Defense Matrix, but if it hits Winston's or Reinhardt's barrier it will simply activate where struck. It is still not a good idea to fire it at those places, as they will lessen or negate your team's ability to combo with it. The projectile can also be deflected by Genji before it lands on a surface, effectively turning it against Zarya's team instead.
While most movement abilities are disabled when heroes are caught within the gravity well, certain heroes are still able to escape using certain abilities, including Reaper with Wraith Form and Orisa with Fortify.
General Strategies
When played poorly, Zarya contributes only average damage, mild absorption with her barriers, and her Ultimate. When played well, Zarya is able to cleave through teams with the damage provided by high Energy and can save both herself and a single teammate from otherwise certain death. Despite her power when played well, however, she's still somewhat lacking as a Tank when it comes to either blocking off a point (like Reinhardt) or disrupting the enemy team (like Winston). Consider pairing her up with either of them instead of going as your team's only Tank.
A good way to consistently gain Energy is to engage your opponents before activating Particle Barrier. Your enemies will have less time to react and stop hitting your barrier if they're already firing at you. Approaching your enemies and activating Particle Barrier immediately will likely cause them to simply retreat until the barrier is down before returning to firing at you.
Exploit the secondary fire of Particle Cannon by firing it at oncoming enemies and then ducking back in behind cover to avoid return fire. Despite being a Tank, Zarya can generally absorb less damage than the other Tanks, making cautious play important. You should ideally try to minimize the amount of time you're exposed to enemy fire while still threatening enemies who get too close with your presence.
Look for opportunities where you can predictably absorb damage with Particle Barrier, such as by running into the grenades from Junkrat'sFrag Launcher or the attacks from several of Symmetra'sSentry Turrets. This will help you to maintain a higher level of Energy in order to threaten your opponents more effectively.
Both of Zarya's barriers act like a separate health pool, If used to block high damage ults from heroes like Tracer, D.va, or Junkrat it will totally negate the damage and likely instantly bring you to full charge, but only if it stays active at the time of the explosion. This can also be exploited to save squishier heroes from such ultimates, if they are close enough and you have the reaction time.
Using a particle barrier while being slowed by Mei'sEndothermic Blaster or Blizzard will free the player from the slowing effects of freezing. Use this right before a Mei completes a freeze on a player to surprise the Mei and force her to retreat or use her Cryo-Freeze. Additionally, this can be used to free players trapped in Mei's Blizzard, as it gives 2 seconds for Zarya or a shielded player to leave the radius of the ultimate un-slowed.
The most important allies to prioritize when freeing allies are supports, as they will be able to keep other frozen allies alive for the remaining duration of Blizzard. If you have 2 bubbles available and are in Blizzard, save yourself and your support, as you will get the most objective contest time out of this duo.
A substantial portion of Zarya's Health is composed of shields. When you see yourself getting below 50% Health, duck into cover to give your shields time to regenerate. This will allow you to keep fighting far longer than staying out in the open constantly will.
Projected Barrier is one of Zarya's strongest abilities. It gives a single ally a substantial increase in Health, allowing them to absorb more fire than normal, as well as giving you Energy. Allies like Reaper and Roadhog benefit immensely from Projected Barrier, especially when they are using channeled Ultimates, as it will stop them from being interrupted temporarily. An ally Reinhardt holding up a barrier can also be a good Projected Barrier target, as all damage that would be absorbed by his barrier is instead absorbed by Zarya's barrier. It can also save an ally like Mercy from being killed by enemy flankers if applied in time. Rather than throwing it out randomly, consider the enemy team's composition and position and decide whether throwing it on an ally for extra Energy is better than saving it in case of a flank by an enemy hero like Genji.
Graviton Surge is one of the trickiest Ultimates in the game to use correctly, but is devastating when deployed at the right time. It is also one of the slowest-charging Ultimates of any hero, making proper use of it critical. In general, pay attention to the Assault heroes on your team and wait for their Ultimates to be up before deploying Graviton Surge. Try to fire the projectile so that it will land in the center of the enemy team in order to catch as many of them as possible. When combined with an Ultimate like Reaper'sDeath Blossom or Pharah'sBarrage, you can easily wipe out entire enemy teams in a single blow. Using it when none of your allies have their Ultimates will usually result in only one or two kills at the most, or possibly even no kills if the enemy team has a Reinhardt blocking most of the damage.
D.Va's Defense Matrix does nothing to stop your primary attack, making her an easy target. Barrier will either force D.Va to stop firing or provide you a large Energy surge, all while still letting you continue attacking. Your only concern against D.Va is her high mobility with Boosters; if you whittle her down to low health, either try to lob a few secondary fire shots at her, have a teammate chase her down and finish her off, or fall back and regroup with your team. Once out of her Mech, while D.Va is of little threat at close range, she can be extremely difficult to deal with at a distance. Her Light Gun has very little damage falloff and is extremely accurate, meaning if you aren't behind cover or protected by your Barrier she can land successive headshots on you while you have few means of attacking back. Hide behind corners and either try to flank her or have a more mobile ally deal with her. Protecting yourself and an ally with Barrier will negate D.Va's Self-Destruct, providing you a massive amount of Energy in return. Keep in mind that D.Va's Defense Matrix can negate your Graviton Surge, so try not to fire it when she's in front of you.
A team clustered together with Graviton Surge is a prime target for a friendly D.Va's Self-Destruct, provided your enemies aren't being protected by a Barrier.
You are able to counter Doomfist reletively well if you are paying attention to him. His abilities don't do enough damage to kill you instantly and you can negate most of it with your barriers. Be careful though, you can still be knocked back by his Rocket Punch and other abilities even while your barrier is active.
If he uses his ultimate, stand right where he is going to land and use your barrier. This will cause all the damage to go to your barrier and will protect everyone in the area.
Enemies trapped in a Graviton Surge are ideal targets for Meteor Strike. Once all targets are lined up in the center ring, he can inflict 300 HP of damage, killing all squishy targets.
Junker Queen may be easy to counter. As long as you have a barrier charge, you can block her damage and cleansed yourself of any wounds she inflicted on you. That will stop her from getting and healing. This can also be useful when she uses Rampage, as you can cleanse yourself and one other teammate that was in her path. Without any shields, she should be easy to melt down with your primary fire. Although her Commanding Shout provides her with bonus speed and extra health, its temporary effect probably won't help her win a 1v1.
Enemies trapped in a Graviton Surge are ideal targets for Rampage. Not to mention, Junker Queen can wound many targets, giving her large amounts of healing.
Fusion Driver is a projectile weapon that can inflict headshots, and has no range limit. In short, Orisa outclasses you in ranged duels and can fight far from the effective range of Particle Cannon. Be careful before using a Graviton Surge on Orisa, who can use Fortify to escape and body block incoming damage for allies clustered behind her. To circumvent this, use Graviton Surge when Fortify is on cooldown.
The damage-boosting effects of Supercharger can help Zarya shred through enemies at high charge.
Void Accelerator has no damage falloff and no range limit, allowing him to poke your beyond your effective range. That given, do be afraid to use your barrier to soak up damage and build energy. In close range duel, you'll benefit from absorbing his punches while he's in Nemesis form.
Also, if you have both charges, you can use them both when he uses Annihilation. This will not only protect you from damage, but also end his ultimately quickly (Annihilation ends after 3 seconds without damaging someone). Though, this may only work if you alone are in his ultimate's AOE.
Enemies trapped in a Graviton Surge will be unable to escape Annihilation before he can deal serious damage to them
Reinhardt's Barrier Field can block most of your attacks. Should he try to attack you or a teammate with Fire Strike or Charge, be ready to absorb it with your Barrier. You'll survive a Charge even if you don't have a Barrier active, but you'll be left with minimal health, meaning you'll be quickly picked off if you don't quickly deploy a Barrier or get healed by an ally. When you're at high Energy, you can pressure his Barrier Field and try to shatter it. A quick Barrier will protect you and a teammate from Earthshatter, which can prove life-saving for a fight. Interestingly, anyone who stands behind a teammates with an active Barrier will likewise not be stunned by Earthshatter; with this in mind, if you anticipate an Earthshatter coming, you can position yourself in front of your teammates to shield them.
With Projected Barrier, Zarya can allow Reinhardt to lower his shield and go on the offensive. That way, he stays safe while he's attacking enemies and provides Zarya with Energy. When your bubbles expire, you can hide behind his shield. Since both of their ults immobilize targets, it makes it easier for them to attack enemies, especially highly mobile ones.
A well-time Barrier will disrupt Roadhog's Chain Hook, whether you use it to save yourself or shield an ally snatched by his Hook. The Chain Hook is dangerous while your Barriers are on cooldown, so try to stay behind cover until you're ready to use them again. At low Energy you'll find it difficult to out-damage Roadhog, especially when he's using Take a Breather to restore health. At high Energy, though, you should be able to kill him while Take a Breather isn't active due to his large frame and lack of self-protection. Keep in mind that your health is lower than most Tank heroes, and that Roadhog's Scrap Gun will tear through most of your health if you aren't careful.
Roadhog has a large hitbox and is often a damage sponge, use this to your advantage by having him take damage while your barrier is on him. Though, if paired with a Roadhog your team lacks protection and proper shielding.
Hyperspheres have a bit more range than Particle Cannon. Even if you lob your explosives, he can use his shield to block them or use Kinetic Grapes to absorb them and gain shields. However, your beam cannot be negated by Kinetic Grasp so if his shield goes down, he's low on defenses. He'll have to use Accretion to stun you, but if your Particle Barrier is off cooldown, you can block his attack, and gain Energy. That can be said when facing his Hyperspheres or Gravitic Flux.
Sigma can move forward with a Projected Barrier to absorb damage, giving you Energy. His Experimental Barrier and Kinetic Grasp is also a great asset to your defenses. Enemies caught in a Graviton Surge can be weakened further with Gravitic Flux and become easy pickings. However, your composition has very low mobility.
Without Graviton Surge, you might find some difficulty facing him and his mobility. Damage falloff for Quad Cannons begins at 15 meters, the distance where your beam cuts off. Watch your position because if Wrecking Ball sees that you're near an environmental hazard (i.e. Ilios Well), he will most certainly come charging to you and your bubbles don't stop knockbacks. That being said, you can still use your bubbles to soak up some of his damage, especially from Minefield. If you and one other teammate are in a Minefield, use both your personal and projected bubbles to gain up to 80 energy.
Wrecking Ball fights at close-quarters, and that where Zarya's Projected Barrier can thrive. You can put a bubble on him as he rolls into the enemy team and gains energy for you. Their ultimate abilities can complement each other. Enemies trapped in Graviton Surge are ideal targets for Minefield. This is more compounded when done in tight corridors, where the mines also latch to the ceilings and walls.
Winston's constant mobility makes him capable of eaching you or your teammates with ease. His auto-multitargeting Tesla Cannon can harm both you and your teammates when you are clustered together. His Barrier Projector will protect himself from any harm he may take from your Particle Cannon, and it will be difficult to shatter when you are at low Energy. However, the situation will improve should you gain more Energy, as you can easily outdamage him after he's landed with Jump Pack if you're near his landing area. While your Particle Barrier won't absorb much energy from Winston’s Tesla Cannon, it will leave him few means of retaliating while you open fire on him. Winston’s Jump Pack can’t be used to escape from your Graviton Surge, which is especially useful when he activates Primal Rage. Try to stay close to your team, and you will be able to handle Winston fine.
Winston needs to be close to his enemies in order to be useful, so make sure to keep an eye on him when he leaps in and give him a barrier. Just make sure he has not used his Barrier Projector yet or it has been destroyed.
Zarya
It's difficult to gain Energy from an enemy Zarya, as each of you can simply stop firing once the other puts up a Particle Barrier. Instead, focus on gaining Energy from your other enemies, then use that power to attack the enemy Zarya.
You won't often find another Zarya on your team outside of custom games or No Limits. But when you do, make sure you spread your barriers out evenly in order to maximise your charge aquirement.
Ashe will most likely be sniping you from a distance and away from your Particle Cannon's effective range. If she throws Dynamite at you, you can use your barriers to gain energy from it, especially from its burn overtime.
Ashe is usually in the backlines of a match so you won't often meet up. But Ashe's Dynamite and Bob can be devastating if throw into a Graviton Surge.
In Sentry configuration, Bastion can tear through your barriers instantly and kill your before you can get up to full charge. If you catch Bastion by surprise at full-charge, you are more than capable of killing him, but this is extremely difficult if Bastion is set up in a good spot. Graviton Surge merely pulls Bastion into the vortex; it doesn't take him out of Sentry Configuration, which can cause more harm than good for your team.
A friendly Bastion in Sentry configuration can be a perfect target for Projected Barrier, especially in a "pirate ship" team composition on a payload map. You can also stand in front of Bastion with your personal barrier in order to soak up damage for him, be careful though, you block his line of sight in the process.
In Sentry and Tank forms, Bastion can easily wipe out enemies caught in a Graviton Surge. This is because Bastion's Configuration: Tank does a precise 205 damage, this will pierce Zenyatta's Transendence.
Cassidy can attack you from far out of your effective range thanks to his Peacekeeper's high damage at medium-range. His signature Flashbang combo won't be as effective against you as weaker heroes, but it will still tear through considerable health. Your Barriers are a good block to Cassidy's high-damage single attacks, protecting you from damage while providing high amounts of Energy. Quickly deploying Barriers on you and an ally can also help counter Deadeye. If Cassidy is harassing you at long range, let your teammates deal with him while you hang back and focus on using Barrier to protect your team.
Cassidy is very vulnrable to being dove, although he has his Flashbang to help him, it won't always be enough, so make sure to cover his back, and in return he'll cover yours.
His Deadeye can be a good combo ultimate with yours. Just make sure to put a barrier on him as he is slow and vulnrable in this state. Also make sure there are now barriers blocking his line of sight.
Echo is very difficult to deal with, her flight allows her to stay out of your effective range and her beam can easily melt you with your low health pool and large hitbox. But you can get some decent charge from her primary fire and sticky bombs. So if you see a teammate with sticky bombs on them, give them a barrier ASAP to negate the sticky bomb's damage as well as her follow-up damage.
Be careful if she replicates you, she will try and get a Graviton Surge which could be very destructive once she obtains it.
Echo is quite squishy and an obvious target while airborne, so she might get focused, Throw a barrier on her if that is the case.
Make sure to protect her while she is using her Duplication, this is so that she can build her Duplication's ultimate quick enough without dying.
Genji's can't deflect your Particle Cannon's primary fire, but he can deflect your secondary fire, so try not to use it around him (or wait until Deflect is on cooldown). With enough Energy, you can tear Genji down in seconds if you aim precisely, but if a Genji is aware of this, he can keep himself in your face and attack you with Shuriken or Fan of Blades. Your Barriers can both protect yourself and your allies from Genji, but his low damage output won't result in high Energy charges. Don't chase him if he performs Swift Strike to flee; you are too slow to keep up with him. Keep in mind that your Graviton Surge can be Deflected, which can prove disastrous for your team. Be careful when using it around Genji, especially if you haven't seen or heard him use Deflect recently.
Genji usually jumps into the enemy team, this can be an oppurtunity for you to bubble him and get ome good charge, all while protecting him in the process. This is especially important during his Dragonblade, where he becomes a key target.
Just be careful not to bubble him while he is using Deflect, because it will block off his Deflect and will prevent him from getting any value from it.
Hanzo can't shoot you down with one headshot, but he can still badly wound you with one shot. Hanzo excels in attacking at mid- to long-range, and when combined with his ability to climb walls and air dodge, he can maneuver to safe positions out of your range. Your Barriers can be used to help you and your team approach Hanzo without getting shot down. Your secondary fire can hit Hanzo with some adjustment on minor arcing. If you can spot him, try to time your Barrier right when he attacks to save yourself and gain some charge. A grounded Hanzo is less of a threat; if there are no walls to climb, you can approach him without fear and run him down.
While many Ultimates work well with Graviton Surge, Hanzo's Dragonstrike is one of the best matches. If you can pin a group of enemies together, even if they have barriers up, they won't be able to protect themselves from a Dragonstrike running through them. Your only concern will be a Zenyatta or Lúcio using their Ultimates, so be wary of them.
Junkrat's grenades can provide a decent amount of charge, although he will normally stay out of your primary fire's range. If he's watching a choke, though, you can put up Barriers to protect yourself and an ally while building up charge. If Junkrat dies near you, quickly apply a Barrier to absorb his grenades and gain charge in the process.
Protect Junkrat if he is being dove as well as when he is using his RIP-Tire.
His RIP-Tire is also a very good ultimate to combo with Graviton Surge, this is because it is an instant amount of high damage.
Mei can prove to be frustrating in many ways; Cryo-Freeze will force you to either walk away or waste energy waiting for Mei to thaw out, and Ice Wall will stop you dead in your tracks, as you have no mobility options outside of walking around it. Mei can outdamage you at medium to long-range thanks to her accurate Icicles. While Mei can be frustrating in both close and long-range, she lacks enough killing power to put you down for good, as you are capable of taking two Icicle headshot without dying. Barrier can remove Mei's freezing effect, helping you or a teammate stay unfrozen and kill her. You can burn Mei down within seconds when you have enough Energy, but she'll still be able to use Cryo-Freeze to heal herself and Ice Wall to disengage. With a well-placed Ice Wall, Mei may be able to protect her team if they are grabbed by your Graviton Surge, so be cautious.
Mei can often be a detriment if she is on your team, blocking off the line of sight with her walls as well as waisting your barrier with her Cryo-Freeze.
However, her Blizzard is a very good combo with your ultimate, make sure you two are on terms with eachother.
With Jump Jet, Pharah can maintain airborne attitude long enough to freely attack you without threat of your Particle Cannon reaching her. It will be difficult for you to contest Pharah in an open area; she will eventually descend when she runs out of fuel, but it will only be a moment before Jump Jet shoots her back into the air. She can also use Concussion Blast to keep you out of your ideal range. Your Barrier can absorb stray shots towards you or an ally, but it's not ample enough to block against Pharah's Barrage. Keep away from Pharah whenever possible, unless you lure her into a corridor where you can fight her at close range where you're more comfortable.
Pharah's Barrage and Zarya's Graviton surge make the two together a beast. The Barrage coming from Pharah with an active Graviton Surge can mean a huge amount of damage for the team, but with an active Sound Barrier or Transcendence from an enemy it could keep them on top of health. Use at your own risk, or reap the rewards.
While you and Reaper both prefer to fight at close distances, Reaper's Hellfire Shotguns can chew through your health pretty quickly. Barrier can momentarily protect you, but he can simply cease firing to avoid giving you Energy. Should you activate it mid-fight, though, this will provide him less reaction time. If Reaper is heckling your teammates, be ready to protect them with a Projected Barrier. Be wary that his Wraith Form can allow him to escape Graviton Surge.
Reaper has to be close to his enemies to be effecient, so make sure to put a barrier on him when you can. Especially during his Death Blossom, this will prevent him from being focused down or stunned out of it.
Speaking of which, his ultimate his a good one to pair with yours, make sure to tell him when to spin into it.
Sojourn's Railgun has incredible range and combined with her Power Slide, she can attack from all sides. However, the high damage of her weapon can play to your advantage. With your Particle Cannon, you can block her high-damaging attack and gain a lot of energy. More popularly, you can use your barrier against her Disruptor Shot and gain energy.
Disruptor Shot pairs great with Graviton Surge as it applies extra damage to ensnared target. It may even kill them. Also, they're neatly lined up for Sojourn to target with her Railgun.
Soldier: 76's superior range and mobility can help him attack you from all angles. However, his high damage output can be a benefit to you should you absorb it with your Barrier, especially if he also uses his Helix Rockets. In close combat, Soldier: 76 can use Biotic Field to prolong the fight, but at high Energy, you should be able to bring him down without as much effort. If he tries to with Sprint, you can try to shoot him via secondary fire. If he gets to cover, though, don't try to chase him. Your Barriers can help keep you and your team safe during his Tactical Visor.
Soldier can drop his Biotic Field to heal you if necessary, so stick close to him if necessary.
Soldier's Tactical Visor is a good combo ultimate with yours.
Even when hacked, you can hold your own against Sombra due to the low damage of her Machine Pistol. Barrier will put a stop to Sombra's Hack, so if you notice one in progress on yourself or an ally, a quick Barrier deployment can cut her off. Sombra's superior mobility and escape tools can make her difficult to kill off, so stick with your team and be alert. EMP will not only nullify your abilities, but will eliminate any active Barriers while also depleting your 200 Shields to drop your health down to 200. Losing your active barriers(s) can be used to your advantage, though, as their destruction will provide you a massive Energy burst to your Particle Cannon. Don't get overly confident, though, as this while you'll be able to fend off attackers, your lowered health combined with your low mobility will make you easy prey.
Sombra is usually off in the enemy's backline or flanking, so you won't usually see eye-to-eye that often. Also, make sure not to put a barrier on her while in stealth, for it can reveal her presence.
Her EMP is one of the best ultimates in the game and can make a great combo. Using her EMP in your Graviton Surge can prevent anybody inside from fighting back and rendering them useless.
The splash damage from Particle Cannon's secondary fire is useful for indirectly attacking Symmetra's Sentry Turrets. Conversely, you can charge into an area with Turrets set up and use Particle Barrier to soak up damage and convert it to Energy while destroying the Turrets. Likewise, if any of your teammates are caught by a Sentry Turret, be ready to give them a quick Projected Barrier to protect them and negate the slowdown effect. Only engage Zarya if you're at high Energy or if your Barrier is ready; while you'll win against her if protected by your Barrier, if you try to fight a prolonged battle with her, her Photon Projector's damage ramp-up will eventually run through you.
Symmetra is in the same boat as you when it comes to offensive capabilities. So stick close to her. Her teleporter can also get you to the frontlines faster.
The damage from Torbjörn's Turret is minimal, meaning blocking it with Barrier won't provide much Energy. Should you power up from other sources, you can tear through Torbjörn's Turret within seconds. However, your shorter attack range can mean that safely approaching Torbjörn and his Turret can be difficult. Try to safe your Barrier for when an ally is approaching the Turret to destroy it. Remember that your Barriers only last for 2 seconds; if you and your teammates can't get closer to Torbjörn, try to find cover to avoid taking fire from his Turret. Torbjörn himself can be dangerous, especially with Overload active, but you can handle him in a close-quarters fight if you have sufficient Energy.
With his large hitbox and aggresive nature, your barriers can get some good charge if you put it on him.
Using Molten Core in a Graviton Surge is the easiest way to secure a team wipe. This is because it burns through most defensive ultimates (except from Transendence).
Tracer can dodge your beam with ease, even while it is on high charge, and her Recall lets her escape from a poor attempt at killing you. A few shots and a Pulse Bomb can instantly kill you when stuck to you, so be ready to use your Barrier if she approaches you.
Many ultimate abilities work well with the Graviron Surge, but Tracer's Pulse Bomb ultimate ability can cause mayhem, with multi-kills, if stuck onto an opponent in the Gravitron Surge. This could also mean a team kill, if a whole team is in the surge. As per usual, be wary of support-based ultimates.
While Widowmaker can't kill you with one headshot, her extreme range makes her hard for you to handle. Her suppressing fire, along with her Grappling Hook that can help her relocate, can shut off an entire area for you to safely move through. Your secondary fire can hit a high-elevation Widowmaker with some arcing adjustment, but these attacks will rarely be enough to finish her off. Try to get another ally to approach and take down Widowmaker, and consider giving them a Barrier to protect them from her. While you are lacking in mobility, if you catch Widowmaker on the ground, you can tear through her in seconds regardless of your Energy level.
You and Widowmaker will often be on the opposite sides of the battlefiend, however, she is very fragile and prone to being dove. So if you see her in trouble, give her a barrier so she can get out or secure the kill if necessary.
Ana's low damage won't provide very much Energy charge, and at lower Energy it will be difficult for you to kill opponents that are being healed by Ana. Ana's extreme attack range will allow her to stay outside of your effective range. However, Ana needs 5 shots to kill you at full health. You are both rather slow Heroes with no mobility abilities, so it can be difficult for either of you to disengage from a fight should you run into one another. You're an easy target for Sleep Dart and Biotic Grenade, but if you can either dodge these attacks or block them with a Particle Barrier, you'll generally have the upper hand in a close-range brawl. Projected Barrier can protect under the effect of Ana's Sleep Dart; while the barrier won't wake your ally up, it will stop your enemies from ambushing your teammate and will provide you with Energy if they choose to attack. Bear in mind that if Ana's teammates get caught in Graviton Surge, she can hit them (or herself if she's in there too) with a Biotic Grenade to quickly heal a large amount of damage. Keep in mind that your barrier will cleanse the effects of Biotic Grenade, so use it wisely.
Nano-boosting a high-charged Zarya will assure that she can shred through enemies easier. The healing boost from Biotic Grenade can help sustain her in the fight with increase healing.
Baptiste's damage can provide you with Energy. Baptiste has vertical mobility, so he can disengage from a fight by leaping to higher ground. Baptiste needs up to 6 whole bursts to kill you, but it could be less since his weapon inflicts headshots. Baptiste's weapon has damage falloff, but it's also hitscan so he can fight you at mid-range. One issue with fighting Baptiste is his Immortality Field because that will shut down any Graviton Surge combo you have. You'll have no choice but to prioritize destroying the drone leaving yourself open to Baptiste (if your barriers are on cooldown). With Amplification Matrix, Baptiste has somewhat of a chance, given you stand in its line-of-sight. You can hide behind a corner and wait out the duration.
Immortality Field is useful when Zarya lacks a barrier to protect herself. Amplification Matrix will only amplify her secondary fire and Graviton Surge. Amplification Matrix will also double the healing for his secondary fire, which can sustain Zarya in a fight (given he can land his shots).
Brigette isn't much of a threat to you, just make sure to burn through her shield and try to avoid her shield bash. Beware though, your barrier will not protect you from her Whip-Flail's knockback.
Brigette plays very similarly to Reinhart, so the tips for him should apply to her as well.
Her ulitmate can make you even stronger, so stick close to her.
Kiriko might be hard to deal with. As long as there's a nearby ally, she can teleport to their location, escaping your damage and, potentially, line of sight. Even if your do have her cornered, she can use Protective Suzu to negate your damage and slightly push you back. Also, her weapon has no damage falloff and has a 3x multiplier when dealing critical hits.
Zarya's high damage combined with Kitsune Rush will allow her to output damage at higher energy level quicker.
Lúcio's mobility can make him a difficult target to track with your Particle Cannon, while his damage will provide very little Energy. Your Barriers will prevent his Soundwave knockback, though, which can save you when you're near a ledge. His healing will negate your damage if you're at low Energy, and his speed boost will make it difficult for you to chase him and his teammates. In general, rather than actively pursuing Lúcio, it's best to stick to your team and make him come to you; at high Energy and surrounded by your teammates, Lúcio poses very little threat. If Lúcio is caught in your Graviton Surge alongside his teammates, his Sound Barrier can shield his team from your team's efforts to kill your trapped opponents, so try to kill Lúcio before using Graviton Surge, or if you have a friendly Sombra, wait until she has EMP ready so she can use it to negate Sound Barrier.
With your low mobility, Lúcio's speed boost can be a huge help towards helping you chase down an enemy or flee from an oncoming attack. Keep an eye on your Lúcio and be ready to shield him with a Projected Barrier should he be in danger.
Although Mercy has Guardian Angel to flee from most situations, it usually won't be far enough to send her out of your attack range. At low Energy, you may have difficulty finishing Mercy off, but at high Energy you should be able to rip through her before she can escape or heal herself. Mercy will usually stay behind her ally, so try not to engage in a 2-on-1 fight, as you will almost certainly lose.
Mercy is a good pocket for you, her damage boost can make you even stronger and her resurrection can bring you back into the fight. (Though your charge will remain lost.) Make sure to protect her with a barrier if she is using resurrection.
Moira is difficult to deal with, she has a small hitbox and high survivability. She gives very little charge and her orbs don't give you any charge at all. Her ultimate does give some decent charge, but will also damage you heavily. But if you catch her without any of her abilities, you can melt her like a candle.
Moira can keep you alive as well as combo her Coalesence with your Graviton Surge from some easy kills. This is because her ulitmate pierces barriers (Except for Zarya's.)
Zenyatta is a dire threat at range with his highly accurate Orbs of Destruction and his damage-amplifying Orb of Discord. However, his low mobility means that he won't be able to escape if you catch him off guard. You also lack mobility, though, so you'll need to take creative routes to flank him and will be incapable of chasing him if he flees. You shouldn't be flanking unless you're with your team, though, so better to leave Zenyatta for teammates who can handle him better. Your Barriers will remove Orb of Discord from yourself or an ally, but once your Barrier wears off, he can immediately reapply his Orb. While Zenyatta can't escape Graviton Surge with Transcendence, he can use it to protect all of his allies trapped in it from enemy attacks or Ultimates such as Dragonstrike or Death Blossom; try to kill Zenyatta before attempting a big play with Graviton Surge, or if you have a friendly Sombra, have her hack him prior to using your Ultimate.
If you find yourself trapped in a Graviton Surge, a friendly Transcendence will keep you alive (most of the time) with its high healing out. Also, discorded targets are easier to melt down with your attacks.
Map Strategies
Control
Control Map Strategies
Map
Strategy & Stage Tips
Overall Strategy
TBA RATING | TBA FEATURE
Map strategy details for Overall Strategy are currently missing. You can help the Overwatch Wiki by adding them!
Antarctic Peninsula
TBA RATING | TBA FEATURE
Map strategy details for Antarctic Peninsula are currently missing. You can help the Overwatch Wiki by adding them!
Labs
Strategy details missing.
Sublevel
Strategy details missing.
Icebreaker
Strategy details missing.
Busan
TBA RATING | TBA FEATURE
Map strategy details for Busan are currently missing. You can help the Overwatch Wiki by adding them!
Downtown
Strategy details missing.
Sanctuary
Strategy details missing.
MEKA Base
Strategy details missing.
Ilios
TBA RATING | TBA FEATURE
Map strategy details for Ilios are currently missing. You can help the Overwatch Wiki by adding them!
Lighthouse
Strategy details missing.
Well
Strategy details missing.
Ruins
Strategy details missing.
Lijiang Tower
TBA RATING | TBA FEATURE
Map strategy details for Lijiang Tower are currently missing. You can help the Overwatch Wiki by adding them!
Control Center
Strategy details missing.
Garden
Strategy details missing.
Night Market
Strategy details missing.
Nepal
TBA RATING | TBA FEATURE
Map strategy details for Nepal are currently missing. You can help the Overwatch Wiki by adding them!
Village
Strategy details missing.
Shrine
Strategy details missing.
Sanctum
Strategy details missing.
Oasis
TBA RATING | TBA FEATURE
Map strategy details for Oasis are currently missing. You can help the Overwatch Wiki by adding them!
City Center
Strategy details missing.
Gardens
Strategy details missing.
University
Strategy details missing.
Samoa
TBA RATING | TBA FEATURE
Map strategy details for Samoa are currently missing. You can help the Overwatch Wiki by adding them!
Beach
Strategy details missing.
Downtown
Strategy details missing.
Volcano
Strategy details missing.
Escort
Escort Map Strategies
Map
Strategy & Stage Tips
Overall Strategy
TBA RATING | TBA FEATURE
Map strategy details for Overall Strategy are currently missing. You can help the Overwatch Wiki by adding them!
Circuit Royal
TBA RATING | TBA FEATURE
Map strategy details for Circuit Royal are currently missing. You can help the Overwatch Wiki by adding them!
Attack
Strategy details missing.
Defense
Strategy details missing.
Dorado
TBA RATING | TBA FEATURE
Map strategy details for Dorado are currently missing. You can help the Overwatch Wiki by adding them!
Attack
Strategy details missing.
Defense
Strategy details missing.
Havana
TBA RATING | TBA FEATURE
Map strategy details for Havana are currently missing. You can help the Overwatch Wiki by adding them!
Attack
Strategy details missing.
Defense
Strategy details missing.
Junkertown
TBA RATING | TBA FEATURE
Map strategy details for Junkertown are currently missing. You can help the Overwatch Wiki by adding them!
Attack
Strategy details missing.
Defense
Strategy details missing.
Rialto
TBA RATING | TBA FEATURE
Map strategy details for Rialto are currently missing. You can help the Overwatch Wiki by adding them!
Attack
Strategy details missing.
Defense
Strategy details missing.
Route 66
TBA RATING | TBA FEATURE
Map strategy details for Route 66 are currently missing. You can help the Overwatch Wiki by adding them!
Attack
Strategy details missing.
Defense
Strategy details missing.
Shambali Monastery
TBA RATING | TBA FEATURE
Map strategy details for Shambali Monastery are currently missing. You can help the Overwatch Wiki by adding them!
Attack
Strategy details missing.
Defense
Strategy details missing.
Watchpoint: Gibraltar
TBA RATING | TBA FEATURE
Map strategy details for Watchpoint: Gibraltar are currently missing. You can help the Overwatch Wiki by adding them!
Attack
Strategy details missing.
Defense
Strategy details missing.
Hybrid
Hybrid Map Strategies
Map
Strategy & Stage Tips
Overall Strategy
TBA RATING | TBA FEATURE
Map strategy details for Overall Strategy are currently missing. You can help the Overwatch Wiki by adding them!
Blizzard World
TBA RATING | TBA FEATURE
Map strategy details for Blizzard World are currently missing. You can help the Overwatch Wiki by adding them!
Attack
Strategy details missing.
Defense
Strategy details missing.
Eichenwalde
TBA RATING | TBA FEATURE
Map strategy details for Eichenwalde are currently missing. You can help the Overwatch Wiki by adding them!
Attack
Strategy details missing.
Defense
Strategy details missing.
Hollywood
TBA RATING | TBA FEATURE
Map strategy details for Hollywood are currently missing. You can help the Overwatch Wiki by adding them!
Attack
Strategy details missing.
Defense
Strategy details missing.
King's Row
TBA RATING | TBA FEATURE
Map strategy details for King's Row are currently missing. You can help the Overwatch Wiki by adding them!
Attack
Strategy details missing.
Defense
Strategy details missing.
Midtown
TBA RATING | TBA FEATURE
Map strategy details for Midtown are currently missing. You can help the Overwatch Wiki by adding them!
Attack
Strategy details missing.
Defense
Strategy details missing.
Numbani
TBA RATING | TBA FEATURE
Map strategy details for Numbani are currently missing. You can help the Overwatch Wiki by adding them!
Attack
Strategy details missing.
Defense
Strategy details missing.
Paraíso
TBA RATING | TBA FEATURE
Map strategy details for Paraíso are currently missing. You can help the Overwatch Wiki by adding them!
Attack
Strategy details missing.
Defense
Strategy details missing.
Push
Push Map Strategies
Map
Strategy & Stage Tips
Overall Strategy
TBA RATING | TBA FEATURE
Map strategy details for Overall Strategy are currently missing. You can help the Overwatch Wiki by adding them!
Colosseo
TBA RATING | TBA FEATURE
Map strategy details for Colosseo are currently missing. You can help the Overwatch Wiki by adding them!
Pushing
Strategy details missing.
Defending
Strategy details missing.
Esperança
TBA RATING | TBA FEATURE
Map strategy details for Esperança are currently missing. You can help the Overwatch Wiki by adding them!
Pushing
Strategy details missing.
Defending
Strategy details missing.
New Queen Street
TBA RATING | TBA FEATURE
Map strategy details for New Queen Street are currently missing. You can help the Overwatch Wiki by adding them!
Pushing
Strategy details missing.
Defending
Strategy details missing.
Runasapi
TBA RATING | TBA FEATURE
Map strategy details for Runasapi are currently missing. You can help the Overwatch Wiki by adding them!
Pushing
Strategy details missing.
Defending
Strategy details missing.
Flashpoint
Flashpoint Map Strategies
Map
Strategy & Stage Tips
Overall Strategy
TBA RATING | TBA FEATURE
Map strategy details for Overall Strategy are currently missing. You can help the Overwatch Wiki by adding them!
Aatlis
TBA RATING | TBA FEATURE
Map strategy details for Aatlis are currently missing. You can help the Overwatch Wiki by adding them!
Station
Strategy details missing.
Garden
Strategy details missing.
Town Center
Strategy details missing.
Bazaar
Strategy details missing.
Resort
Strategy details missing.
New Junk City
TBA RATING | TBA FEATURE
Map strategy details for New Junk City are currently missing. You can help the Overwatch Wiki by adding them!
Arena
Strategy details missing.
The Ducts
Strategy details missing.
Refinery
Strategy details missing.
Junkyard
Strategy details missing.
Bomb Flats
Strategy details missing.
Suravasa
TBA RATING | TBA FEATURE
Map strategy details for Suravasa are currently missing. You can help the Overwatch Wiki by adding them!
Market
Strategy details missing.
Garden
Strategy details missing.
Palace
Strategy details missing.
Temple
Strategy details missing.
Ruins
Strategy details missing.
Achievements
Name
Icon
Description
Reward
Power Overwhelming
Keep Zarya's Particle Cannon above 70 power for 60 seconds in Quick or Competitive play.
Pixel
The Power Of Attraction
Capture 4 enemies in a single use of Zarya's Graviton Surge in Quick or Competitive play.
Zarya is the only character in the game whose melee animation differs if viewed in 1st person versus 3rd person.
Cultural References
Zarja (заря) is a Russian word for "dawn".[4] Her nickname, "Sasha," is a unisex name which originated in Eastern and Southern European countries as the shortened version of "Alexander" and "Alexandra."
Zarya is a playable character in Heroes of the Storm, as a Support class hero. Her abilities are almost completely preserved from Overwatch, apart from her second ult called 'Expulsion Zone' that deals damage and pushes enemy heroes away from an area.[5]
Zarya's ultimate has been replaced with Expulsion Zone in the Mirrorwatch event in Season 10.
Zarya's alien skin is possibly inspired by the Men In Black series.
Misc. Character Information
Zarya's particle cannon was ripped from the hull of an armored vehicle during battle, and is too heavy for most soldiers to carry. Her gloves conduct and amplify the energy flowing through it.[6]
The 512 tattoo on her shoulder is apparently her weightlifting record; two of her sprays depict a 512kg set of weights. This is a higher record than any woman's set in the Olympics to date, though not the highest ever recorded (although under the current format it exceeds all present records).[7]
In an arm-wrestling match between Brigitte and Zarya, Zarya would win (according to Michael Chu).[8]
Zarya's family is seen in New Blood Issue 4, though ambiguities remain. While two of her siblings are named, there are two other children and an elderly woman who are seen as well. These are presumably her siblings and mother (or grandmother), but this is not explicitly made clear.
Zarya takes unflavored protein powder with water.[10]
Rabbits are Zarya's favorite animal, specifically large ones.[11]
Under Winston's reformed Overwatch, Zarya and Pharah worked together to create a maneuver, where Zarya would draw energies in with her graviton surge, after which Pharah would unleash her rockets.[11]
Disputed Information
Note: The following information is taken from gameplay trailers, and is of dubious canon status.
Zarya and co. after repelling Talon
Zarya was part of an Overwatch team which engaged against Talon at Petra. With the aid of Venture, Overwatch successfully repelled Talon.[12]
A Zarya Funko Pop figure went on sale in 2018.[14]
Development
The idea for Zarya came from Arnold Tsang, when he found himself watching Russian athletes perform weightlifting routines during the Olympics. Tsang felt that the archtype wasn't seen in videogames.[15]
Zarya's design emerged from player demand for a greater diversity of genders, body types, and ethnicities.[16]
Removed abilities
Graviton Crush
Type
Minor Perk
Graviton Surge deals up to 40% of enemy max health as damage over time.
Zarya’s damage at high energy can be extremely high. Reducing her maximum primary fire damage lowers her effectiveness in these situations, while adjusting her perks helps balance her overall power.
Developer Comments: Spotter and Graviton Crush receive targeted buffs to improve their effectiveness and ensure they remain viable choices alongside their counterpart perks.
Developer Comment: Zarya's secondary fire didn't benefit much from the projectile size changes in Season 9 since it's mostly aimed at the ground. We're increasing its damage to keep it feeling effective relative to her primary fire beam.
Developer Comments: Increasing the health on these barriers also means the total energy Zarya can gain per barrier is increased, so this is a boost to both her offensive and defensive capabilities.
Developer Comment: We have been increasing the value of some tank ultimate abilities to account for the increased health pools and it helps to make the decision of when to counter-swap more of an interesting tradeoff. Graviton Surge was still very useful to set up combos with other ultimate abilities but we want to makes sure it's powerful enough on its own.
Most damage-dealing projectile sizes have been increased by a new global modifier added to their base size.
+0.05 meters for hitscan projectiles with a high rate of fire or spread (e.g., Tracer's Pulse Pistols or Reaper's Hellfire Shotguns).
+0.08 meters for hitscan projectiles that are more precise (e.g., Cassidy's Peacekeeper or Soldier:76's Heavy Pulse Rifle).
+0.05 meters for travel time projectiles that are shotguns or have a very high rate of fire (e.g., Roadhog's Scrap Gun or Ramattra's Void Accelerator).
+0.10 meters for travel time projectile with a speed greater than 50 meters per second (e.g., Zenyatta's Destruction Orb).
+0.15 meters for travel time projectile with a speed less than or equal to 50 meters per second (e.g., Pharah's Rocket Launcher).
Very large projectiles with a base size greater than 0.5 meters have been excluded from these increases (e.g., Orisa's Energy Javelin or Reinhardt's Fire Strike).
Hero combined HP (base health/armor/shields) increased by 15-25%.
150-175 HP heroes increased by 25 HP.
200-300 HP heroes increased by 50 HP.
300+ HP (Tanks) increased by 75-100 HP.
Each hero's precise health increases are listed in their patch notes below.
Ultimate Charge
All Ultimate ability costs increased by 10%.
Regenerative Passive for All Heroes
All heroes now regenerate 20 health per second after 5 seconds of not taking damage.
Developer Comments: Zarya is using the barrier on her allies more often to peel or initiate combination plays, which makes the ability more team-oriented and less self-serving. This change preserves that interesting choice by keeping the cooldown reduced when used on an ally while targeting her energy sustain instead, which has increased significantly with the bonuses to the barrier health and size.
Developer Comment: Zarya often spends both barrier charges on herself as it is usually more consistent for building energy. The change to Projected Barrier incentivizes using the barrier for her allies more often.
Developer Comment: A previous change decreased both barrier duration and increased the cooldown at the same time, lowering Zarya's effectiveness more than anticipated. This is a partial reversion to help level it out.
The shared cooldown for Particle Barrier and Projected Barrier reduced from 11 to 10 seconds
Early player sentiment predicted Zarya as one of the weakest solo tanks in 5v5, although her high damage potential and barrier uptime have proven to be extremely effective. For opponents, feedback has indicated this can feel as though Zarya has very limited windows of vulnerability, which feels difficult to deal with when combined with her ramping damage potential.
These changes will reduce the barrier uptime, making it slightly more difficult for her to gain energy and will provide enemies with more time to deal damage to her.
There are less counters to Graviton Surge with one less tank per team and phase effects no longer escaping Zarya’s ultimate. We observed the ultimate over-performing, so this change brings it in line with 5v5 gameplay.
Developer Comments: Zarya continues to overperform at all levels. Most of her power comes from how Weapon Power scales with Energy, allowing her to reach very high damage ceilings, so slowing down the rate at which she can scale her Weapon Power.
Reduced cash income from damage and healing by 12.5%.
Developer Comments: Zarya continues to be overperforming, especially at higher levels of play. We're reducing some of the survivability of Weapon Power Zarya builds so that she should be more vulnerable, especially if she is opting to itemize full damage.
Could not find 'Lifelift' in 'StadiumAbilities'. Check spelling and see Help:Cargo if the issue persists. – Power
Reduced Particle Barrier health scaling to 25% of your bonus Max Life (down from 50%).
Could not find 'Pre-Workout' in 'StadiumAbilities'. Check spelling and see Help:Cargo if the issue persists. – Power
Reduced Lifesteal to 15% of your Energy (down from 20%).
Developer Comments: Lifelift has proven to be the most consistently effective Power for Zarya. We're reducing the scaling on it to try and make it feel less like a must pick in all styles of Zarya builds.
We’re also adding a little bit more healing in hopes of making Here to Spot You a bit more reliable of a power to choose from.
Could not find 'Lifelift' in 'StadiumAbilities'. Check spelling and see Help:Cargo if the issue persists. – Power
Particle Barrier health scaling reduced to 50% of your bonus Max Life (down from 100%).
Could not find 'Here to Spot You' in 'StadiumAbilities'. Check spelling and see Help:Cargo if the issue persists. – Power
Increased healing to 20% of your Max Life over 3s (up from 15%).
Beam damage now scales from 75-170 damage-per-second, down from 95-170
Developer Comment: Zarya's base damage wasn't adjusted after the beam hit detection changes awhile back but she wasn't seeing much use at the time either. Now that she has a more dominant presence in a variety of team compositions, we're looking at reducing her beams average damage, though the same maximum damage is still achievable.
Developer Comment: Zarya has been overperforming in a variety of team compositions so the increased drain rate will bring her average energy level down slightly between engagements.
Developer Comment: Zarya’s overall damage output is in a good spot but the secondary fire was left feeling a little too weak after the last set of changes.
Alternative Fire’s explosion radius changed to 2 meters, regardless of energy level
Developer Comments: Zarya’s damage greatly increases when at high energy, while also gaining increased beam size and a larger explosion radius. This often allowed Zarya to deal too much damage and made the explosions from the Alternate Fire on her Particle Cannon nearly impossible to avoid. This change will still allow Zarya to deal a lot of damage, but makes it more difficult to actually apply the damage.
Developer Comment: The smaller radius on Graviton Surge makes it more reasonable for her enemies to try countering it by staying spread out, as well as putting more focus on Zarya to position the ultimate correctly to impact the most players possible. However, the intent of these changes isn’t to lessen Zarya’s overall power significantly so we’re reducing her energy drain rate, which should keep her energy higher on average resulting in more damage and quicker ultimate charge times. Overall, this takes some power out of her ultimate and distributes it else ware to add more counter play against her.
Now disables mobility abilities on all affected targets
Developer Comment: In the past, the abilities that allowed heroes to escape Zarya’s Graviton Surge felt fairly arbitrary. We’re cleaning this up and increasing Graviton Surge's overall power by rendering all movement abilities unusable when an enemy is trapped.
Developer Comment: This is actually reverting a change that we made a few patches ago, which made players immune to knockbacks if they were hit by an effect from inside her barrier. This had some negative side effects, such as making targets immune to knockbacks from effects that pierce barriers, like Reinhardt’s charge and Winston’s Primal Rage punches. Now, these will cause knockback again. This does not affect knockbacks from effects that originate from outside her barriers, such as Pharah’s Concussive Blast. Those will still be blocked by the barriers, not causing any knockback.
Attacks like Reinhardt's Fire Strike or Hanzo's Dragonstrike that deal damage to both the barrier and the hero within the barrier, no longer deal damage to the barrier twice
Developer Comment: This is a bug fix, but we think it's significant enough to warrant a separate note. We've had a long-standing bug that caused "piercing" damage to hit Zarya's barrier twice. Sometimes this benefited Zarya (for example, jumping in front of Reinhardt's Fire Strike was a good way to generate a large amount of energy quickly), and sometimes it really hurt her (Genji’s Dragonblade, for example, would cut through her shield in one swing, instead of two). This change isn’t intended to buff or a nerf to Zarya. We're simply trying get her abilities working as they should, and we’ll keep an eye on how it affects her balance.
Developer Comment: Considering her potential damage output, Zarya was starting to feel like a mandatory pick in most situations. Rather than reduce her damage output, this change makes achieving her maximum power and damage output slightly more difficult.
 Overwatch 2 Key Art
 Overwatch 1 Key Art
 3D Portrait
 2D Portrait
 Zarya at 0, 50, and 100 energy
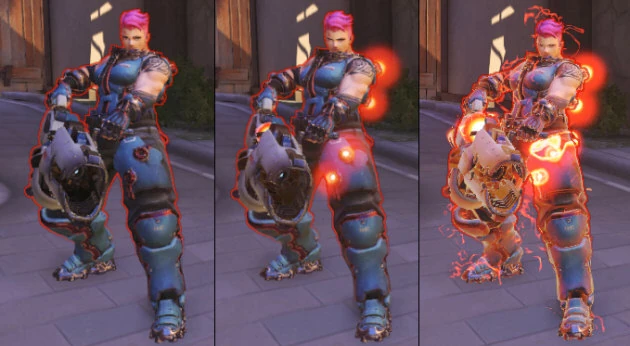


 Earthshatter and
  Overrun are affected by the damage reduction, but
  Virus and
  Volatile Chaingun's forced critical hits against burning targets are not.
 Particle and
  Projected Barrier (max. 100%).
 Resurrect does not restore Energy.)


 Defense Matrix,
  Kinetic Grasp,
  Javelin Spin,
  Power Matrix and
  Kekkai Sanctuary and reflected by
  Deflect before it impacts, but the impact explosion is unaffected.
 Amplification Matrix affects all damage dealt, if the projectile passes through it. Splash damage alone going through is not amplified.
 Panopticon.
 Rocket Punch or
  Charge.
 Steel Trap from activating but does not remove its effects.
 Pulse Bomb,
  Jagged Blade or
  Tracking Shot.
 Graviton Surge,
  Gravitic Flux or
  Cage Fight.
 Blizzard.
 Life Grip.
 Petal Platform, provided it can be activated.


 Energy (Passive): Zarya spawns with 0 Energy and can gain a maximum of 100 Energy. Energy is gained when her Particle Barrier or Projected Barrier absorb damage, at a rate of 1% energy for every 5 points of damage absorbed. For every 1 Energy Zarya has, the damage of her Particle Cannon is increased by approximately .7895%. Energy will slowly decay over time at 1.8% every second.
 Particle Cannon: Zarya's main weapon. The primary fire, when held down, shoots out a hitscan beam that deals continuous damage to the first enemy it hits. The secondary fire consumes more ammunition and shoots out a grenade-like ball of energy that detonates when it hits an enemy or solid surface, dealing damage in an area. This detonation will damage Zarya; the damage will be negated by Particle Barrier, but does not return any Energy.


 Overwatch 1 Hero Portrait
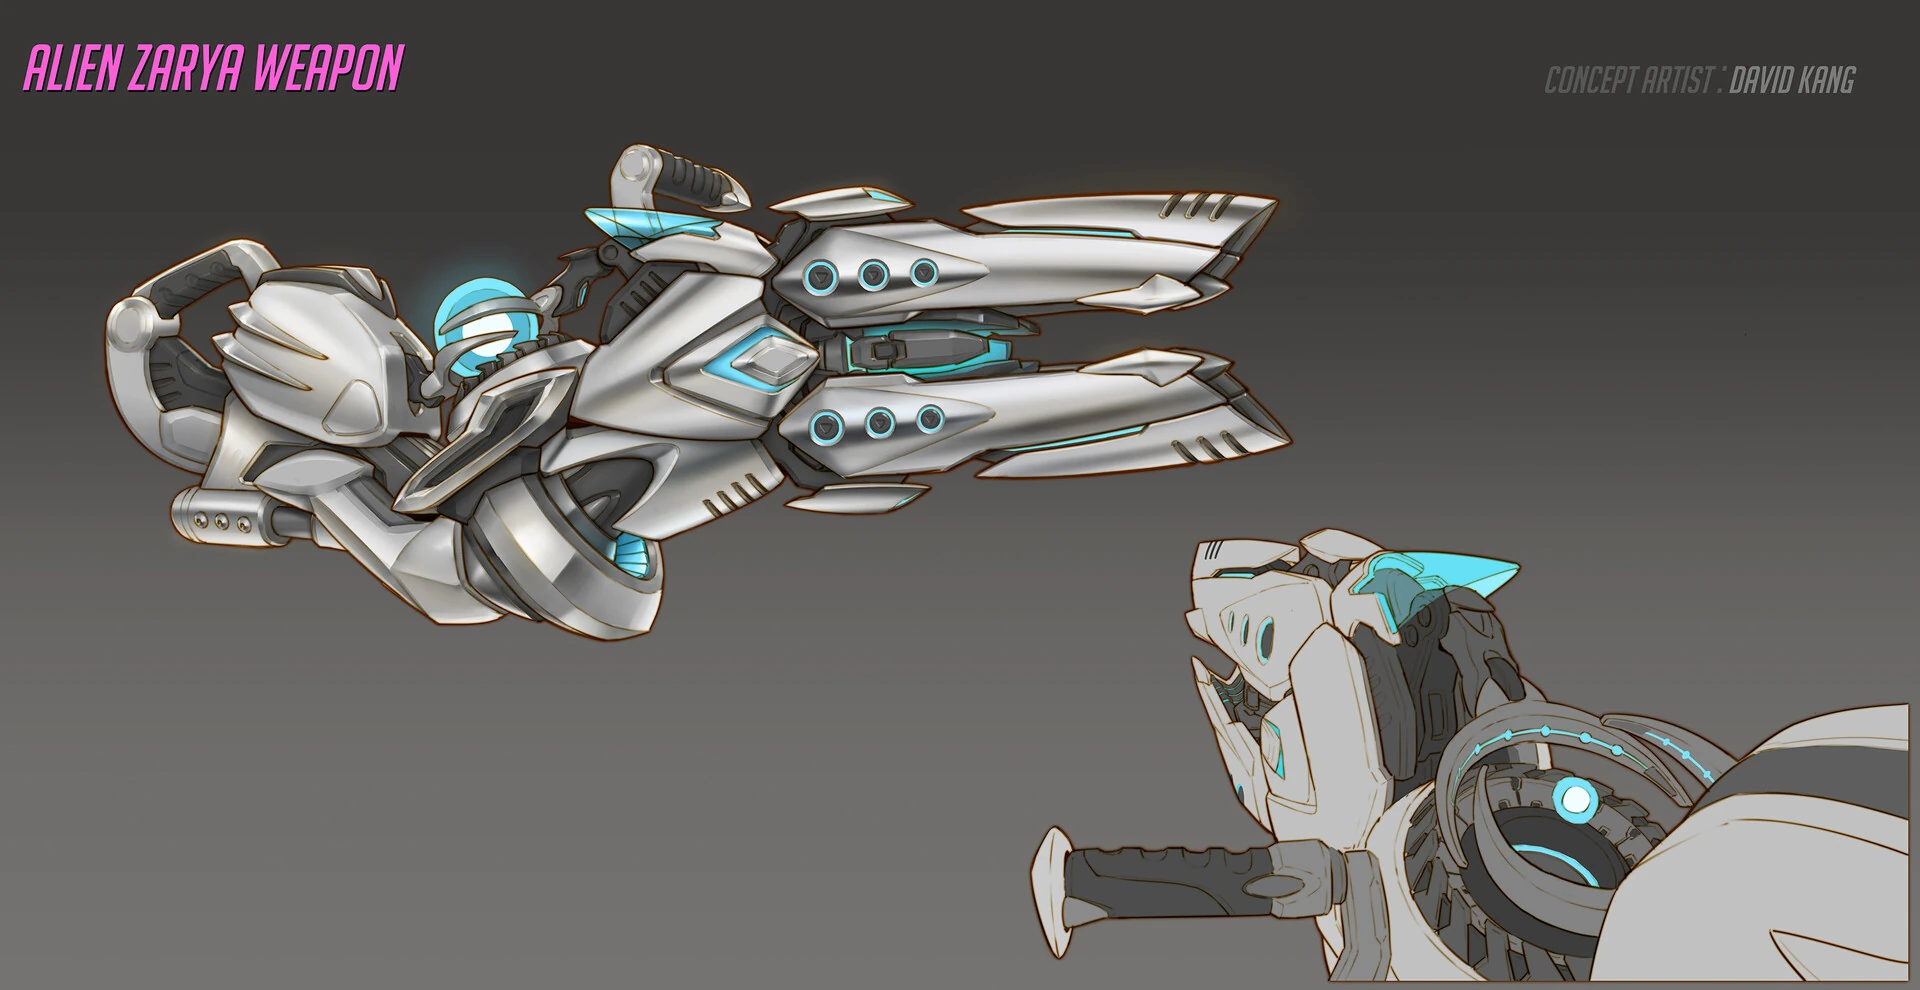
 Alien Skin Concept Art by David Kang
 Alien Skin Weapon Concept Art by David Kang
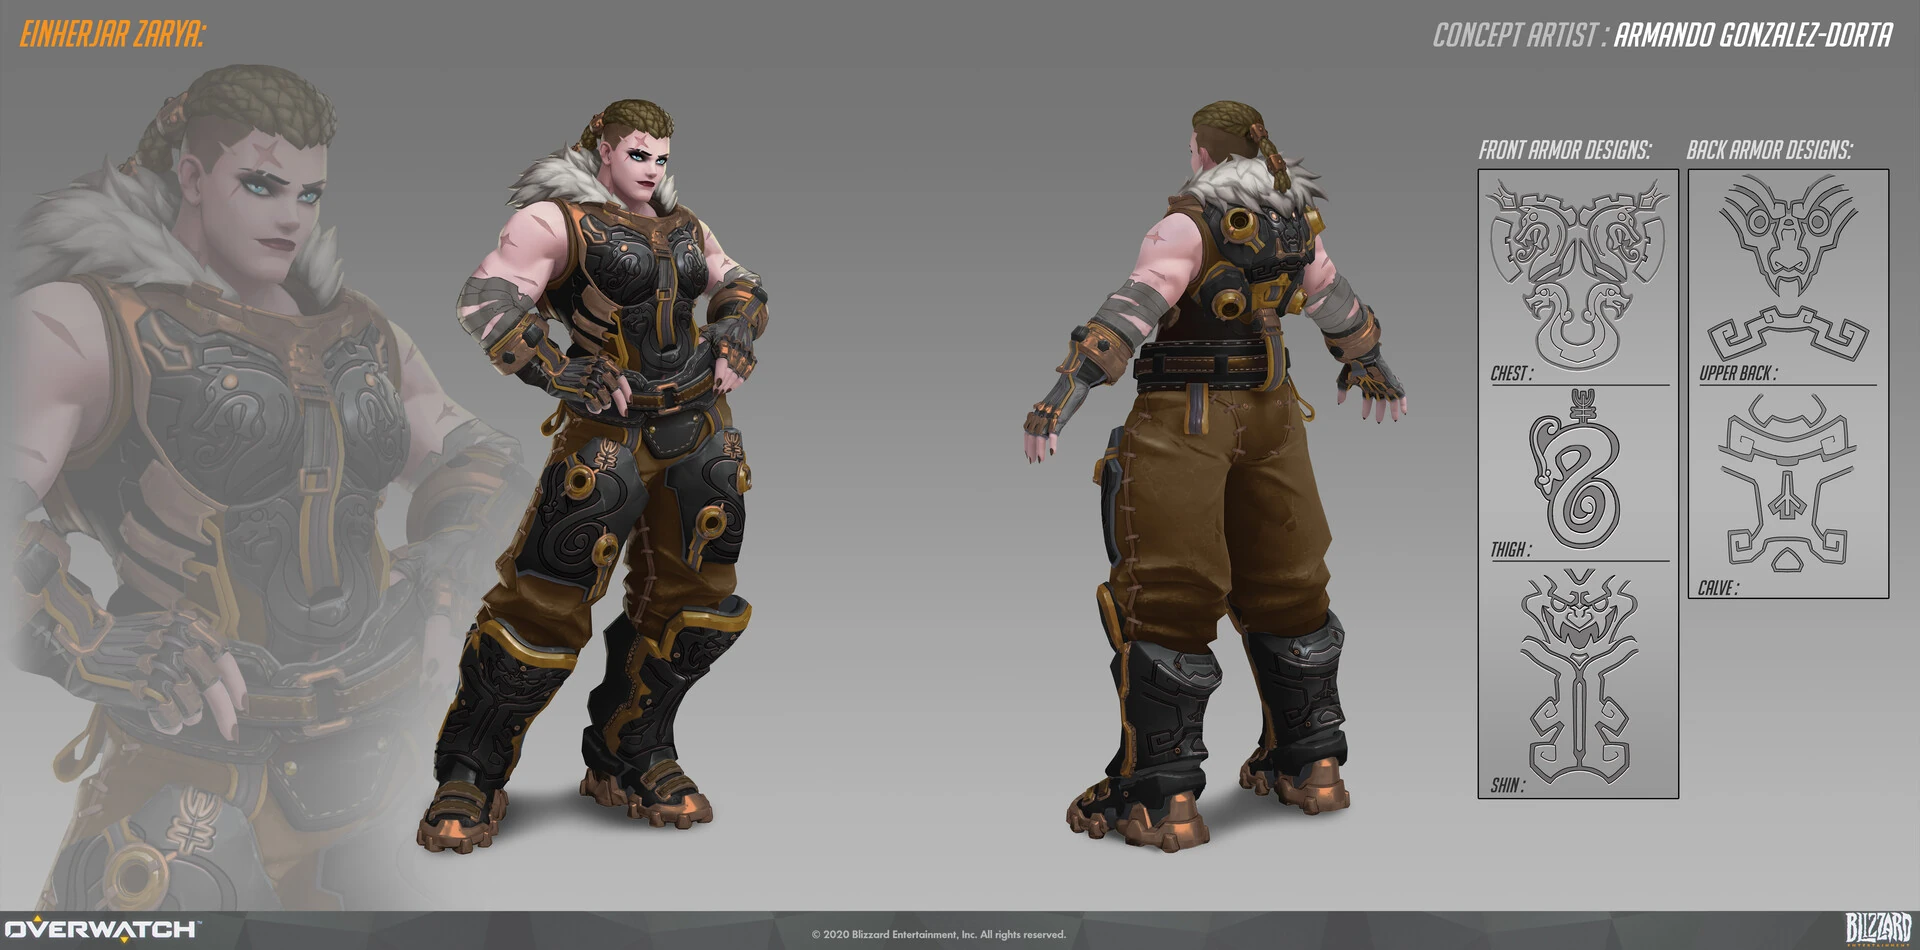
 Einherjar Skin Concept Art by Armando Gonzalez-Dorta
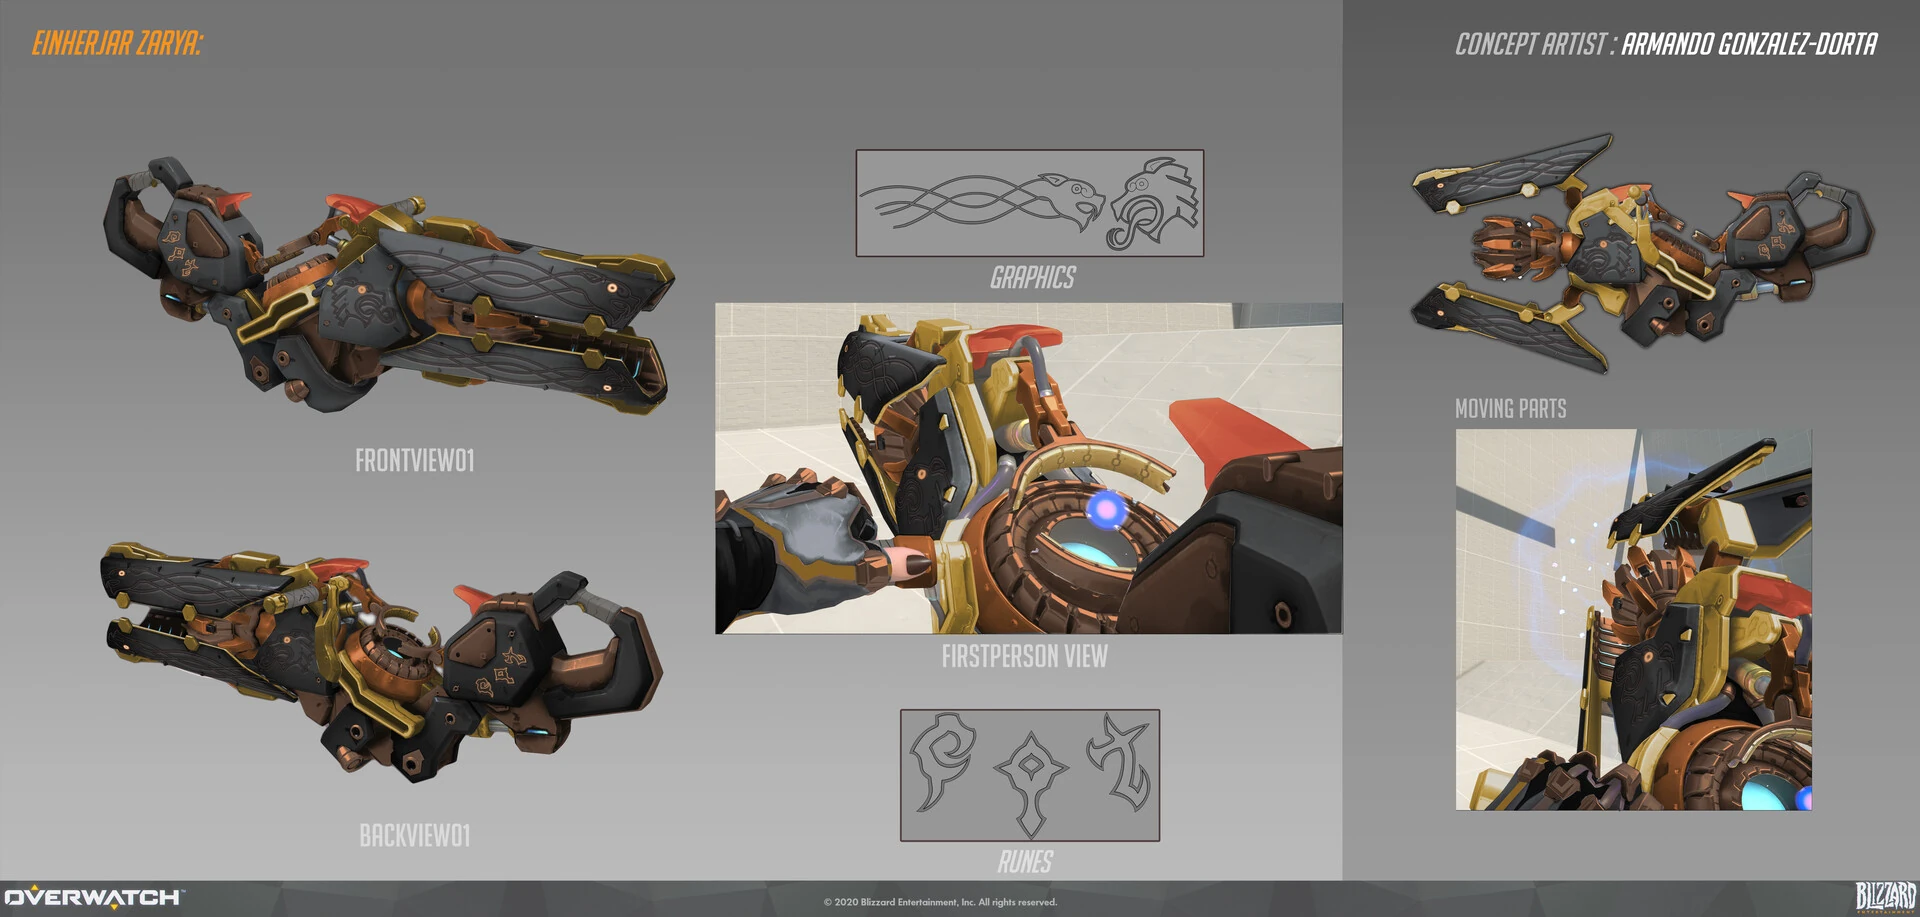
 Einherjar Skin Weapon Concept Art by Armando Gonzalez-Dorta
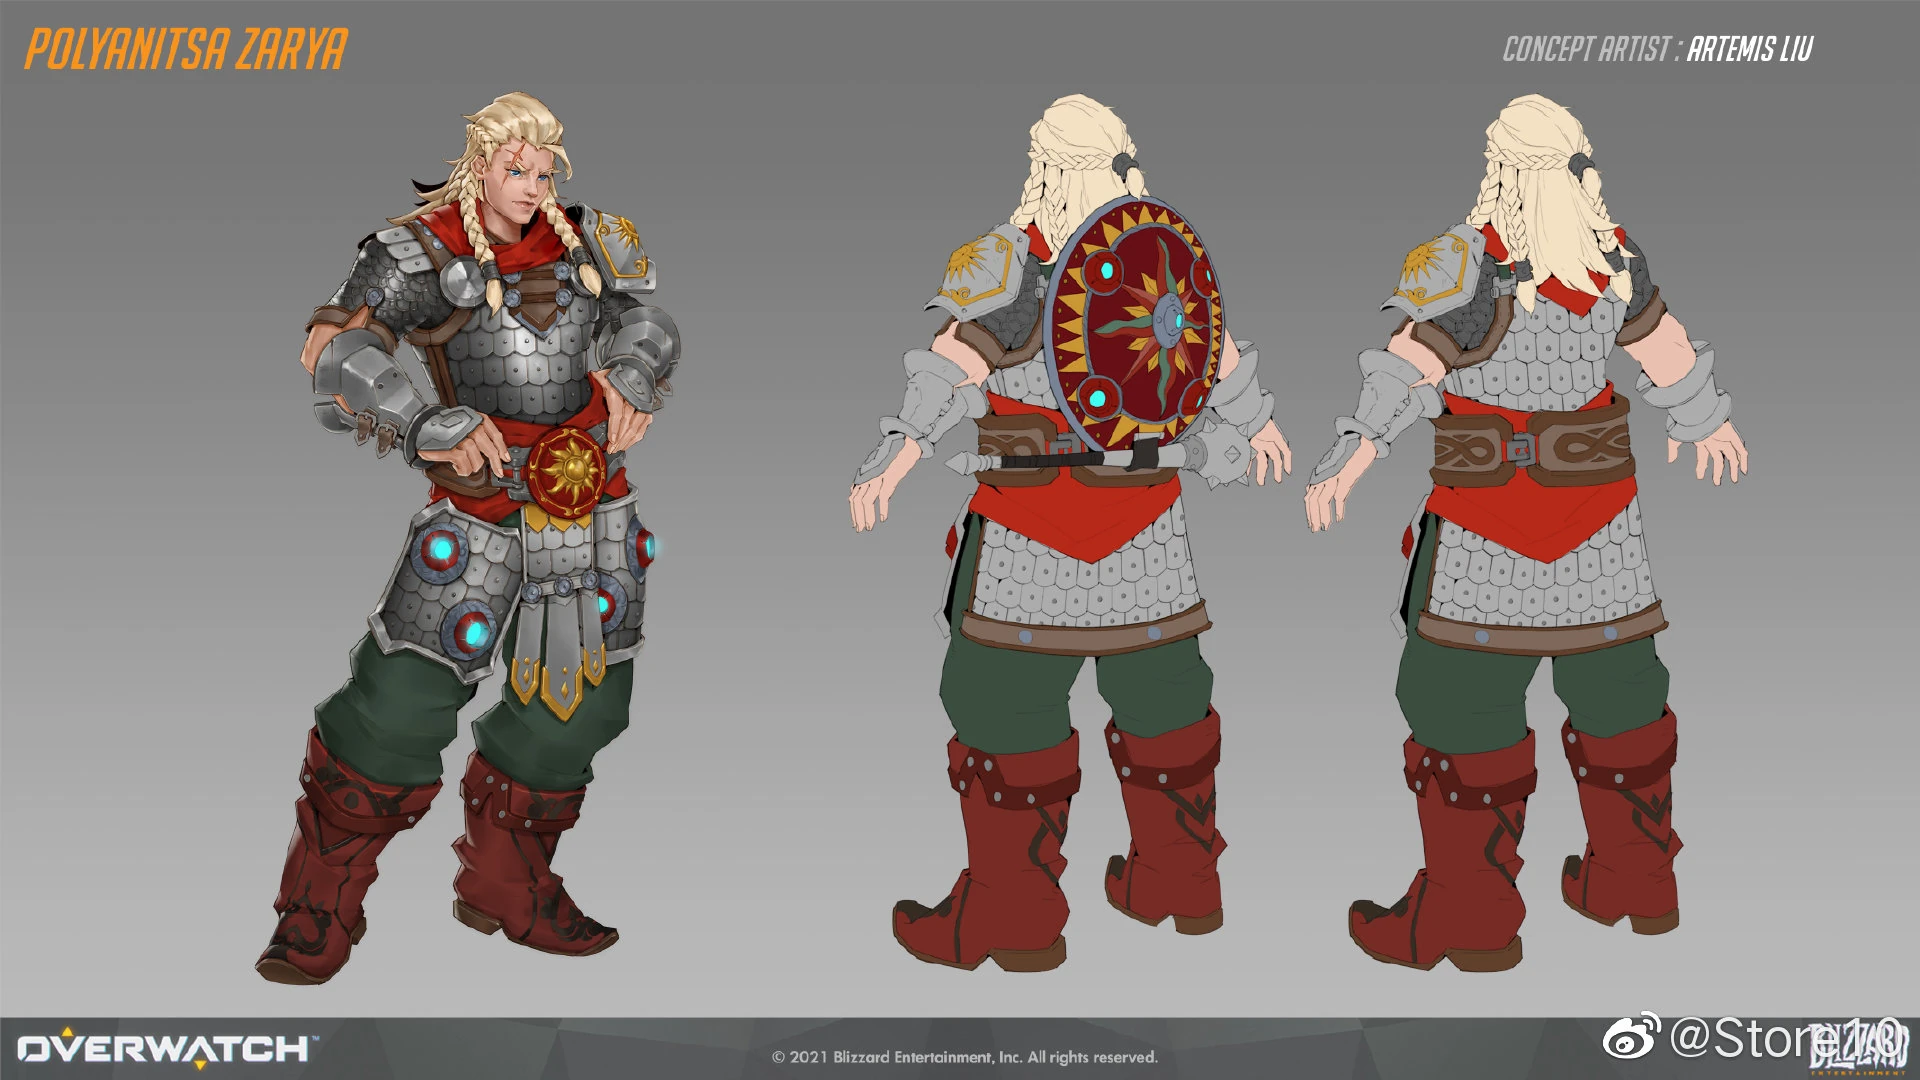
 Polyanitsa Skin Concept Art by Yiming Liu
 Polyanitsa Skin Weapon Concept Art by Yiming Liu
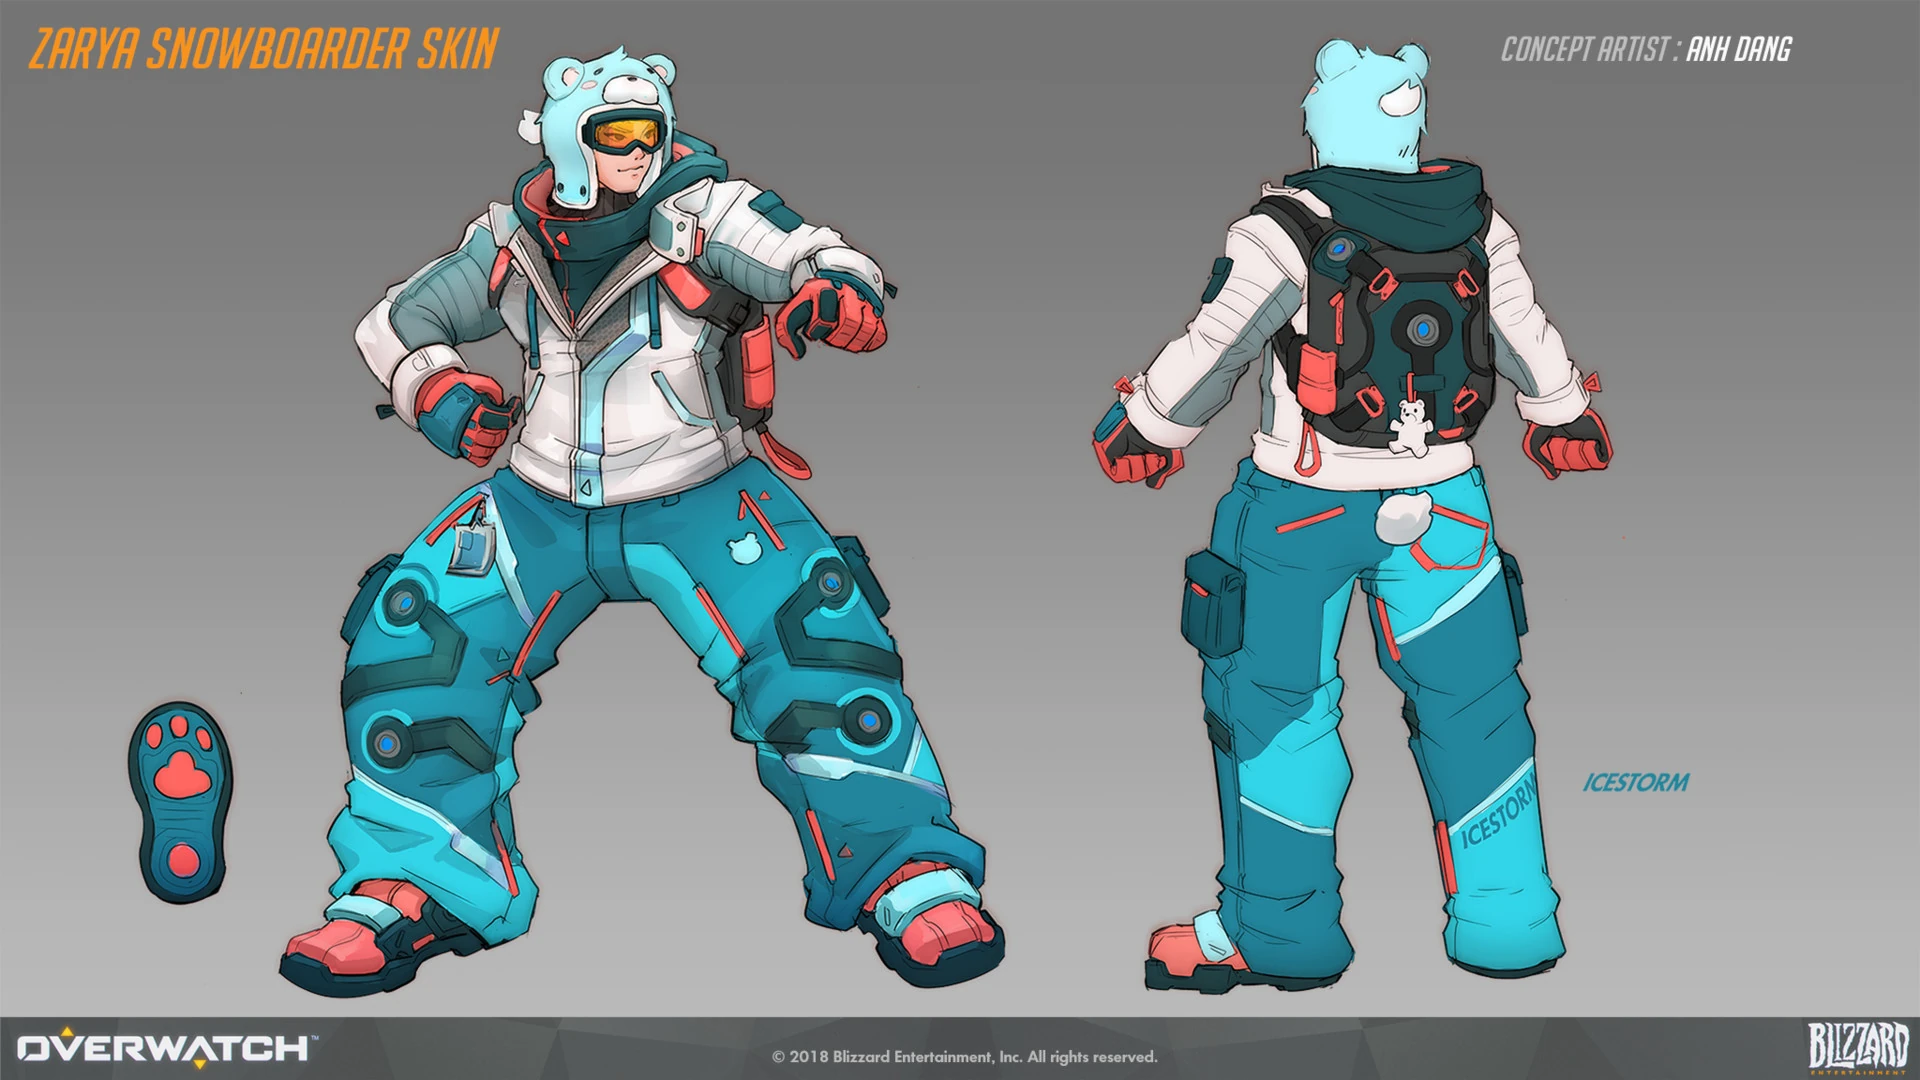
 Snowboarder Skin Concept Art by Anh Dang
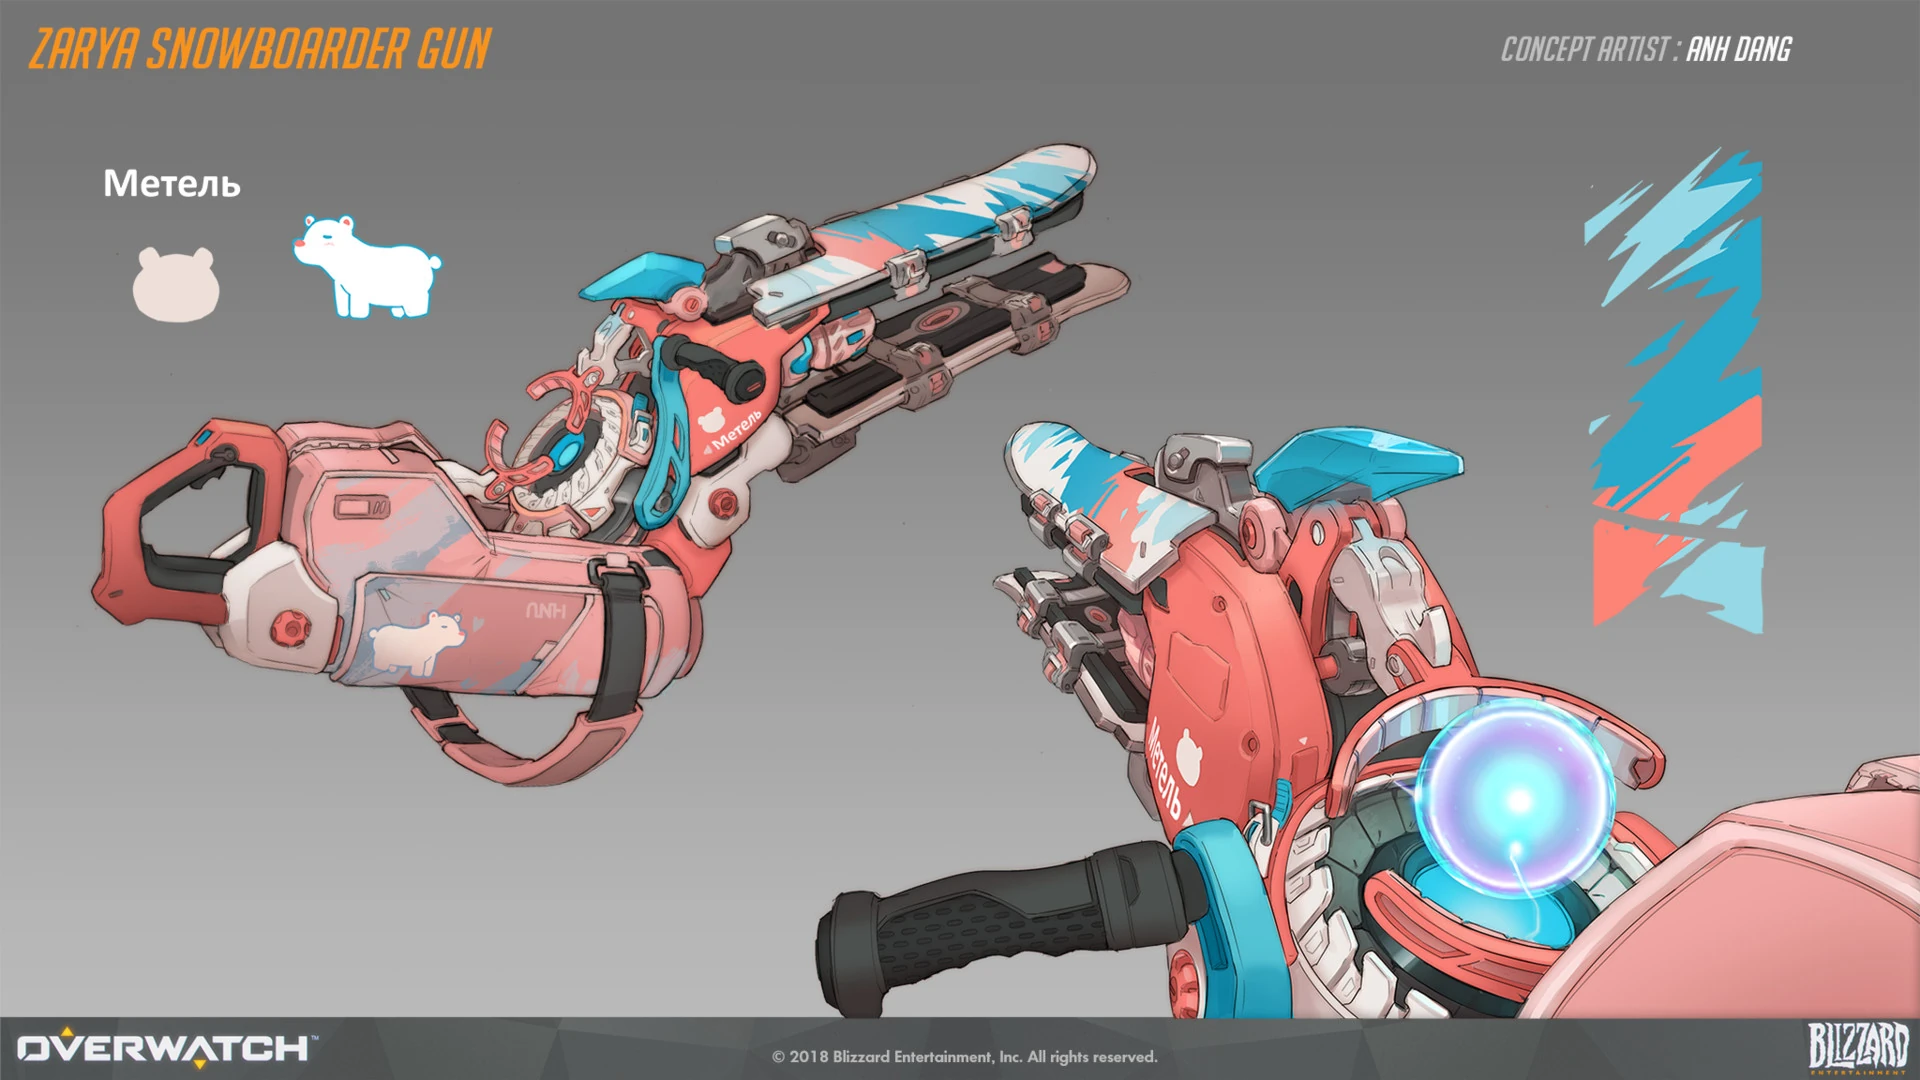
 Snowboarder Skin Weapon Concept Art by Anh Dang
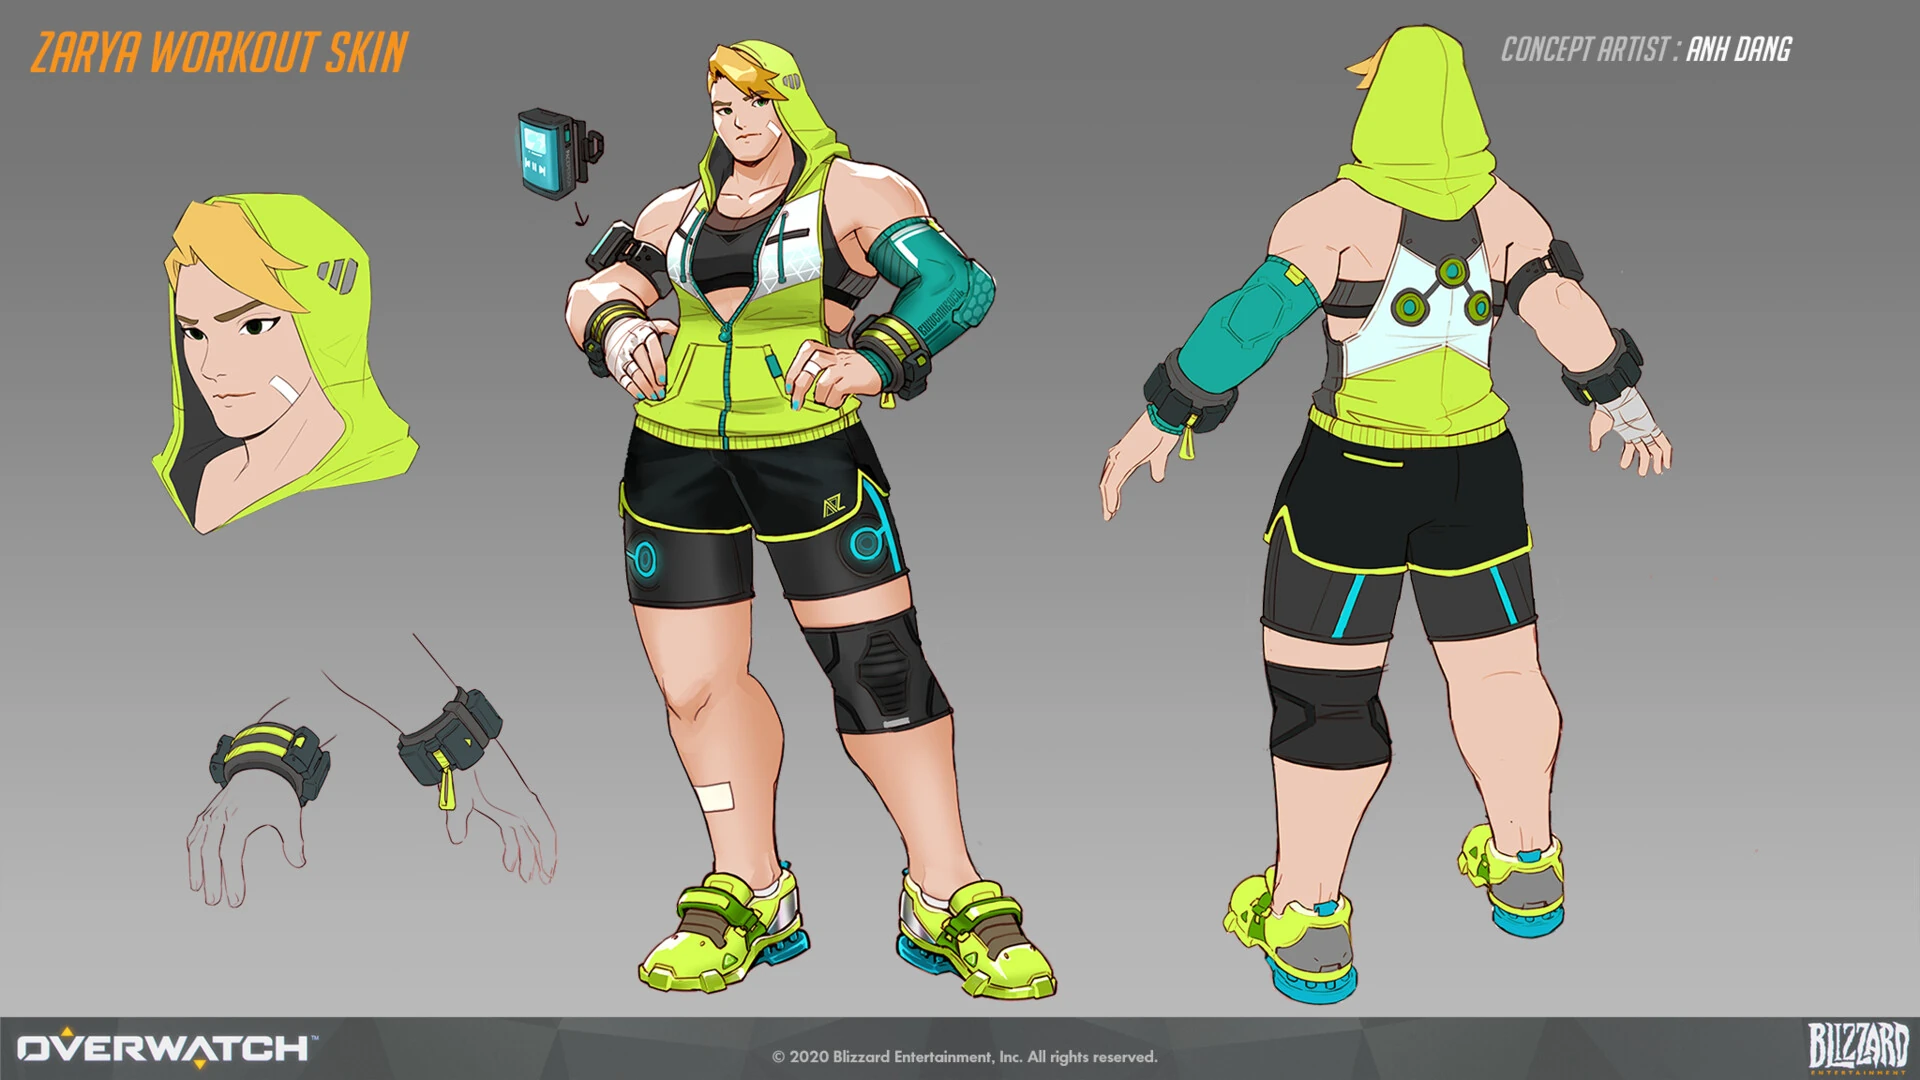
 Workout Skin Concept Art by Anh Dang
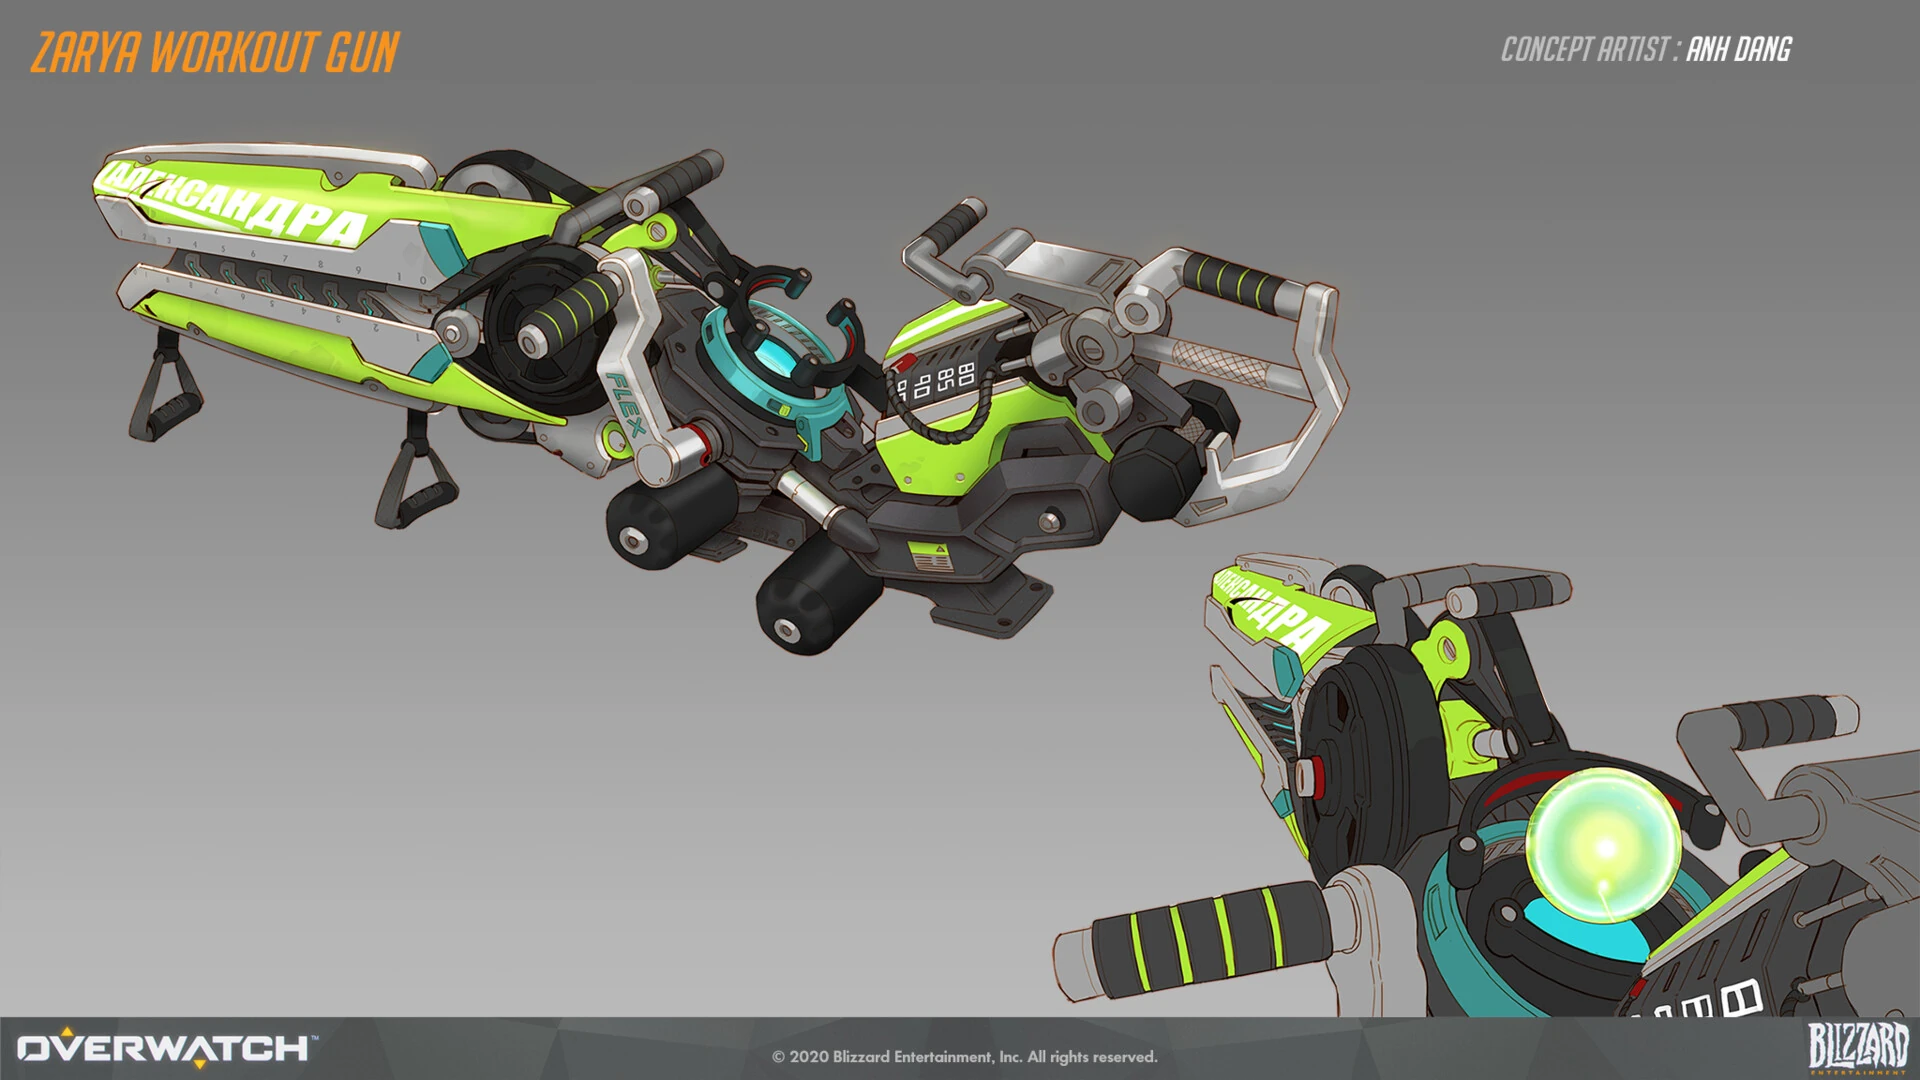
 Workout Skin Weapon Concept Art by Anh Dang
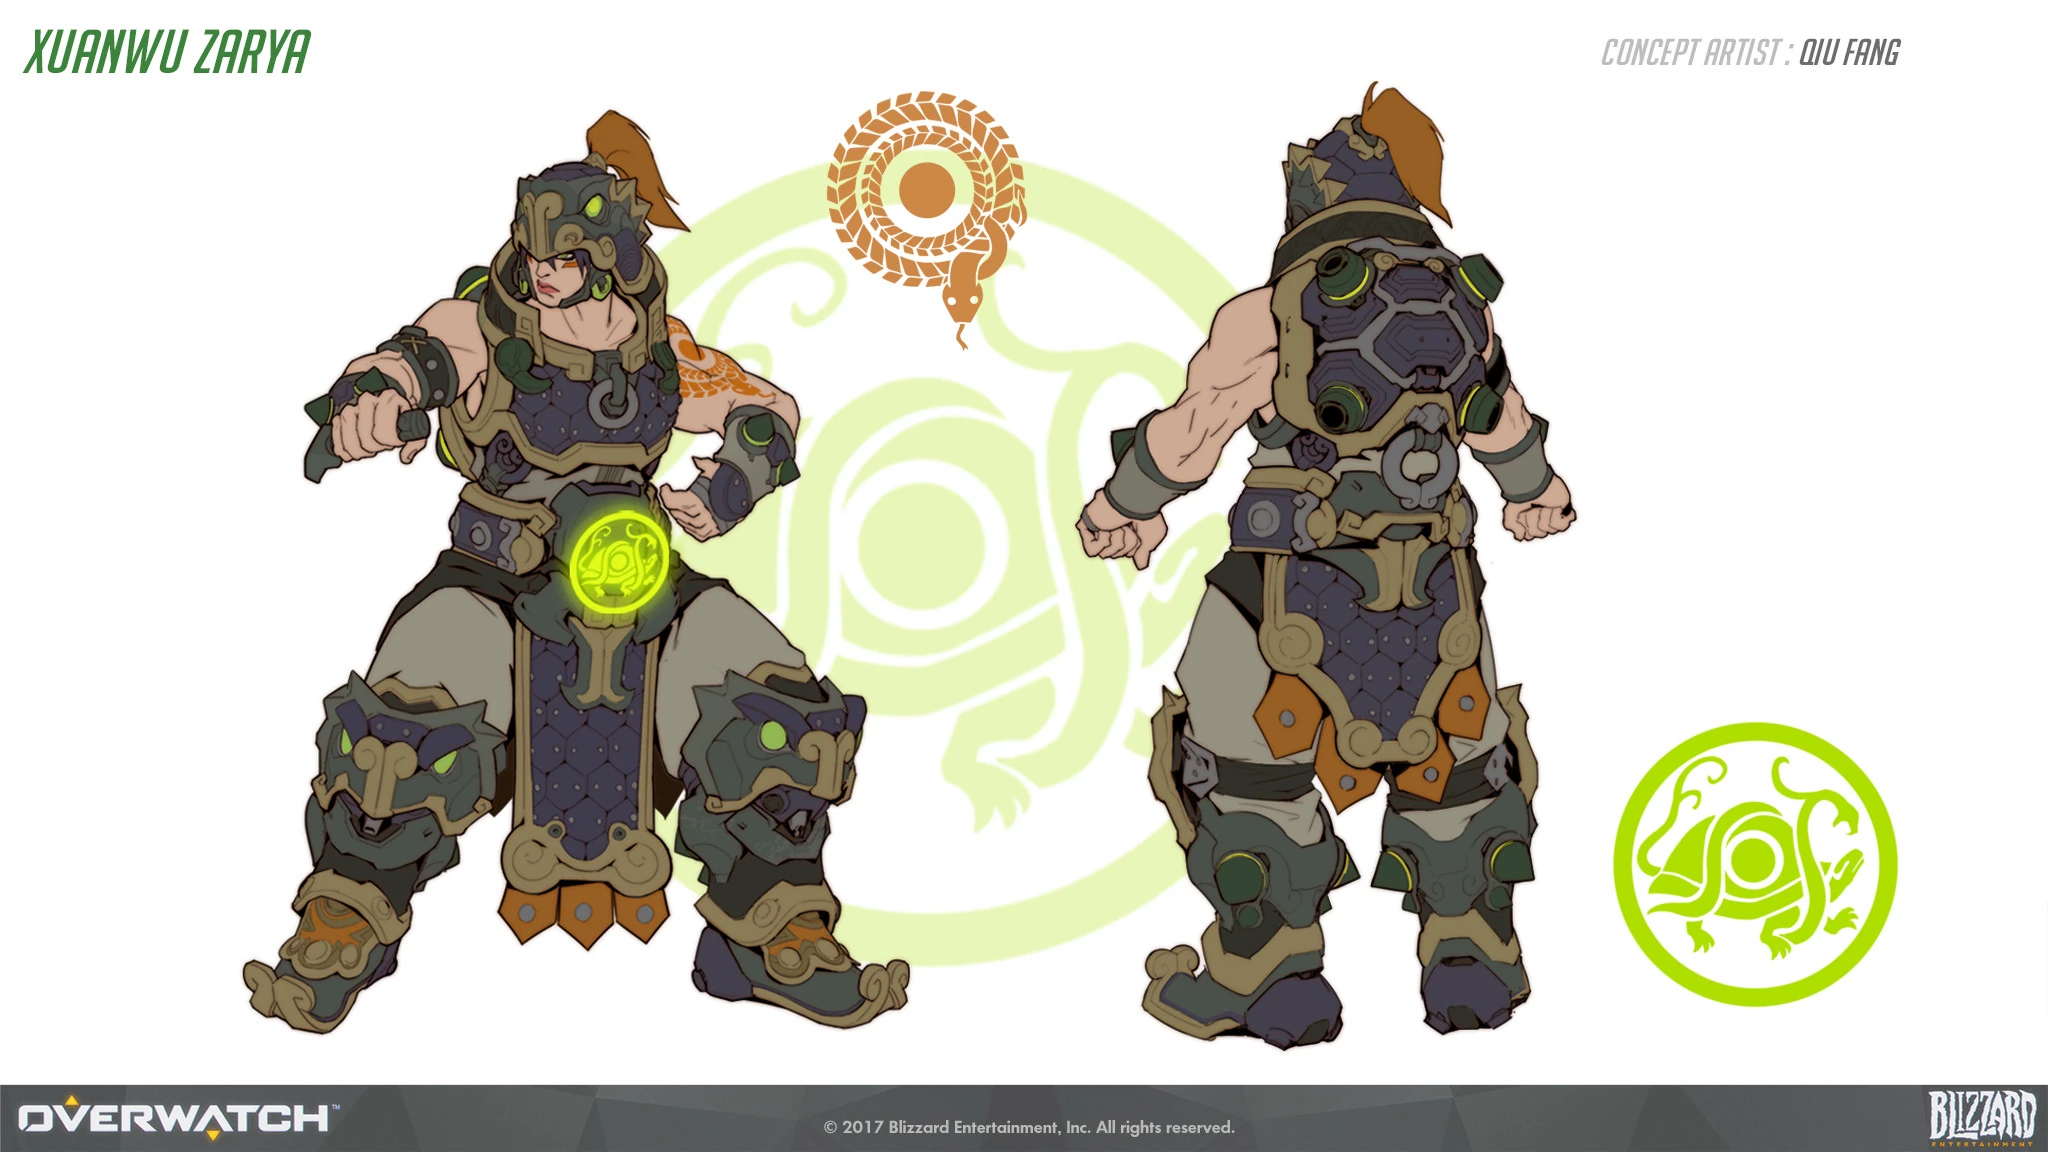
 Xuanwu Skin Concept Art by Qiu Fang
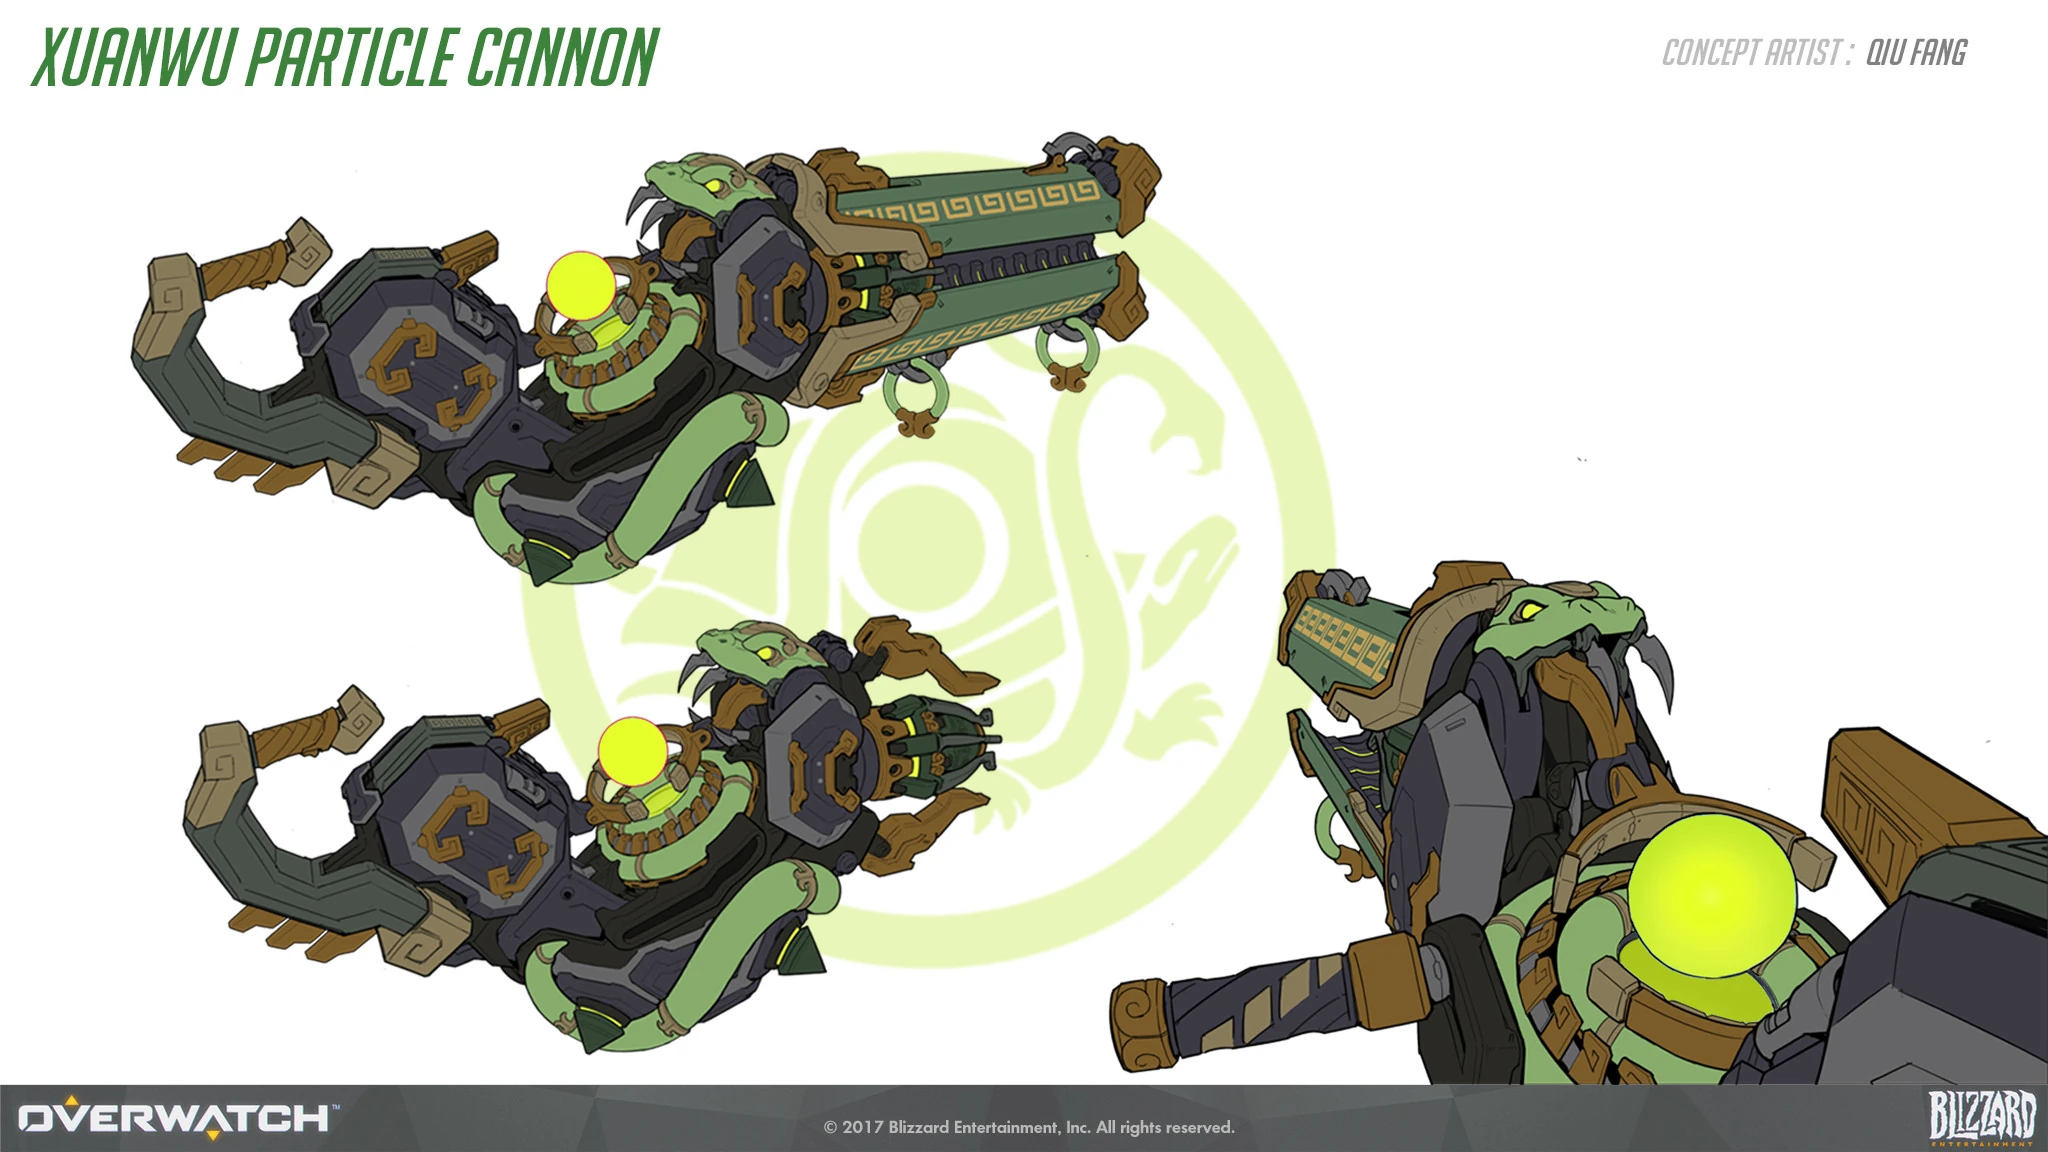
 Xuanwu Skin Weapon Concept Art by Qiu Fang
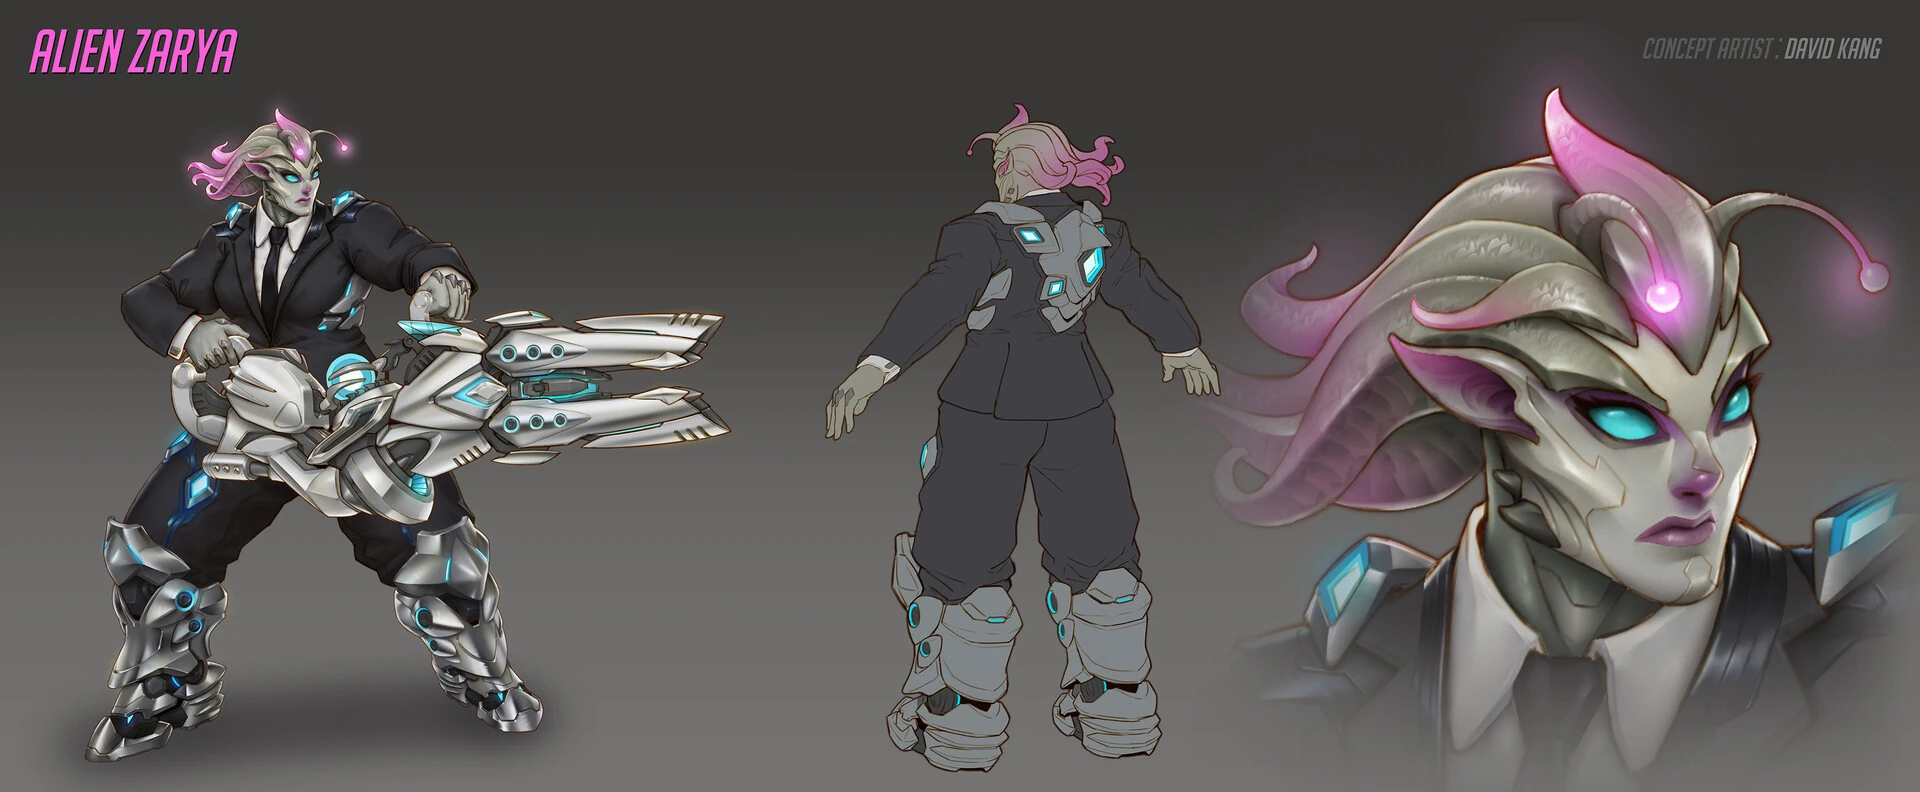

 Wraith Form while in Graviton Surge to prevent damage but can’t walk out of it
 Fire Strike or Hanzo's
  Dragonstrike that deal damage to both the barrier and the hero within the barrier, no longer deal damage to the barrier twice


