Reaper is a Flanker Damage hero in Overwatch. He is one of the 21 heroes included in the game's release on 24 May 2016.
Overview
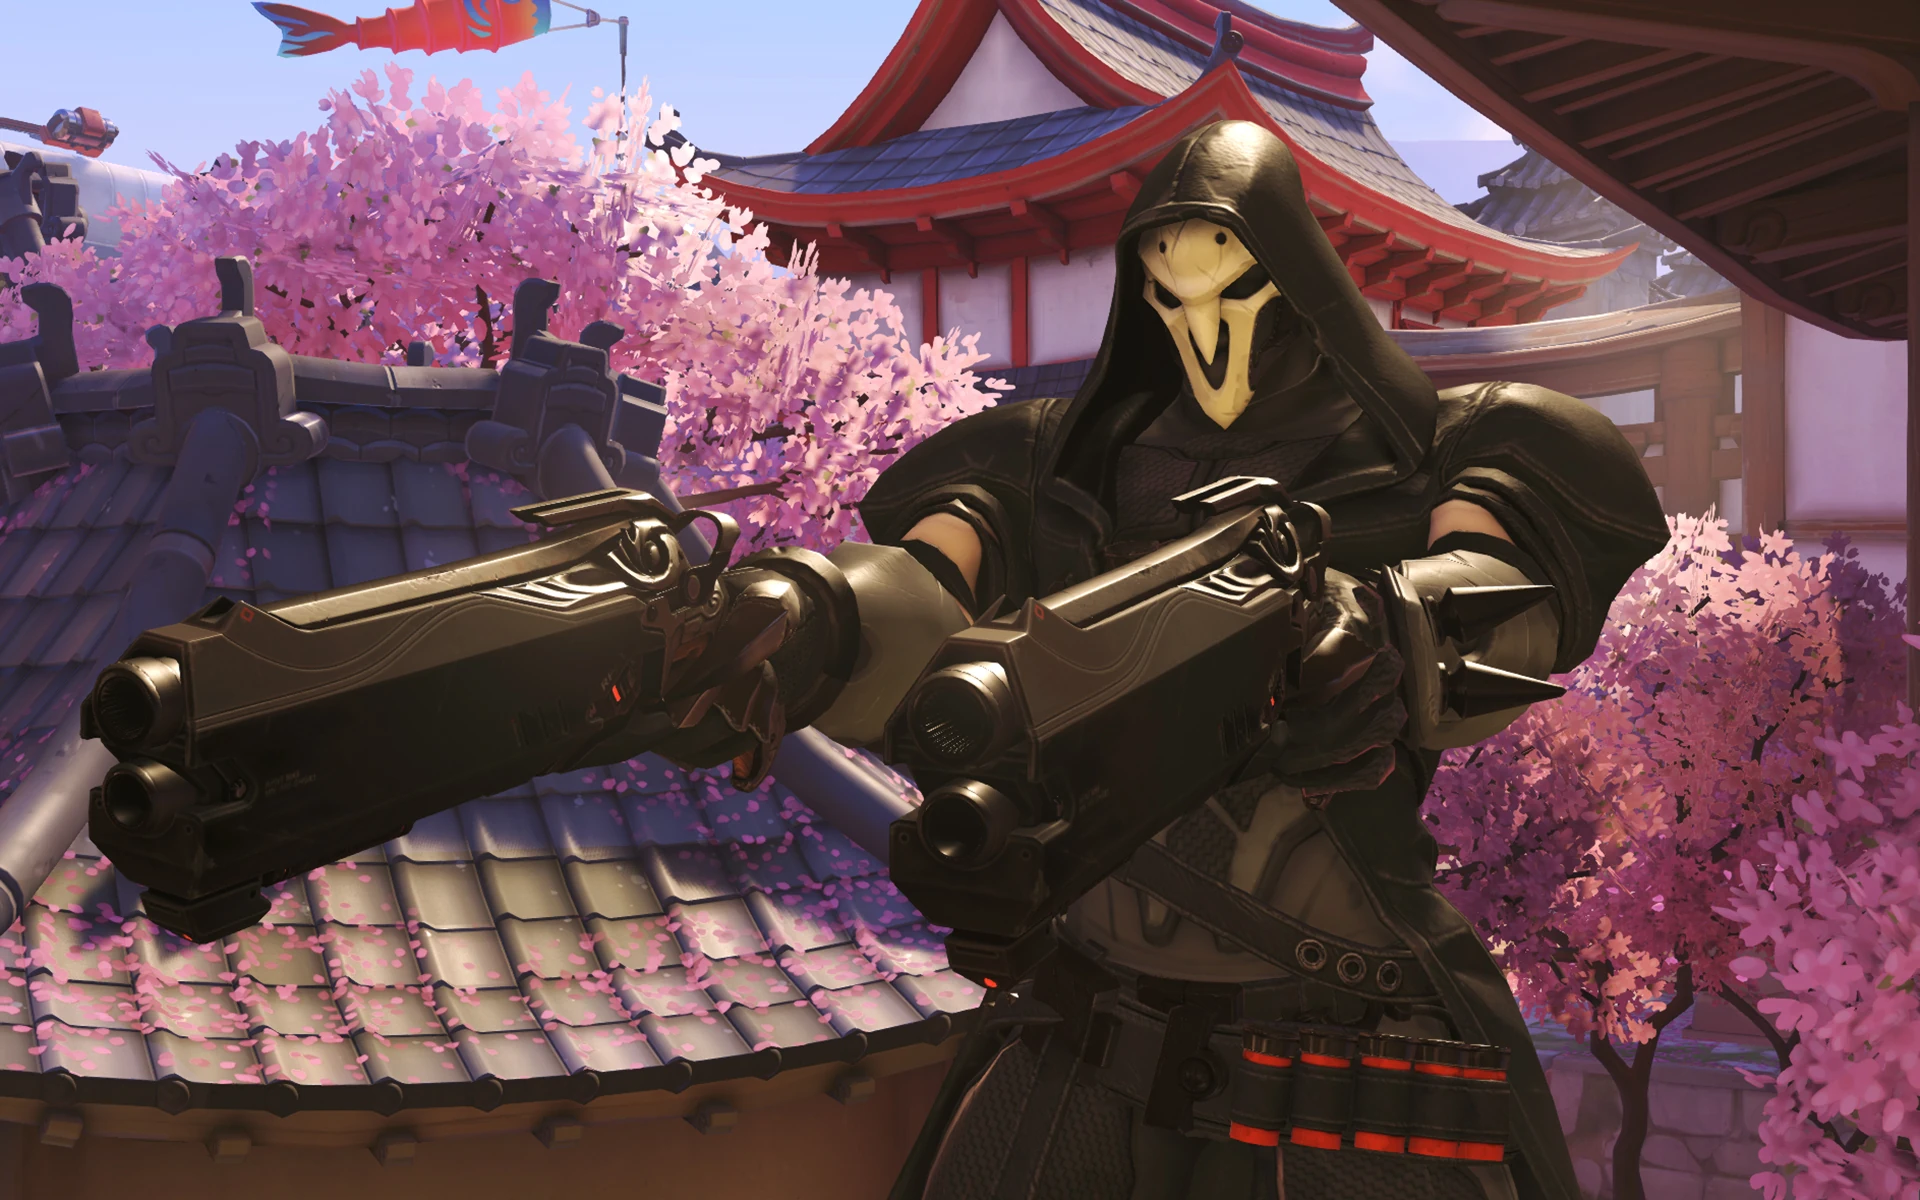
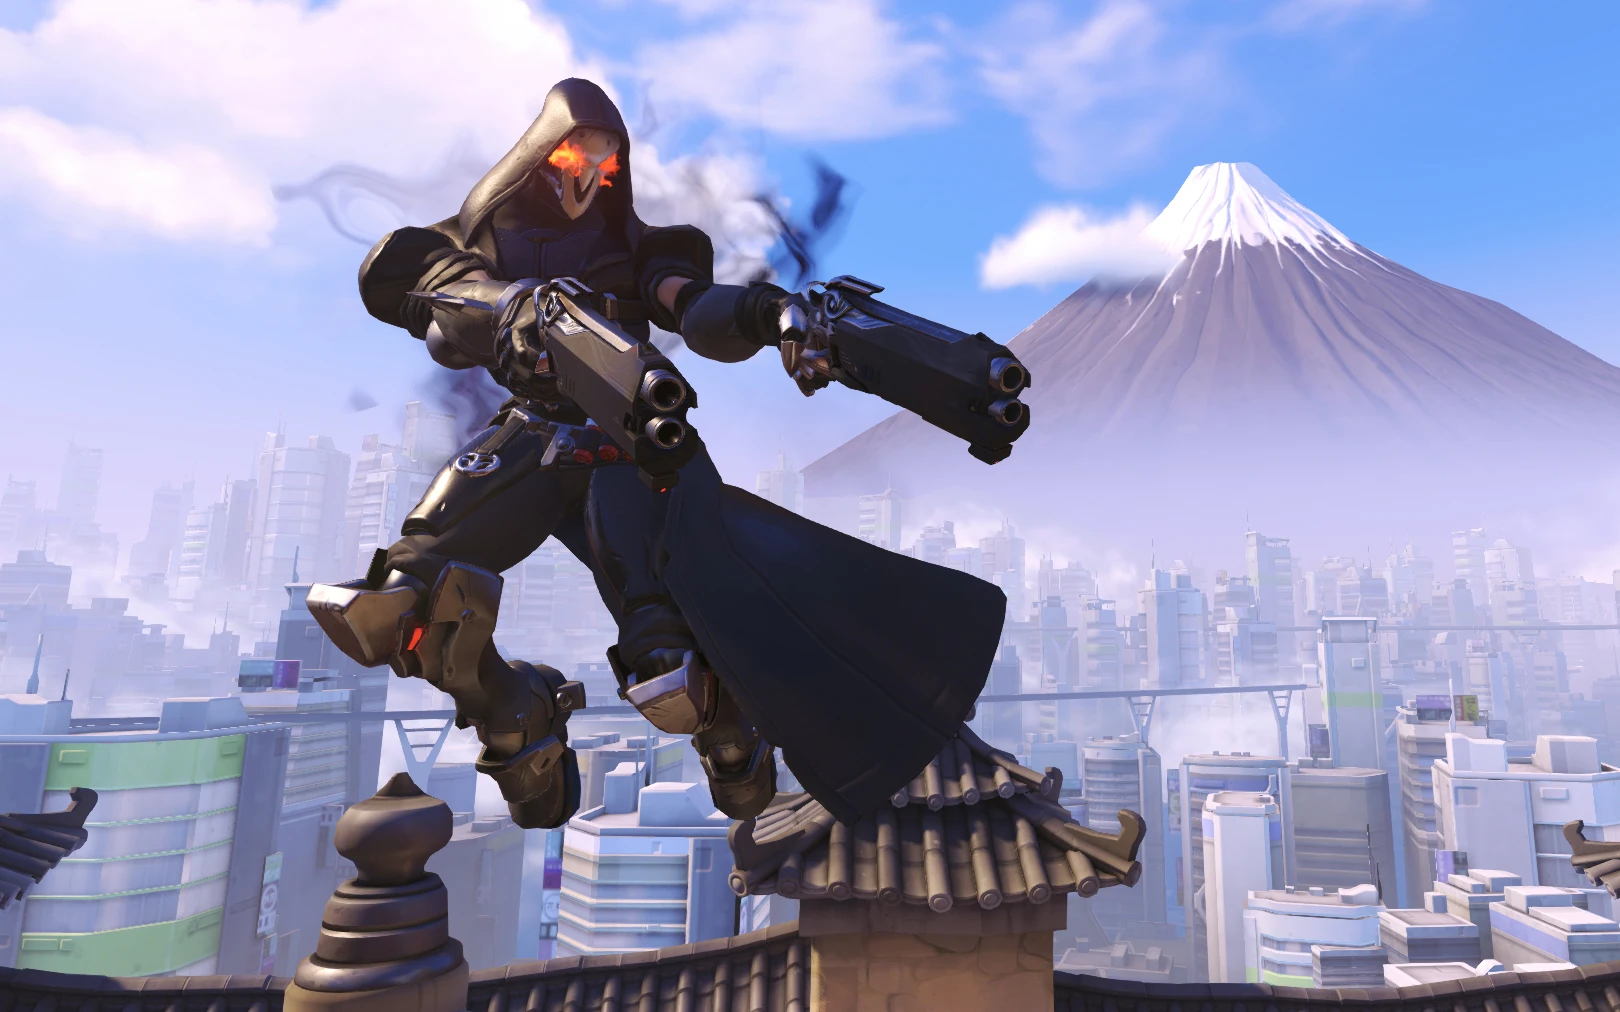
Hellfire Shotguns, the ghostly ability to become immune to damage, and the power to step between shadows make Reaper one of the deadliest beings on Earth.
-
 3D portrait
 -
 2D portrait

Abilities
Passive Abilities


- Small Health packs restore 150 Hit points, up from 75.
- Large Health packs restore 325 Hit points, up from 250.
- Anran, Genji, and Tracer additionally have a higher base movement speed of 6.0m/s, rather than the normal 5.5m/s.

- Counts all damage from Reaper, even from quick melee or environmental kills.
- Does not generate ultimate charge.
Weapons


115 – 34.5 per shot
- Damage per second: 230 while firing (153.33 overall with reload)
- Healing per second: 57.5 while firing (38.3325 overall with reload)
Special Abilities

69 - 20.7 (per blast)
138 - 41.4 (both blasts)
2 blasts per shot
- Damage per pellet is equal to 60% of the base Hellfire Shotguns' damage.
- Both shotguns will still fire even if there is only one shot left in the magazine.

3 seconds (max)
- Wraith Form is a channeled ability; Reaper cannot fire or use other abilities while it's active.
- Reaper becomes phased out, cleansing him of status effects and becoming immune to enemy damage and abilities.
- Reaper can still be hit by
 Graviton Surge,
  Gravitic Flux and
  Cage Fight while phased, however these will only lock his movement, and will not deal any damage or interrupt the ability.
- Reaper can still be hit by
- Automatically reloads Hellfire Shotguns to full ammo.
- Can be cancelled early by reactivating the ability.
- Health Packs can be picked up while phased.
- Wraith Form is not interrupted when pulled by
 Life Grip.
 - Wraith Form's movement speed buff does not count towards global movement speed buff cap.

0.98 seconds (invulnerability)
- Cooldown starts when the ability finishes casting.
- Can only target walkable surfaces.
- Can be used while Reaper is in the air, which will reduce Reaper's gravity by 70% while its being cast.
- Shadow Step is a channeled ability; Reaper cannot fire or use other abilities while it's active and it is interrupted if Reaper is stunned, knocked down, or hacked, including subsidiary effects.
- Reaper becomes invincible 0.7 seconds into the startup animation, making him immune to damage, stuns and knockdowns. However, he is still vulnerable to being hacked. The invulnerability ends when the recovery period starts and Reaper is able to move again.
- Life Grip cannot be used on Reaper while he is using Shadow Step.
- Destroys fences and other breakables in the target location.
Ultimate Ability

- Healing per second: 46.25 per enemy
- Death Blossom locks on to all players and objects (barriers, turrets, traps, etc.) in its range that are within line of sight, and periodically fires toward each target at the same time.
- Targets can be hit by shots aimed at targets behind them, causing them to block it and take the damage instead.
- Barriers do not prevent line of sight for acquiring targets.
- Cannot be manually canceled.
- Death Blossom is a channeled ability; Reaper cannot fire or use other abilities while it's active and it is interrupted if Reaper is stunned, knocked down, or hacked, including subsidiary effects.
- Restores Hellfire Shotguns' ammo after the ability ends, provided it wasn't interrupted.
- Destroys nearby fences and other breakables.
Perks
Minor Perks
A Minor Perk can be chosen at level 2.


- A Soul Globe drops as long as Reaper receives an elimination credit from the kill.
Major perks
A Major Perk can be chosen at level 3.

0.98 → 1.2 seconds (invulnerability)
- The initial cast time before you teleport is sped up, whilst the duration between teleporting and exiting teleport is left the same as before, however the total duration is reduced from 1.8 to 1.44 seconds, which matches the description's "25% faster".
- Invulnerability starts much earlier at 0.14 seconds.

Hero-specific options
| Setting name | Options | Description |
|---|---|---|
| Hold to use Wraith Form | Off (default) | Wraith Form deactivates when player presses the button again. |
| On | Wraith Form deactivates when player stops holding the button. | |
| Shadow Step confirmation input | Primary Fire (default) | Shadow Step is activated by pressing Ability 2 then Primary Fire. Secondary Fire to cancel. |
| Secondary Fire | Shadow Step is activated by pressing Ability 2 then Secondary Fire. Primary Fire to cancel. | |
| Ability 2 press | Shadow Step is activated by pressing Ability 2 twice. Secondary Fire to cancel. | |
| Ability 2 release | Shadow Step is activated by pressing and releasing Ability 2. Secondary Fire to cancel. | |
| Wraith Form cancel input | All (default) | Wraith Form deactivates when any of the buttons under are pressed. |
| Ability 1 | Wraith Form only deactivates when Ability 1 is pressed. | |
| Primary fire | Wraith Form only deactivates when Primary fire is pressed. | |
| Hide Wraith Form cancel text | Off (default) | Cancel text UI element is displayed to the left of the crosshair. |
| On | Cancel text UI element is hidden. |
Strategy
- Strength
Reaper is a short-ranged flanker and one of the deadliest heroes in the game up close, with even Tanks like Reinhardt and Roadhog melting under the power of his Hellfire Shotguns. Wraith Form is one of the greatest invulnerability tools in the game; Reaper can use it to escape or chase his enemies thanks to his increased speed and immediate reload. Shadow Step is another flanking ability; provided enough time to set it up, he can use it to move to any location within his line-of-sight. When the main fight begins, Death Blossom can turn the tide of battle when using it in the middle of the fight. Its high constant damage can tear most heroes to shreds if they are not prepared. Reaper's relative simplicity makes him a good hero for new players, while still remaining deadly in experienced hands.
- Weakness
Reaper lacks in-combat mobility, as his Wraith Form is mainly used to save his life and escape from near-death situations, and Shadow Step is very loud and makes Reaper unable to move for a while, so he becomes easy prey if spotted. Reaper works best in close-combat and is nearly useless in fighting at mid- to- long range due to quick damage falloff and the large spread of his weapon. Death Blossom is easy to shut down by stunning Reaper or blocking it with a friendly barrier. Reaper is most effective in a team composition or a map that keeps the fight in close-quarters.
Weapons & Abilities
 The Reaping (Passive): Reaper's sustain ability. As Reaper damages his foes, he receives a portion of the damage he deals back as Health.
- This provides Reaper with a steady stream of healing, so long as he's in combat. This can help him to survive for long periods of time in areas without many Health Packs.
- This can provide Reaper with valuable in-combat healing. If up against multiple opponents, aim to damage the targets with the highest Health to maintain your own Health.
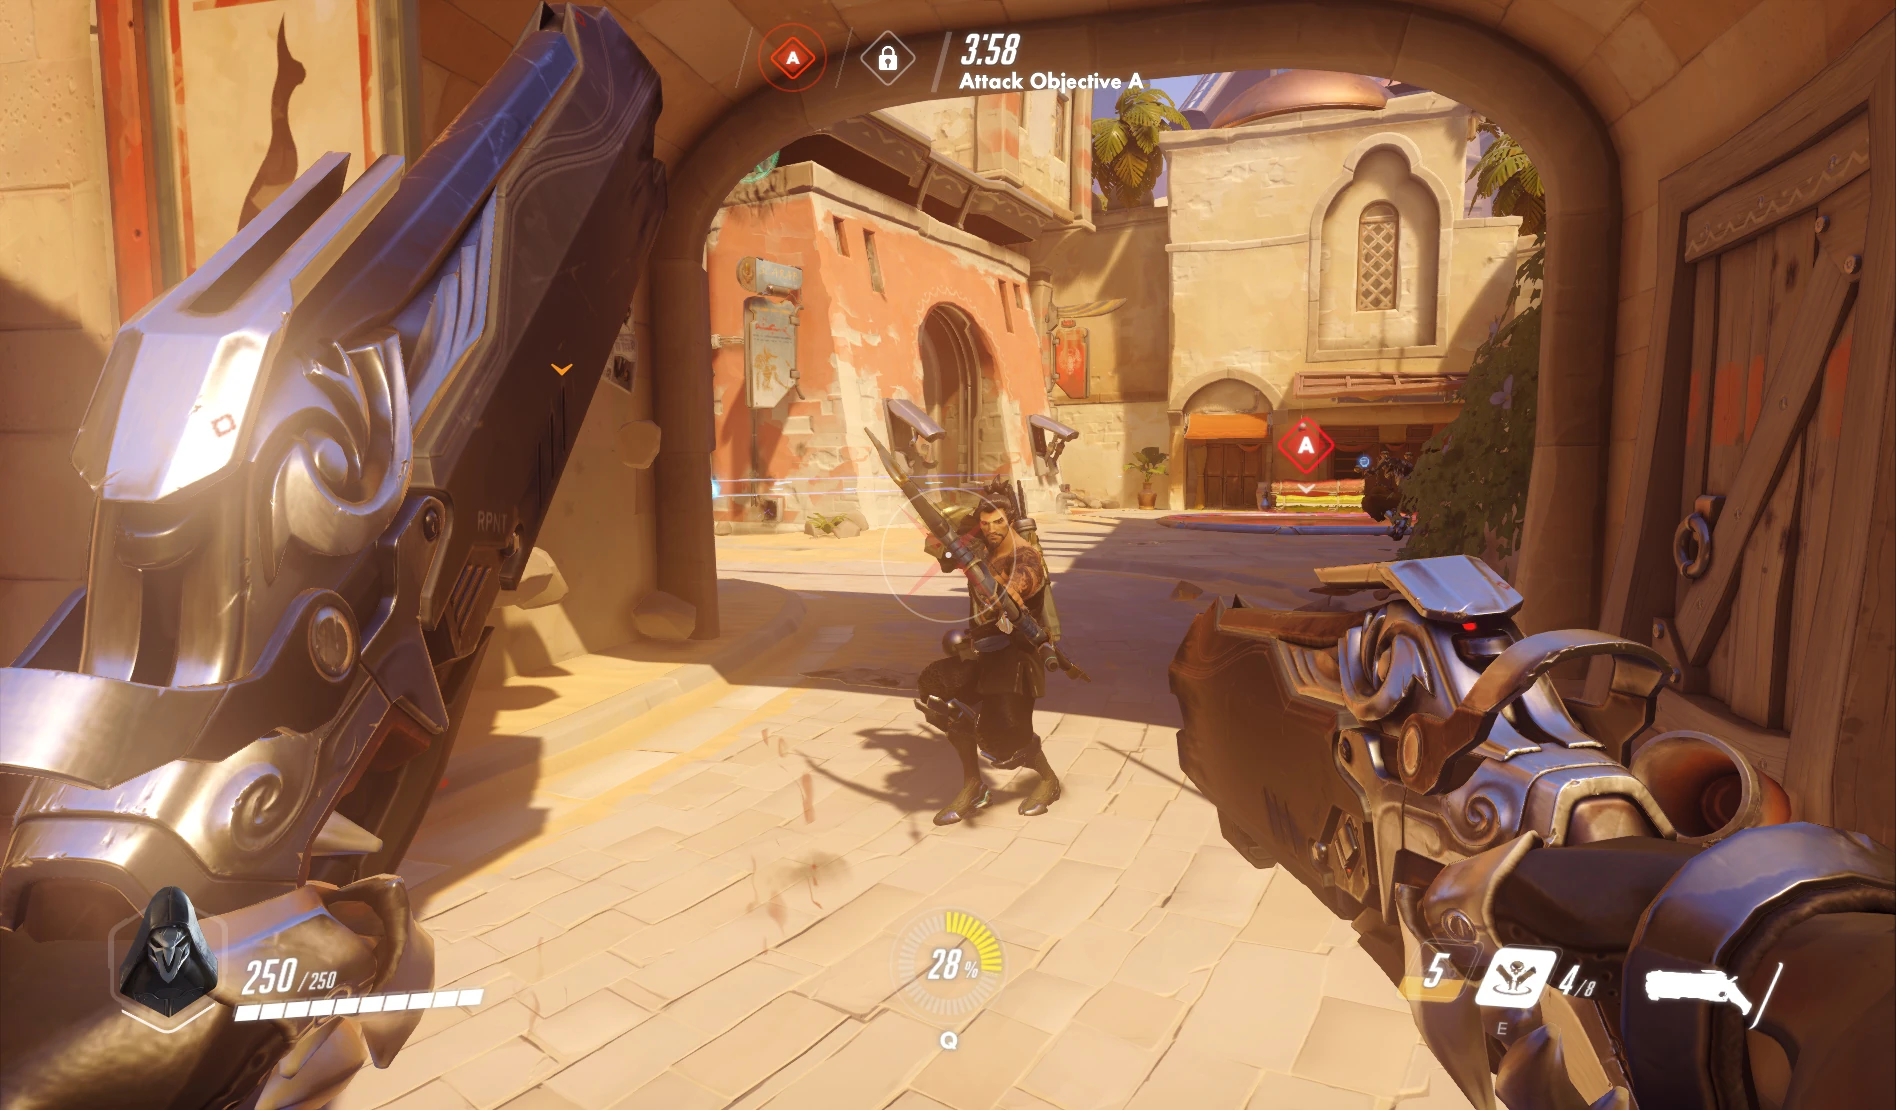
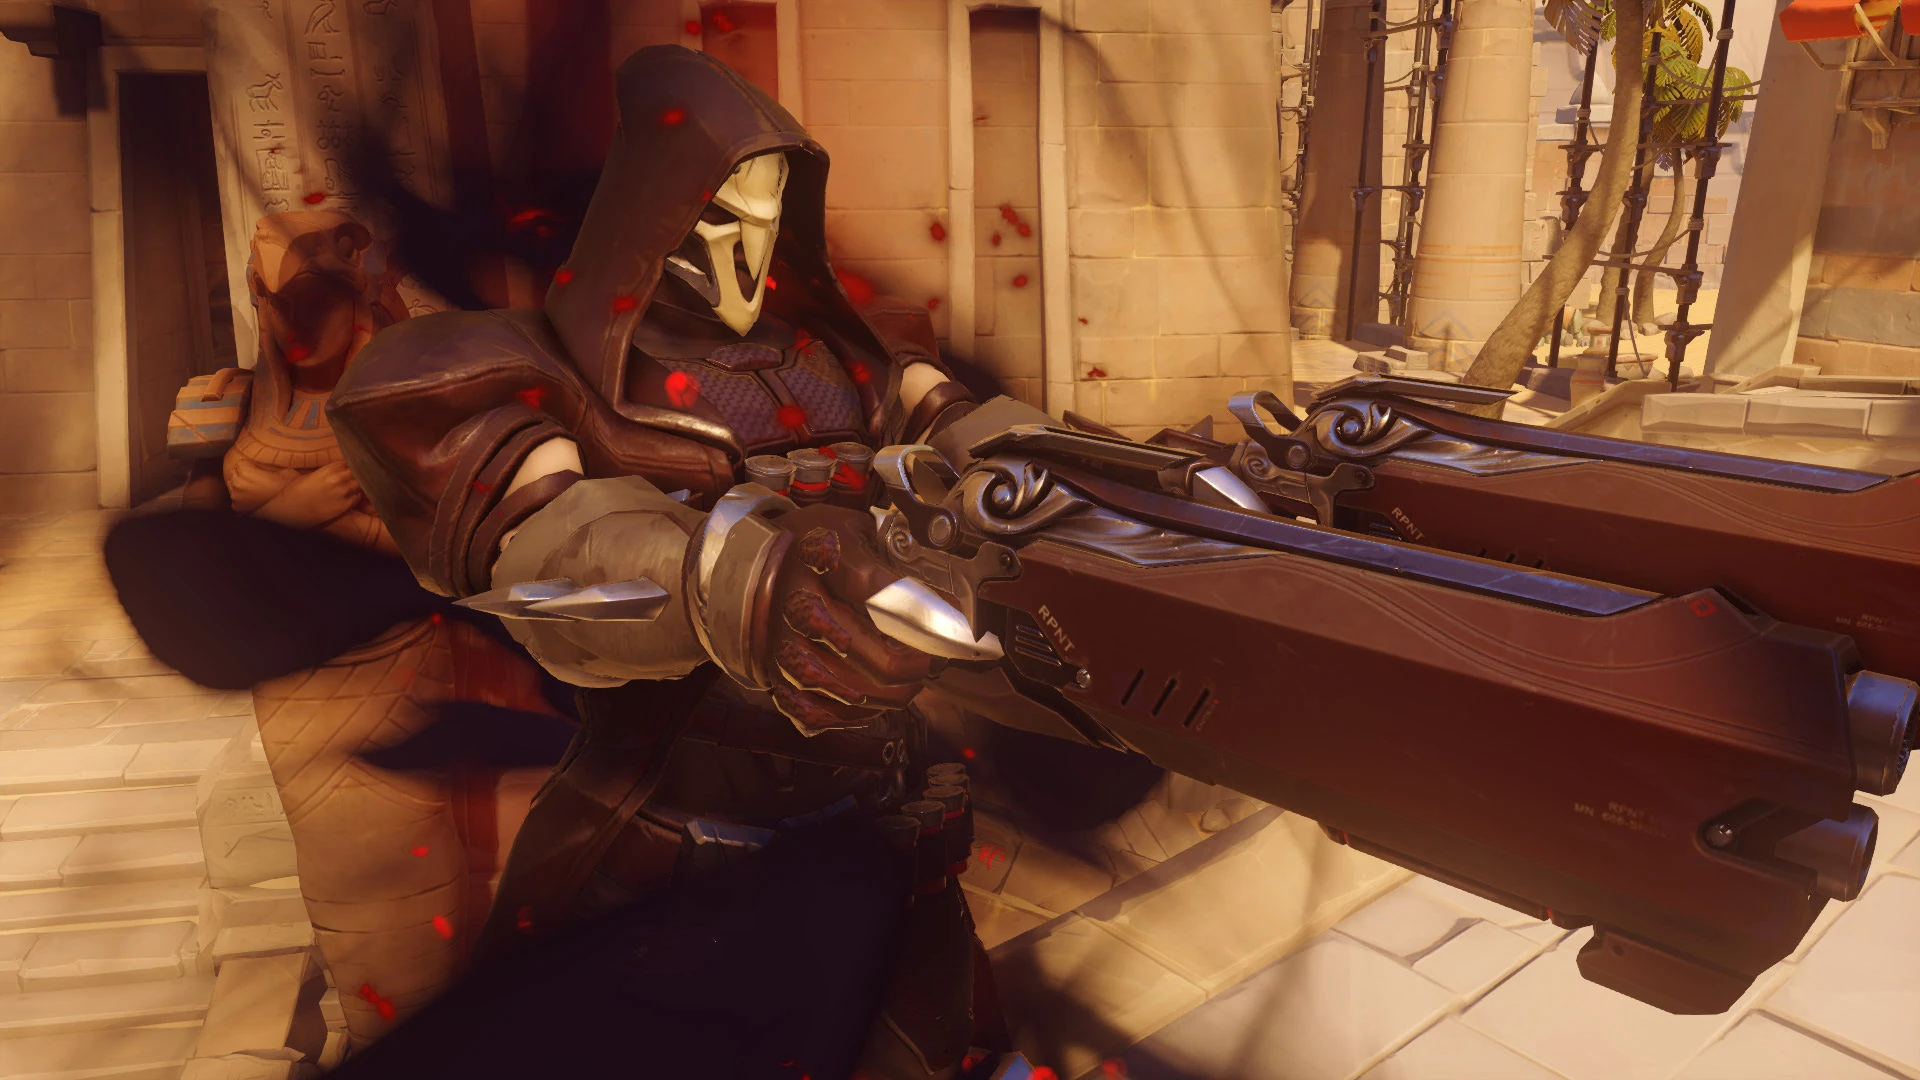
 Hellfire Shotguns: Reaper's primary weapon. The primary fire will cause Reaper to alternate shooting his two shotguns, with no secondary fire mode. These shotguns have a wide spread and deal high damage at short range, but have high damage falloff past that range.
- Hellfire Shotguns deal extremely high damage at short range, allowing Reaper to quickly kill targets that he gets the jump on, especially Tanks with large hitboxes which allows most of the pellets to connect.
- As the shotguns have high damage falloff and a wide spread, aim to get up close to your enemies so that you can deal the most damage possible.
 Wraith Form: When activated, Reaper assumes a gaseous purple form for a short period of time. While in this form, he is invincible and untargetable by any enemy weapons or abilities and ignores enemy collision. He also moves faster for the duration. However, he cannot attack or use any abilities during this time.
- This is Reaper's main method of escape. If you suddenly find yourself surrounded by enemies, activate Wraith Form and make a break for the safest location you can find. Offensively, it can also be used to chase down enemies due to the speed increase.
- When timed properly, Reaper can avoid potentially deadly attacks with this ability, such as Roadhog's Chain Hook, Reinhardt's Charge, or Cassidy's Flashbang. Try to anticipate your enemy's attacks and use Wraith Form before they hit.
- Using Wraith Form will remove Zenyatta's Orb Of Discord as well as Tracer's Pulse Bomb. It will also remove the effect of Ana's Biotic Grenade and Widowmaker's Venom Mine.
- Try luring the enemy to waste some strong attack by staying close to them and using Wraith Form to avoid it, such as Roadhog's Hook or Cassidy's Flashbang. Once they lose it, cancel Wraith Form early and attack them at point-blank range before their cooldown timer expires. Remember that your shotguns will be fully reloaded upon using this ability.
 Shadow Step: When activated, Reaper will switch to a targeting mode, allowing him to select a point within his line of sight to Shadow Step to. Once he finds a suitable point, he can press the primary fire button to teleport to the target location after a short delay.
- This is Reaper's main method of flanking. Use Shadow Step to get to higher ground or behind enemy lines without having to travel there directly.
- Note that Reaper is immobile and cannot use weapons or abilities while using Shadow Step. He is also completely vulnerable to attack at the target location while the teleportation completes. Try to only Shadow Step from and to a safe position, as you otherwise make an easy target, especially for snipers such as Widowmaker, Hanzo, and Ana.
- Shadow Step's voice line is loud enough that Reaper can be heard from a considerable distance away, though announcing your ultimate charge will negate the voice line completely. Be careful when using it as a flank method, and make sure that the enemy won't hear his approach.
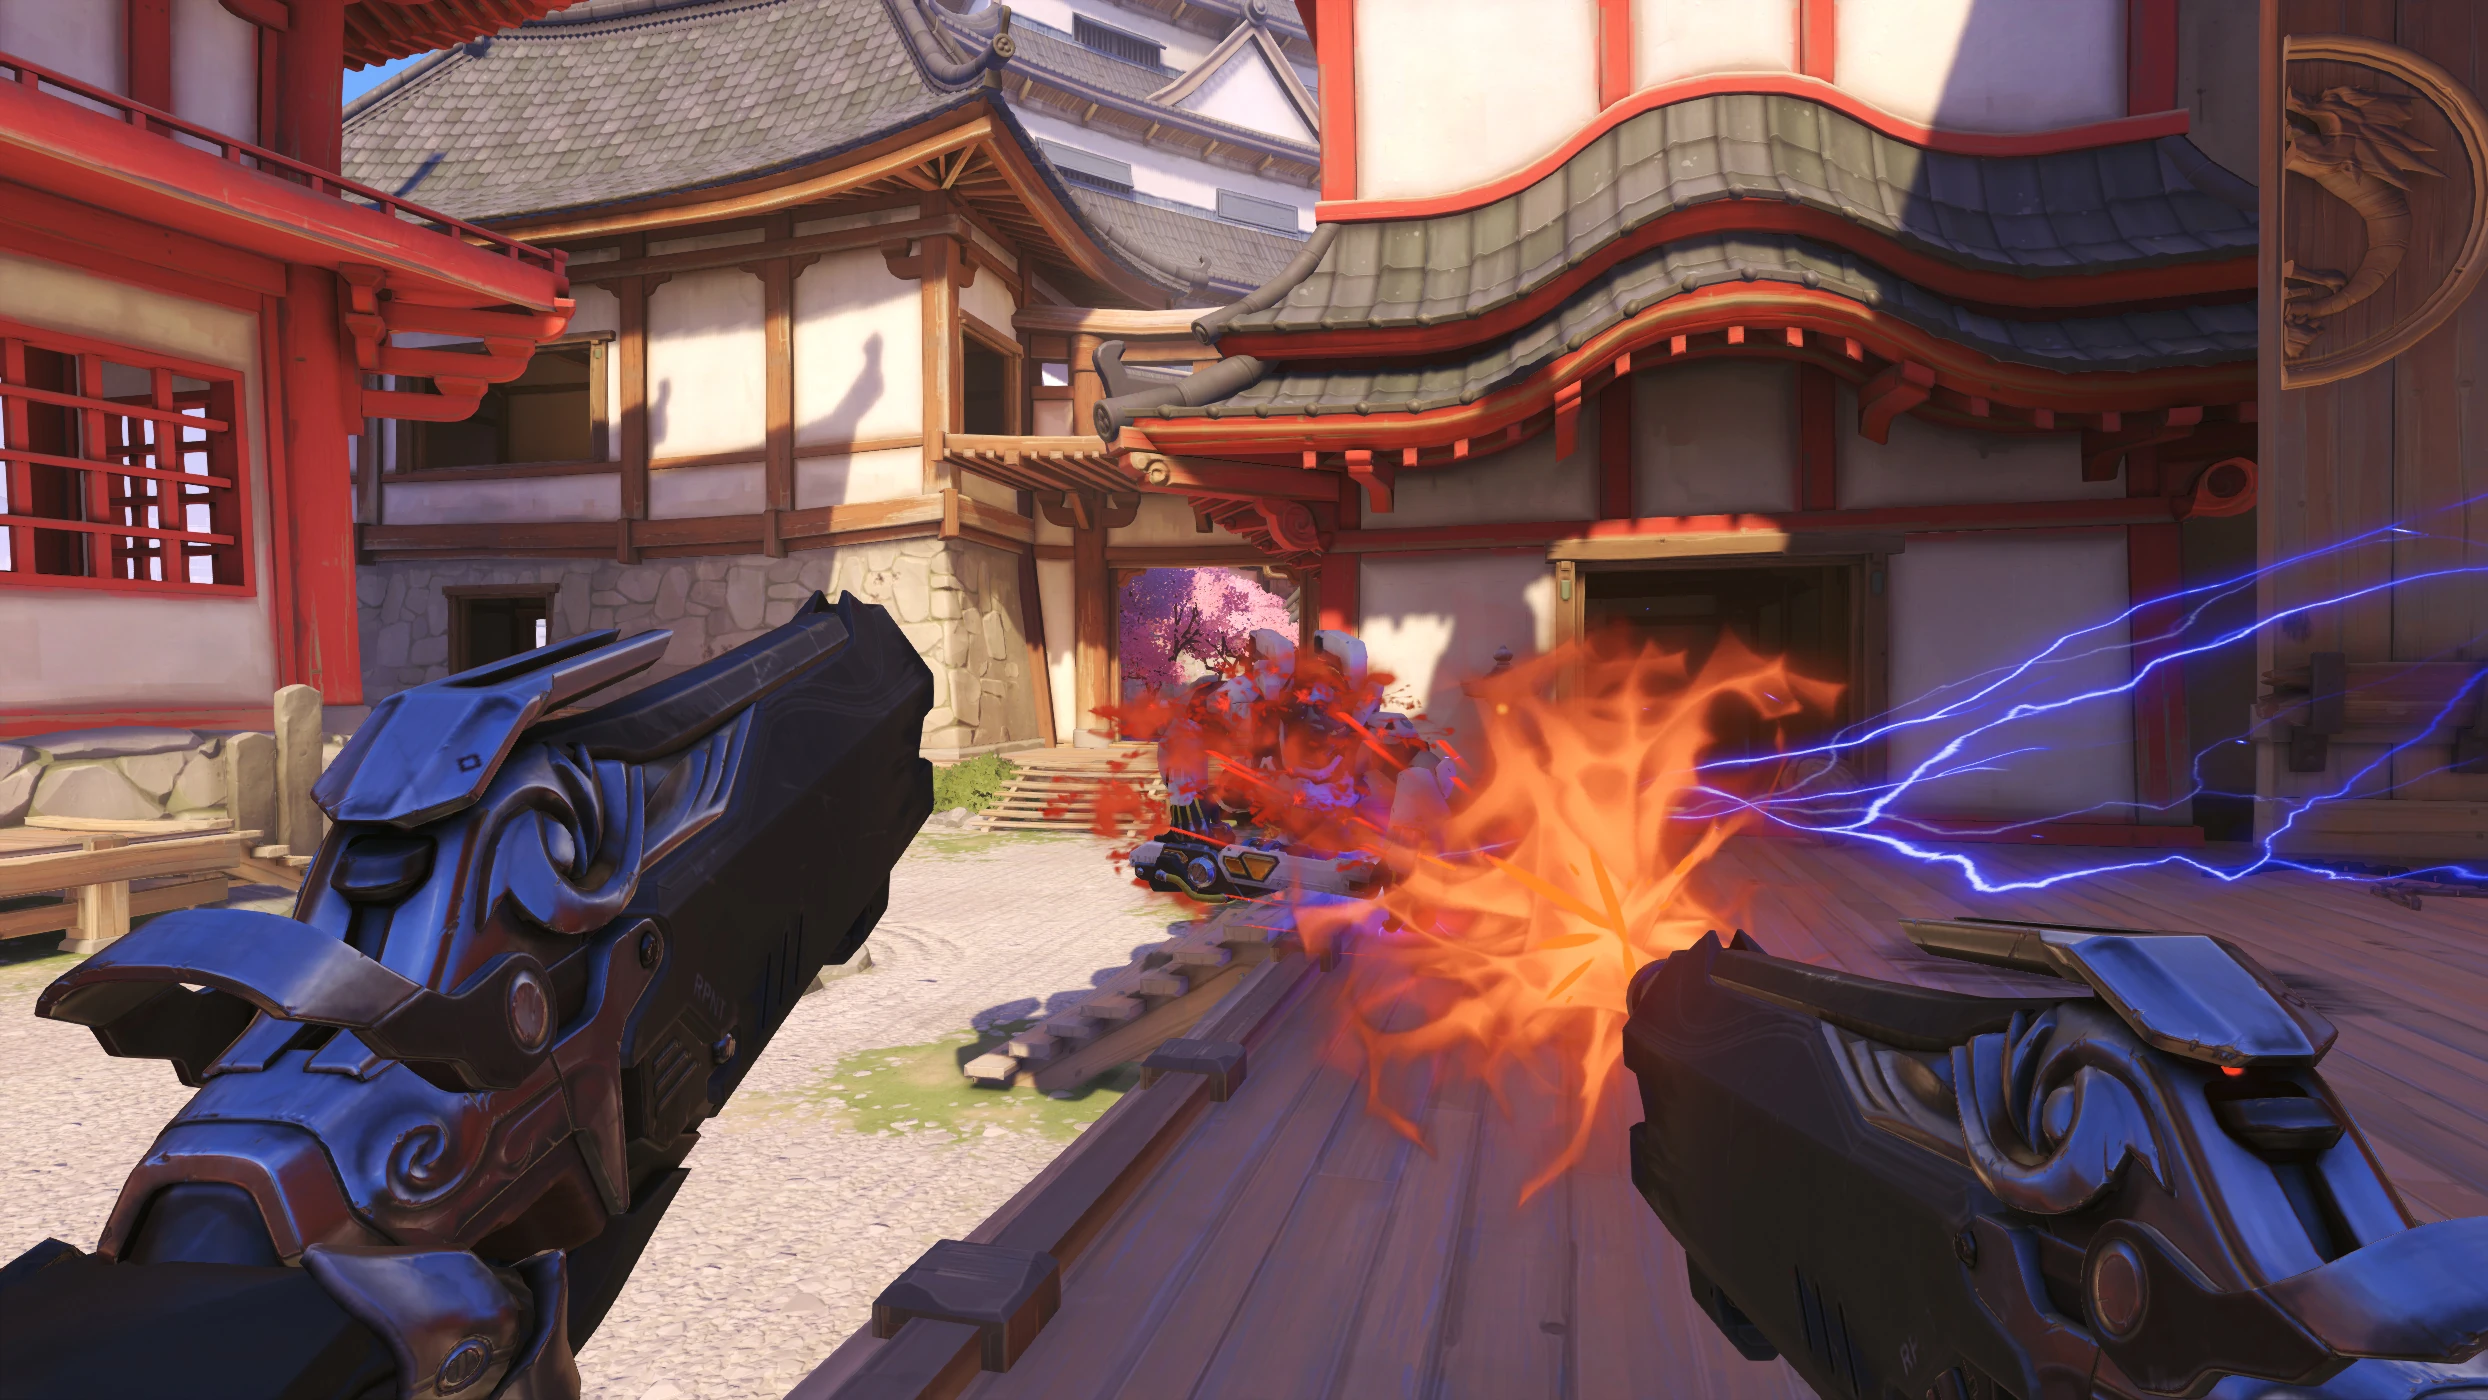
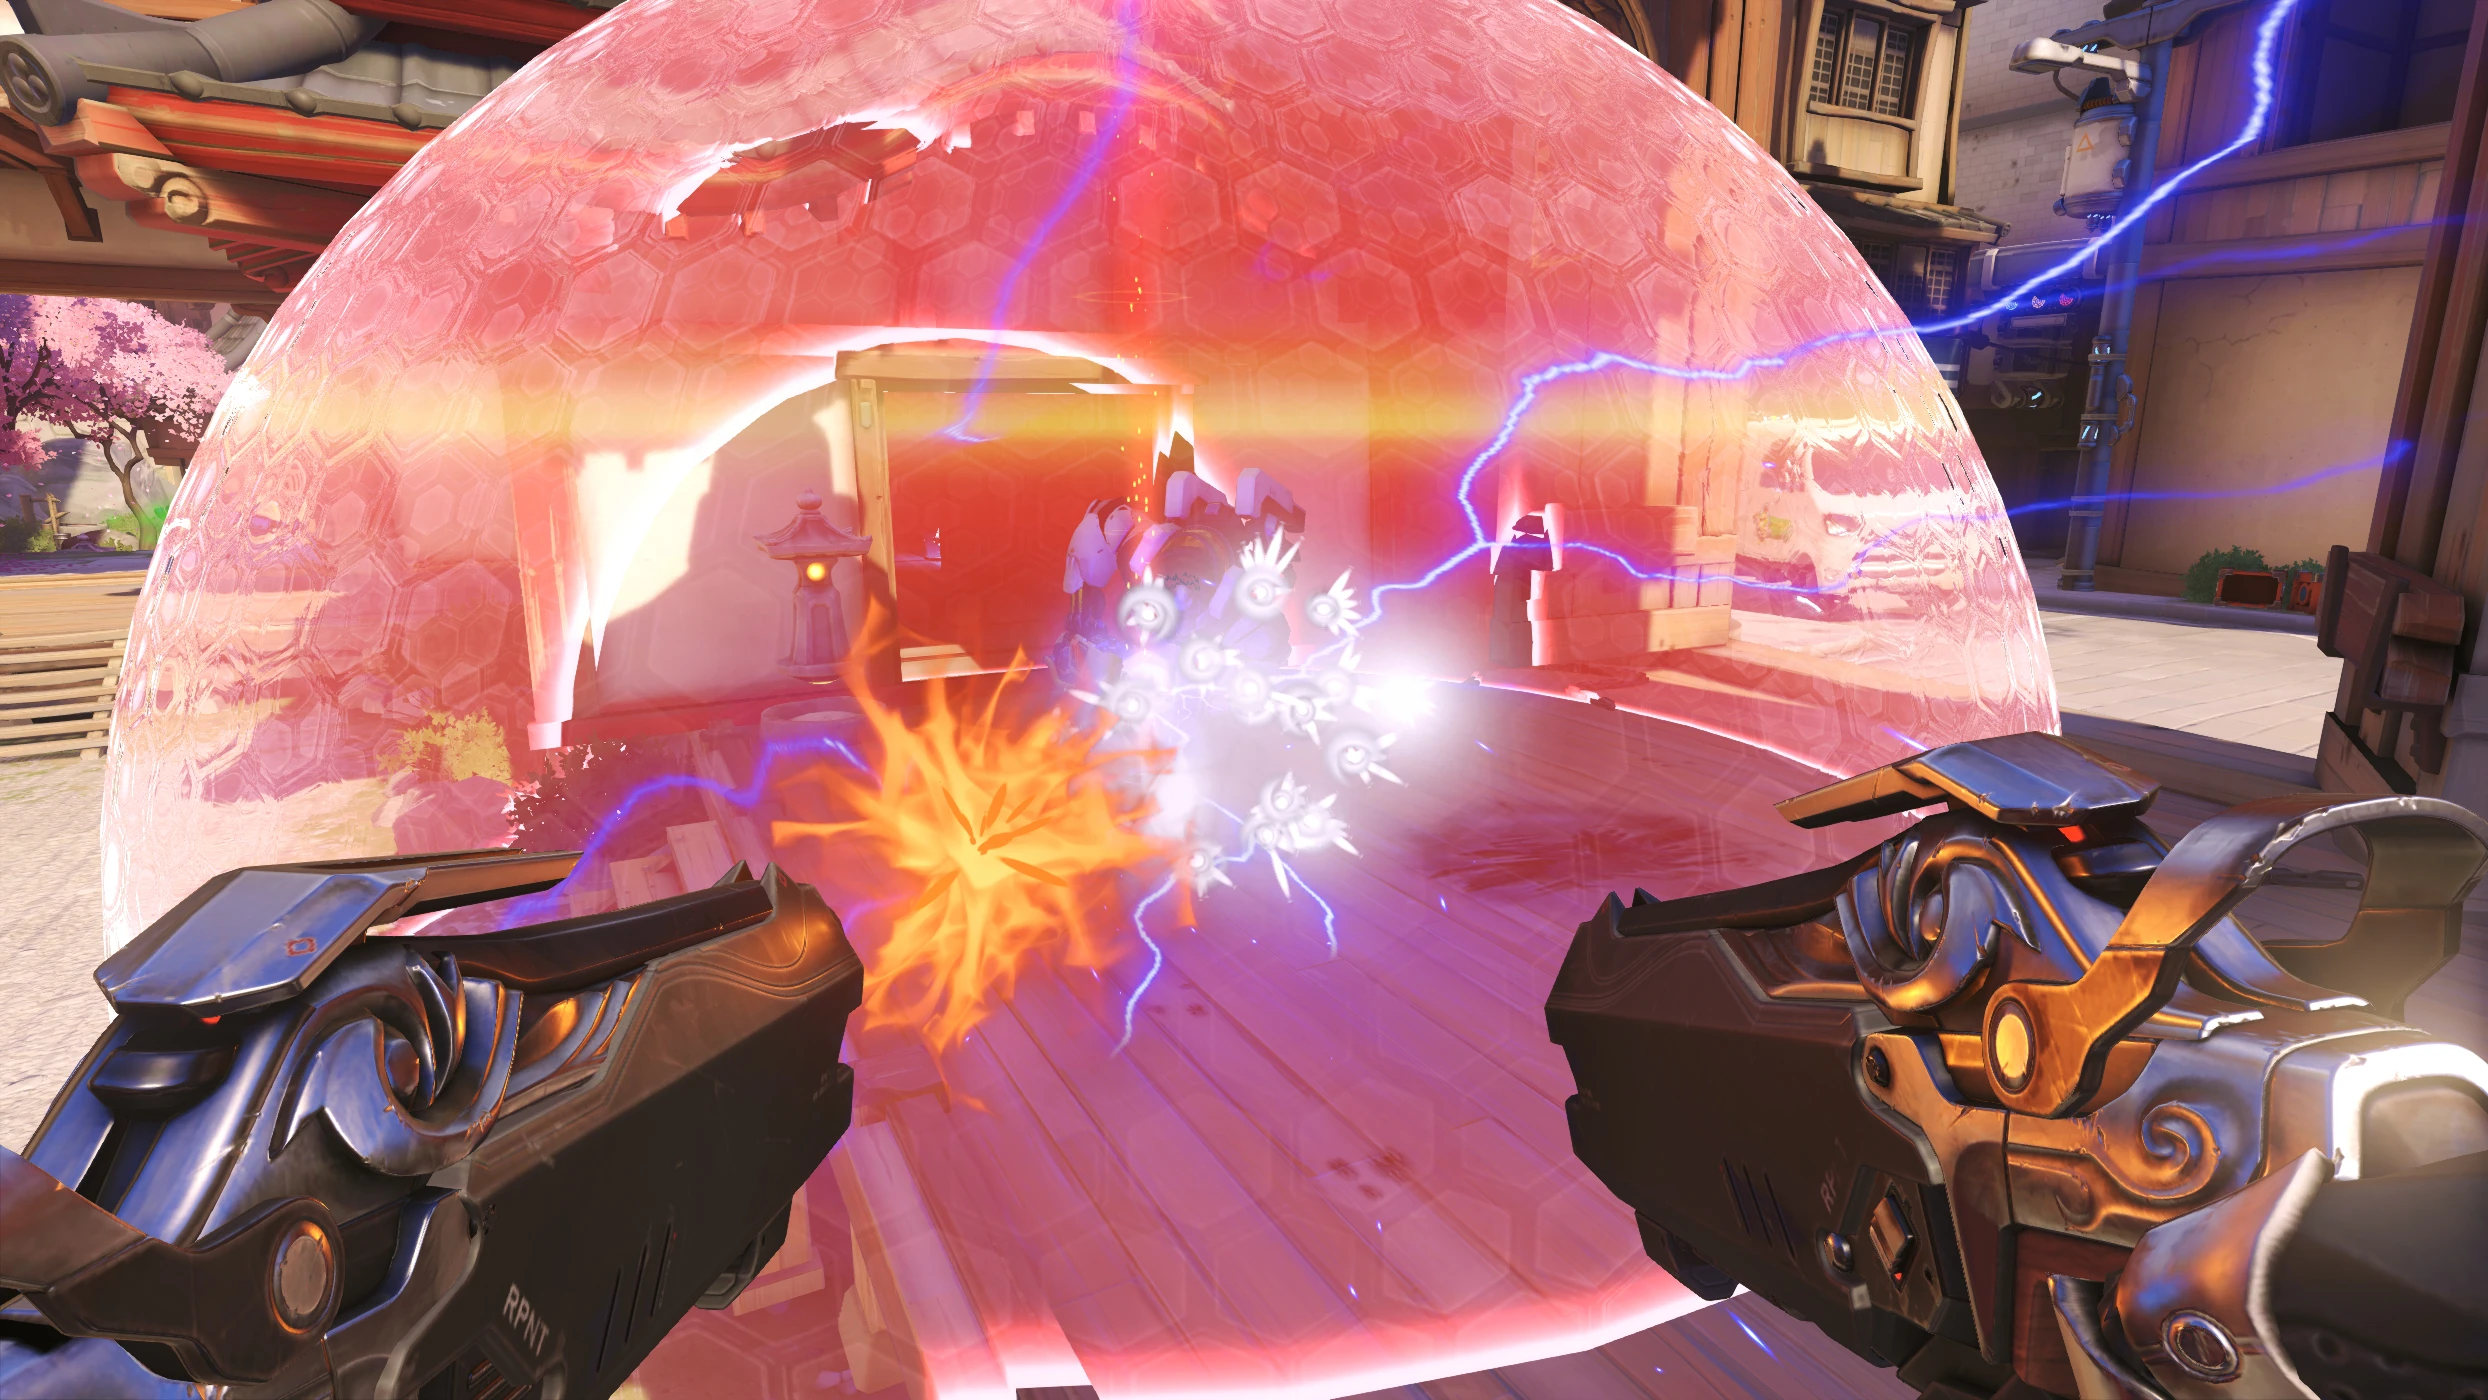
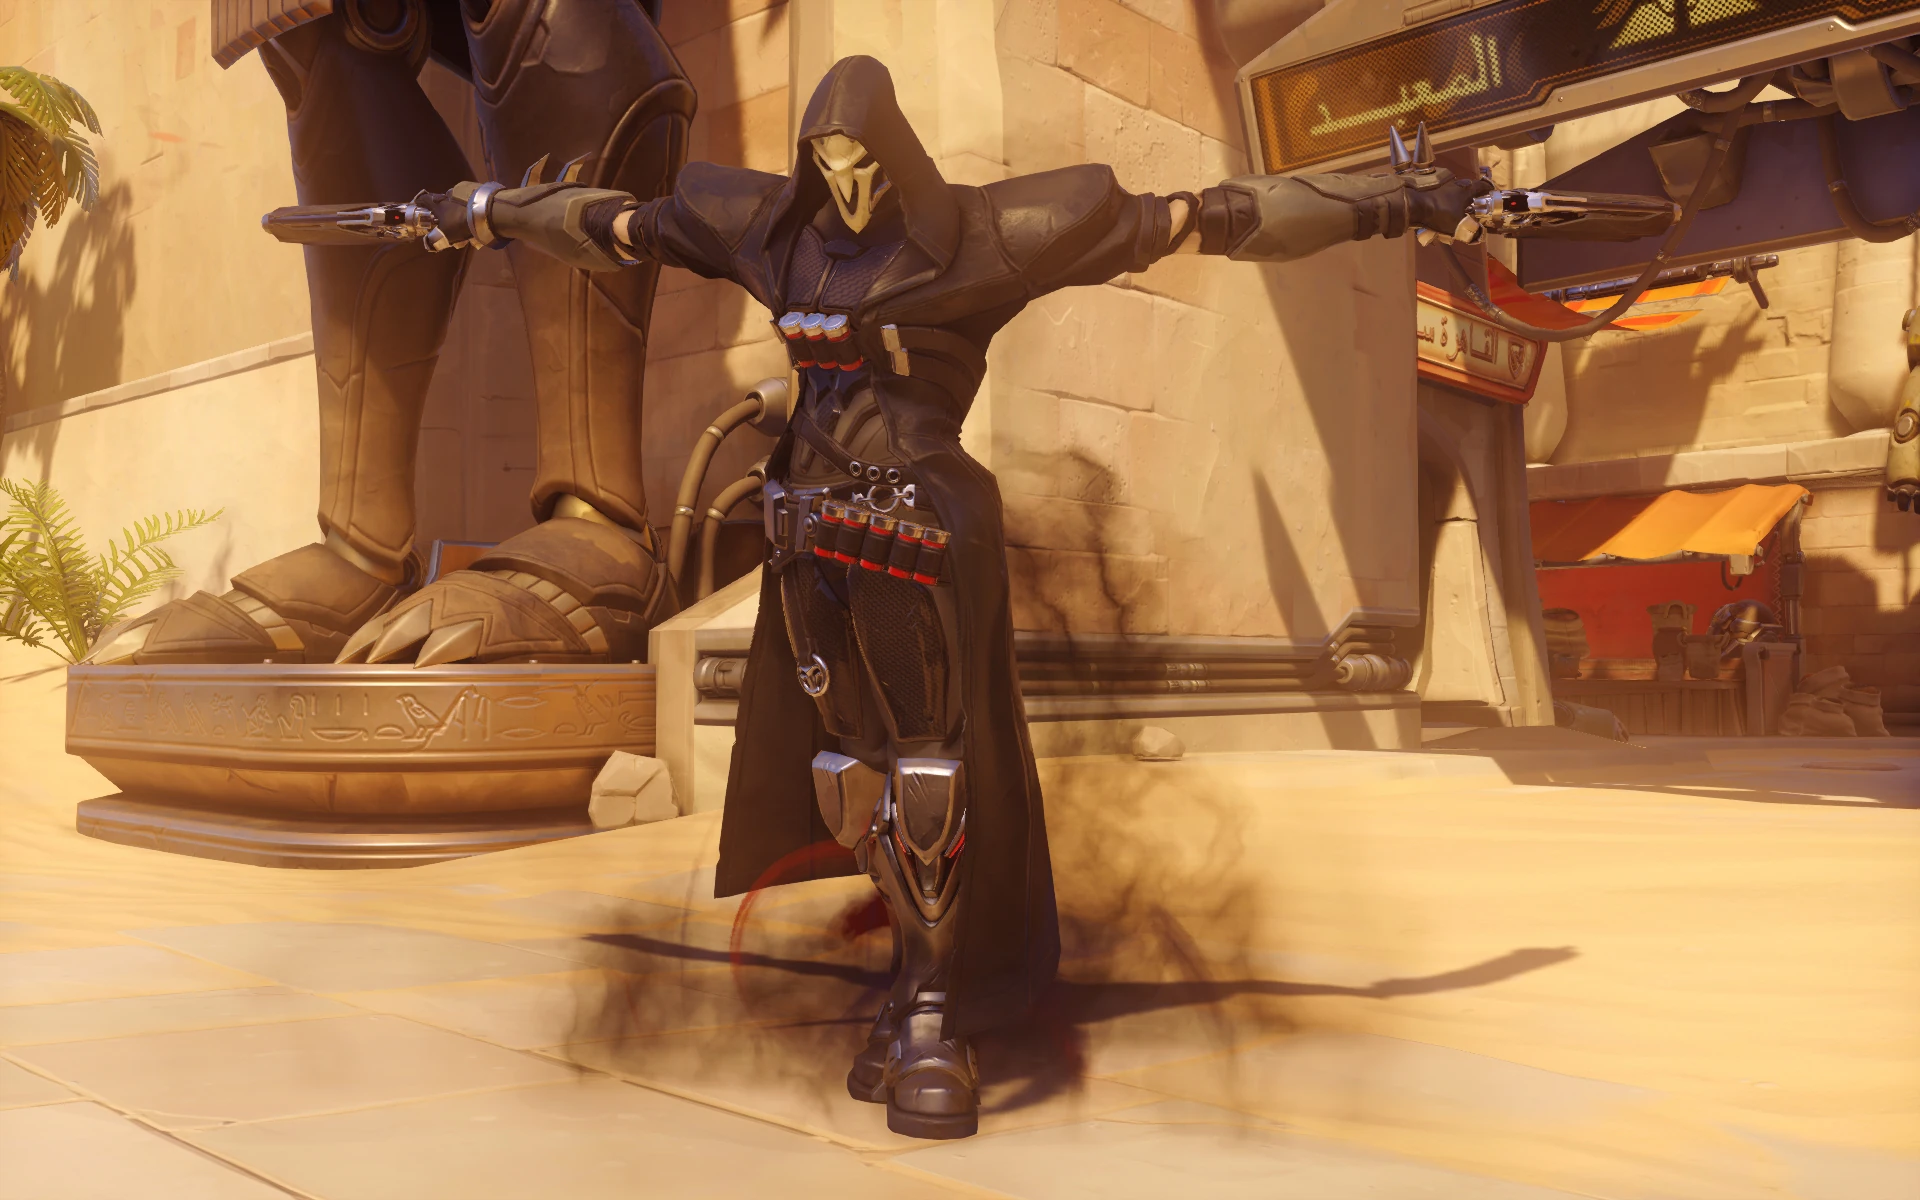
 Death Blossom (Ultimate): Reaper's Ultimate ability. When activated, Reaper begins to fire his shotguns at all enemies in a large radius around himself, dealing massive damage to all nearby enemies that are within his line of sight for a short period of time. His movement speed is slowed for the duration, and he cannot use normal attacks or abilities. This is a channeled ability, and stuns will immediately end Death Blossom's effect.
- Death Blossom is of the deadliest Ultimates in the game against a stacked enemy team. Look for opportunities where your opponents are clumped together and where you can silently approach to unleash Death Blossom.
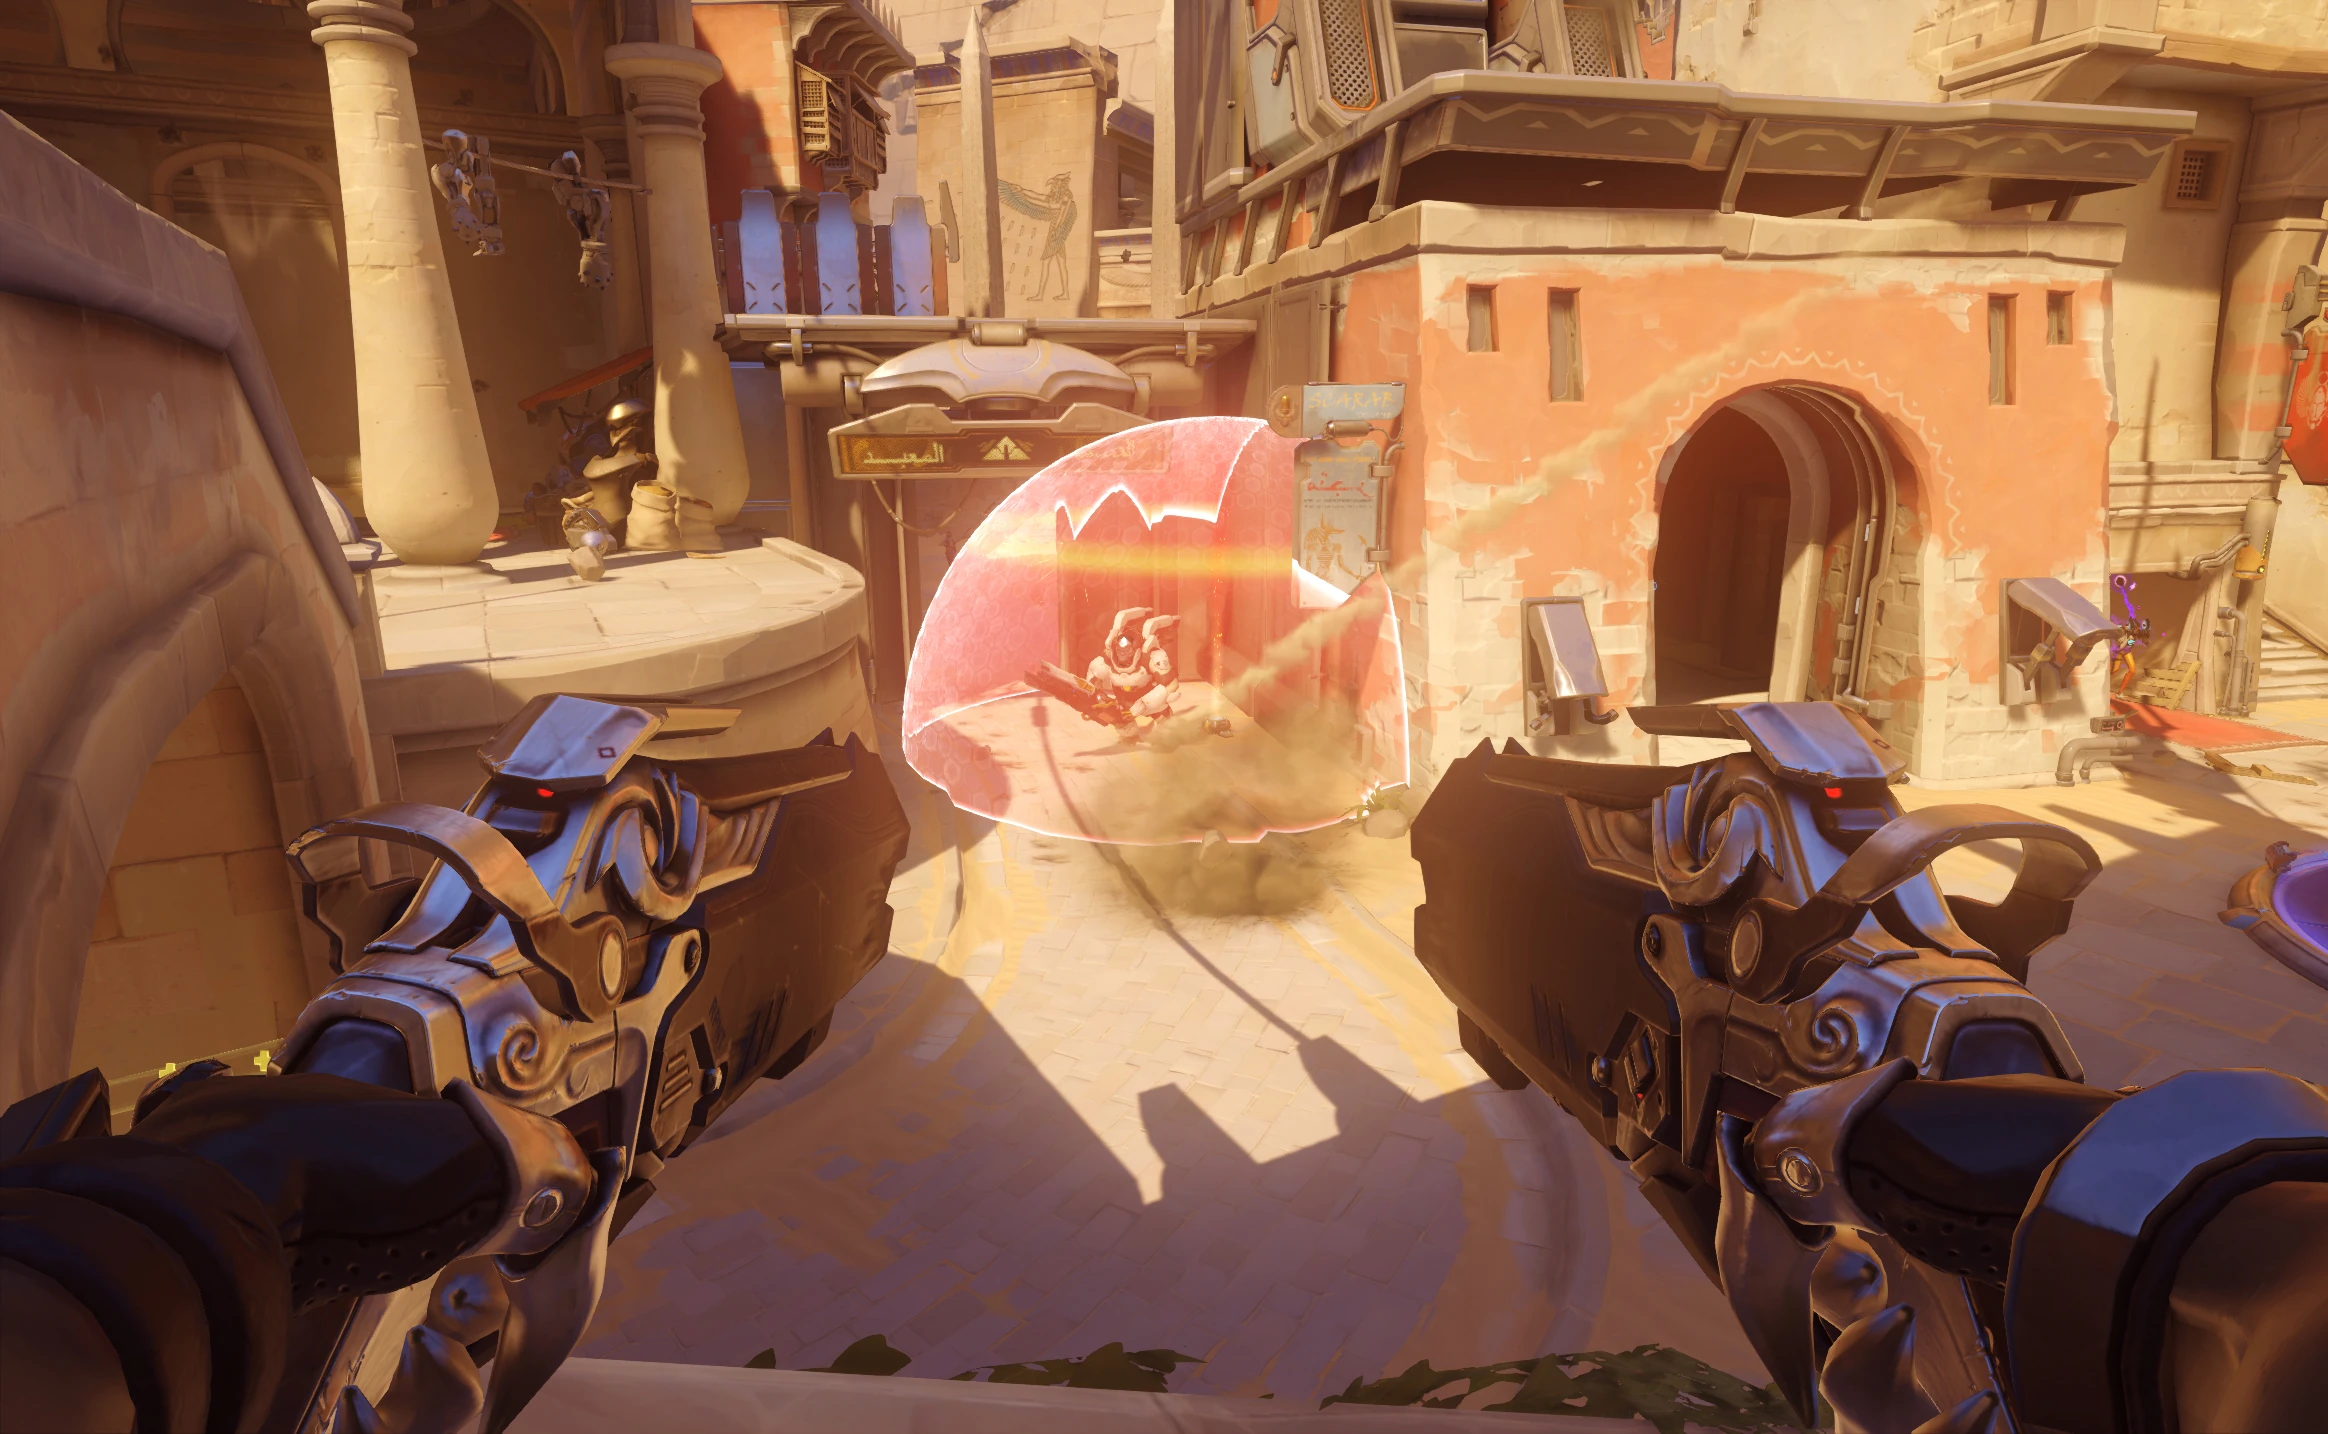
- Death Blossom's damage is treated in much the same way as Hellfire Shotguns, meaning that it will be blocked by barriers, D.Va's Defense Matrix, and solid objects as well as enemy players themselves. Try to make sure that your opponents don't have a corner they can duck behind when you activate Death Blossom, or you may end up wasting your Ultimate.
- Death Blossom fires shots towards each enemy (including objects) in range, instead of directly damaging each enemy, as an area ability would. As a result, if a target is in front other targets, it will take all the damage aimed at everyone behind them.
- When there is a priority enemy to eliminate, this can be used to your advantage by positioning yourself such that they are between you and any other nearby players and objects.
- This will also make quick work of barriers, if there are multiple targets behind it.
- It is paramount to the success of your ult that you make sure the enemy team does not have any CC abilities ready. Neglecting to do this will result in you being slept, stunned, hooked and even environmentally killed. Even Ana's Biotic Grenade can disrupt your ultimate by stopping your self healing. Either keep track of and bait cooldowns, or force the enemy to switch by focusing them.
- Another way to keep yourself safe while using Death Blossom is to coordinate with your team to protect you (i.e Zarya's Projected Barrier or Kiriko's Protection Suzu. )
General Strategies
- Reaper's high damage output makes him a great counter to durable characters like Winston or Roadhog. Consider using Reaper if up against multiple Tanks.
- Reaper is usually not effective as a straightforward Assault hero like Pharah or Soldier: 76. Instead, use a combination of Shadow Step and side routes to carefully maneuver behind your opponents so that you can ambush them with your Hellfire Shotguns. Having good knowledge of each map and learning where Reaper can use Shadow Step effectively greatly increases his usefulness. Don't be afraid to spend time in a Custom Game on each of the maps finding out where Shadow Step can take you.
- Try to focus your gameplay around Wraith Form's cooldown. When Wraith Form is off cooldown, you can afford to play more aggressively, since you have it available to escape if needed. When Wraith Form is on cooldown, play more defensively and don't take unnecessary risks.
- When flanking, look to pick off lone targets rather than charging straight into a group (unless Death Blossom is available). While Reaper is more durable than other flankers, his lack of in-combat mobility means that he relies solely on Wraith Form to escape, and its short duration means that enemy heroes can follow and kill you easily if you're too far away from your own team.
- It can be tempting to use Death Blossom when at low health, since this would remove the sources of the damage you're taking. Never do this. The enemy team will focus on you as soon as you use it, and Death Blossom ends immediately when Reaper dies.
- When ambushing with Death Blossom, look for ledges or other raised areas that you can leap off of to get into the middle of the enemy team before activating your Ultimate. Always use the element of surprise in your favor.
- When Reaper reloads, his magazine refills very quickly after reloading — roughly at the point Reaper fully releases his shotguns and they fall from his view — meaning you don't have to finish the animation. Taking an action other than firing (being stunned, using a quick melee attack, etc.) at the moment the ammo counter shows a full magazine of 8/8 allows for less time watching a useless animation and a faster response time, which is helpful against targets such as Reinhardt and Roadhog, who can kill you while you are vulnerable reloading.
- Keep in mind that Wraith Form will reload your shotguns as one of its own side-effects, so using Wraith Form just as a means to cancel your reload animation is essentially wasting Wraith Form.
Match-Ups and Team Synergy
Tank
| Hero | Match-Up | Team Synergy |
|---|---|---|
 D.Va |
While D.Va will struggle to kill you, she can be annoying to deal with. Her Defense Matrix will force you to either waste shots or waste time, and it can block all the damage from Death Blossom. D.Va can also easily escape with her Boosters should the fight turn against her, making her difficult to kill. In a sustained fight with her, though, you will usually come out on top; if you can wait out the duration of her Defense Matrix and catch her while Boosters is on cooldown, you can rip through her health with a few accurate shots. You can also use Wraith Form to either flee from a poor engagement or to quickly reload and finish D.Va's Mech off before she can use Boosters or Defense Matrix. If you destroy her Mech, try to quickly kill her Pilot form before she can escape; while she can be easily dispatched at close range, she'll have you beat at long range with her accurate and powerful Light Pistol. | (To be added) |
 Orisa |
Although Orisa's large hitbox and slow movement should her a perfect target to tear apart with your shotguns, her high damage resistance and headshot immunity during |
(To be added) |
 Reinhardt |
While you and Reinhardt both prefer to fight at close range, your massive damage output and self-healing will make it almost impossible for Reinhardt to kill you without a well-aimed Charge or Earthshatter. If Reinhardt is attempting to hit you with his hammer, you can easily stay just outside its range and attack away with your shotguns; if he chooses instead to lift his barrier, just walk through it and shoot him point blank. If you anticipate an oncoming Charge, have Wraith Form at the ready to dodge it. If timed right, you can avoid |
(To be added) |
 Roadhog |
Be wary of Roadhog's hook combo, as it can kill you if you're not careful. Watch the ground for his |
(To be added) |
 Sigma |
Sigma's only defences against your assaults are his Kinetic Grasp and Accretion, which he can use to buy time to escape or keep you at bay. Otherwise, you can easily tear through his health and his Barrier won't do much to stop you. In a 1v1, take the time to reload if you need to while he uses Kinetic Grasp as he can't cancel it to fight back, and shooting into it will give him more health. You can also avoid his Accretion altogether with Wraith Form. You can't escape |
(To be added) |
 Wrecking Ball |
Due to Wrecking Ball's high mobility you'll rarely be able to confirm a kill on him unless he commits to a 1v1, however you can reduce his effectiveness by playing around your vulnerable teammates he would want to dive, like your Supports or a friendly sniper. You can force him to retreat with a few shots and make him play more cautiously and wary. | (To be added) |
 Winston |
With a massive body, slow movement and weak weapon, Winston is one of your weakest opponents. Watch where Winston jumps, and if he lands close enough to chase down, don't hesitate to use Wraith Form to catch up to him and finish him off. If Winston is trying to heckle your weaker teammates, stick close to them and you'll prove to be a massive deterrent. If Winston activates Primal Rage, you can try to gun him down as he'll have difficulty killing you with his weak punches; just be wary of any nearby cliffs, as he can send you flying to your doom with little means to save yourself. | (To be added) |
 Zarya |
With well-timed shots and usage of Wraith Form, you can wait out Zarya's energy barrier. If you're not careful, though, Zarya's barriers on herself and her team can absorb your high damage to power her up. While you can burst down Zarya's barriers instead of waiting them out, this puts you at risk of a high-energy Zarya. If she (or the ally she's protecting) is at low health, it may be worth it to run through the barrier, otherwise it would be better to wait it out so Zarya doesn't get her massive charge. One on one, you should have little difficulty dealing with Zarya, but if Zarya is with a group, you shouldn't engage without support. During |
While you have high damage output, you're not particularly fast, meaning it can be difficult to avoid oncoming fire. A friendly Zarya barrier can free you up to lay waste to your opponents, all while making your Zarya stronger should your opponents choose to attack you. A group of enemies clustered with Graviton Surge can serve as easy pickings for Death Blossom, or even simply for some point-blank shotgun fire. |
Damage
| Hero | Match-Up | Team Synergy |
|---|---|---|
 Ashe |
If you can flank Ashe successfully, you can easily take her out with a few shots before she can react. However if you don't surprise her she can either gun you down from afar or create distance with her Coach Gun. She will usually use the ability as soon as she turns and looks at you in a panic, so try to pre-emptively Wraith Form when she sees you and you can avoid the knockback and chase her down for a quick kill. | (To be added) |
 Bastion |
Bastion will tear you down in seconds if he catches you out in the open, therefore he can be quite problematic for Reaper. If he's alone and not being supported by his team, you can attempt to flank him and take him out by yourself, however you will need to be quick and effective before he can react, as he can still out-damage you at your effective range if you're not careful, and his |
(To be added) |
 Cassidy |
Like other ranged heroes, Cassidy will make quick work of you at a distance. Unlike other ranged heroes, flanking him is difficult because he can turn the tables with a single Flashbang. Like with Ashe, Cassidy will likely use the ability as soon as he looks at you, so fire one or two shots, then Wraith Form to dodge the Flashbang and confirm a kill. | Cassidy makes a good teammate for Reaper, as Cassidy’s longer range compliments Reaper’s close range. Cassidy’s flashbang and secondary fire make him still effective at close range. When using Death Blossom, Cassidy can lay down suppressing fire to keep Reaper alive while using his ultimate. |
 Doomfist |
Reaper can beat Doomfist almost every time in a 1v1 due to your lifesteal and significantly better close range damage. Don't be afraid to take his combos as you can take them and do even stronger damage back to him, either killing him or forcing him to flee. Smart Doomfists will try to avoid you and target other players on your team, however if there is no one on your team more suitable to do so, you can play the role of a flank watcher and try to shut down his flanks by playing with your vulnerable teammates. The one trick up Doomfist's sleeve is his Rocket Punch, as he can one shot you if you're not careful. Fortunately, because Doomfist is loud he'll rarely get the jump on you and you can Wraith Form to dodge the blow. | (To be added) |
 Echo |
Unless you can catch her without her Flight, try not to bother with Echo as she can quickly maneuver out of your effective range and burst you down from afar. Generally speaking Echo is strong against Reaper due to her aerial mobility, so consider switching if she is making your life harder. | (To be added) |
 Genji |
Genji can easily stay out of your effective range and if he ends up too close he can use his Deflect to send your shots back at you. However, he doesn't necessarily have the killing power to put you down, and can't get into point-blank range for long enough to use Fan of Blades for obvious reasons. | (To be added) |
 Hanzo |
While Reaper can quickly dispatch Hanzo if you can get close, Hanzo's Storm Arrows can run through you at close distances. At any sort of significant range, Hanzo has the clear advantage, as his arrows work just fine at range while Reaper's damage rapidly declines. Worse, Hanzo's Sonic Arrow can reveal you if you try to sneak around. While it is often the case that Reaper can survive an encounter with Hanzo by using Wraith Form, it is best to avoid engagement with Hanzo unless you can get the drop on him. | (To be added) |
 Junkrat |
A lot of Junkrat's strategies are foiled by Wraith Form. You can phase right through chokepoints flooded with grenades, Steel Trap and Total Mayhem, albeit at the cost of your escape mechanism. You will likely win at close range, unless Junkrat has his Concussion Mine off cooldown, which can cause problems. | (To be added) |
 Mei |
Since you can avoid getting frozen by Mei with Wraith Form and you tear her apart when within range of her Endothermic Blaster, she will struggle to deal with you. However, Mei's walls can both spoil your approach as well as prevent you from retreating with Wraith Form. At range, Mei has a clear advantage with her Icicles. Mei also has Cyro-Freeze to save herself when at low health or to stall and wait for her allies to arrive. Your heavy damage can sometimes kill her before she realizes she's in danger, particularly with a close-range head shot. | (To be added) |
 Pharah |
Pharah is a strong counter to Reaper because she will usually be hovering in the air where you can't do anything to her. She can also spam you down from afar with rockets and displace you with Concussive Blast, forcing you to Wraith Form every time. If you don't have a ranged hero suitable for dealing with Pharah, it's advised you switch to one if she is a problem. | (To be added) |
 Reaper |
Reaper vs Reaper simply comes down to who kills who first. Aim for the head and be ready to activate Wraith Form should the fight go sour. | (To be added) |
 Soldier: 76 |
Soldier: 76 will win if he maintains his distance and fires in short, quick bursts, using his Helix Rockets to quickly finish you off before he has a chance to escape with Wraith Form. Up close though, Reaper is much more likely to win, as 76's damage doesn't increase up close unlike his. | (To be added) |
 Sombra |
A Hack from Sombra can keep you on ground without Wraith Form to flee from or pursue her and her team. Her Hack and EMP will also stop Death Blossom mid-use, blinding your action in the team fight. However, you have more firepower to use against Sombra and a large amount of health. Even if hacked, in a 1 on 1 situation you should be able to handle Sombra at close range. | (To be added) |
 Symmetra |
Symmetra Photon Projector has high damage output just like your Hellfire Shotguns, but her health is 200 compared to your 250, and at point blank range you should be able to outdamage her even if her weapon is powered up. Should you spot her turrets, a single shot should be able to take them out. If caught off guard by multiple turrets, though, it may be wiser to use Wraith Form to fall back and heal before going back in to take the turrets out. A well-timed Photon Barrier can block all of the damage from Death Blossom, so be wary. | (To be added) |
 Torbjörn |
Torbjörn, much like Reaper, has a powerful shotgun-like attack with his Rivet Gun. A well-placed Turret can annoy you, as you will be able to do little to it while at long range, while safely flanking it could cost you the use of your Wraith Form. Torbjorn's Overload can save him from Death Blossom. If Torbjörn's teammates aren't nearby, however, you shouldn't hesitate to flank his turret, as even when fighting both the turret and him, your massive damage output and self-heal should keep you alive long enough to kill him and his turret. Just watch your health when choosing which target to take down first, as The Reaping won't activate when damaging Torbjörn's turret, only Torbjörn himself. | (To be added) |
 Tracer |
Tracer and Reaper both thrive in close-range combat, but while Tracer has mobility, you have higher firepower. Just one good shot will kill Tracer if immediately followed by a quick melee, and Tracer's Recall won't serve her much good due to how quickly you can put out damage. However, this doesn't necessarily mean you should play Reaper specifically to counter Tracer. You will only win if Tracer keeps fighting in close range with poor Blink usage. If she's attacking you from a safe middle distance, try to regroup with your team, where she'll have more difficulty picking you off. | (To be added) |
 Widowmaker |
Widowmaker is capable of staying far outside your range and picking you off in one headshot. You should avoid playing in her sightlines where she can easily see and snipe you before you can do anything about it. It's also difficult to flank her because of her Venom Mine and ability to evade you with a well time Grappling Hook. A good Widowmaker will make your life very difficult so either let your team deal with her or swap to another hero better at dealing with her. | When Infra-Sights is active, you can get a better of view of any lone enemies who can fall victim to your ambush. |
Support
| Hero | Match-Up | Team Synergy
|
|---|---|---|
 Ana |
Ana will normally be far out of your range, and should you attempt to get close, she can use her Sleep Dart and Biotic Grenade to keep you away, if not outright kill you. However, she doesn't have a reliable escape option like Widowmaker or other Support characters do. If attempting to flank her, be wary of her Sleep Dart and Biotic Grenade, and use Wraith Form to dodge them if need be. If you can evade these tools and her teammates aren't nearby, you should have no difficulty ripping through her. Bear in mind that when affected by Biotic Grenade, The Reaping will no longer heal you. If you're in a group fight and you are hit by Biotic Grenade, it may be better to avoid combat, as without your usual self-healing, beefier enemies may be able to kill you before you can kill them. Beware of Ana when using Death Blossom, as an accurate Sleep Dart can shut you down. | While you will have a tendency to want to flank your opponents, it's important to keep an eye on where your Ana is; not only will she rely on you to deal with harassing threats such as Winston and Wrecking Ball, she also won't be able to heal you unless you're in her line of sight. If affected by a friendly Biotic Grenade, all sources of healing will be magnified; this includes The Reaping, so you can be braver for a period of time with less risk of getting killed should you put out significant damage. You are a reasonable target for Nano-Boost, especially if you combine it with Death Blossom, which can rip through even the sturdiest of barriers to slaughter a group of enemies. |
 Baptiste |
Baptiste's Exo Boots and Immortality Field allow him to escape you easily to a range where he's more comfortable. His Immortality Field will also completely neuter your Ultimate and save his team from it. Either destroy or wait it out before you death blossom. | If you feel the need for additional security when using Death Blossom, you can request a friendly Baptiste to throw his Immortality Field your way. This will keep you safe for the duration of your Ultimate, and can help rip through hunkered down enemies that would normally kill you before you can kill them, such as a Bastion set up with an Orisa and Baptiste. |
 Brigitte |
Although she can't exactly beat you in a 1v1 , Brigitte can reduce your effectiveness. She can Shield Bash you to cancel your Ultimate or simply knock you away from her team with a well placed whip. Her crowd control abilities, Inspire passive ability and ability to block full blasts from your shotguns mean she can defend herself or her teammates from your assaults. You're better off prioritising other targets. | As you and Brigitte both benefit from close-quarters engagements, it's in the best interests of both of you to stick together; her Inspire will keep you constantly healed, while you will be able to fend off any flankers as well as large targets that stand in your way. This strategy is best suited for traveling through tight indoor spaces, though, as out in the open you're both at the mercy of long-range attackers such as Widowmaker or Cassidy. |
 Lúcio |
With his Speed Boost and Soundwave, Lúcio can keep you away from his team, severely dampening your potential to finish him and his allies off. Sound Barrier can also be used to mitigate a large portion of the damage from Death Blossom, so try to keep track of whether Lúcio has it ready, and if he does, attempt to bait it out before using Death Blossom. On the plus side, because Lúcio relies on keeping his teammates close, this can makes them unwitting fodder for Death Blossom should you catch them when Sound Barrier isn't ready. | Lúcio's Speed Boost can improve your slow walking speed, which can help you keep up with and kill fleeing enemies. |
 Mercy |
Mercy is practically defenseless against Reaper. Be wary of Guardian Angel, though, as she can use it as an emergency escape to get away from your standard attacks, or even to avoid a Death Blossom. | Mercy's damage boost can improve the healing you receive from The Reaping, effectively giving you both a damage boost and a health boost. When you activate Death Blossom, it may be wise for a courageous Mercy to keep her damage boost on you, which can help you run through the enemy team with greater ease. |
 Moira |
Flanking Moira is tough because if you fail to get the jump on her or don't kill her quickly enough she can create a lot of distance with Fade and heal herself. If she didn't go far however, you can use Wraith Form to catch up to her and finish her off. Her damage orbs can be a serious threat in enclosed and narrow areas so avoid fighting Moira where she can bounce them around a lot. | As Moira's healing requires her allies to be close by, try not to lose sight of her, or in the very least be ready to return to her when disengaging from the enemy team. |
 Zenyatta |
Depending on the skill of both parties, Zenyatta can be an even match-up against you. While his mobility is low, he has a significant range advantage as well as the ability to amplify his damage on you with Orb of Discord. While Wraith Form will dispel Orb of Discord, Zenyatta can instantly reapply it when you rematerialize. Even at point blank range, an accurate Zenyatta may be able to land consecutive boosted headshots on you before you can finish him off, and in an emergency Zenyatta can activate Transcendence to save himself and to regroup with his team. Your best bet against Zenyatta is to catch him by surprise and flank him before he has a chance to call allies for support. Zenyatta's Transcendence can completely negate all of the damage from Death Blossom, so try to either bait Transcendence out first or kill Zenyatta before activating Death Blossom. | If you stay within Zenyatta's line of sight, Orb of Harmony can keep you sufficiently healthy to allow you to stand your ground and attack opponents, while Orb of Discord can help you quickly run through enemies one after the other. |
Map Strategies
Control
| Map | Strategy & Stage Tips |
|---|---|
 Overall Strategy |
TBA RATING | TBA FEATURE
Map strategy details for Overall Strategy are currently missing. You can help the Overwatch Wiki by adding them!
|
 Antarctic Peninsula |
TBA RATING | TBA FEATURE
Map strategy details for Antarctic Peninsula are currently missing. You can help the Overwatch Wiki by adding them! Labs
Strategy details missing.
Sublevel
Strategy details missing.
Icebreaker
Strategy details missing.
|

|
TBA RATING | TBA FEATURE
Map strategy details for Busan are currently missing. You can help the Overwatch Wiki by adding them! Downtown
Strategy details missing.
Sanctuary
Strategy details missing.
MEKA Base
Strategy details missing.
|

|
TBA RATING | TBA FEATURE
Map strategy details for Ilios are currently missing. You can help the Overwatch Wiki by adding them! Lighthouse
Strategy details missing.
Well
Strategy details missing.
Ruins
Strategy details missing.
|

|
TBA RATING | TBA FEATURE
Map strategy details for Lijiang Tower are currently missing. You can help the Overwatch Wiki by adding them! Control Center
Strategy details missing.
Garden
Strategy details missing.
Night Market
Strategy details missing.
|

|
TBA RATING | TBA FEATURE
Map strategy details for Nepal are currently missing. You can help the Overwatch Wiki by adding them! Village
Strategy details missing.
Shrine
Strategy details missing.
Sanctum
Strategy details missing.
|

|
TBA RATING | TBA FEATURE
Map strategy details for Oasis are currently missing. You can help the Overwatch Wiki by adding them! City Center
Strategy details missing.
Gardens
Strategy details missing.
University
Strategy details missing.
|

|
TBA RATING | TBA FEATURE
Map strategy details for Samoa are currently missing. You can help the Overwatch Wiki by adding them! Beach
Strategy details missing.
Downtown
Strategy details missing.
Volcano
Strategy details missing.
|
Escort
| Map | Strategy & Stage Tips |
|---|---|
 Overall Strategy |
TBA RATING | TBA FEATURE
Map strategy details for Overall Strategy are currently missing. You can help the Overwatch Wiki by adding them!
|

|
TBA RATING | TBA FEATURE
Map strategy details for Circuit Royal are currently missing. You can help the Overwatch Wiki by adding them! Attack
Strategy details missing.
Defense
Strategy details missing.
|

|
TBA RATING | TBA FEATURE
Map strategy details for Dorado are currently missing. You can help the Overwatch Wiki by adding them! Attack
Strategy details missing.
Defense
Strategy details missing.
|

|
TBA RATING | TBA FEATURE
Map strategy details for Havana are currently missing. You can help the Overwatch Wiki by adding them! Attack
Strategy details missing.
Defense
Strategy details missing.
|

|
TBA RATING | TBA FEATURE
Map strategy details for Junkertown are currently missing. You can help the Overwatch Wiki by adding them! Attack
Strategy details missing.
Defense
Strategy details missing.
|

|
TBA RATING | TBA FEATURE
Map strategy details for Rialto are currently missing. You can help the Overwatch Wiki by adding them! Attack
Strategy details missing.
Defense
Strategy details missing.
|

|
TBA RATING | TBA FEATURE
Map strategy details for Route 66 are currently missing. You can help the Overwatch Wiki by adding them! Attack
Strategy details missing.
Defense
Strategy details missing.
|

|
TBA RATING | TBA FEATURE
Map strategy details for Shambali Monastery are currently missing. You can help the Overwatch Wiki by adding them! Attack
Strategy details missing.
Defense
Strategy details missing.
|

|
TBA RATING | TBA FEATURE
Map strategy details for Watchpoint: Gibraltar are currently missing. You can help the Overwatch Wiki by adding them! Attack
Strategy details missing.
Defense
Strategy details missing.
|
Hybrid
| Map | Strategy & Stage Tips |
|---|---|
 Overall Strategy |
TBA RATING | TBA FEATURE
Map strategy details for Overall Strategy are currently missing. You can help the Overwatch Wiki by adding them!
|
 Blizzard World |
TBA RATING | TBA FEATURE
Map strategy details for Blizzard World are currently missing. You can help the Overwatch Wiki by adding them! Attack
Strategy details missing.
Defense
Strategy details missing.
|

|
TBA RATING | TBA FEATURE
Map strategy details for Eichenwalde are currently missing. You can help the Overwatch Wiki by adding them! Attack
Strategy details missing.
Defense
Strategy details missing.
|

|
TBA RATING | TBA FEATURE
Map strategy details for Hollywood are currently missing. You can help the Overwatch Wiki by adding them! Attack
Strategy details missing.
Defense
Strategy details missing.
|

|
TBA RATING | TBA FEATURE
Map strategy details for King's Row are currently missing. You can help the Overwatch Wiki by adding them! Attack
Strategy details missing.
Defense
Strategy details missing.
|

|
TBA RATING | TBA FEATURE
Map strategy details for Midtown are currently missing. You can help the Overwatch Wiki by adding them! Attack
Strategy details missing.
Defense
Strategy details missing.
|
 Numbani |
TBA RATING | TBA FEATURE
Map strategy details for Numbani are currently missing. You can help the Overwatch Wiki by adding them! Attack
Strategy details missing.
Defense
Strategy details missing.
|

|
TBA RATING | TBA FEATURE
Map strategy details for Paraíso are currently missing. You can help the Overwatch Wiki by adding them! Attack
Strategy details missing.
Defense
Strategy details missing.
|
Push
| Map | Strategy & Stage Tips |
|---|---|
 Overall Strategy |
TBA RATING | TBA FEATURE
Map strategy details for Overall Strategy are currently missing. You can help the Overwatch Wiki by adding them!
|

|
TBA RATING | TBA FEATURE
Map strategy details for Colosseo are currently missing. You can help the Overwatch Wiki by adding them! Pushing
Strategy details missing.
Defending
Strategy details missing.
|

|
TBA RATING | TBA FEATURE
Map strategy details for Esperança are currently missing. You can help the Overwatch Wiki by adding them! Pushing
Strategy details missing.
Defending
Strategy details missing.
|

|
TBA RATING | TBA FEATURE
Map strategy details for New Queen Street are currently missing. You can help the Overwatch Wiki by adding them! Pushing
Strategy details missing.
Defending
Strategy details missing.
|

|
TBA RATING | TBA FEATURE
Map strategy details for Runasapi are currently missing. You can help the Overwatch Wiki by adding them! Pushing
Strategy details missing.
Defending
Strategy details missing.
|
Flashpoint
| Map | Strategy & Stage Tips |
|---|---|
 Overall Strategy |
TBA RATING | TBA FEATURE
Map strategy details for Overall Strategy are currently missing. You can help the Overwatch Wiki by adding them!
|

|
TBA RATING | TBA FEATURE
Map strategy details for Aatlis are currently missing. You can help the Overwatch Wiki by adding them! Station
Strategy details missing.
Garden
Strategy details missing.
Town Center
Strategy details missing.
Bazaar
Strategy details missing.
Resort
Strategy details missing.
|

|
TBA RATING | TBA FEATURE
Map strategy details for New Junk City are currently missing. You can help the Overwatch Wiki by adding them! Arena
Strategy details missing.
The Ducts
Strategy details missing.
Refinery
Strategy details missing.
Junkyard
Strategy details missing.
Bomb Flats
Strategy details missing.
|

|
TBA RATING | TBA FEATURE
Map strategy details for Suravasa are currently missing. You can help the Overwatch Wiki by adding them! Market
Strategy details missing.
Garden
Strategy details missing.
Palace
Strategy details missing.
Temple
Strategy details missing.
Ruins
Strategy details missing.
|
Achievements
| Name | Icon | Description | Reward |
|---|---|---|---|
| Get 3 solo kills with a single clip of Reaper's shotguns in Quick or Competitive Play. |  | ||
|
|
Kill 4 enemies with a single use of Reaper's Death Blossom in Quick or Competitive play. |  |
Trivia
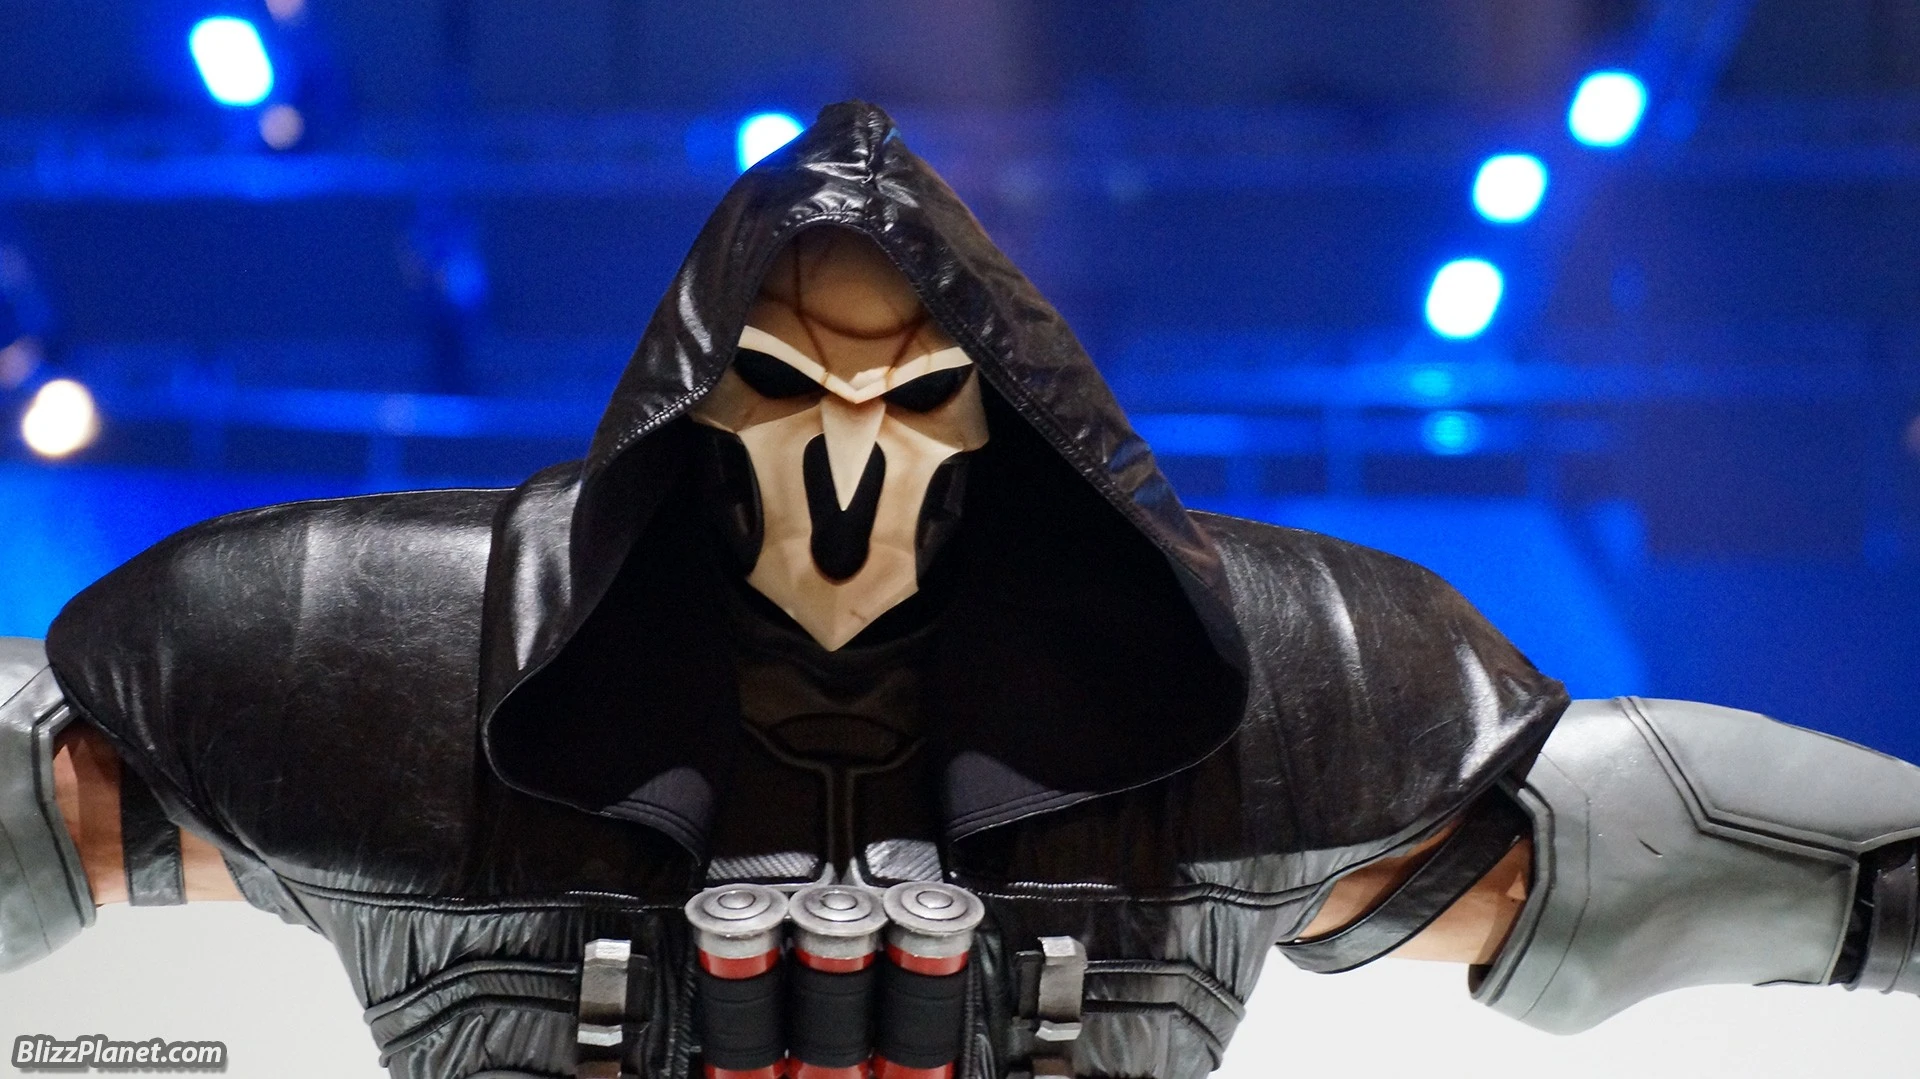
The Reaper statue
- A statue of Reaper was present at GamesCom 2015.[3]
- Reaper's face mask's design is similar to the Blackwatch logo as well as his emblem, possibly to highlight that he was the leader of the group or they all symbolize an owl which represents death.
- It is possible for Reaper to one hit kill every hero except Bastion and tanks.
- Reaper's guns open up when fired on all of his skins and on his default sets have vents on the outside that say "🔺Caution" with the red arrow pointing to them as well as a glowing red switch that's always set to "OFF" as it says. Similarly his set of shotguns on his Soldier: 24 skin say "◀ Caution Moving Part" on them.
- Reaper's guns have different words on them for each set of skins such as:
- Default sets say "RPNT", "RPNT MK6", "MN 666-SHGX1", and "WTL-Type 8 Devil Chamber"
- Blackwatch Reyes say "BLK001"
- Plague Doctor and Nevermore say "CRW-ND"
- Biker say "Speed Fang", "T4", and "REAPER"
- Soldier: 24 say "RVGR" and "US ADVANCED MILITARY ARMS RESEARCH INSTITUTE ALLOY SUPERFOIL TYPE-24"
- Reaper's Pumpkin skin is shown on the poster of The Reapening.
- In some early concept art for the game, the name ''Gabriel King'' can be seen. There is a strong possibility that this could be Reaper's old name as Spanish surname ''Reyes'' translates to ''kings''.
Misc. Character Information
- Reaper wears bandoliers of grenade shells.[4]
- According to Reaper's dog tag on his Soldier: 24 skin, his blood type is AB Negative, his soldier ID number is 06 0000 0024, and he has no religion.
- Reaper was a big basketball and football fan.[5] His favorite team was the L.A Lakers.[6]
- Reaper is of Latino descent.[7]
- His Mariachi skin might imply that he is of Mexican ancestry.
- As Reaper, Reyes has apparently spent much of his time stalking Martina.[8]
- Reaper dislikes Oasis.[8]
Disputed Information
- Contradictory information exists as to the nature of Reaper and Morrison's relationship. An Atlas News post in 2015 stated that Morrison becoming head of Overwatch was the source of the rift between them.[9] In 2018, Jeff Kaplan stated that there was no rift, that Reyes was happy for Morrison to have the more political role and be "number two," as there would be less accountability.[10]
- At some point after Null Sector's return, Reaper and his fellow Talon members engaged Overwatch in a firefight at Petra. Talon was forced to retreat.[11]
Cultural References
- Reaper bears resemblance to the Grim Reaper, from various real-world cultures.
- Reaper's reload animation is possibly a reference to the lobby shootout scene from The Matrix.
- Reaper's legendary Cursed Captain skin is a possible nod to Disney's rendition of Davy Jones. The main Antagonist of the 2006 film Pirates of the Caribbean: Dead Man's Chest.
- Reaper's voice line "I'm Back in Black" is a possible reference to Australian rock band AC/DC's hit song Back in Black.
- Reaper's voice line "I'm not a psychopath. I'm a high functioning psychopath" paraphrases a quote by Sherlock Holmes from the first episode of the British mystery crime drama series Sherlock.
- The original quote is "I'm not a psychopath, Anderson, I'm a high functioning sociopath. Do your research."
- Death Blossom might be a reference to
- a weapon used in the 1984 movie The Last Starfighter named Death Blossom.
- Katarina from League of Legends, whose ultimate "Death Lotus" behaves similarly.
- Strafe, an ability for the Demon Hunter class from Diablo III, another Blizzard title.
- the art of Gun-kata from the movie Equilibrium.
- a military term used to describe a group of men firing wildly in all directions surrounding the group.
- The "CRW-ND" written on Plague Doctor and Nevermore skins' guns might be a reference to "crowning", a technique from the game Left 4 Dead that involves focusing the devastating fire of a shotgun in point blank range on the Witch, a very high health enemy, essentially killing her before she can react - this being a reference to Reaper's tank busting abilities.
- It may be a play on the gaming term "owned", crossed with the skins' "crow" theme ("crow-ned", rather than "crown-ed").
In Other Blizzard Games
- Reapers are a type of unit in Blizzard Entertainment's StarCraft series. Like Reaper himself, they dual-wield firearms and wear masks.
- A Reaper portrait is available in StarCraft II for those who purchase the Origins Edition.[12]
- Reaper's stance bears resemblance to the Diablo III antagonist Malthael.
- Reaper appears as a cosplay skin for Valla in Heroes of the Storm.
Merchandise
- A Funko Pop Reaper figurine was released in June, 2016.[13]
- A 12" Reaper statue was made available in 2017.[14]
- A Figma Reaper statue became available in 2019.[15]
Development
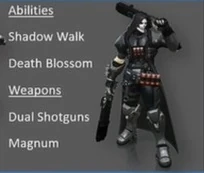
The Reaper class from Project Titan
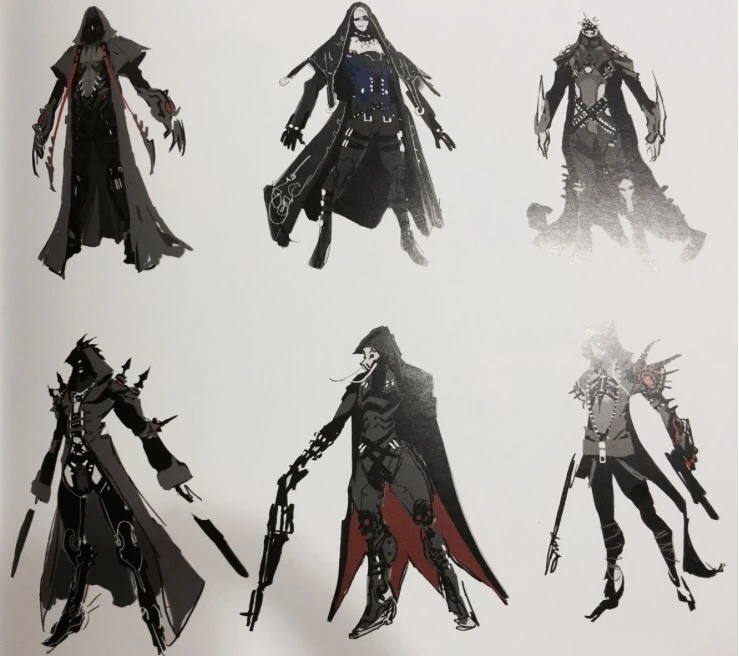
Reaper early concept art
Prior to the development of Overwatch, Reaper was the name of one of the player classes in the cancelled Project Titan, which in the original pitch for the game that would become Overwatch was envisioned as wielding dual shotguns and a magnum, and using the abilities Death Blossom and Shadow Walk.[16] This class was reworked into the present day Reaper as one of the first three characters designed for Overwatch, alongside Tracer and Widowmaker.[17] The character of Reaper was inspired entirely by concept art for the game—his actual character was developed after his appearance was presented.[18] Originally, he only had a single shotgun.[19]
Under Overwatch's original leveling system, Reaper's wraith form would give him healing abilities once he reached a certain level.[20] Reaper once had a slimmer design with a mask that was more human looking and dual wielded SMGs.[4]
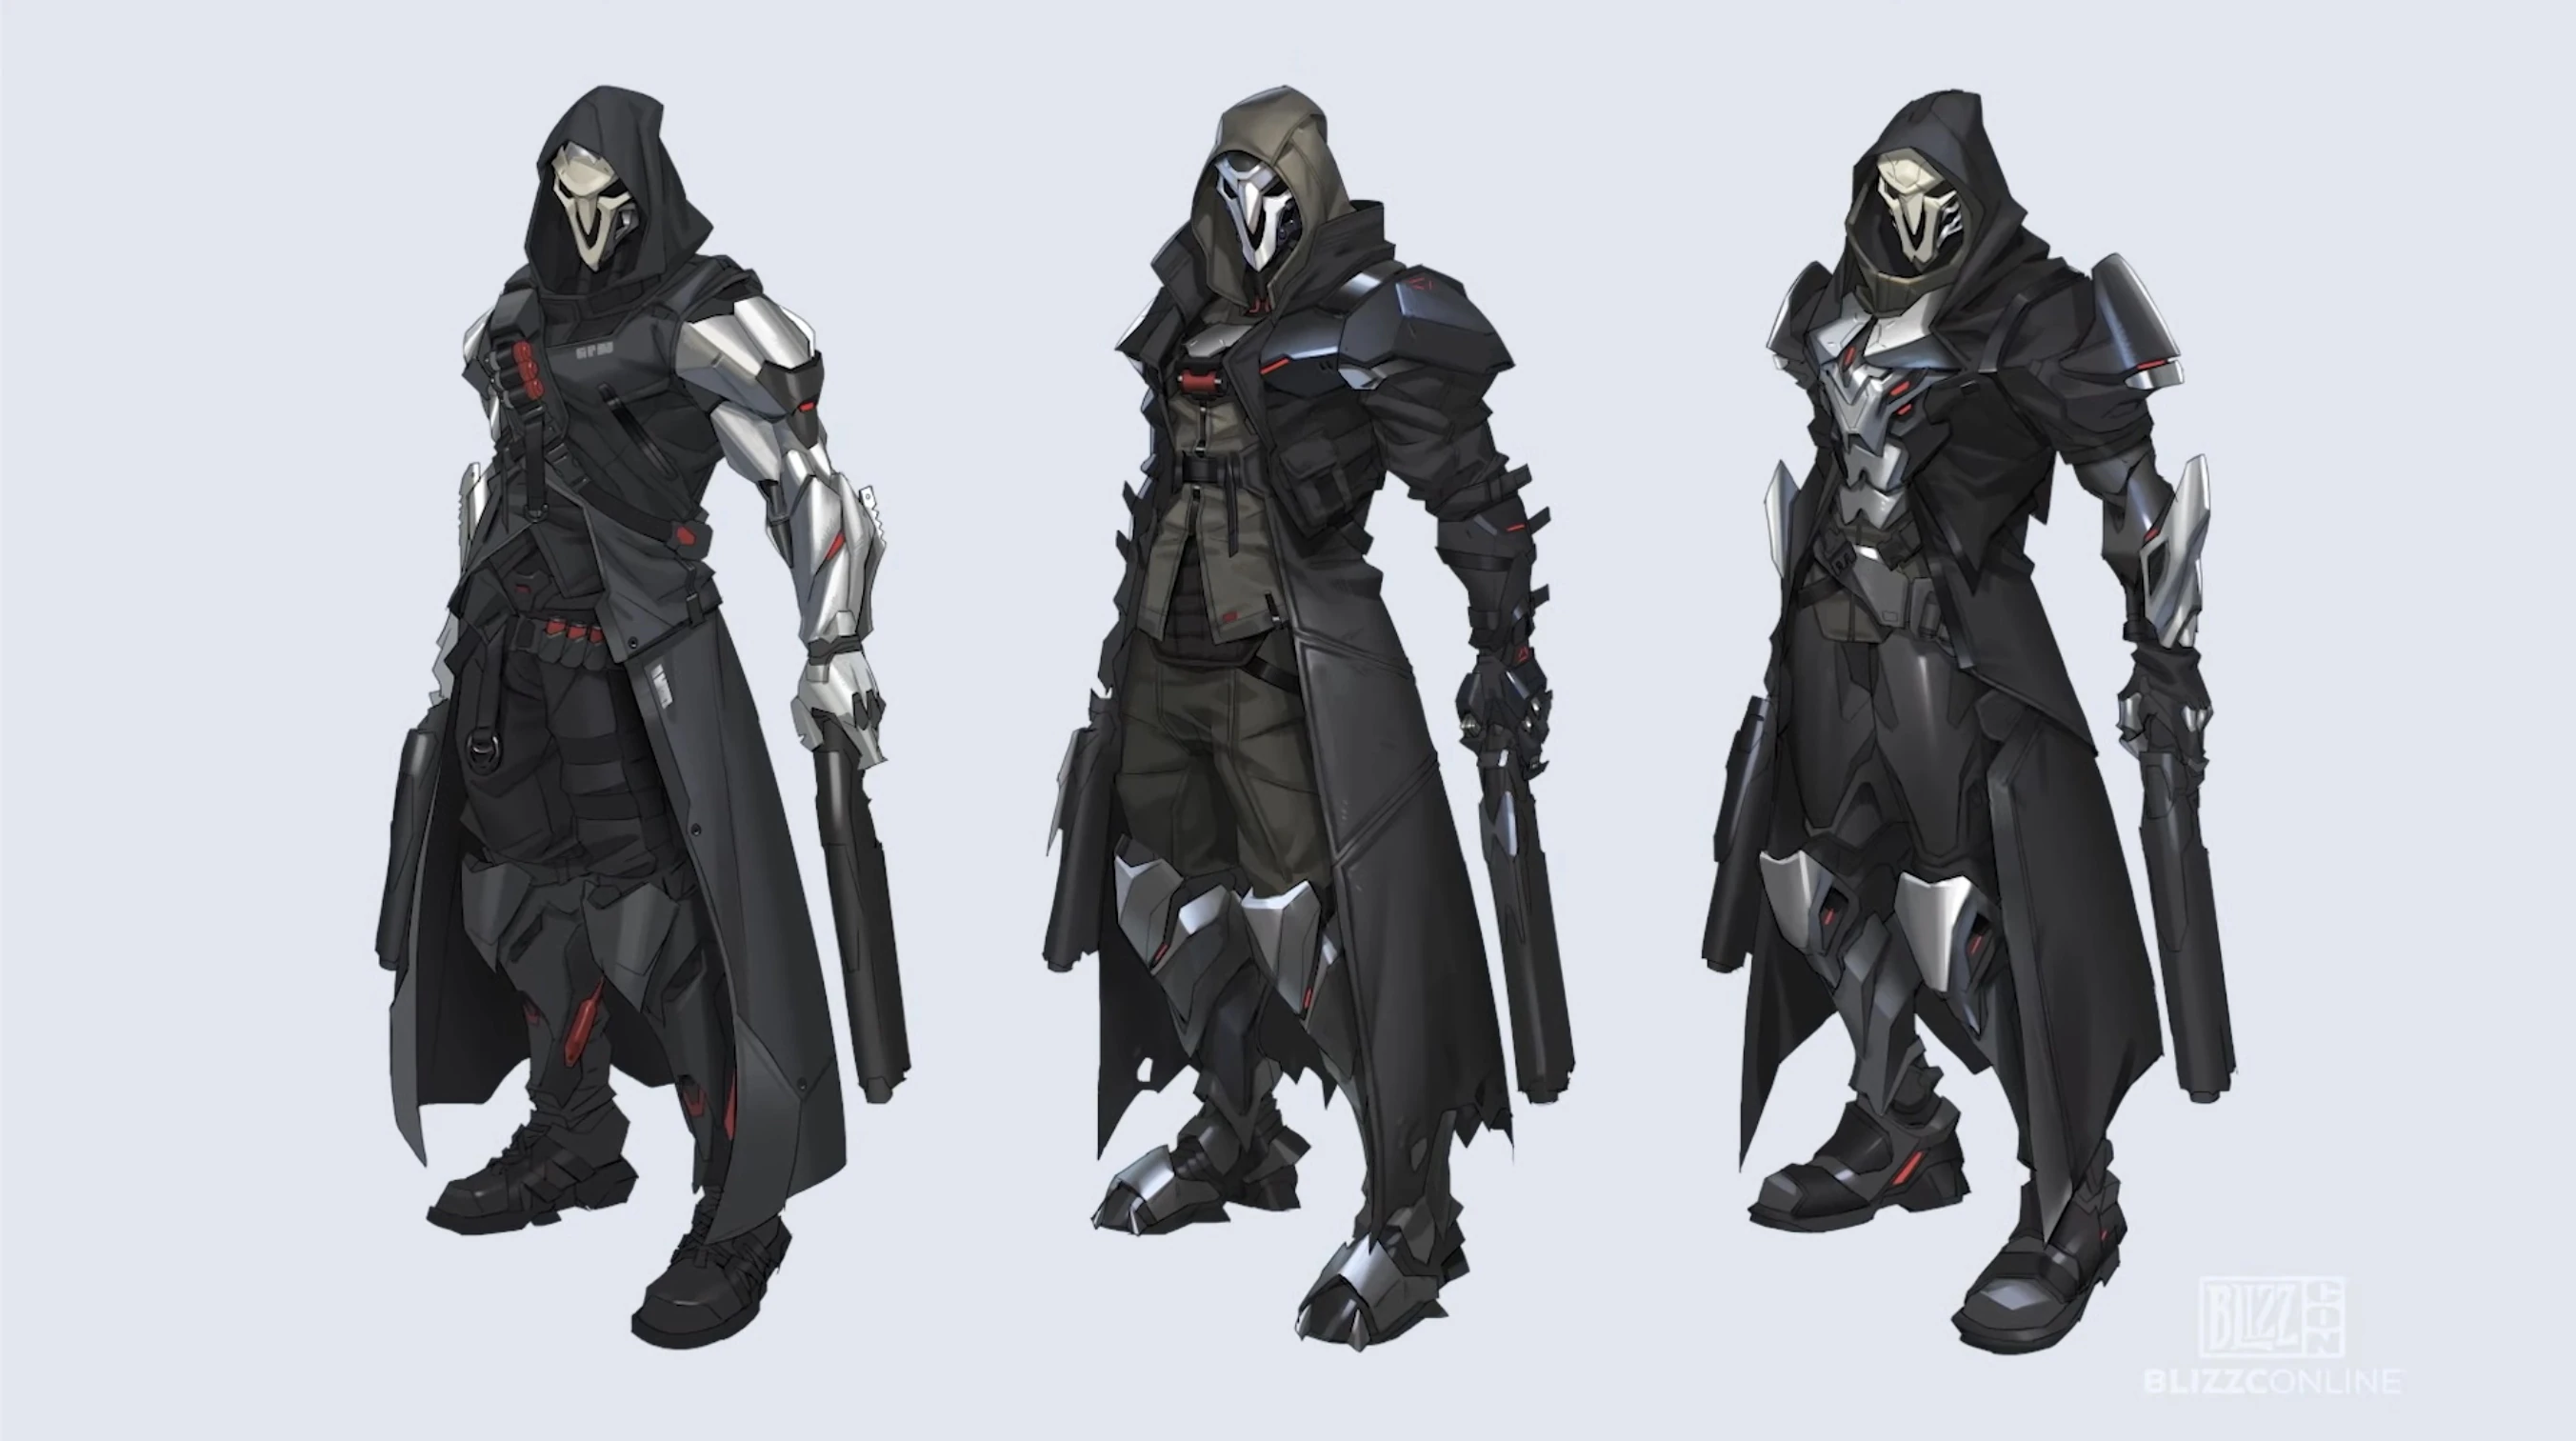
Overwatch 2 Reaper early concept art
Along with most heroes, Reaper's appearance was redesigned for Overwatch 2. They spoke about integrating his armour, cloak and iconic cowl into his new look, while keeping the classic reaper silhouette. They experimented with his colour scheme in development, such as trying completely silver arms and more jacket layers. Ultimately, they replaced his "bone white" mask and other features with a more "deadly, edgy silver" to change his colour scheme. [21].
Removed abilities
Removed Perks

- Removed in Season 18.
- Removed in Season 19.
Media
Images
- Former Portrait
-
 Overwatch 1 Hero Portrait

- Gameplay Screenshots


- Concept Art
-
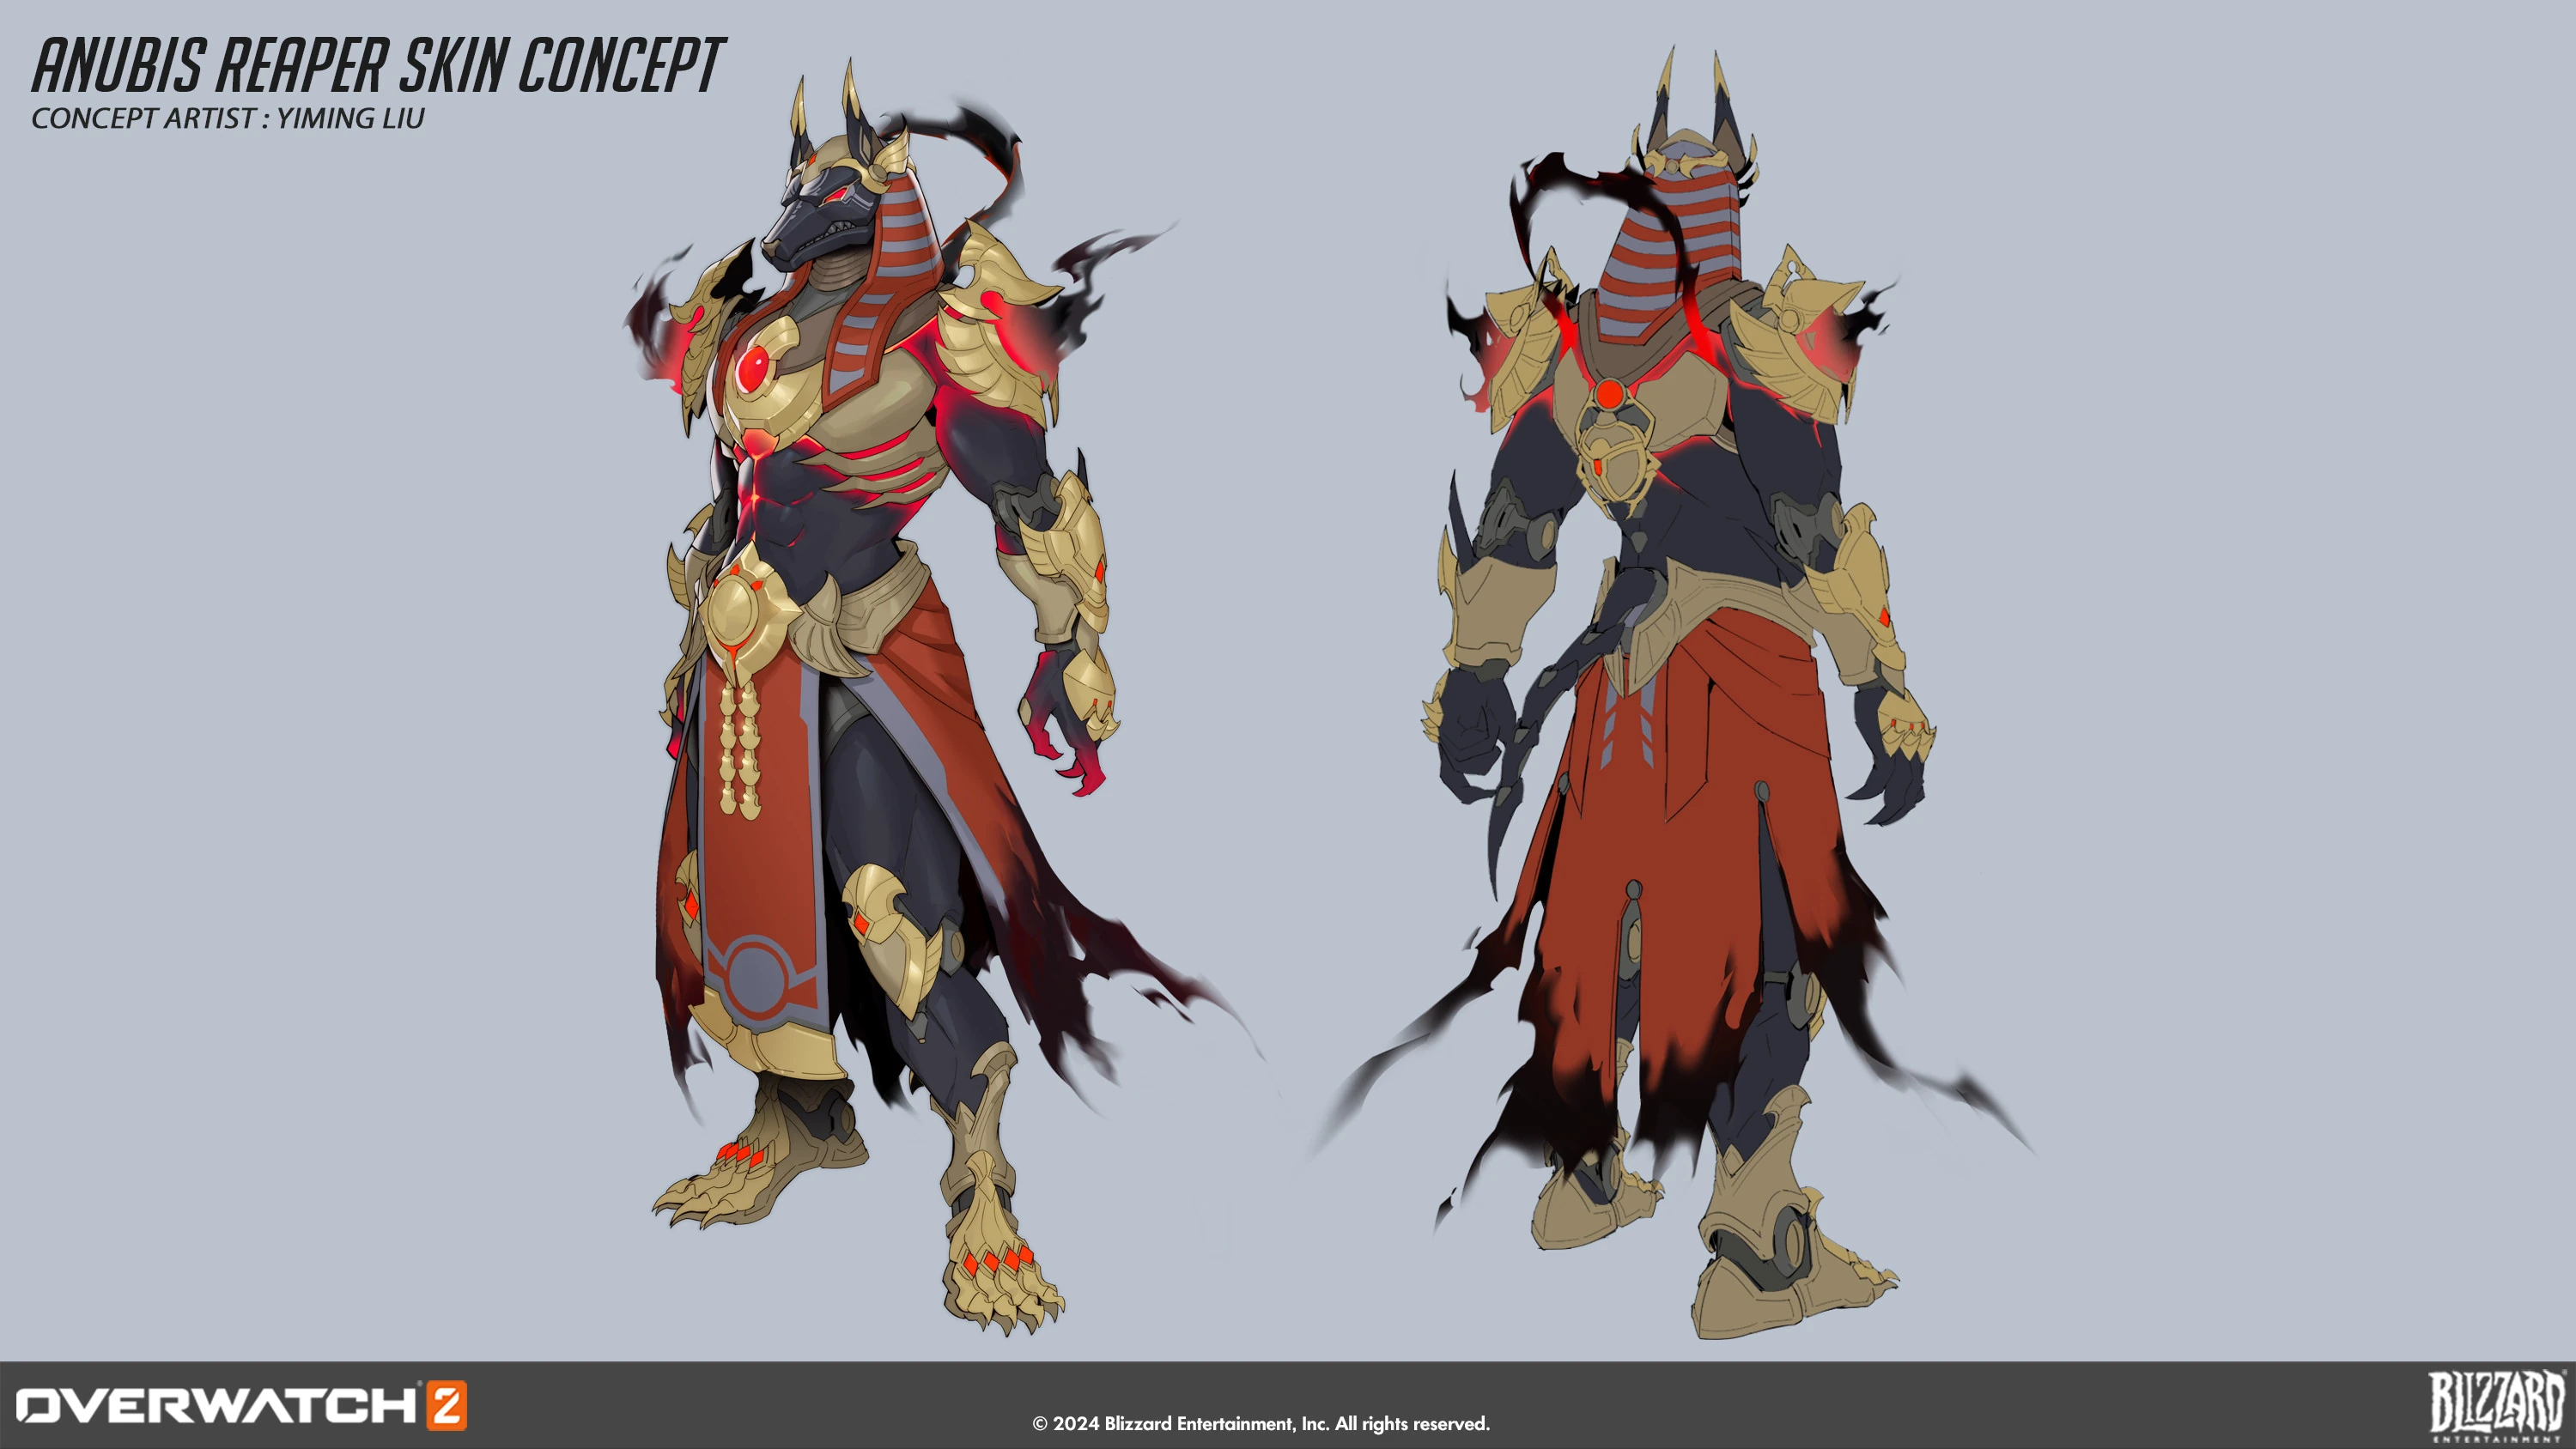
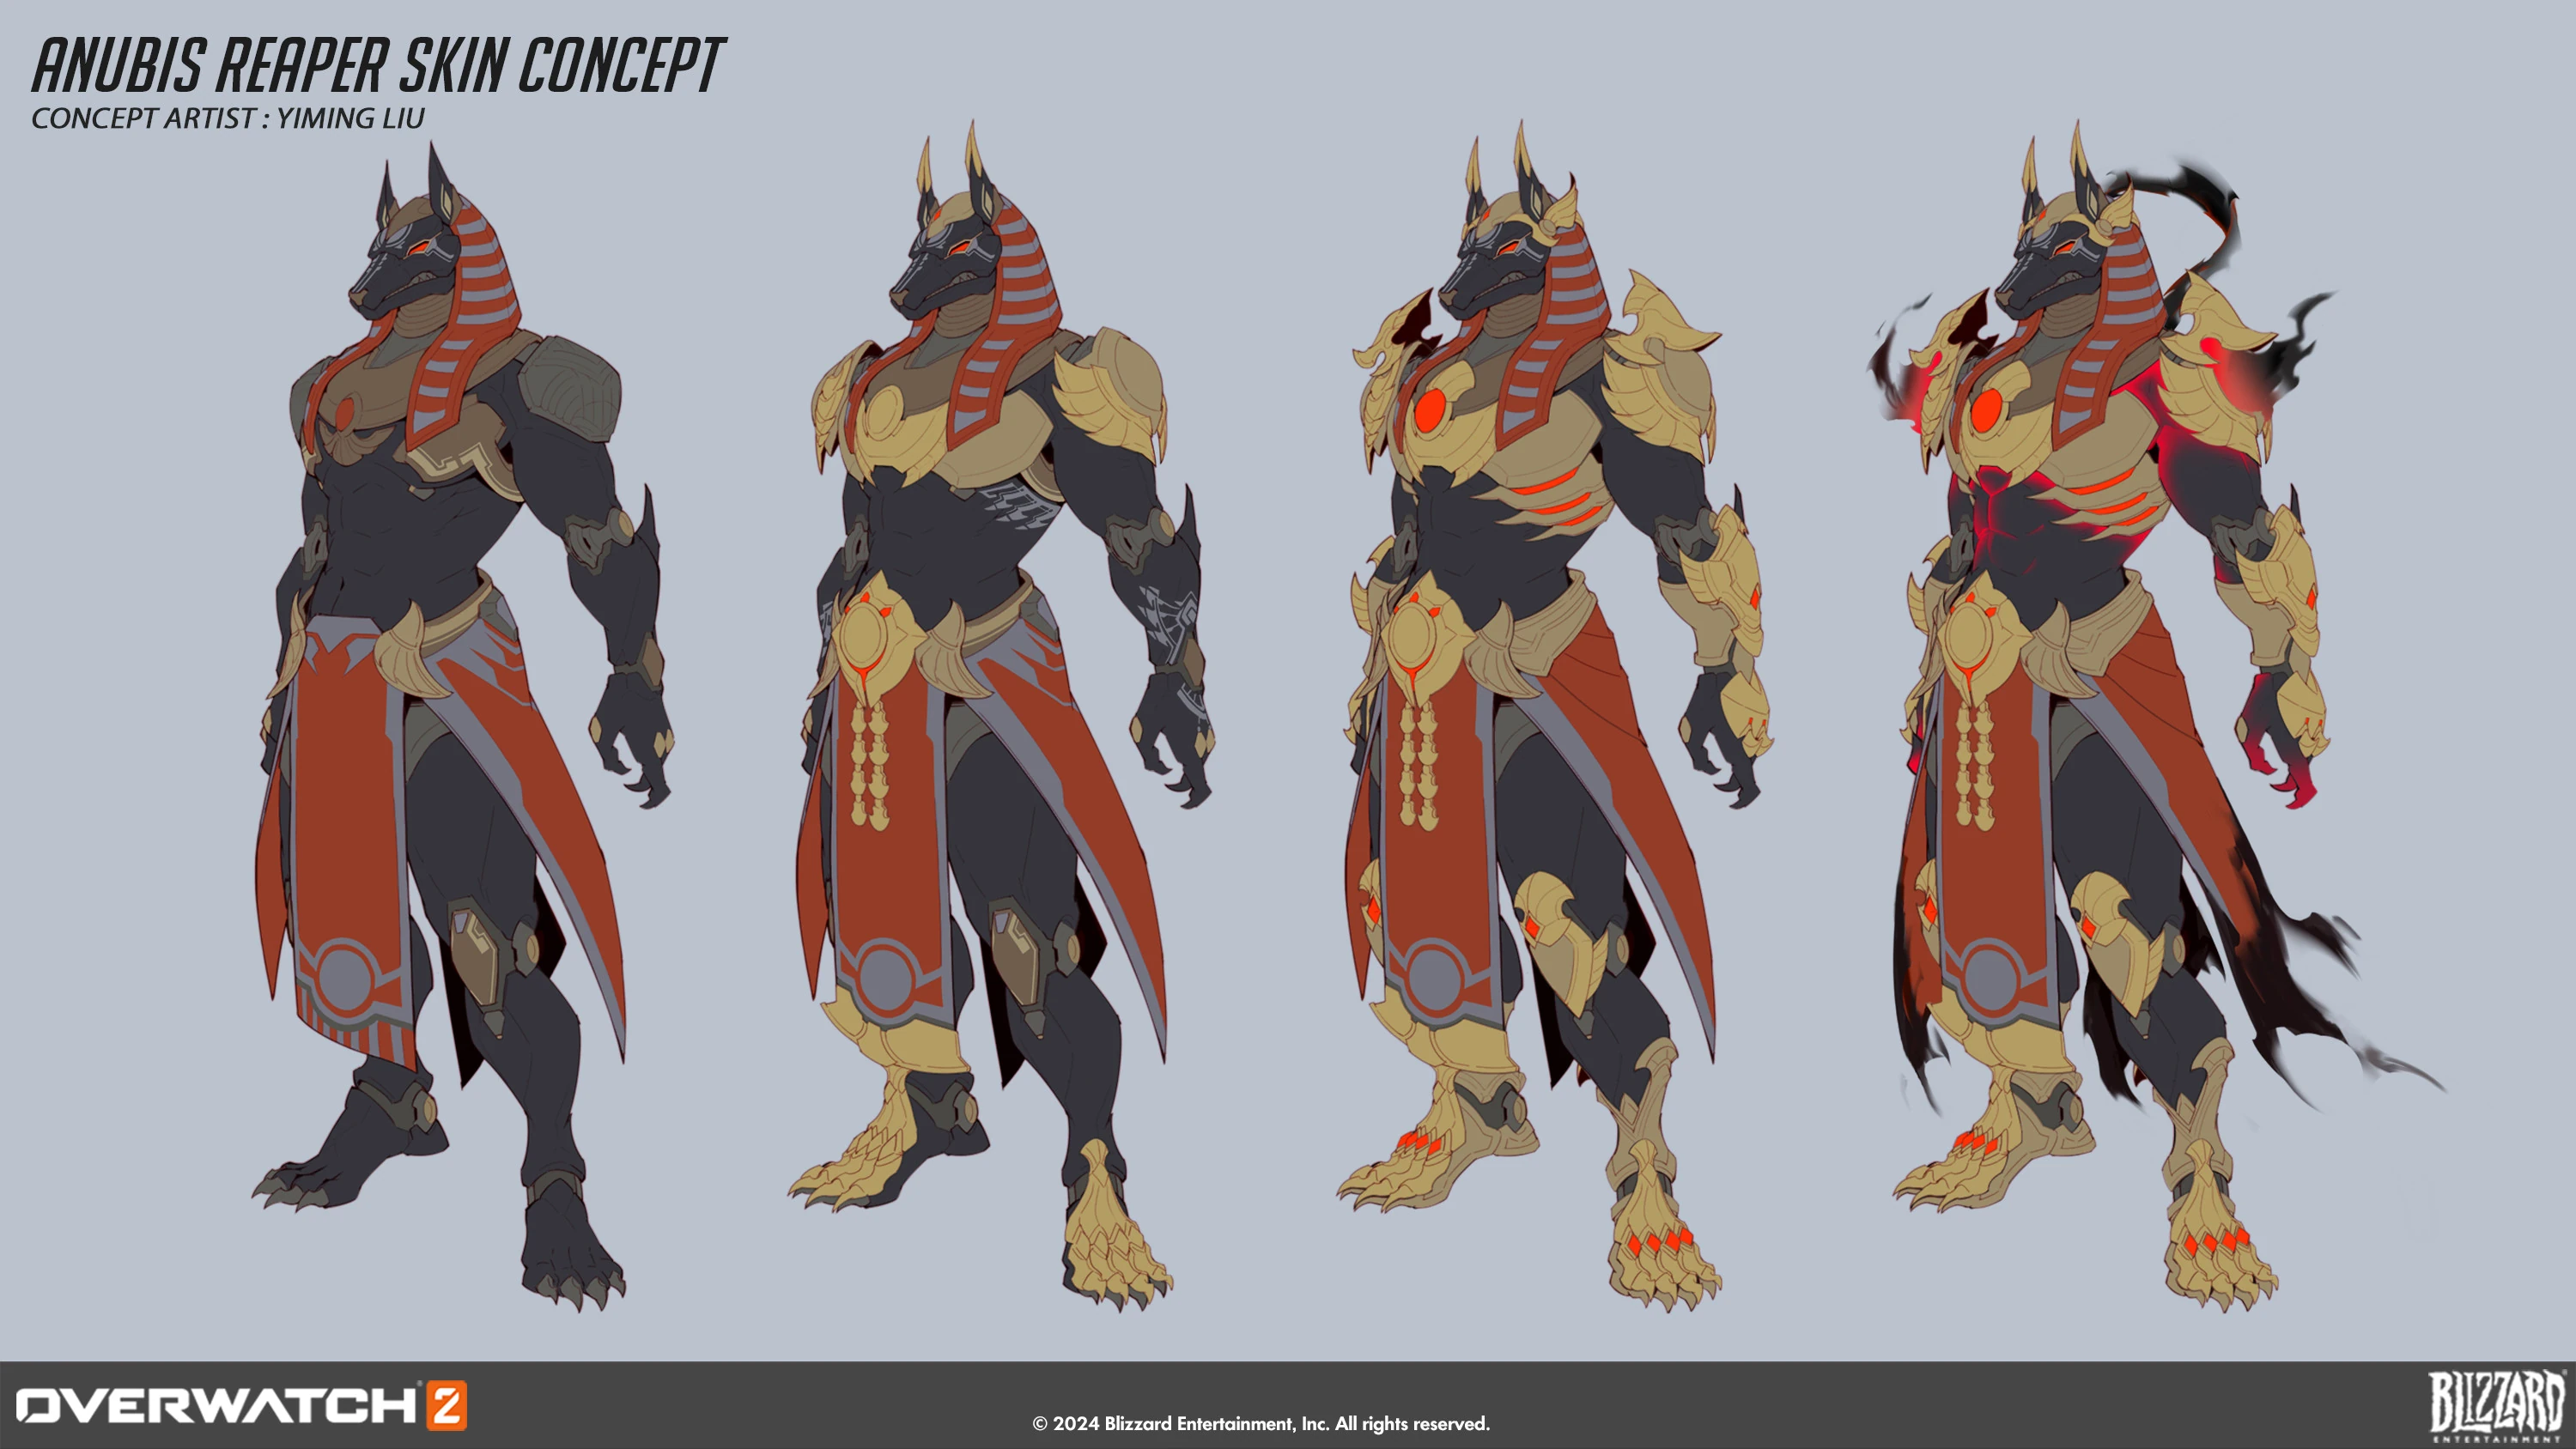
 0Anubis Skin Concept Art by Yiming Liu
 -
 Anubis Skin Levels Concept Art by Yiming Liu
 -
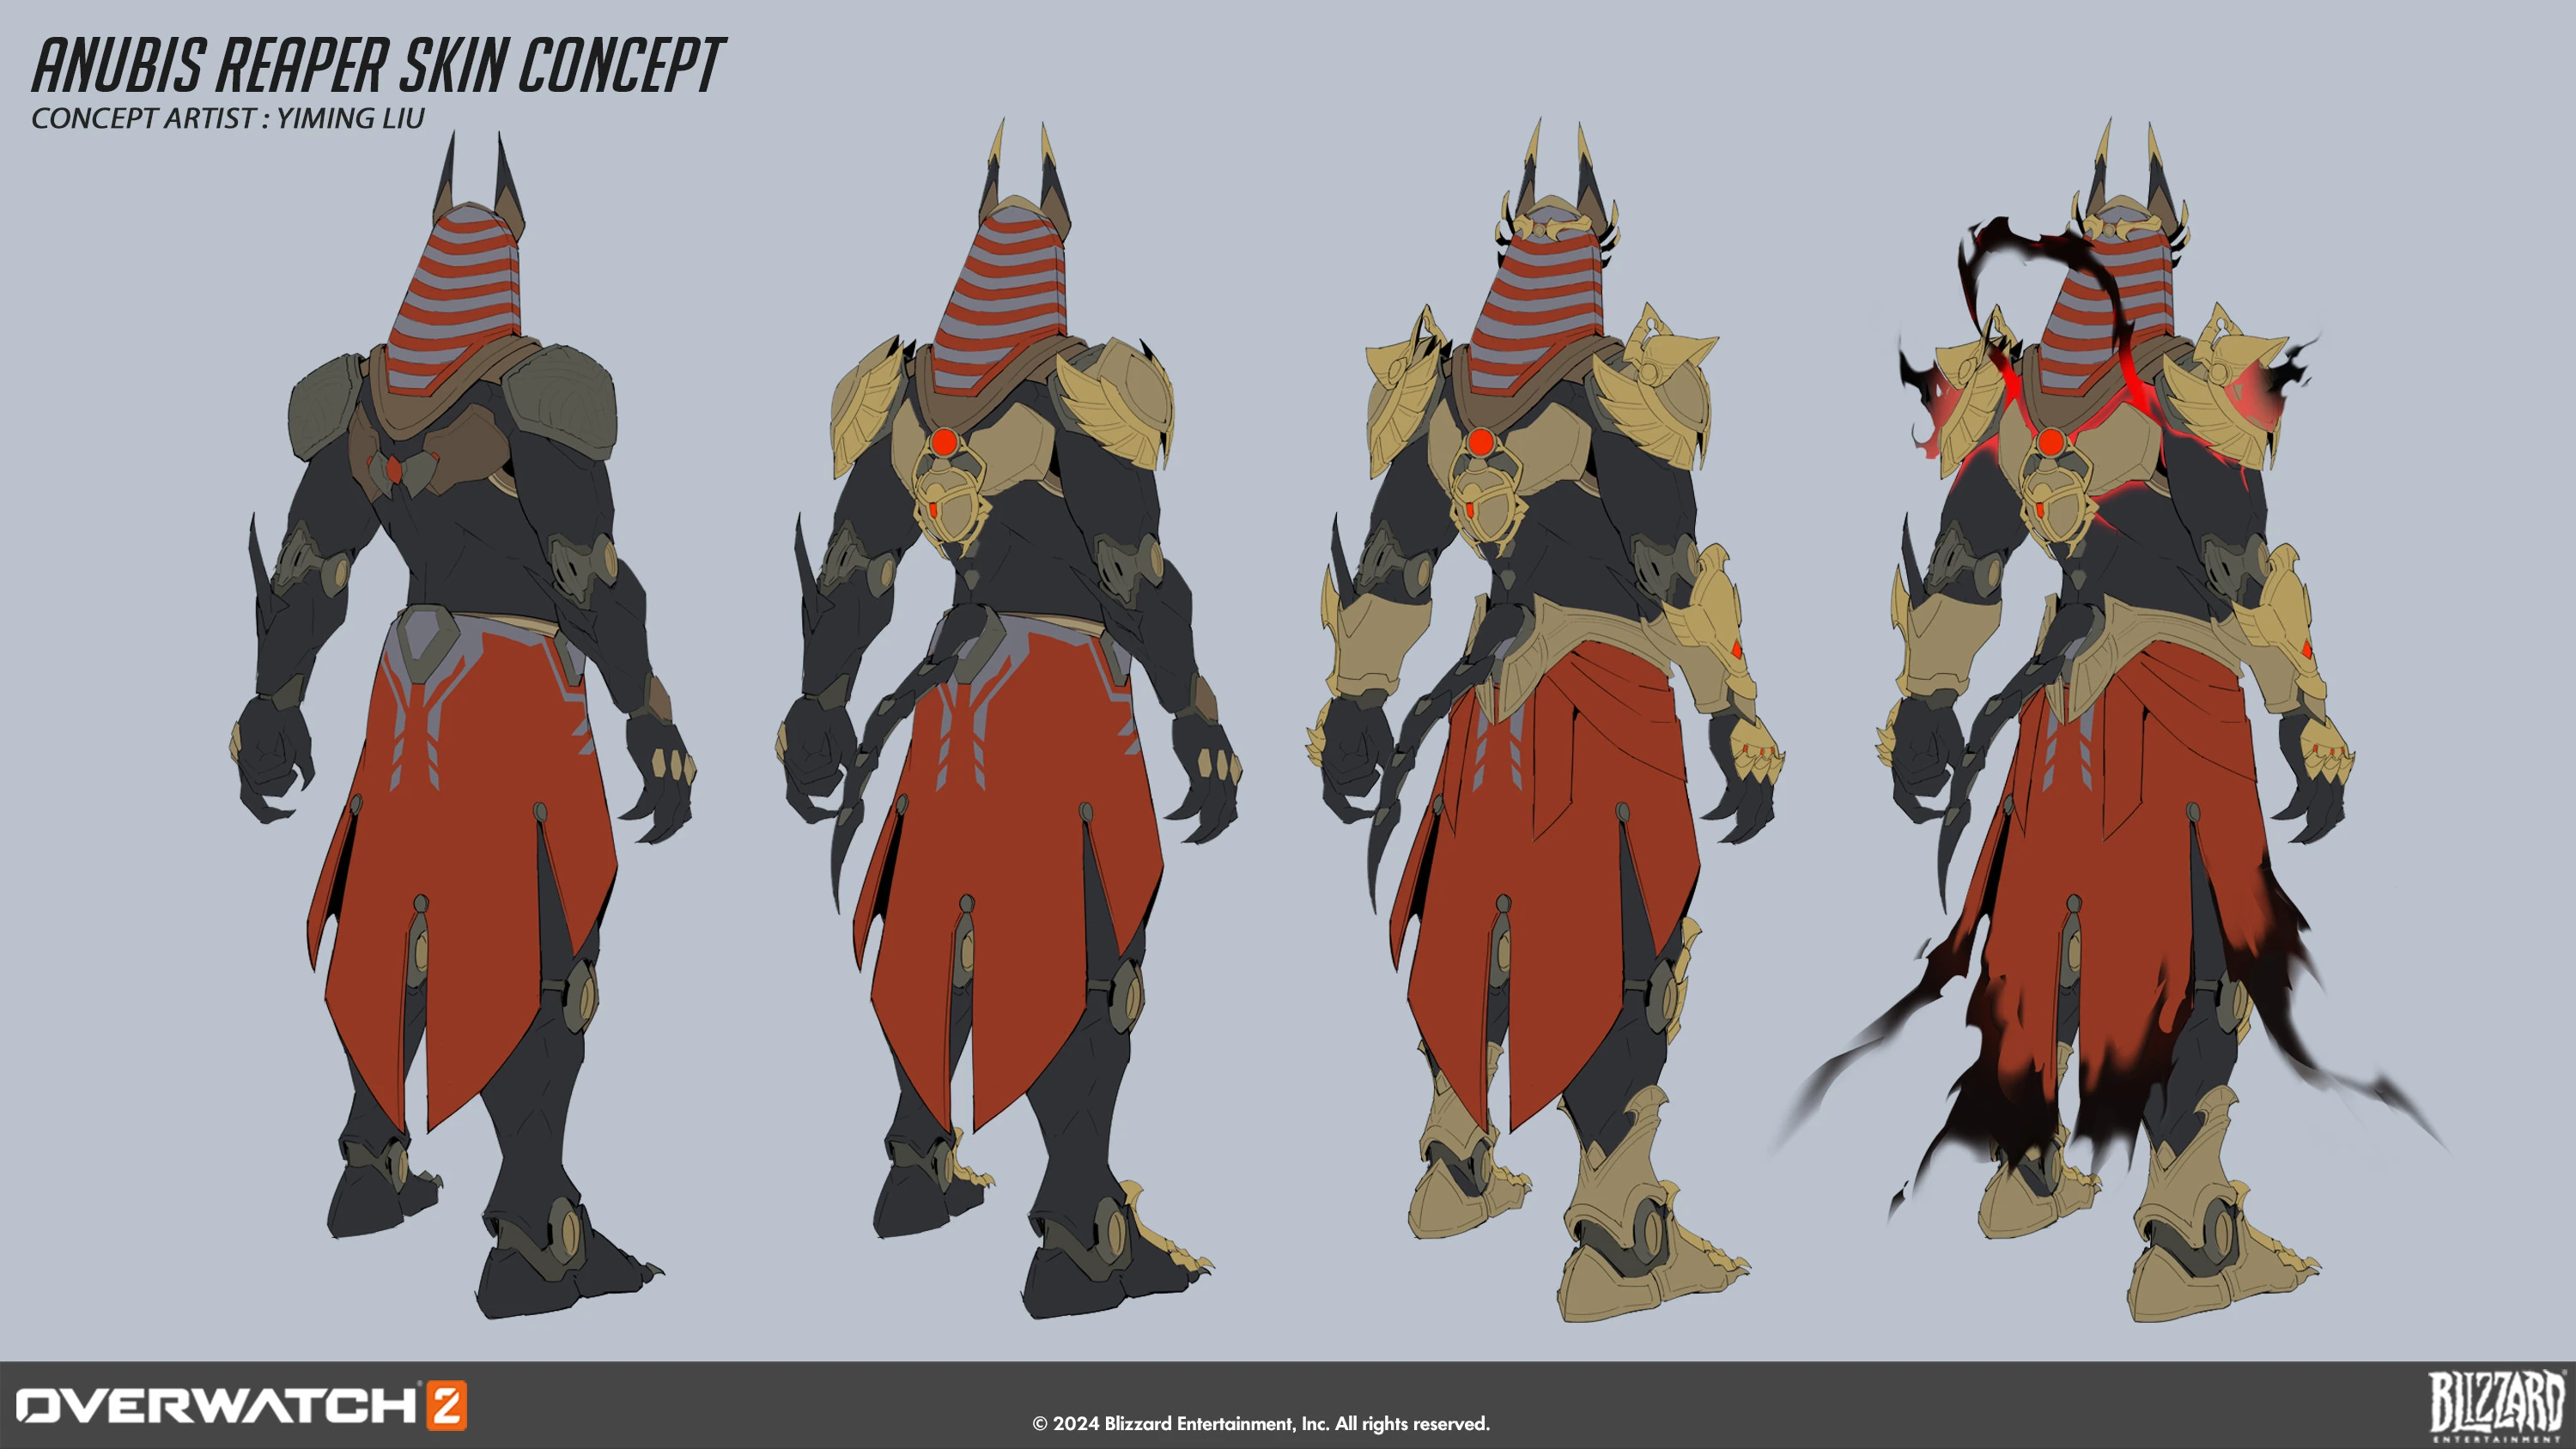
 Anubis Skin Back Levels Concept Art by Yiming Liu
 -
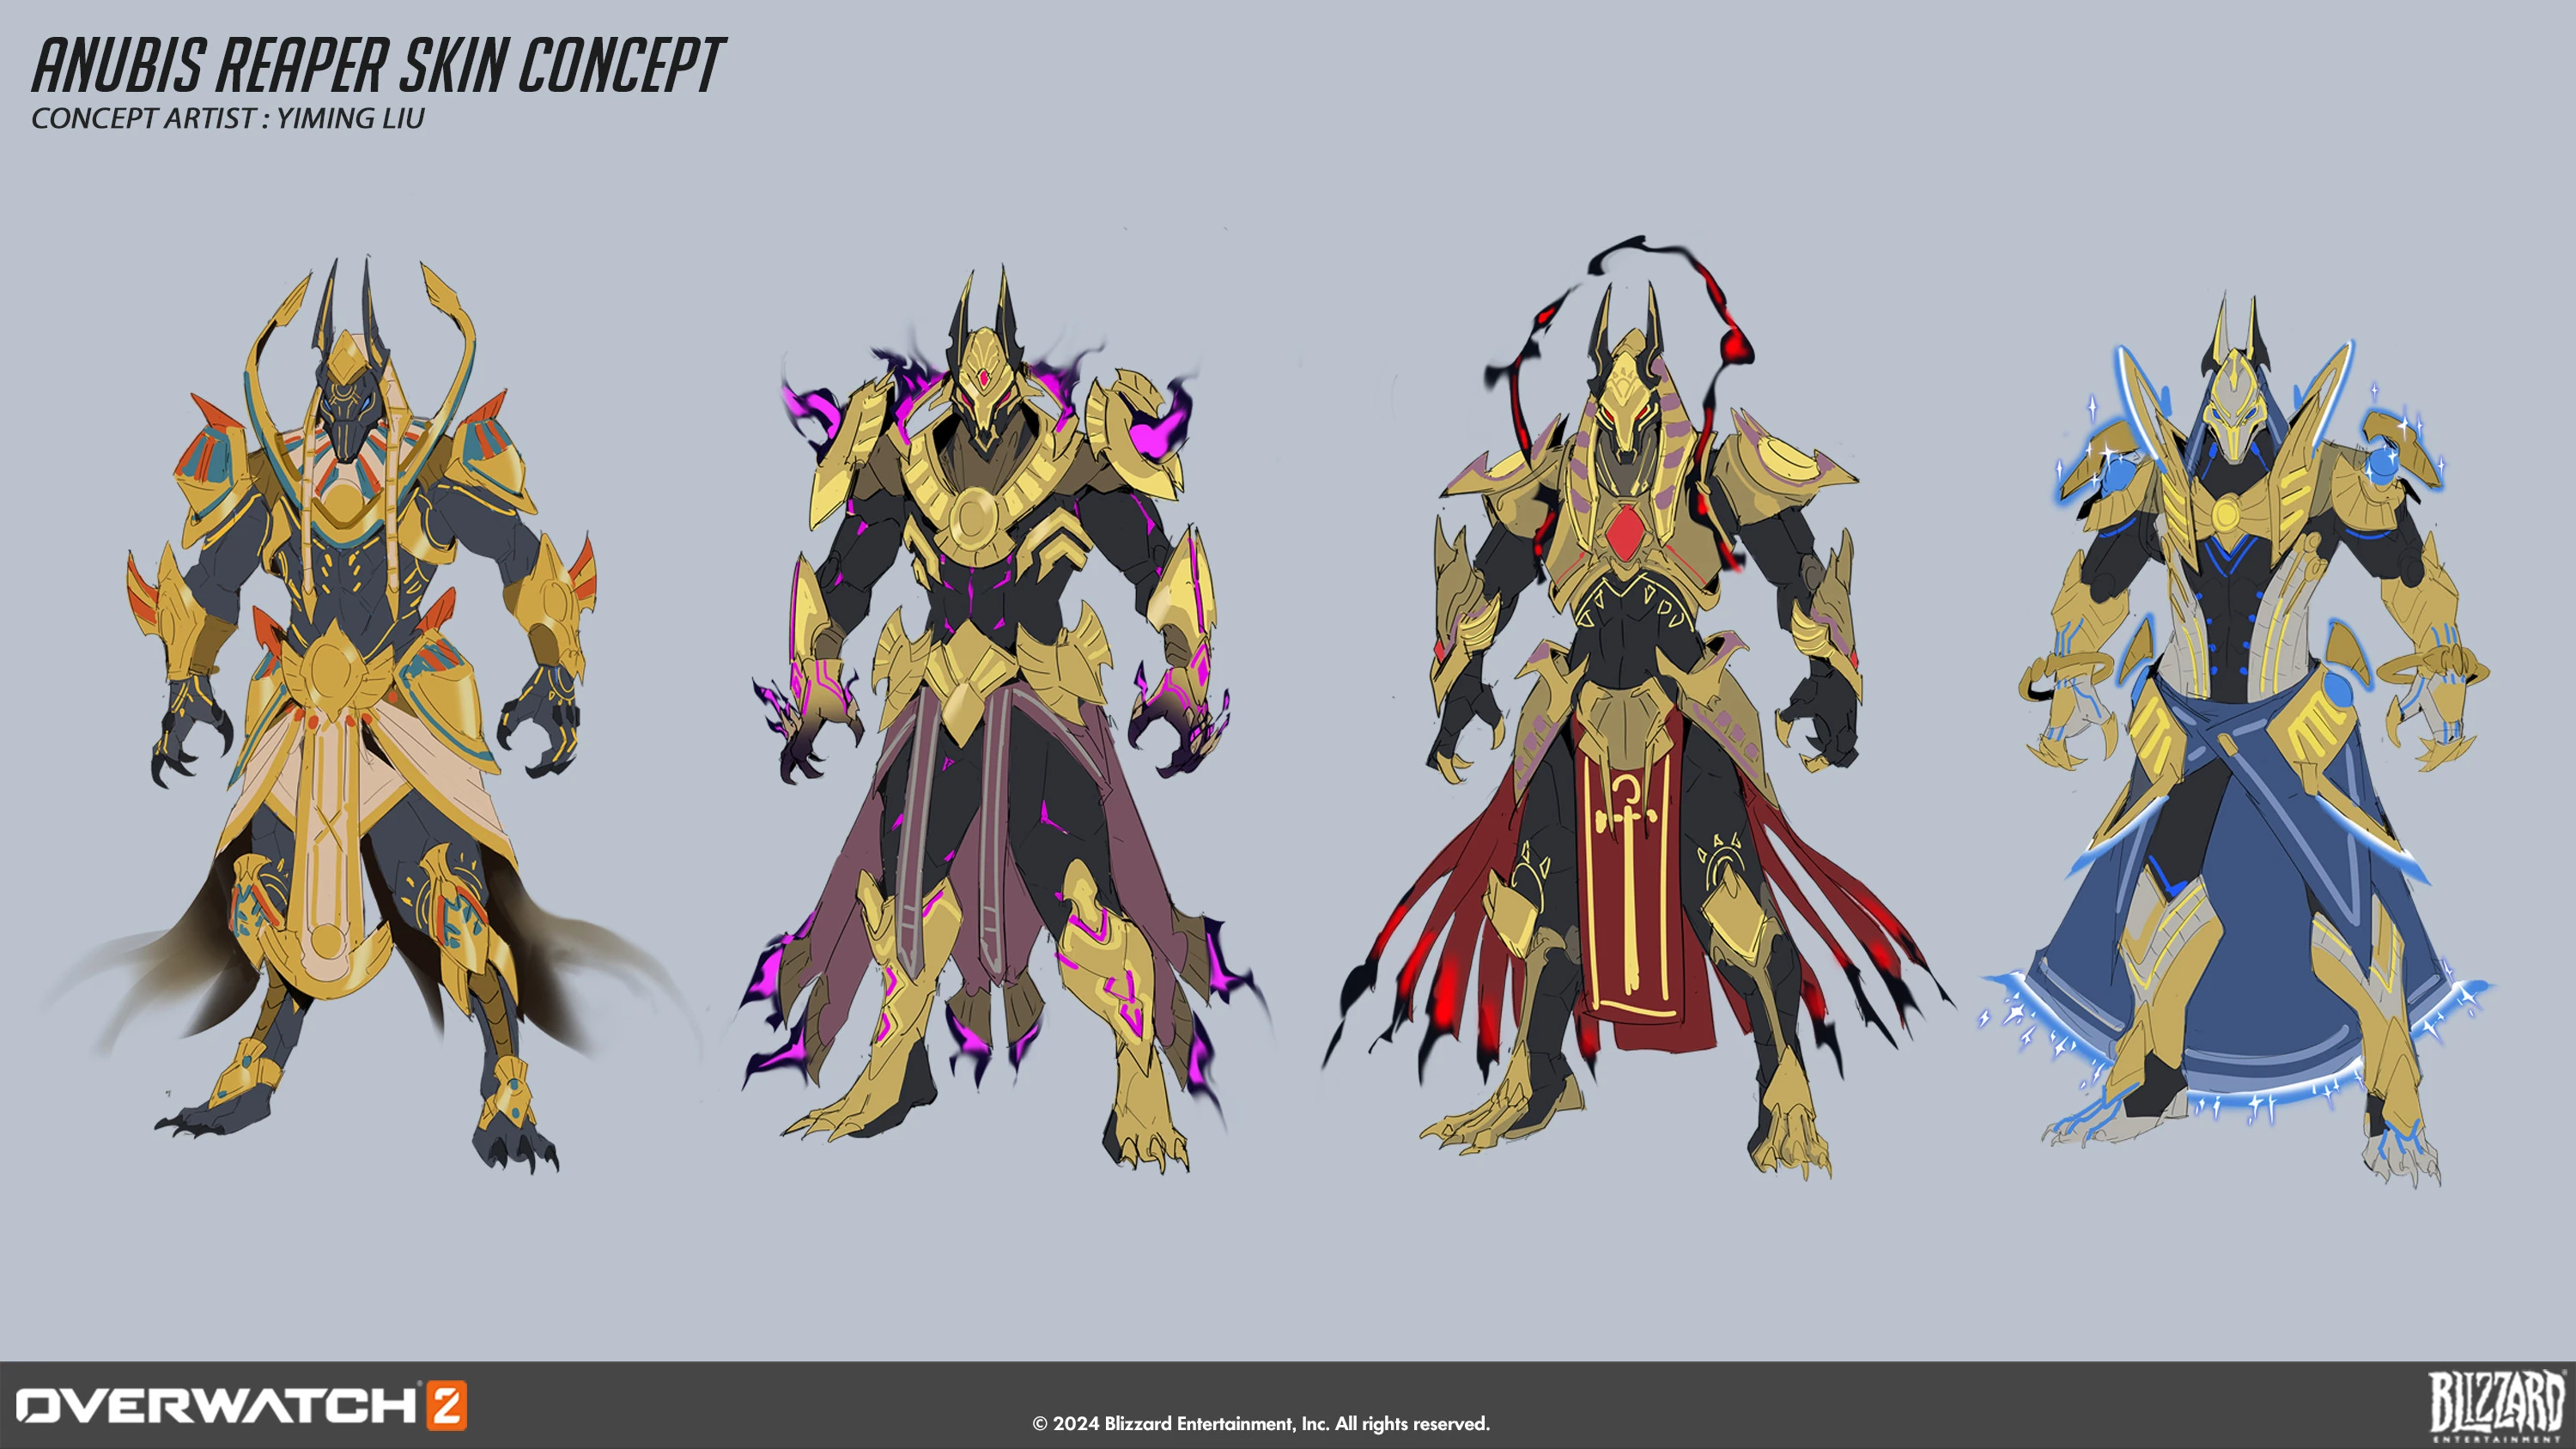
 Anubis Skin Ideations Concept Art by Yiming Liu
 -
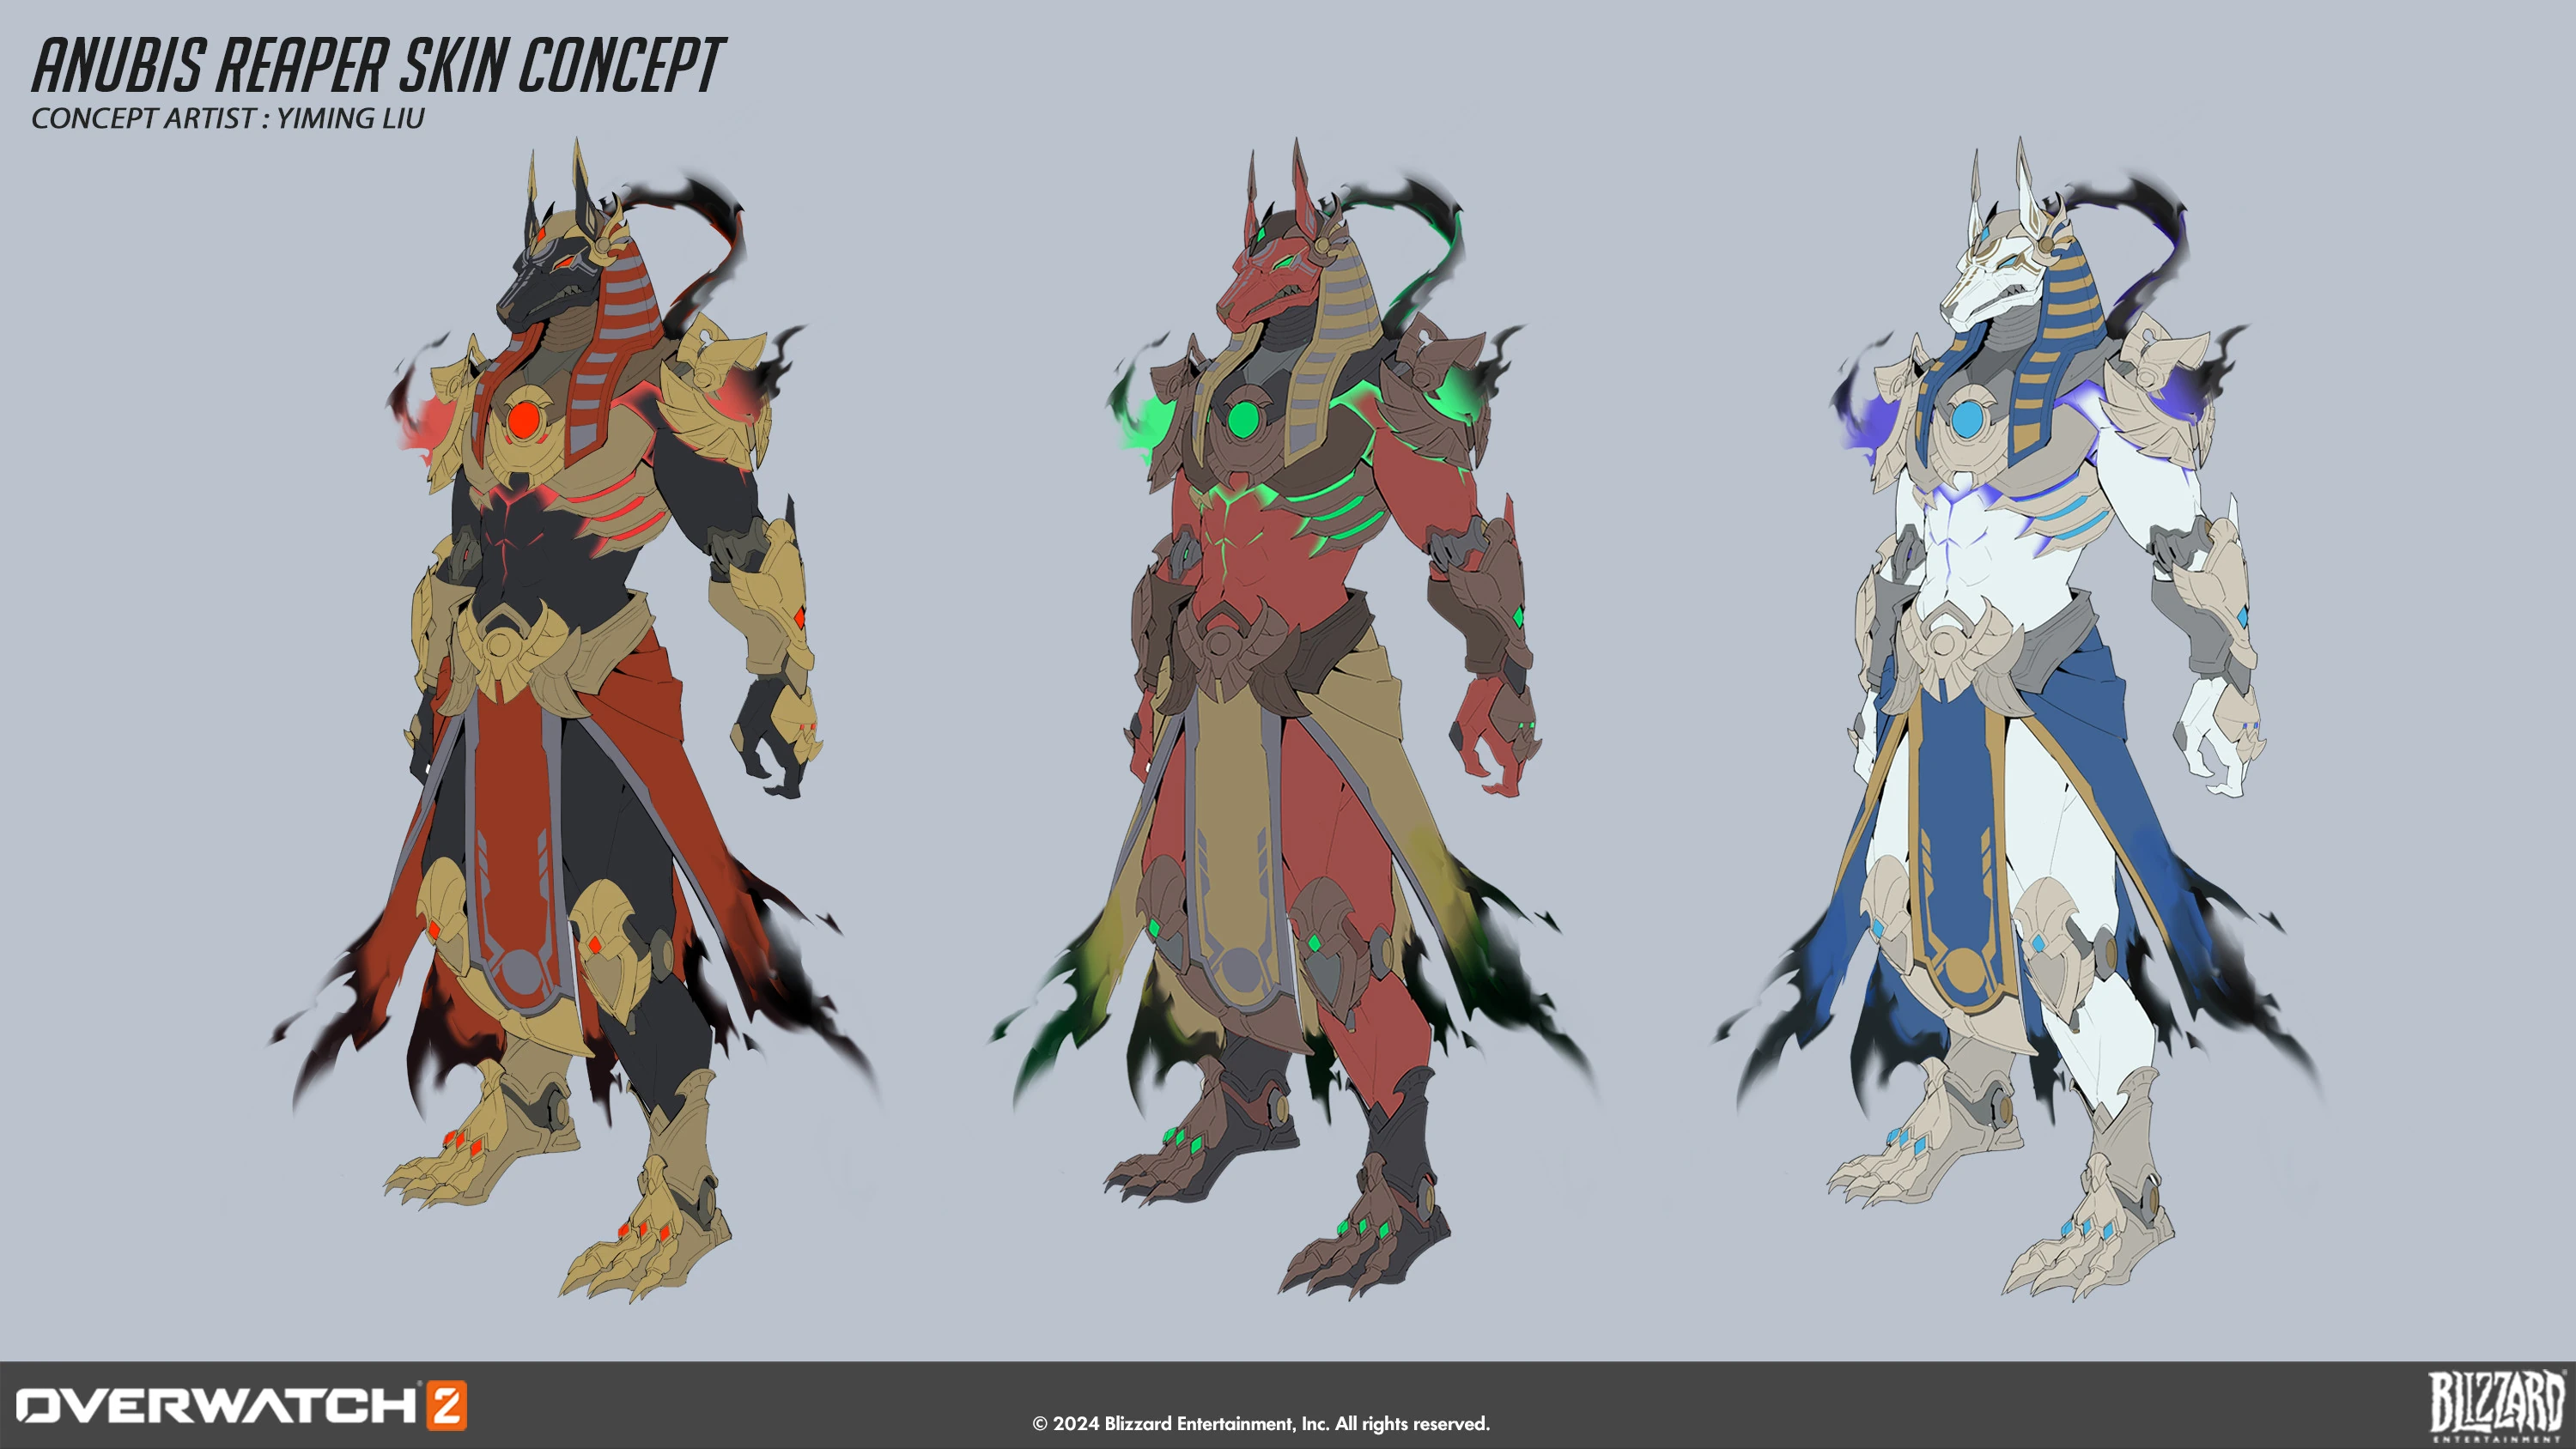
 Anubis Skin Color Variations Concept Art by Yiming Liu
 -
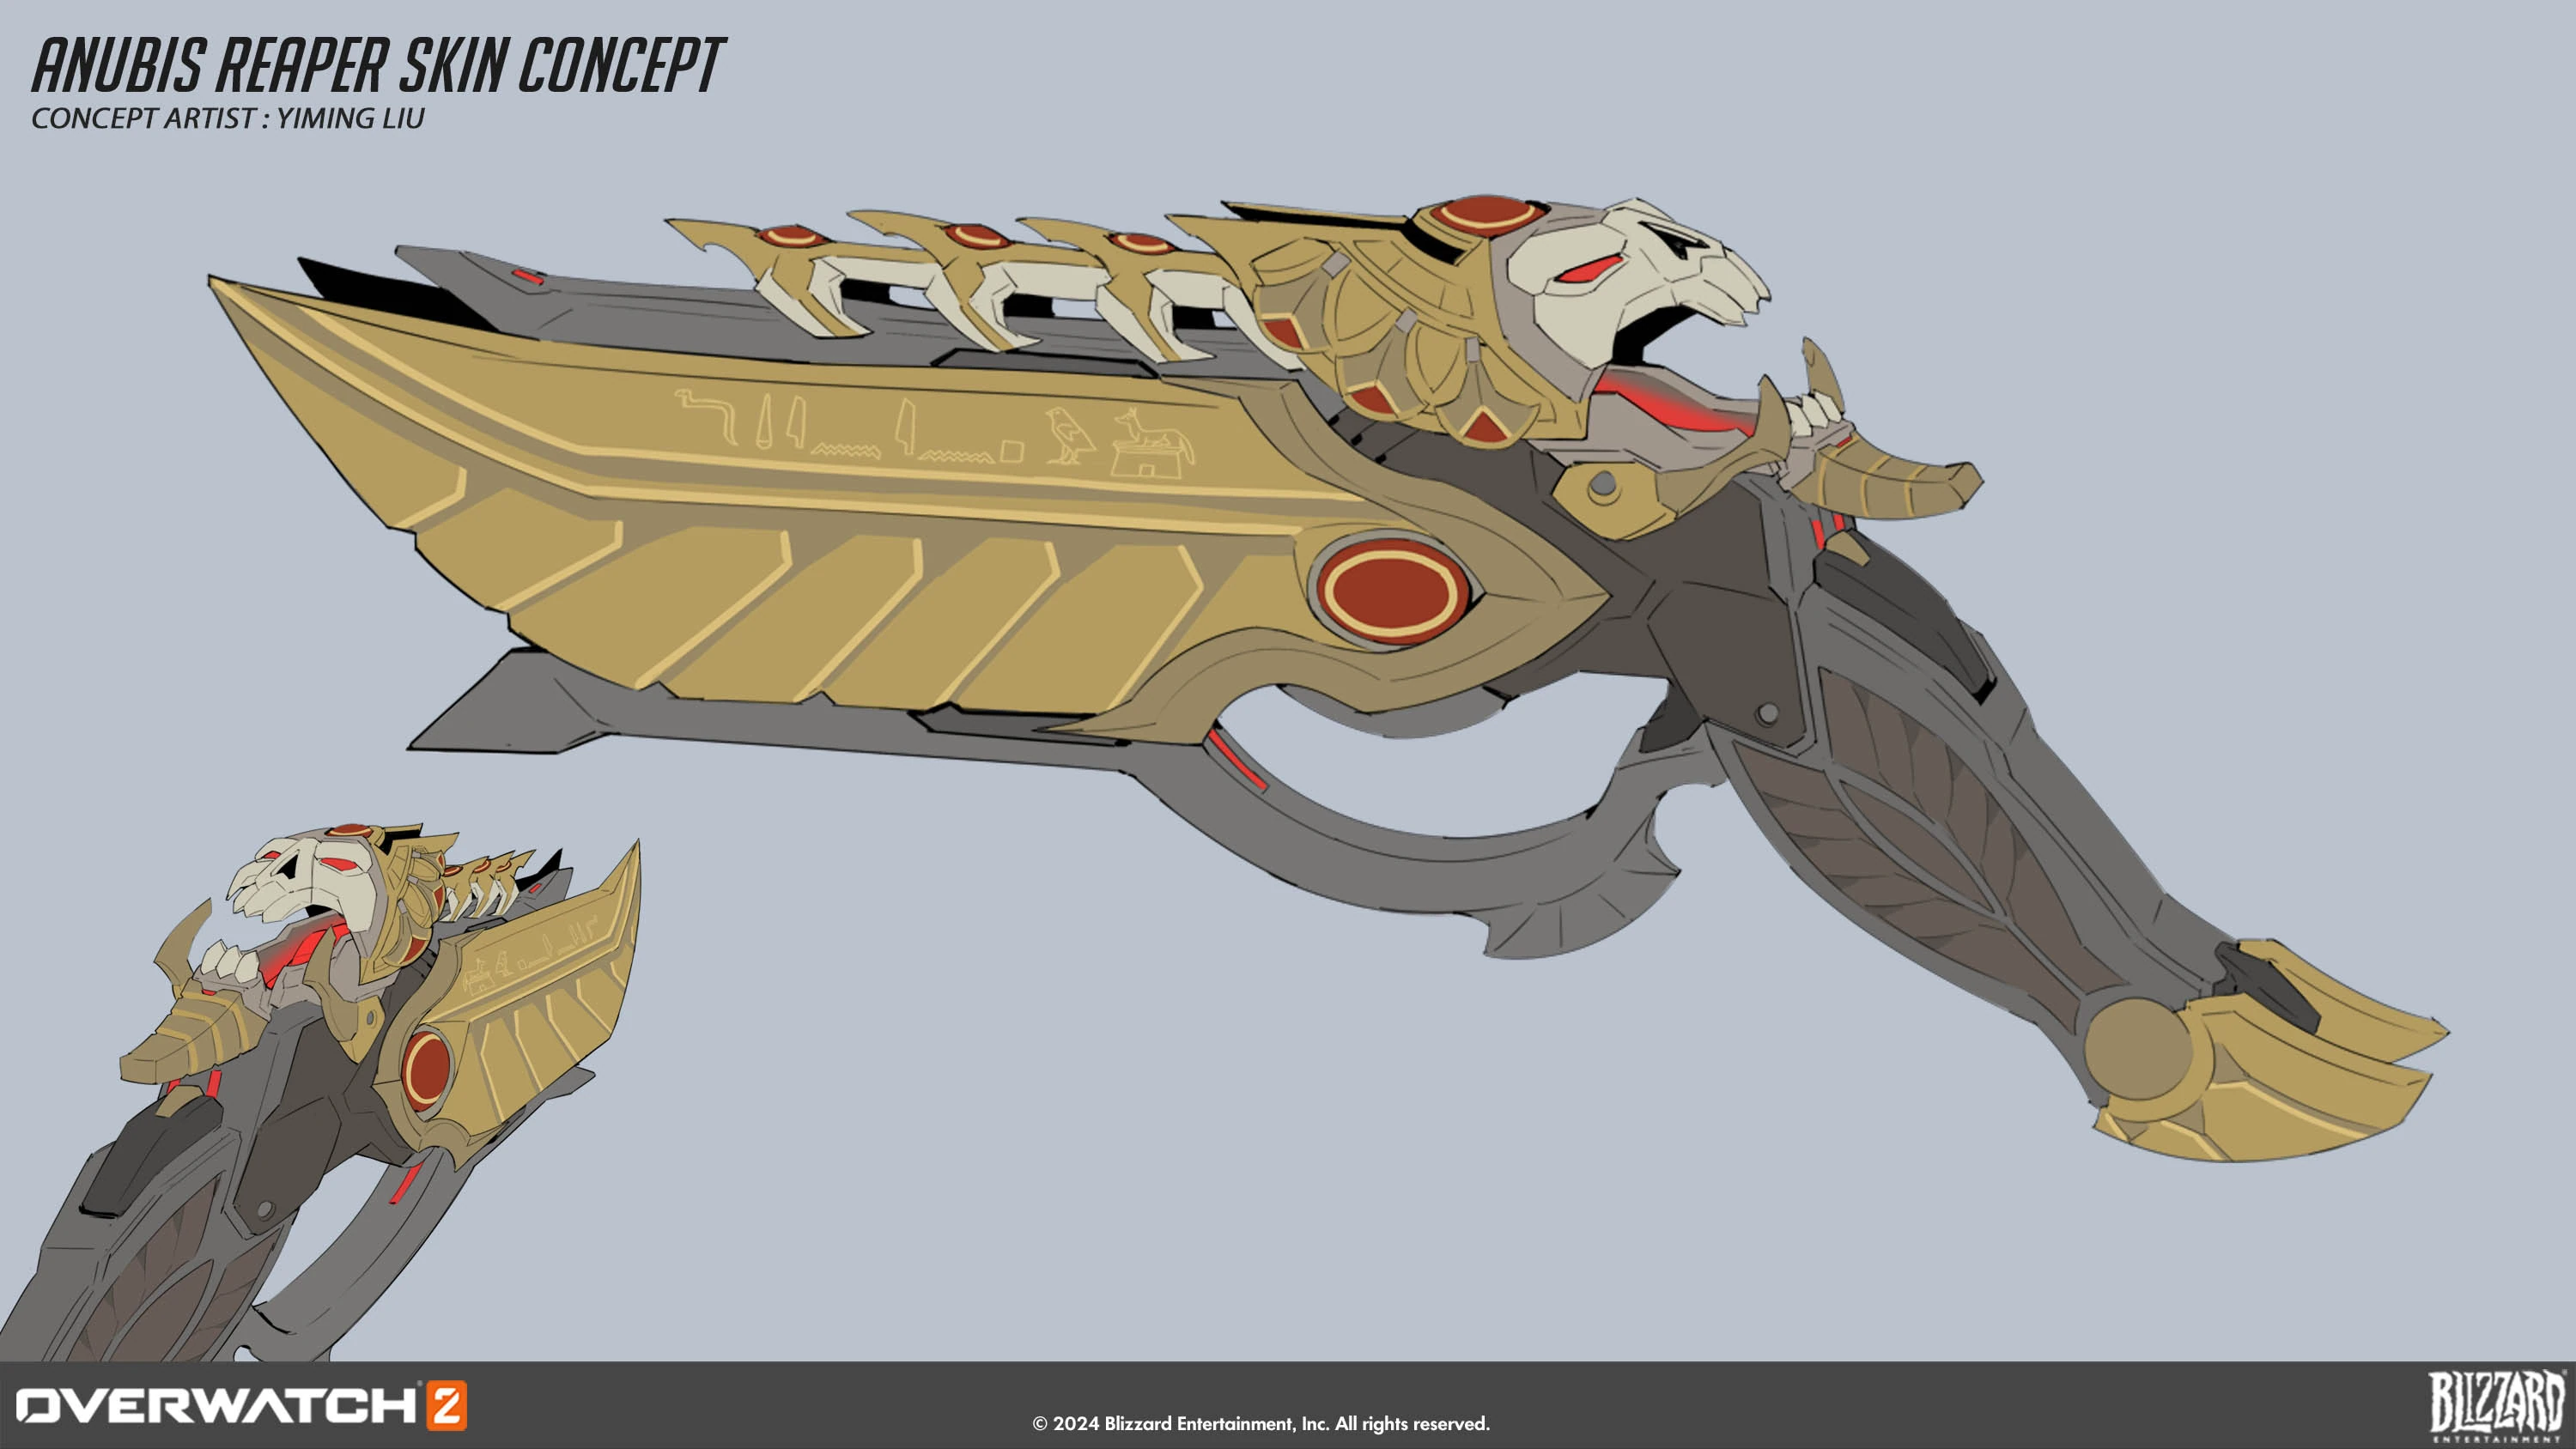
 Anubis Skin Weapon Concept Art by Yiming Liu
 -
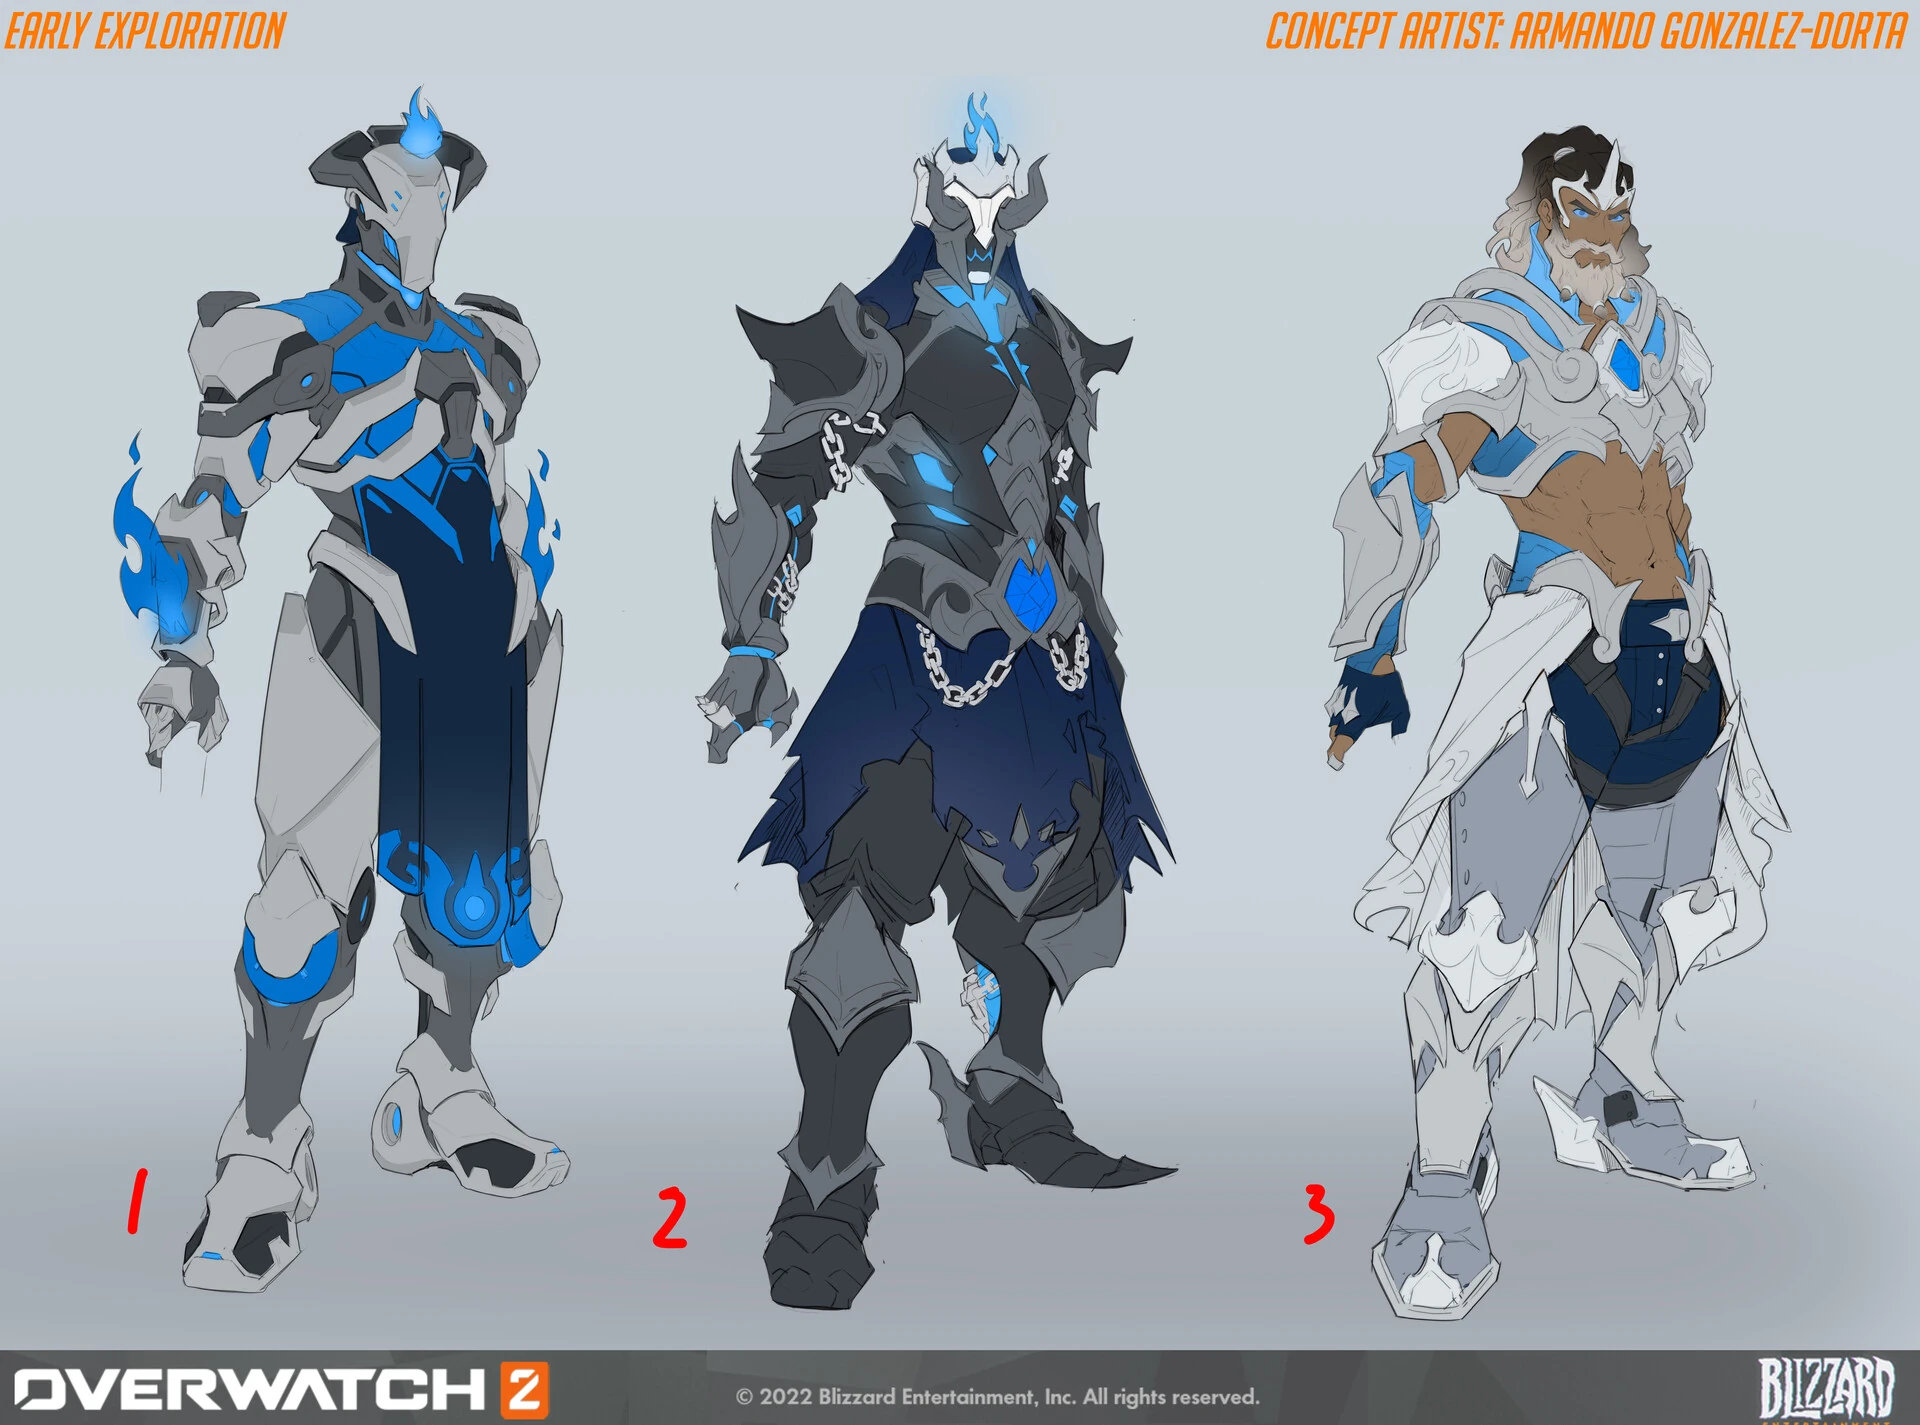
 Chained King Skin Exploration Concept Art by Armando Gonzalez-Dorta
 -
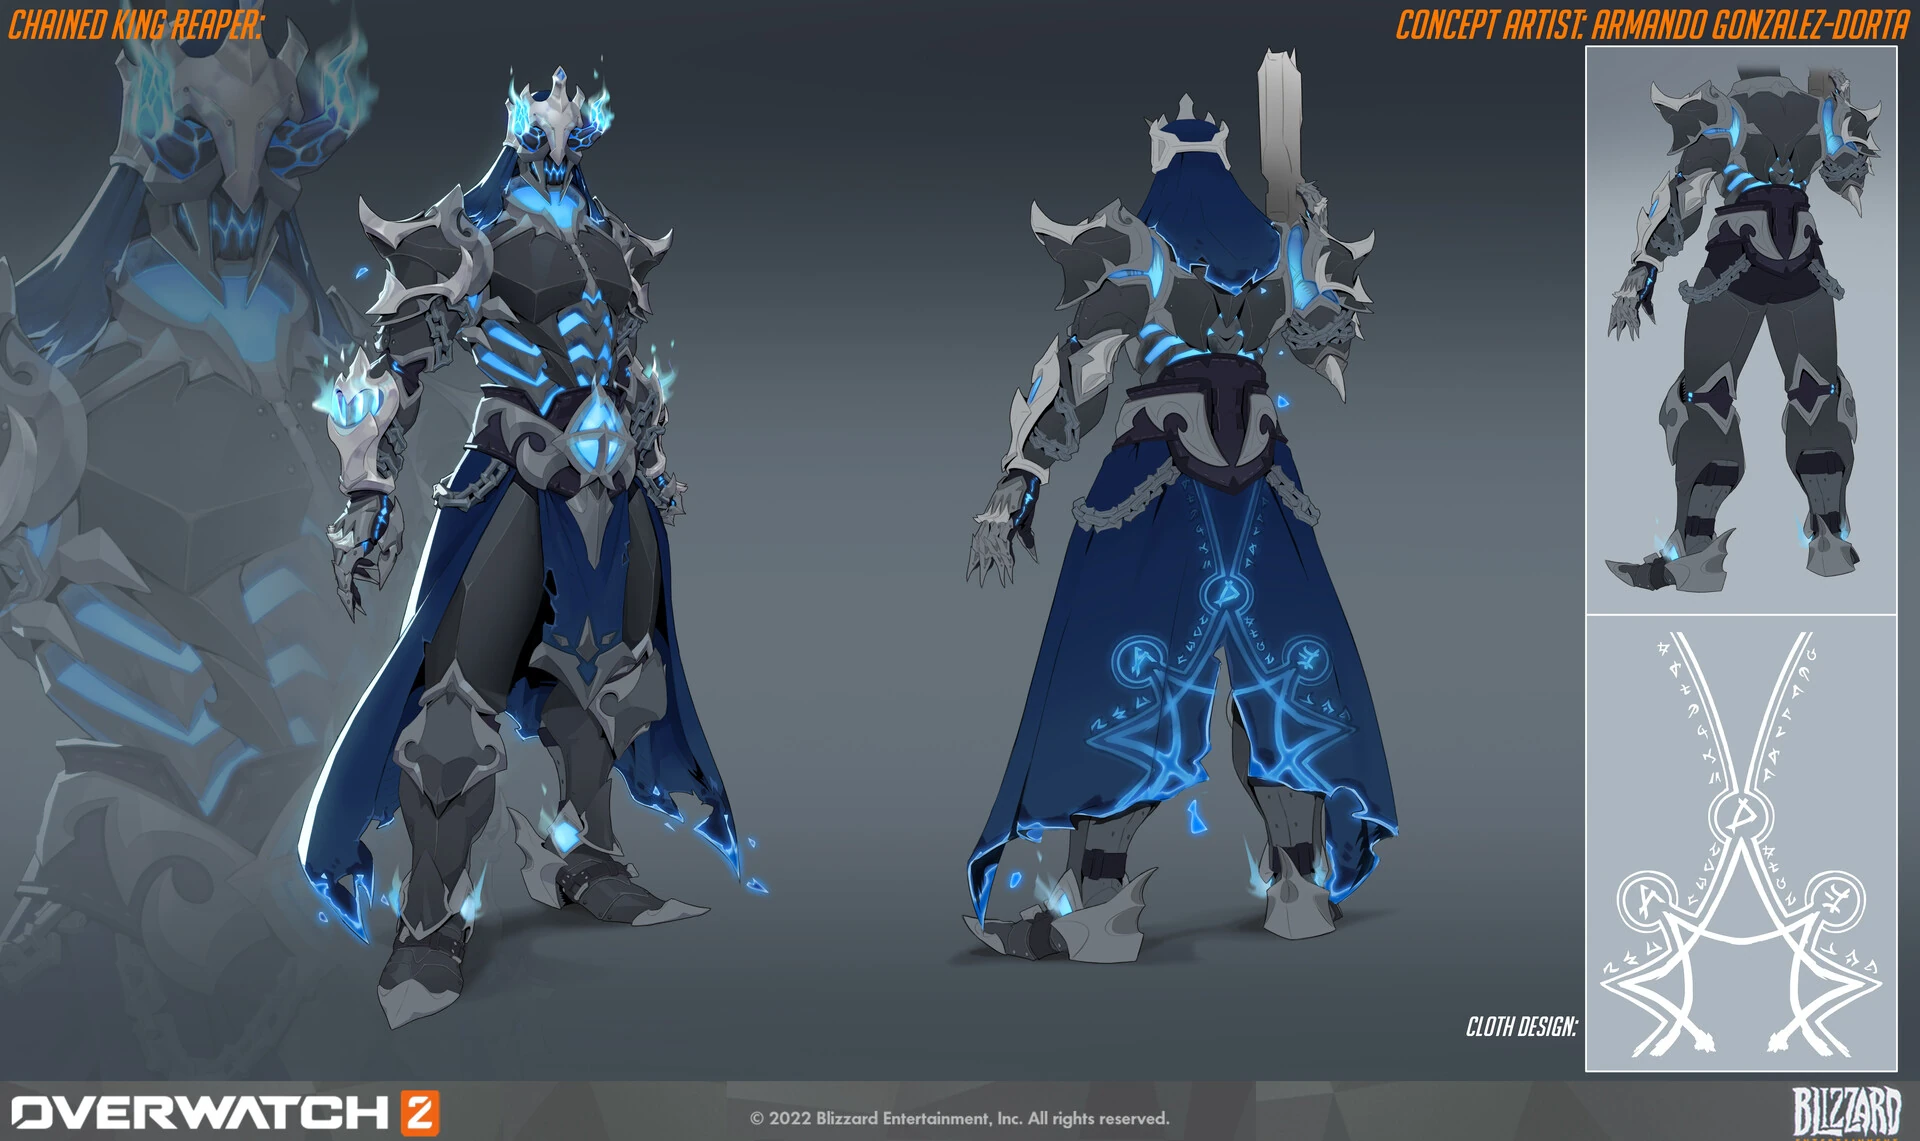
 Chained King Skin Concept Art by Armando Gonzalez-Dorta
 -
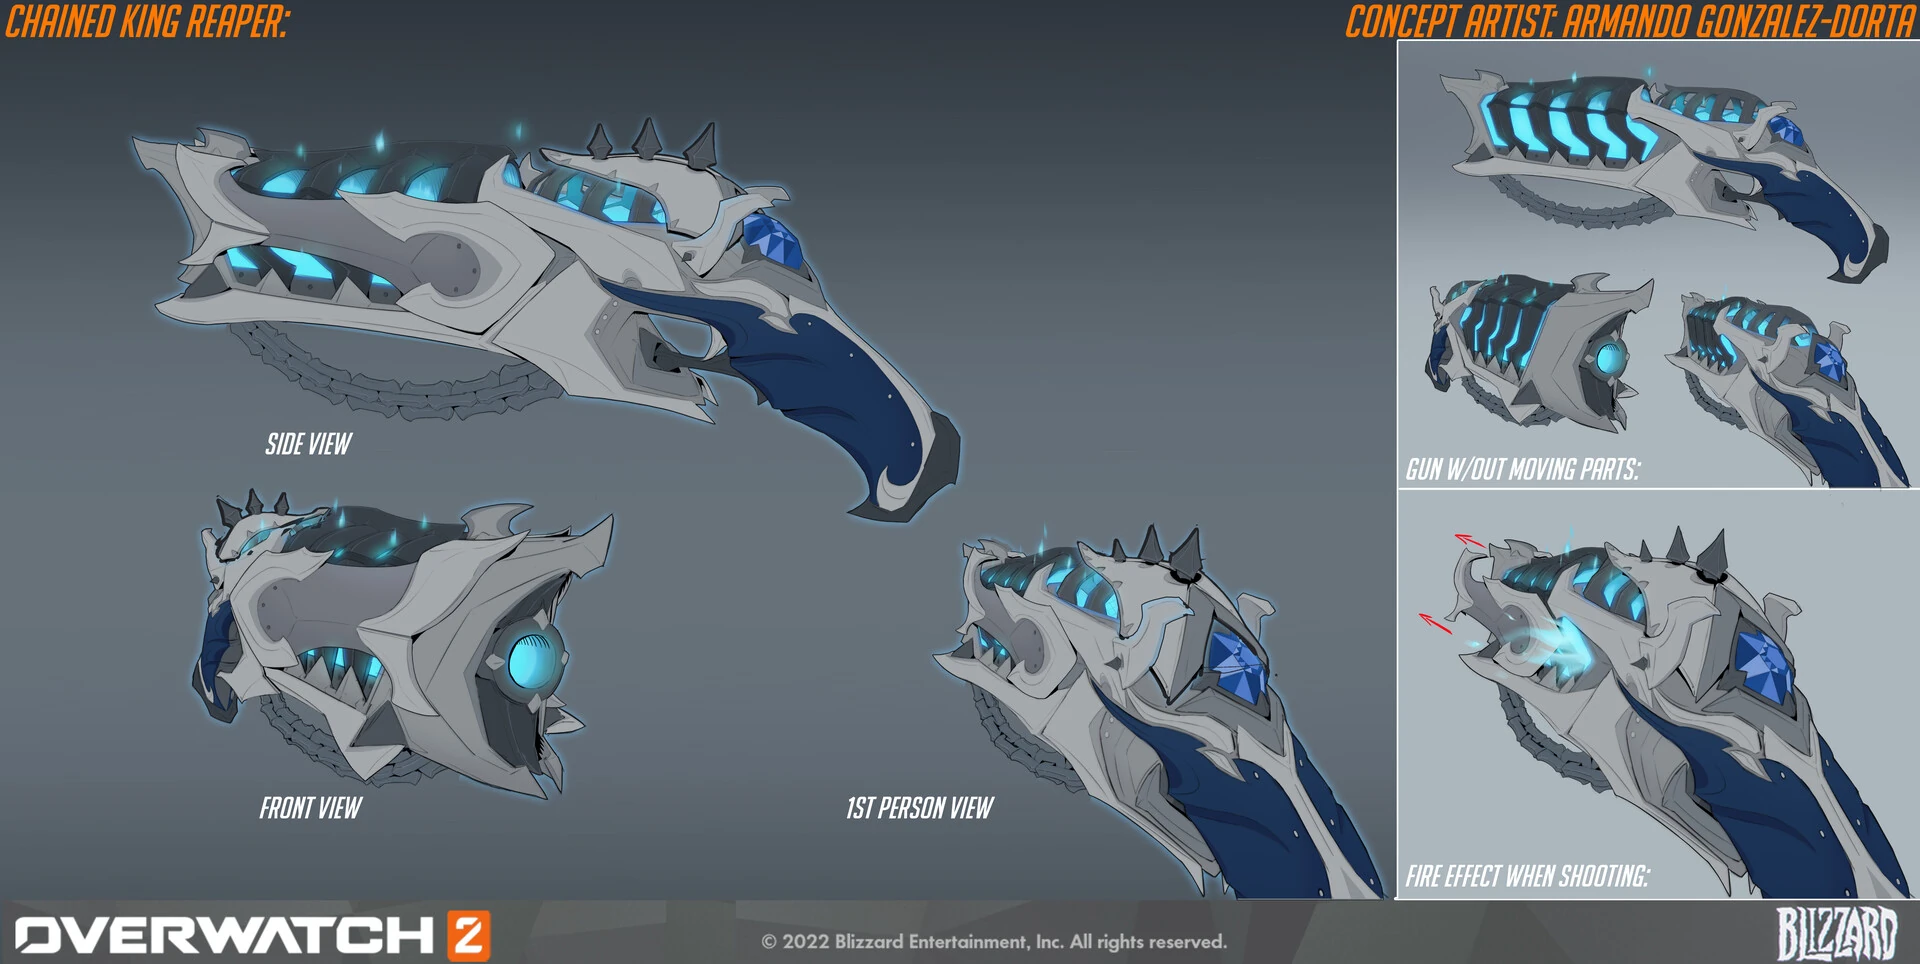
 Chained King Skin Weapon Concept Art by Armando Gonzalez-Dorta
 -
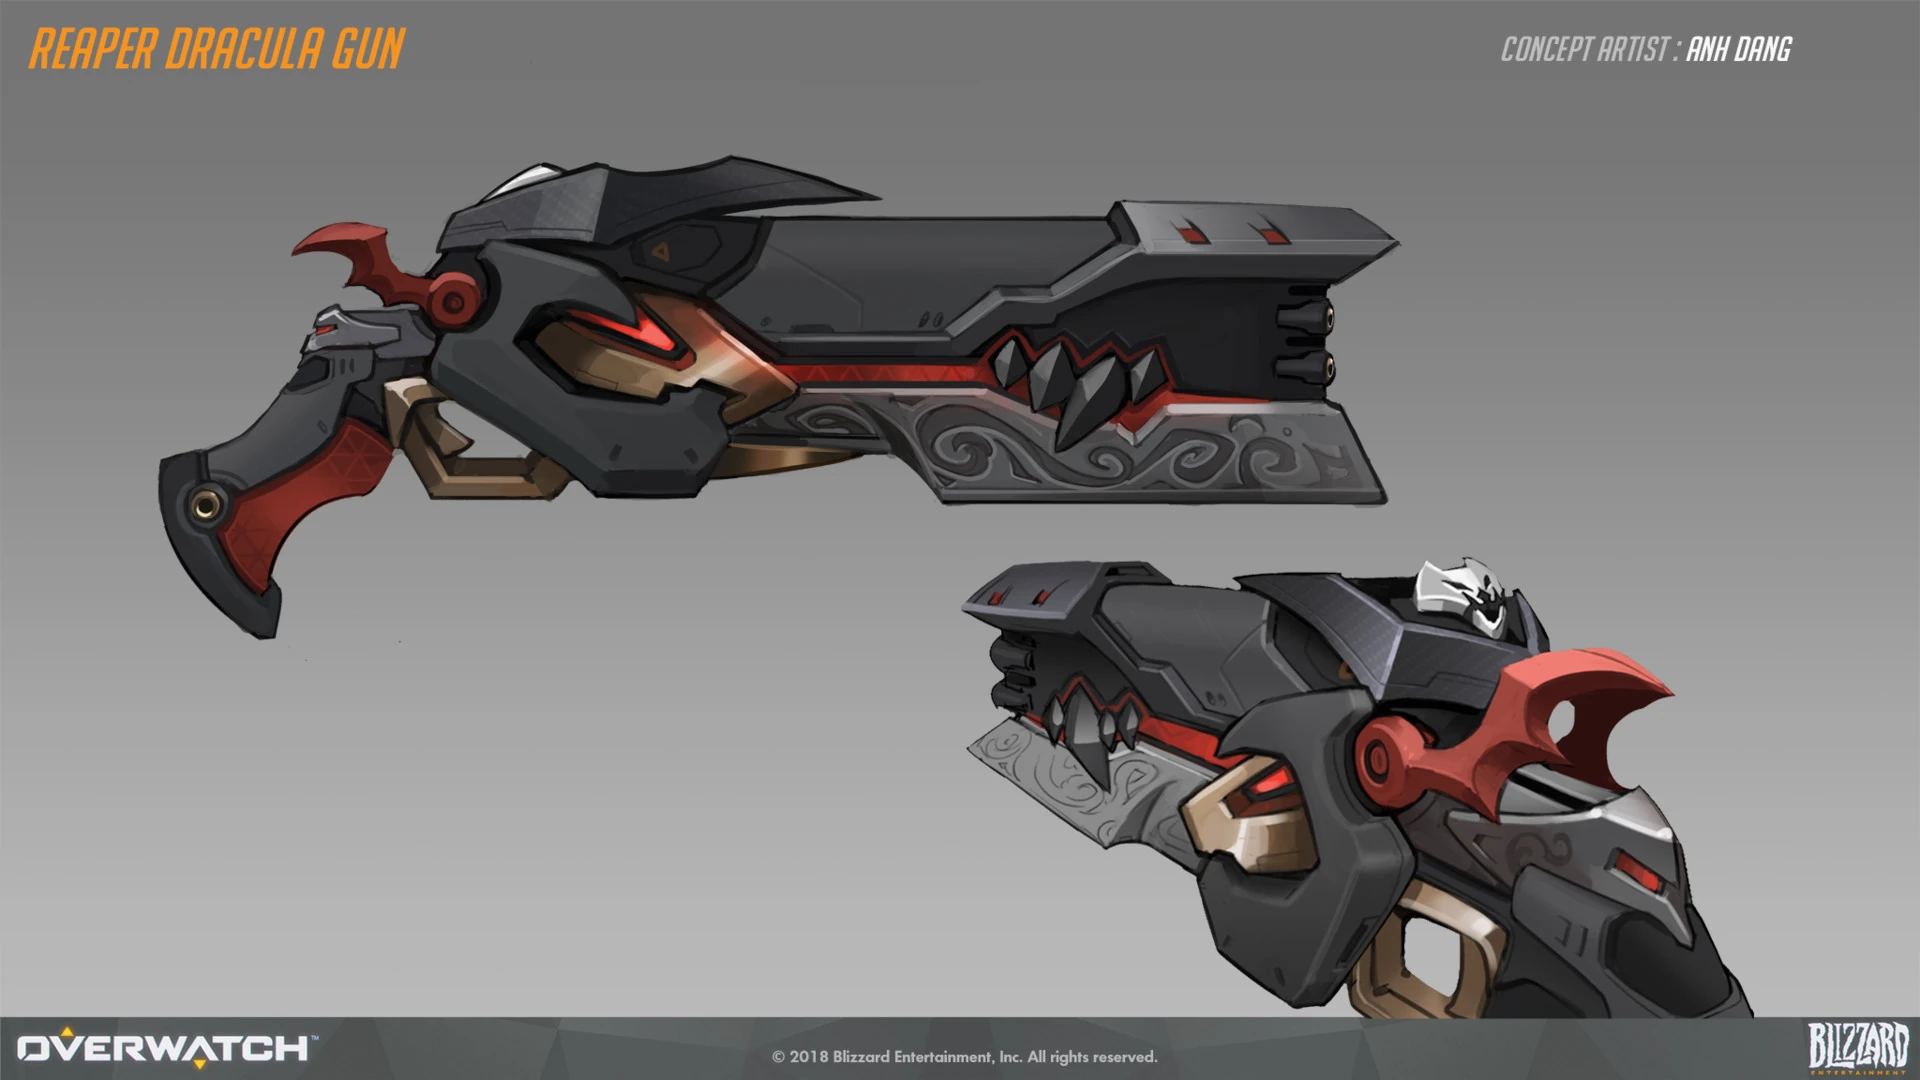
 Dracula Skin Weapon Concept Art by Anh Dang
 -
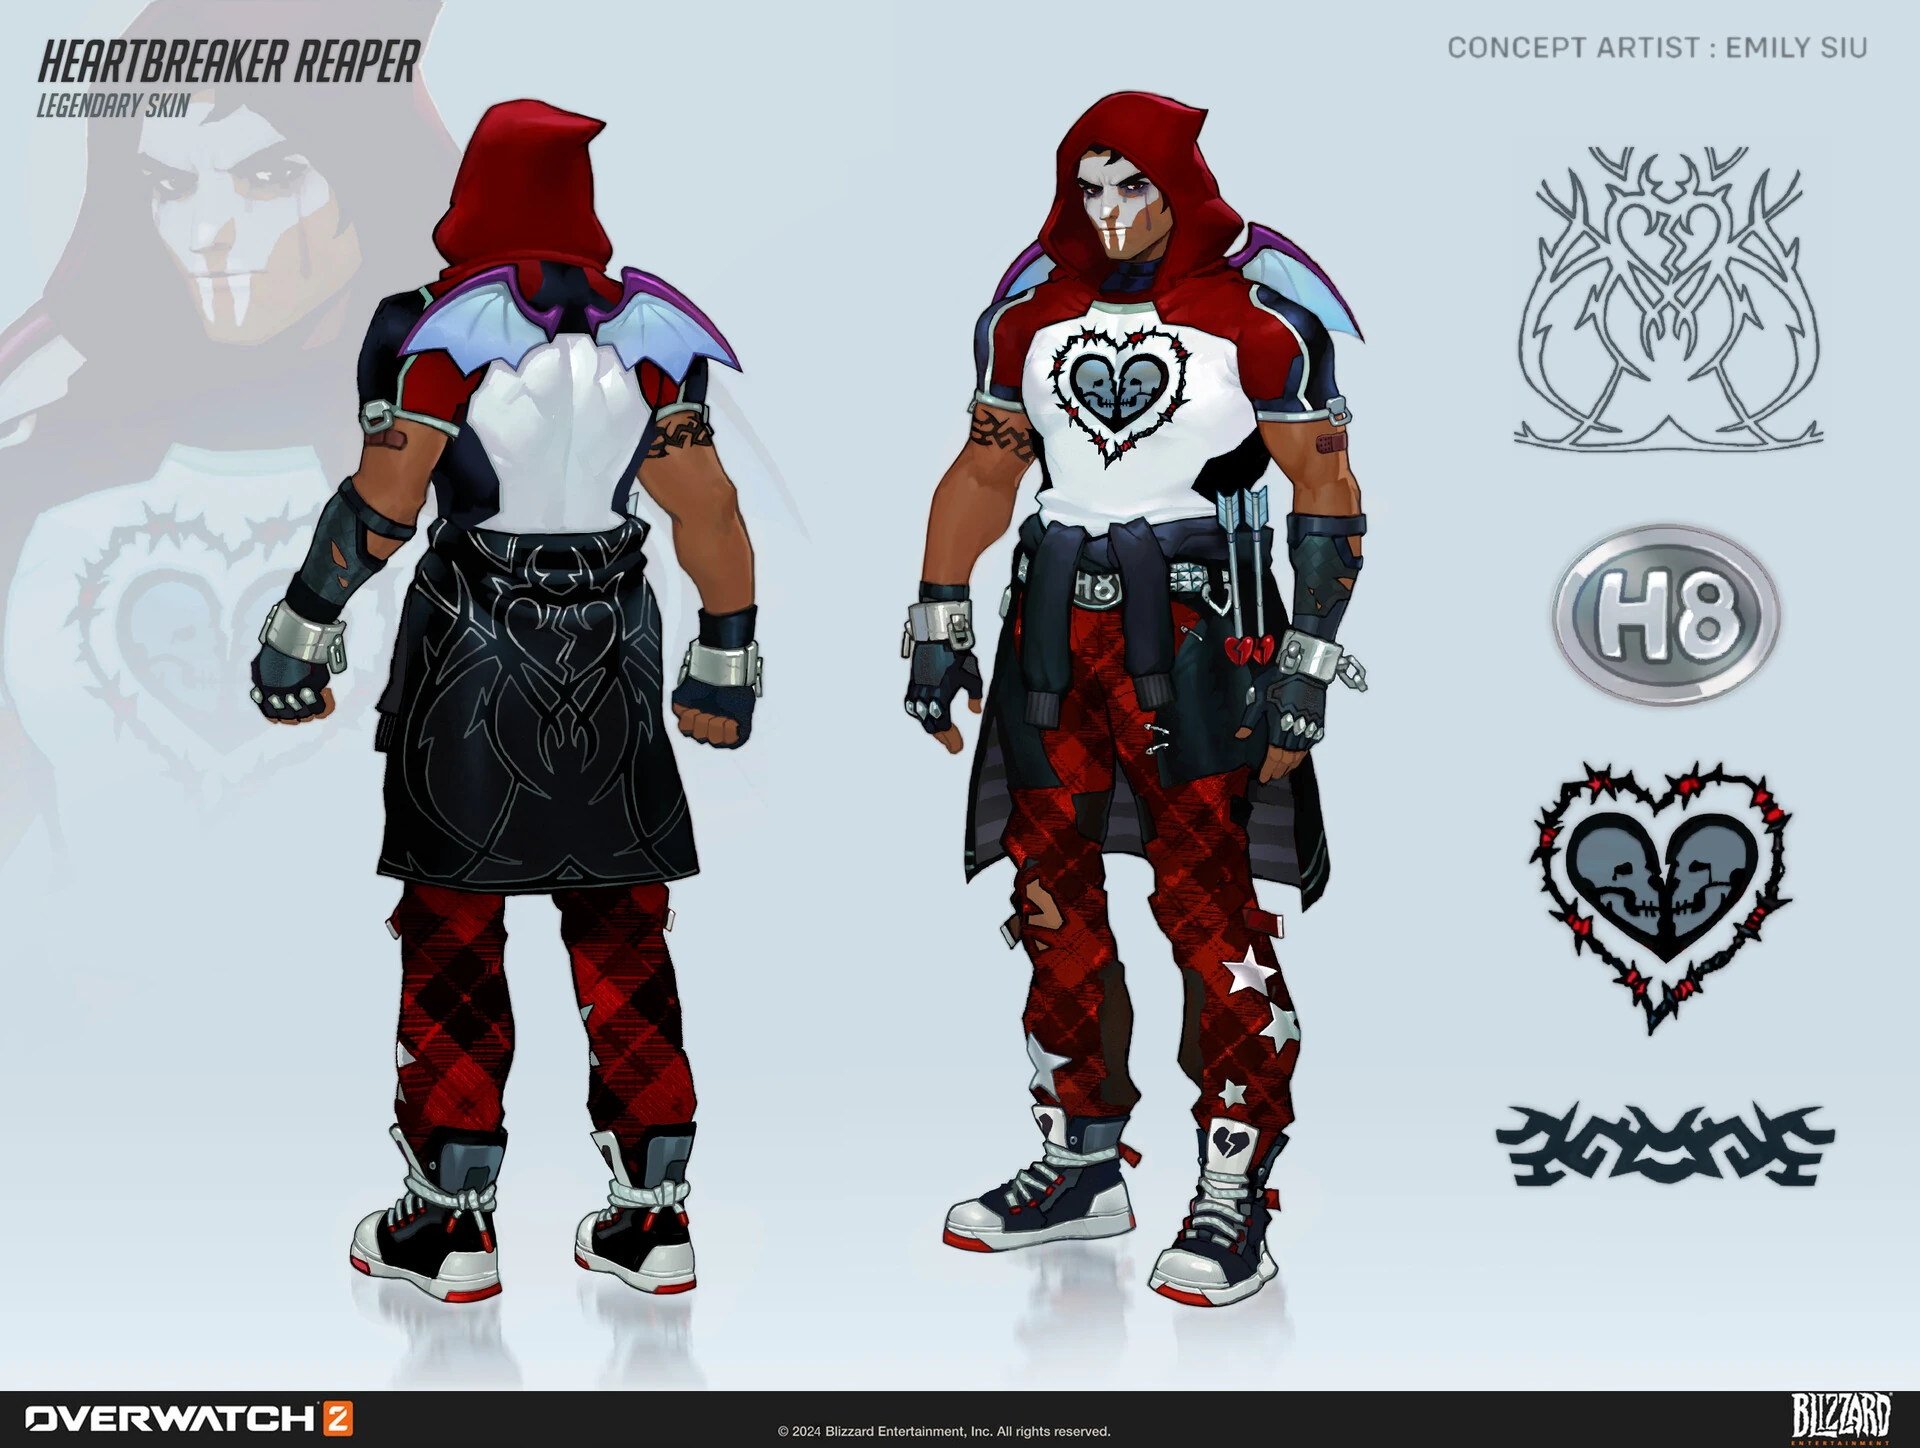
 Heartbreaker Skin Concept Art by Emily Siu
 -
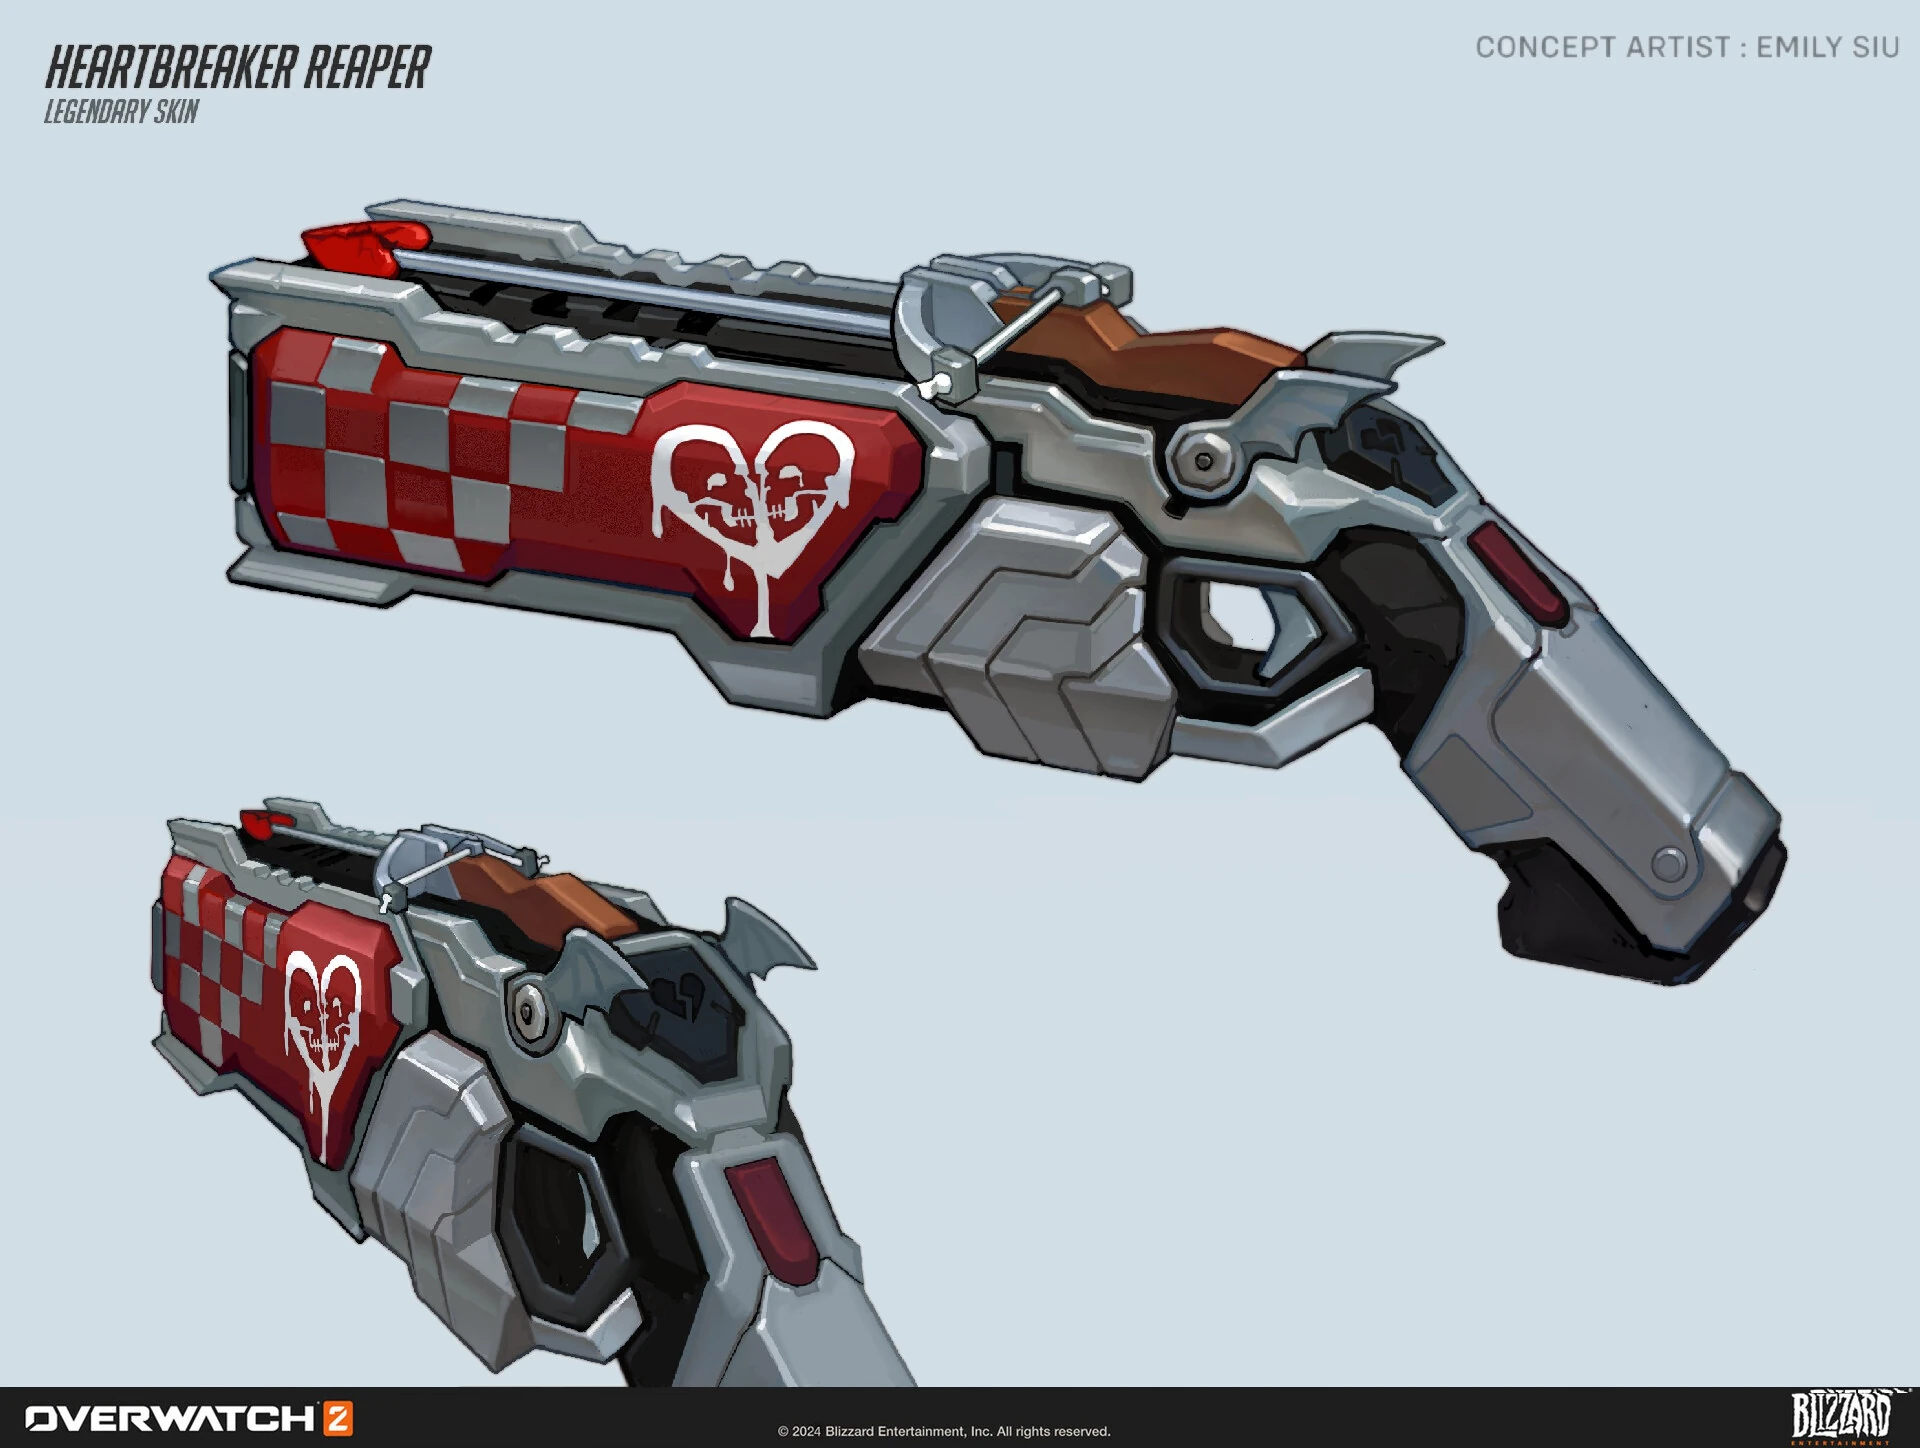
 Heartbreaker Skin Weapon Concept Art by Emily Siu
 -
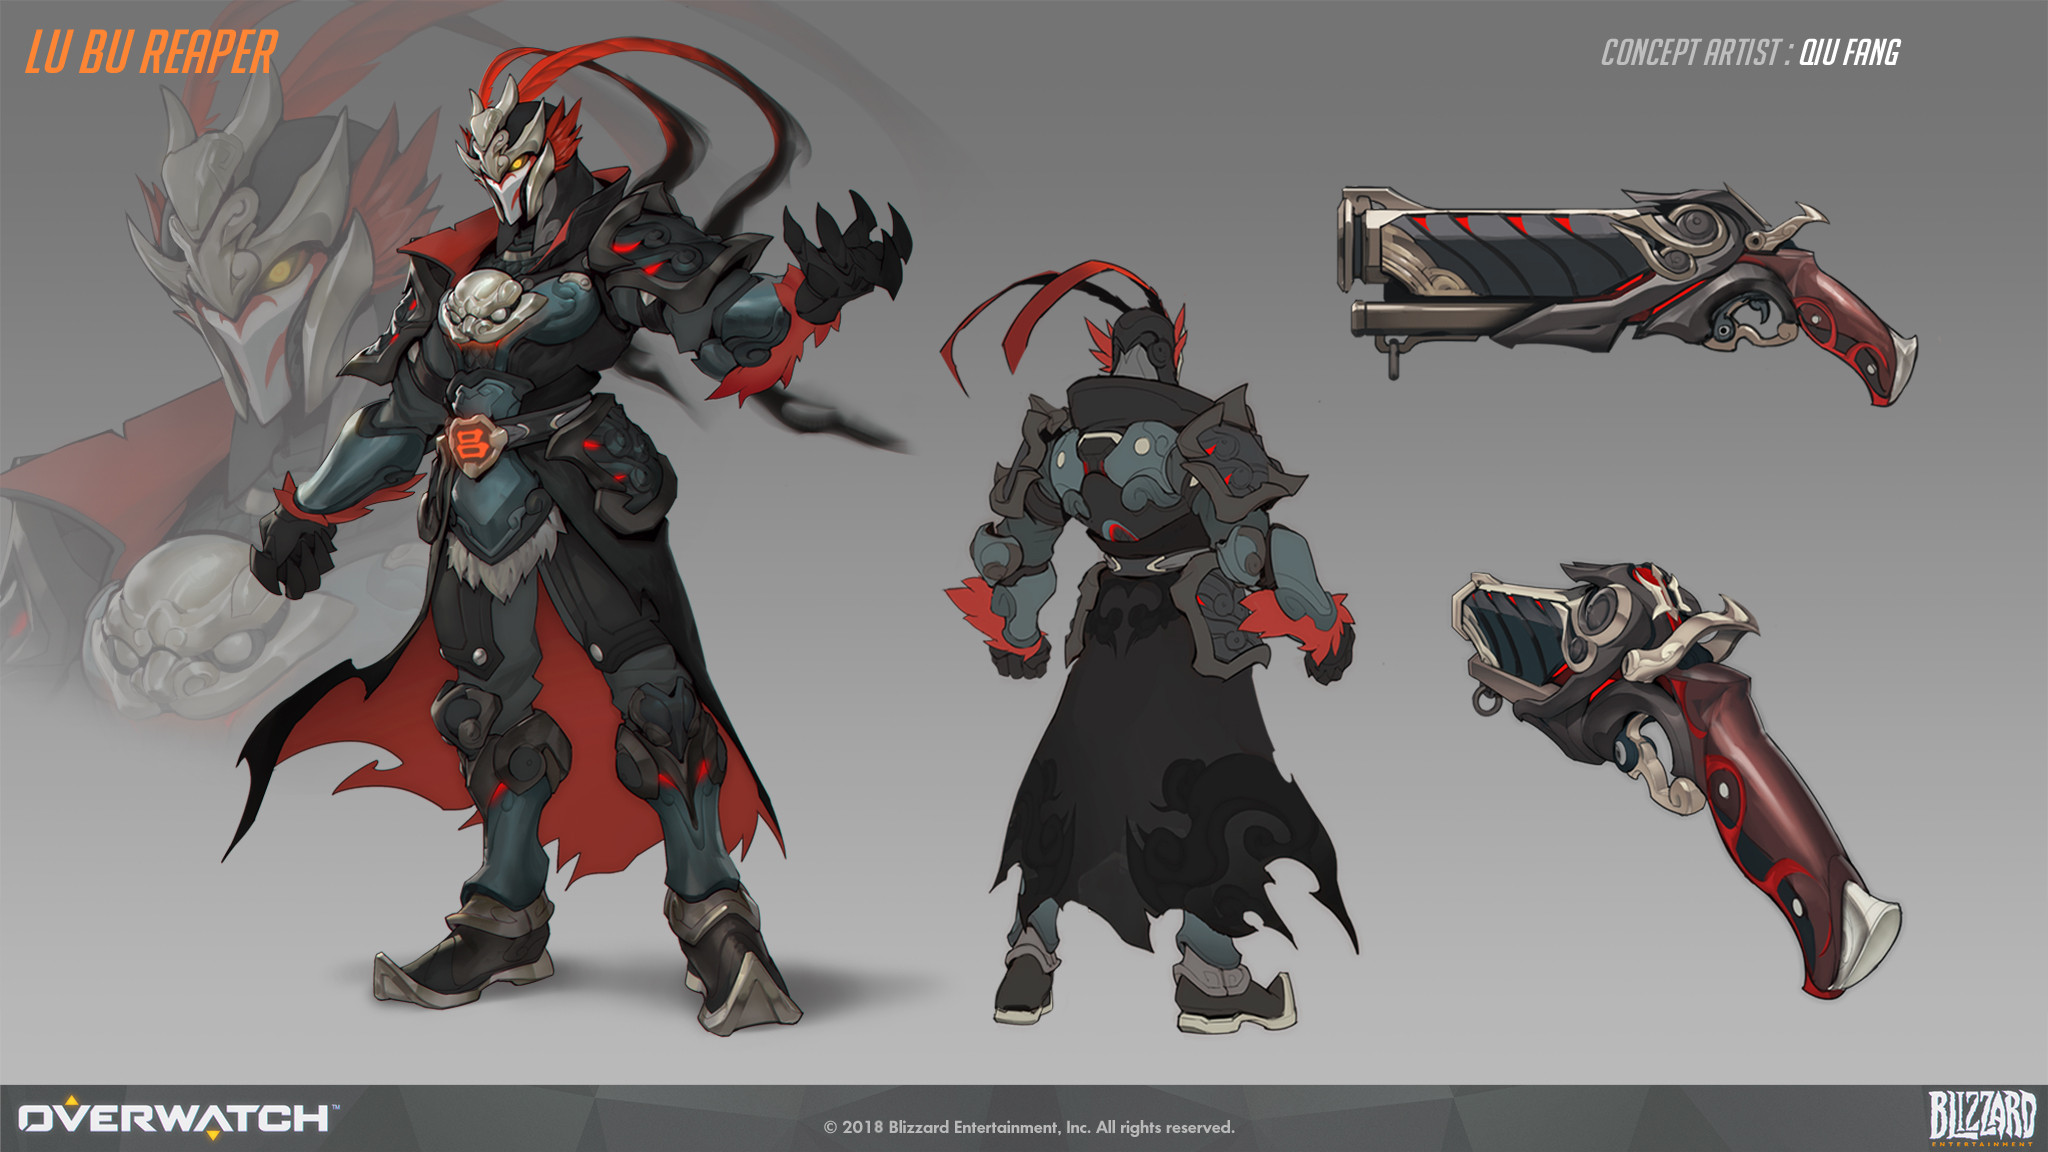
 Lü Bu Skin Concept Art by Qiu Fang
 -
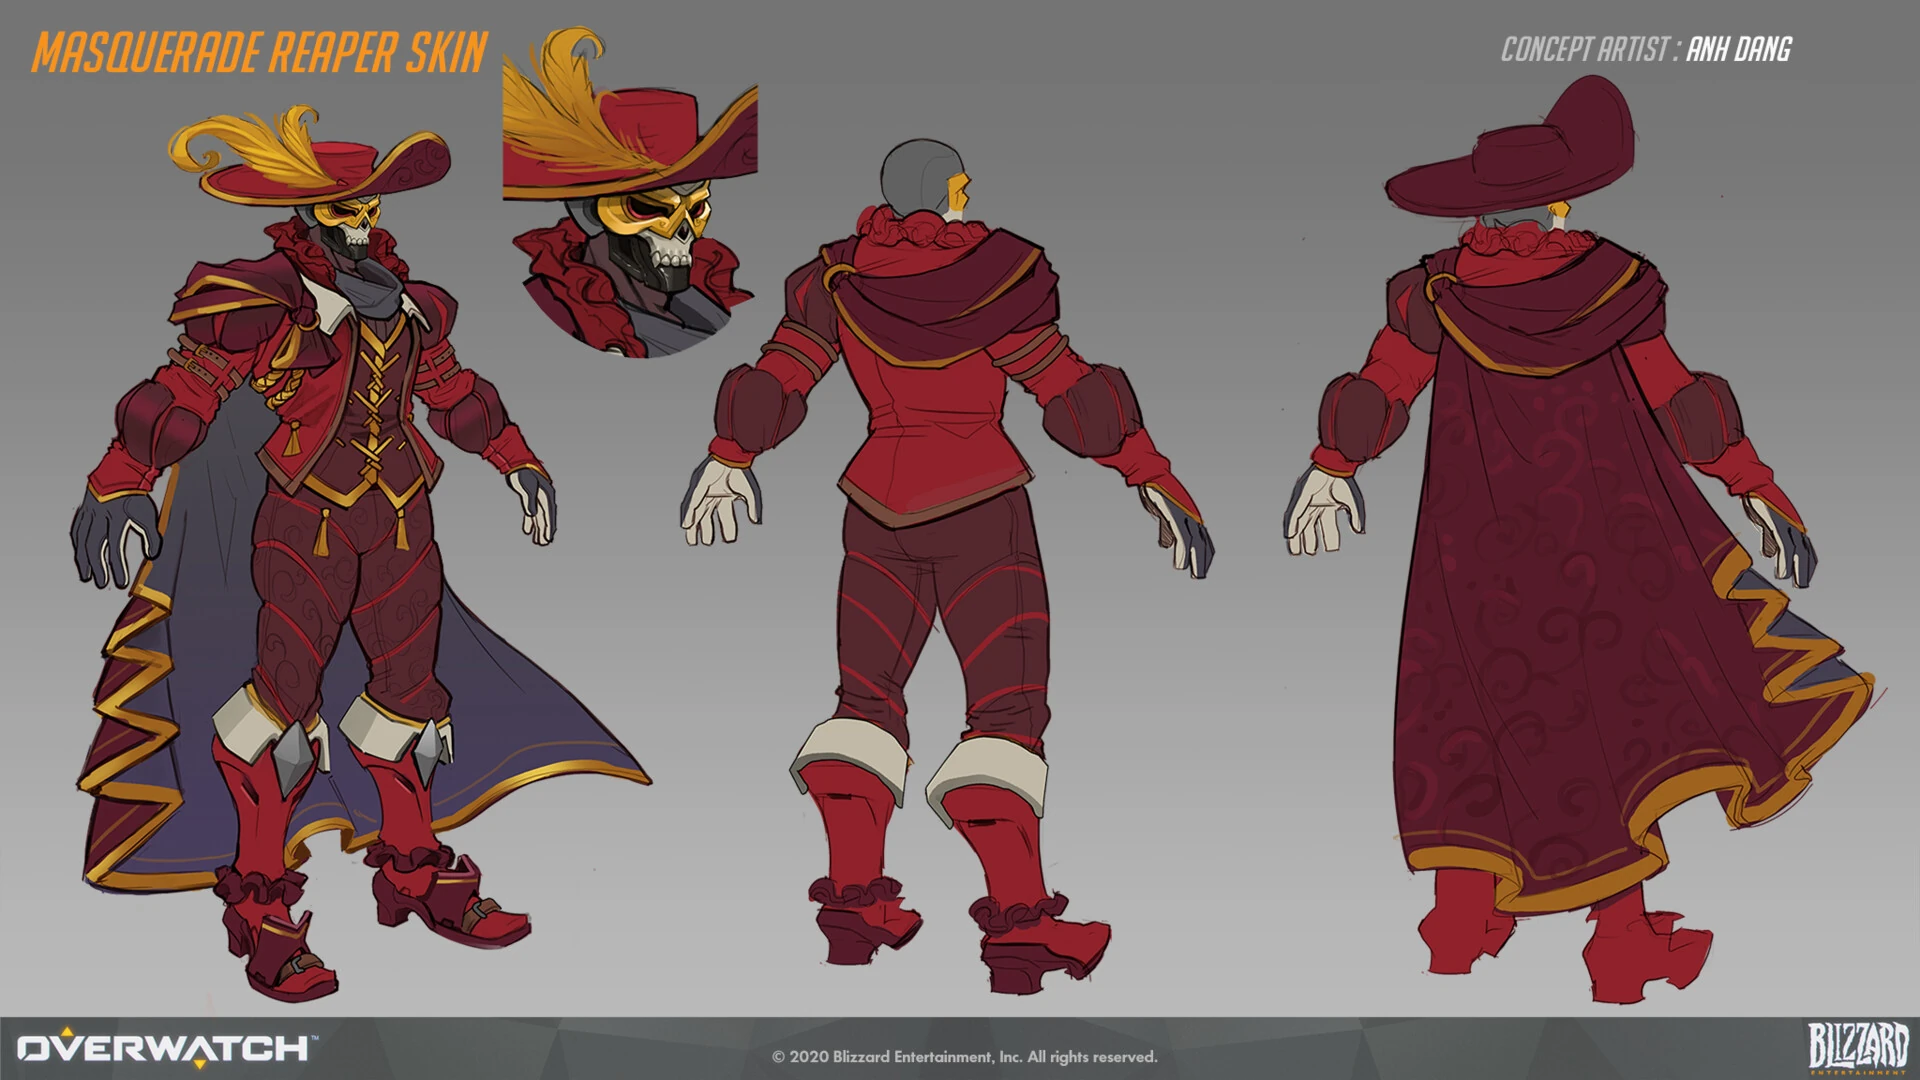
 Masquerade Skin Concept Art by Anh Dang
 -
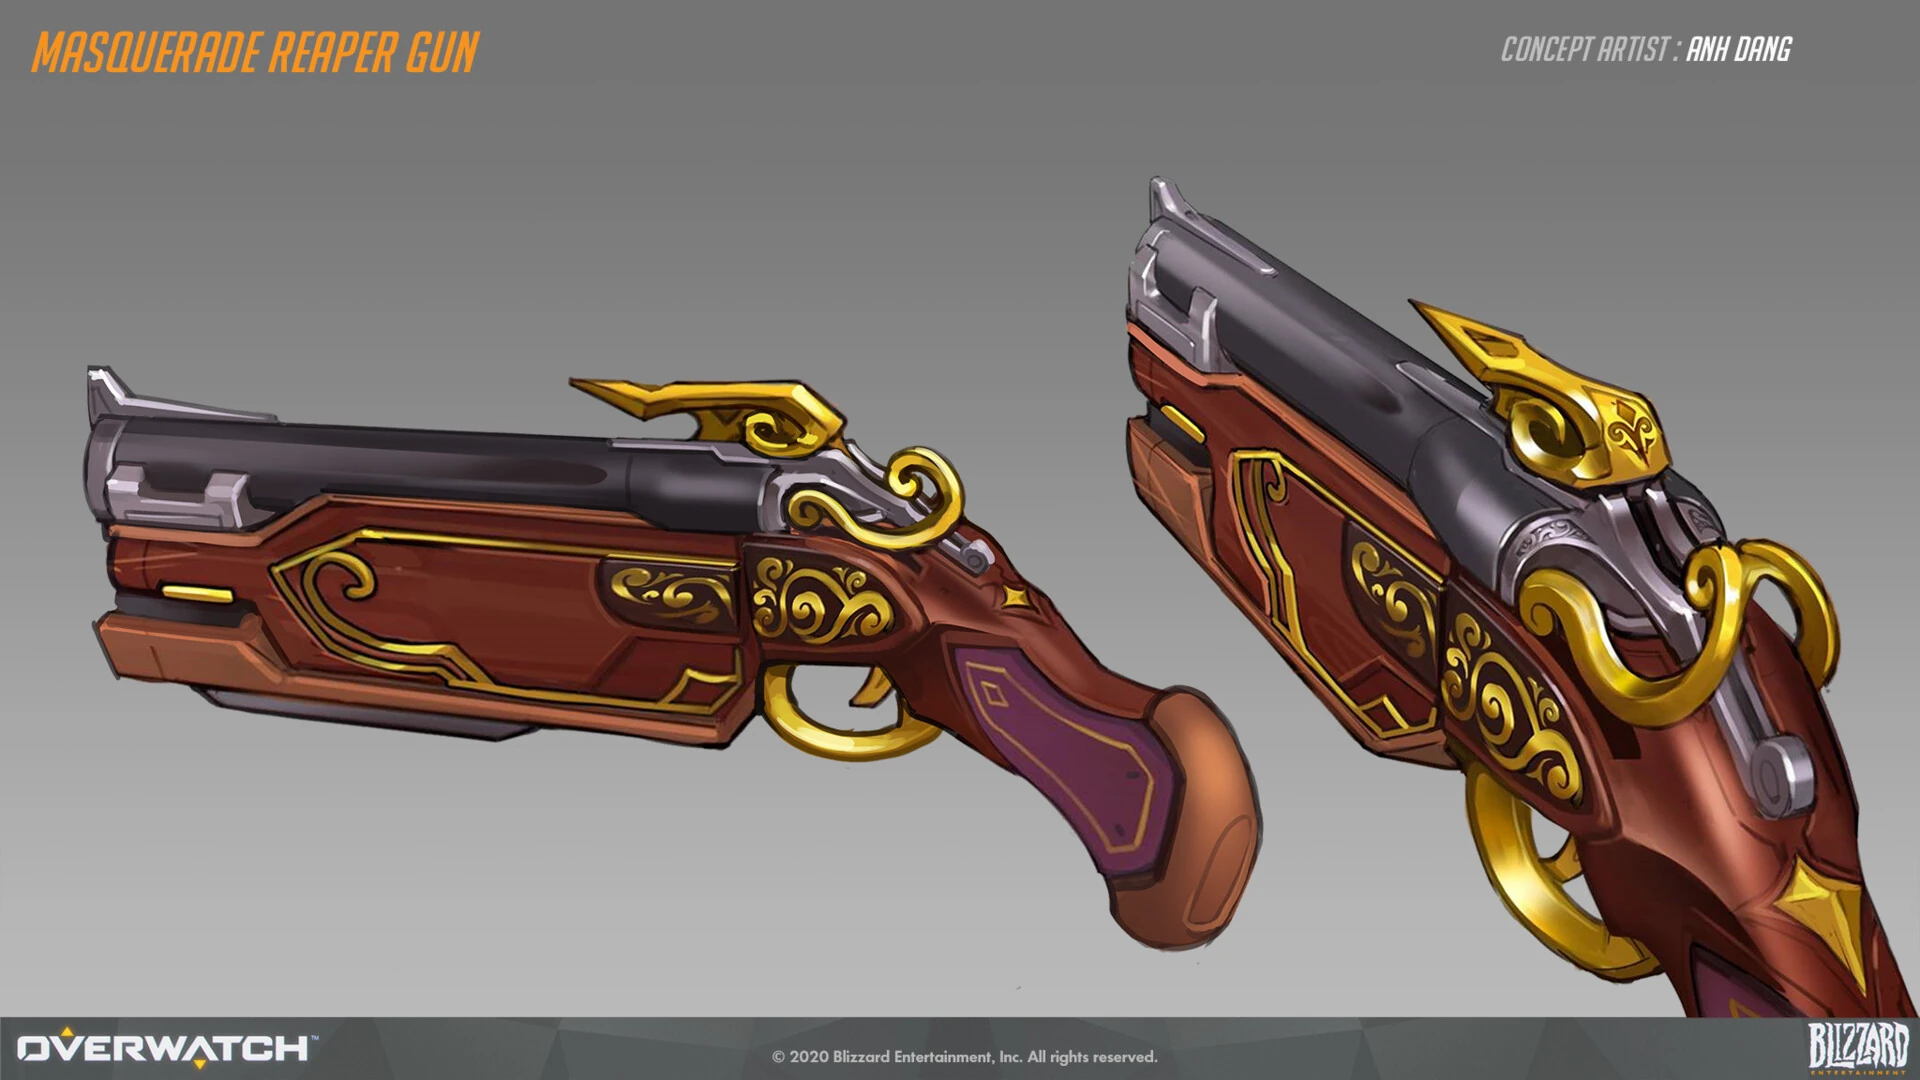
 Masquerade Skin Weapon Concept Art by Anh Dang
 -
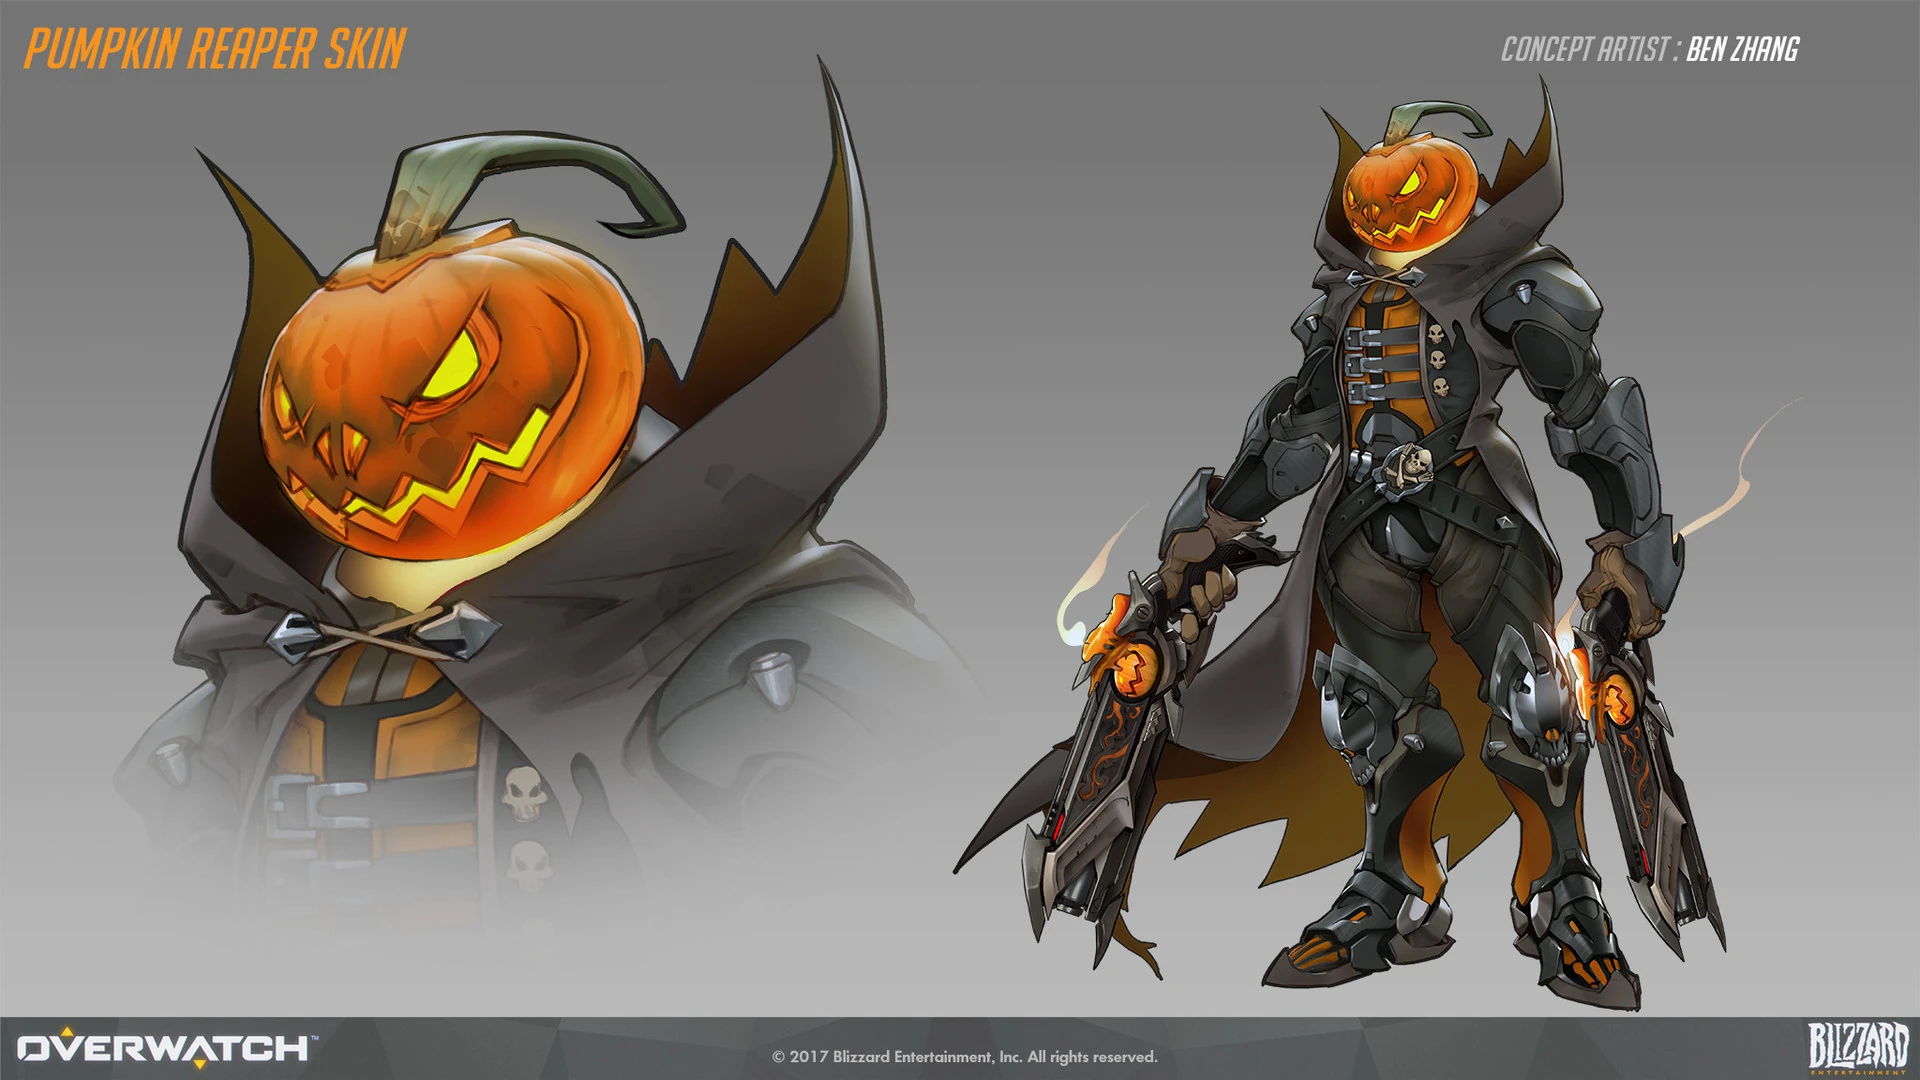
 Pumpkin Skin Concept Art by Ben Zhang
 -
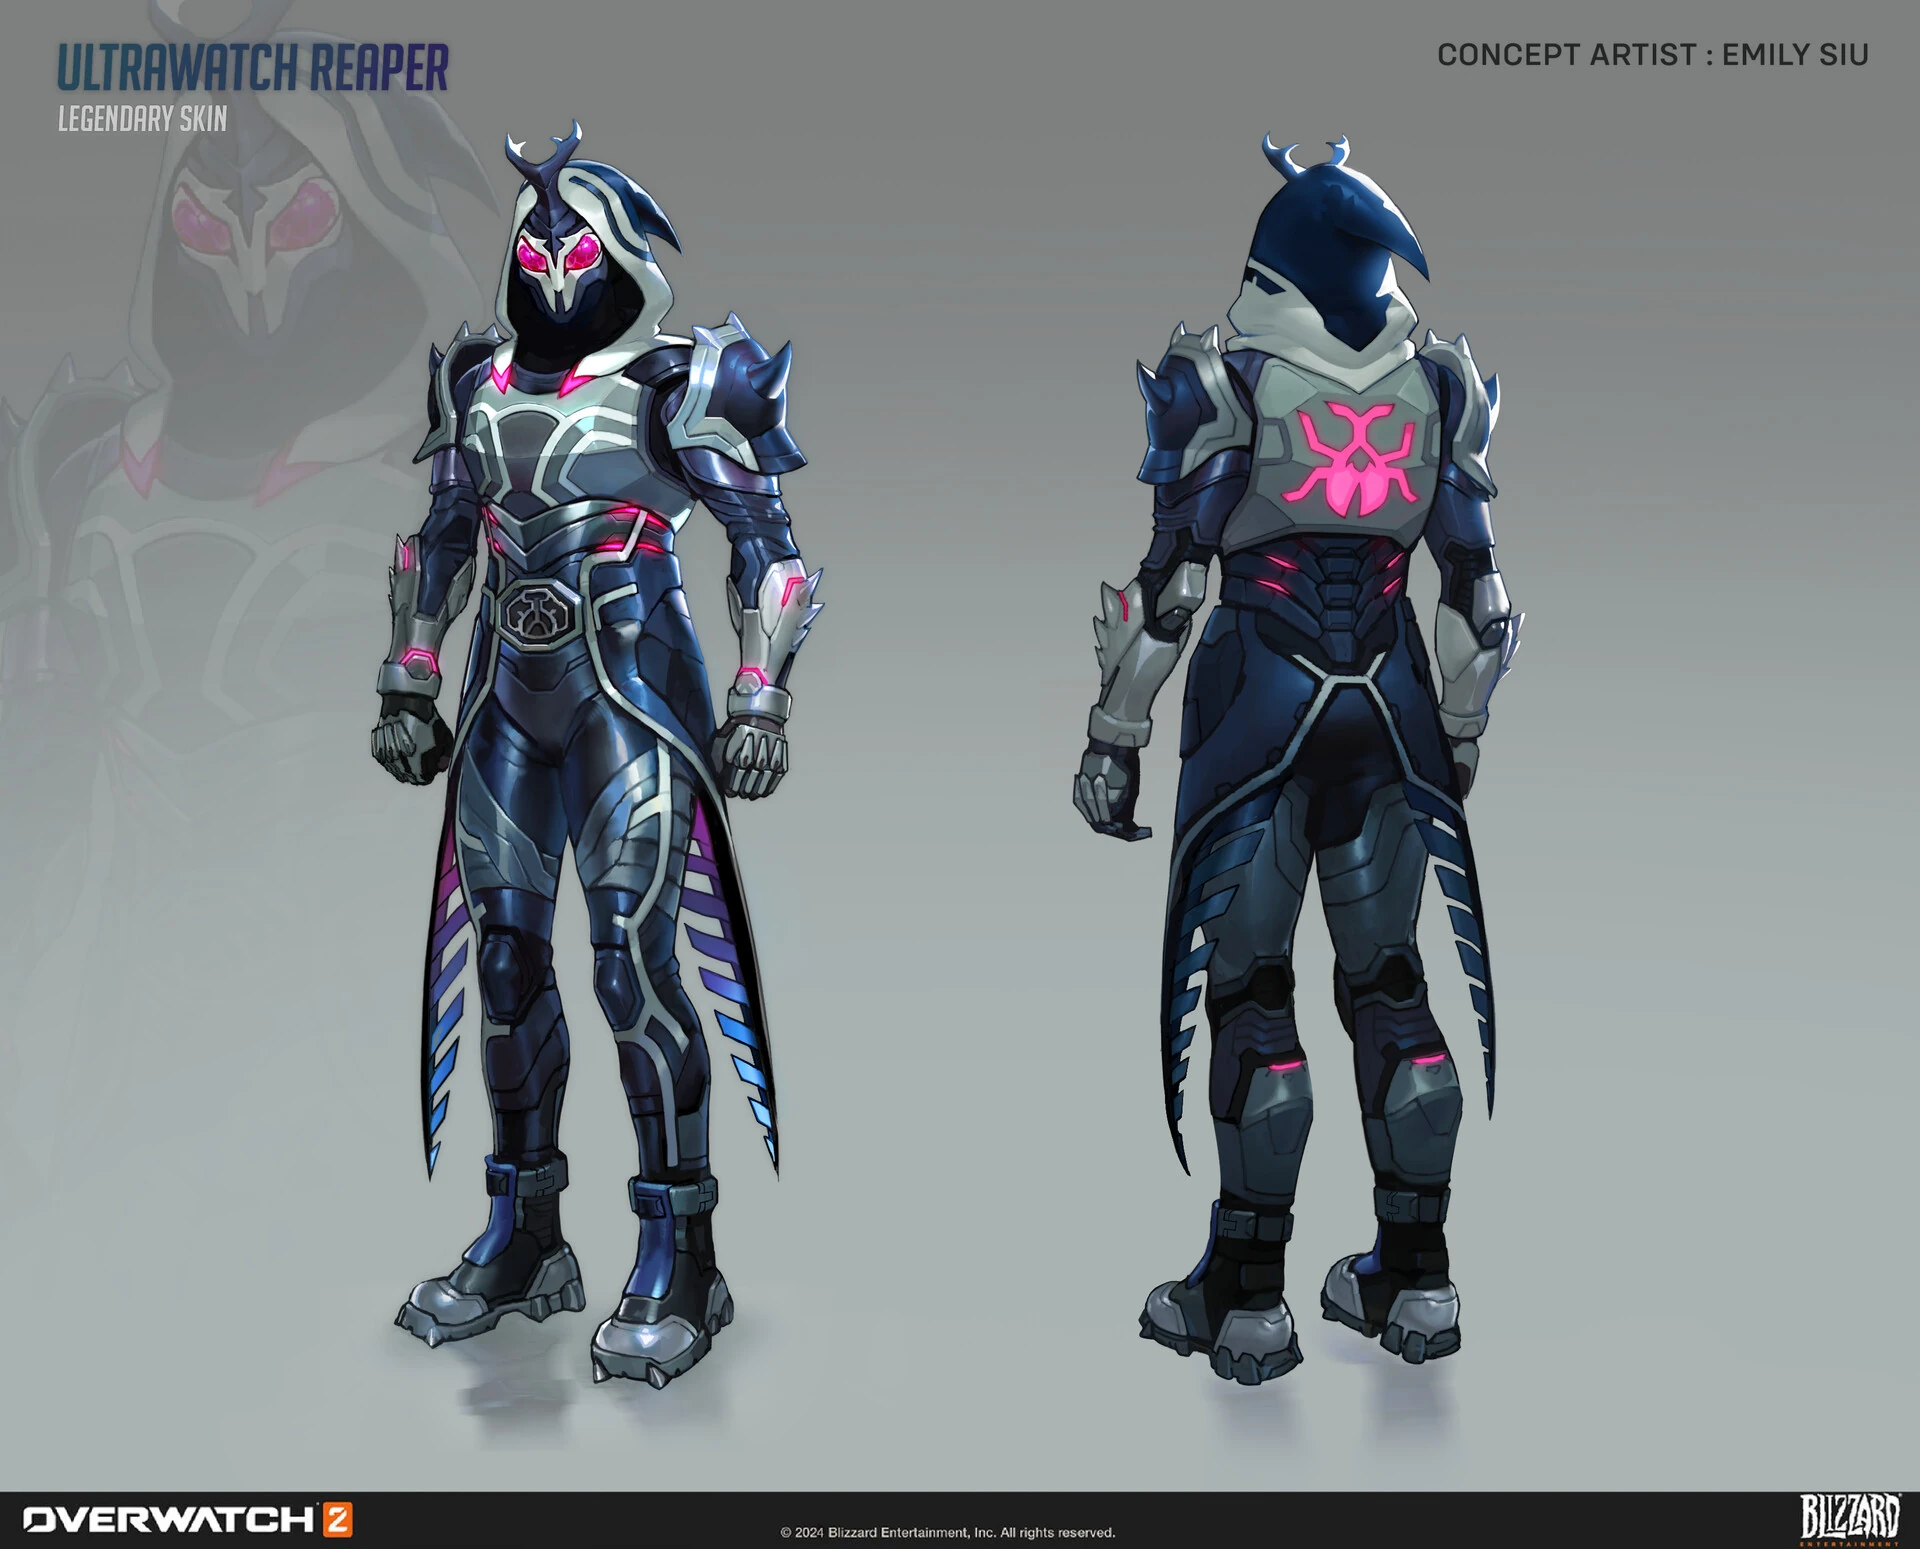
 Ultrawatch Skin Concept Art by Emily Siu
 -
 Ultrawatch Skin Weapon Concept Art by Emily Siu
Videos
Balance Change Logs
- For more information, see Patch Notes.
- Moved from Perk to Baseline ability.
- Cooldown increased from 3 to 6 seconds.
![]() Trigger Finger – Major Perk
Trigger Finger – Major Perk
- Added.
- Using an ability or reloading refreshes Dire Triggers’ cooldown.
- No longer cleanses on use.
- Lifesteal reduced from 30% to 25%.
![]() Wraith Form - Ability 1
Wraith Form - Ability 1
- Movement speed while active reduced from 50% to 40%
![]() Shadow Blink - Major Perk
Shadow Blink - Major Perk
- Moved from Minor to Major Perk
![]() Ravenous Wraith - Major Perk
Ravenous Wraith - Major Perk
- Removed
![]() Lingering Wraith - Minor Perk
Lingering Wraith - Minor Perk
- New Minor Perk
- Leaving Wraith Form grants 40% movement speed for 2 seconds.
![]() Death's Shadow - Minor Perk
Death's Shadow - Minor Perk
- Removed.
![]() Shadow Blink - Minor Perk
Shadow Blink - Minor Perk
- New Minor Perk.
- Shadow Step's cast time and cooldown are 25% faster, but the range is reduced by 25%.
![]() Death Blossom - Ultimate Ability
Death Blossom - Ultimate Ability
- Ultimate cost increased 9%.
![]() Hellfire Shotguns - Primary Fire
Hellfire Shotguns - Primary Fire
- Damage per pellet increased from 5.4 to 5.75 (108 to 115 per volley).
![]() Dire Triggers - Major Perk
Dire Triggers - Major Perk
- Recovery reduced from 0.7 to 0.5 seconds.
- Recovery time reduced from 0.9 to 0.7 seconds.
- Hero Perks
- Shadow Step reloads Hellfire Shotguns and has 25% increased range.
- Collect Soul Globes from dead enemies to restore 50 health.
- Use Secondary Fire to fire a volley with long range accuracy from both Hellfire Shotguns.
- Leaving Wraith Form grants 40% additional lifesteal for 3 seconds.
- Global Projectile Size Bonus
- Hitscan radius small reduced from 0.05 to 0.04 meters.
- Lifesteal reduced from 35 to 30%.
- Weapon spread reduced from 6.5 to 6 degrees.
- Cast time reduced from 1.5 to 1.2 seconds.
- Damage per second increased from 170 to 185.
- Ultimate cost decreased by 12%.
- General updates
Most damage-dealing projectile sizes have been increased by a new global modifier added to their base size.
- +0.05 meters for hitscan projectiles with a high rate of fire or spread (e.g., Tracer's Pulse Pistols or Reaper's Hellfire Shotguns).
- +0.08 meters for hitscan projectiles that are more precise (e.g., Cassidy's Peacekeeper or Soldier:76's Heavy Pulse Rifle).
- +0.05 meters for travel time projectiles that are shotguns or have a very high rate of fire (e.g., Roadhog's Scrap Gun or Ramattra's Void Accelerator).
- +0.10 meters for travel time projectile with a speed greater than 50 meters per second (e.g., Zenyatta's Destruction Orb).
- +0.15 meters for travel time projectile with a speed less than or equal to 50 meters per second (e.g., Pharah's Rocket Launcher).
- Very large projectiles with a base size greater than 0.5 meters have been excluded from these increases (e.g., Orisa's Energy Javelin or Reinhardt's Fire Strike).
Hero combined HP (base health/armor/shields) increased by 15-25%.
- 150-175 HP heroes increased by 25 HP.
- 200-300 HP heroes increased by 50 HP.
- 300+ HP (Tanks) increased by 75-100 HP.
- Each hero's precise health increases are listed in their patch notes below.
Ultimate Charge
- All Ultimate ability costs increased by 10%.
Regenerative Passive for All Heroes
- All heroes now regenerate 20 health per second after 5 seconds of not taking damage.
Damage Role Passive
- Reload speed bonus on elimination has been removed.
- New role passive: Dealing damage reduces enemy healing received by 20% for 2 seconds.
Quick Melee
- Damage increased from 30 to 40.
- Hero updates
- Health increased from 250 to 300.
- Can no longer be activated while affected by mobility-locking effects (Magnetic Grenade, Steel Trap, Graviton Surge, etc.).
- Ultimate cost reduced 8%
- Spread reduced from 8 to 7 degrees
(beta)
- GENERAL
- Phase effects no longer clear the Zarya Graviton Surge or Sigma Gravitic Flux movement restriction effects
- E.g., Reaper can still use Wraith Form while in Graviton Surge to prevent damage but can’t walk out of it
- E.g., Reaper can still use
- Sombra
 Hack effect is now removed by phase effects
- HERO
- Damage per pellet reduced from 6 to 5.4
- Spread increased from 6 to 8
![]() Backstabber - Power
Backstabber - Power
- Reworked to "[Dire Triggers] deals 30(AP) additional damage over 3s to Airborne enemies and to enemies beyond 8m."
![]() Trigger Finger - Power
Trigger Finger - Power
- New.
- After use an ability or reloading, refresh cooldown of [Dire Triggers].
![]() Vampiric Touch - Power
Vampiric Touch - Power
- Removed.
![]() Death Step - Power
Death Step - Power
- [Death Blossom] can now be canceled while being casted after using [Shadow Step].
![]() Strangle Step - Power
Strangle Step - Power
- Reduced Shadow Step Cast Speed to 15% (down from 30%).
![]() Spirited to Slay - Power
Spirited to Slay - Power
- Reduced Wraith Form Cooldown Reduction on Elimination to 50% (down from 100%).
![]() Strangle Step - Power
Strangle Step - Power
- Now also has +30% Shadow Step Cast Speed.
![]() Wraith Renewal - Power
Wraith Renewal - Power
- Reduced healing to 7% (down from 10%)
![]() The Reaping - Hero Base Passive
The Reaping - Hero Base Passive
- Health restored from Lifesteal granted by The Reaping was unintentionally granting Stadium Cash.
![]() Nightcreeper - Rare Weapon Hero Item
Nightcreeper - Rare Weapon Hero Item
- Moved to Rare (from Epic).
- No longer has +30% Shadow Step Cast Speed.
- Cost: 3,750.
- Now Provides: 5% Weapon Power, 5% Move Speed, and after using an ability, nearby enemies are Revealed to you for 3s.
![]() Crowd Control - Rare Ability Hero Item
Crowd Control - Rare Ability Hero Item
- Moved to Rare (from Epic).
- Replaced Ability Power stat with 10% Ability Lifesteal.
- Now grants 4% Ability Power per target (down from 5%).
- Cost: 4,000.
- Fixed a bug where the effect of this item was not affecting Death Blossoms triggered by Death Step.
![]() Wreath of Ruin - Epic Ability Hero Item
Wreath of Ruin - Epic Ability Hero Item
- Fixed a bug Where the Move Speed increase was not affecting Death Blossoms triggered by Death Step.
![]() Crimson Cloak - Epic Ability Hero Item
Crimson Cloak - Epic Ability Hero Item
- Moved from Survival Items to Ability Items
- Changed effect to: "When Death Blossom starts, gain Overhealth equal to 5% of your max Life for each enemy within its range."
- Reduced cost to 9500.
![]() Devastation - Rare Survival Hero Item
Devastation - Rare Survival Hero Item
- Replaced Ability Lifesteal stat with 25 Health
- Reduced effect cap to 75 Health (down from 100)
- Cost reduced to 3,750 (down from 4,000)
![]() Revolving Ruin - Power
Revolving Ruin - Power
- Reduced Attack Speed per stack to 4% (down from 5%).
- Increased maximum stacks to 10 (up from 8).
![]() Wraith Renewal - Power
Wraith Renewal - Power
- Fixed an issue where Wraith Renewal healing was always being doubled, regardless of what your current Life was.
![]() Spirited to Slay - Power
Spirited to Slay - Power
- Fixed an issue that caused Reaper's cooldowns to be reset without getting an Elimination.
- Reduced the amount of Stadium Cash gained from damage and healing by 10%.
- Introducing Stadium
- Tank Heroes: D.Va, Junker Queen, Orisa, Reinhardt, and Zarya.
- Damage Heroes: Ashe, Cassidy, Genji, Mei, Reaper, and Soldier: 76.
- Support Heroes: Ana, Juno, Kiriko, Lucio, Mercy, and Moira.
- Life Steal amount increased from 30% to 35%
This adjustment brings Reaper's self-healing with his Hellfire Shotguns back to about where it was before the recent weapon tuning changes.
- Damage per projectile increased from 5.5 to 6
Developer Comment: The recent adjustment to Reaper's shotguns ended up being less beneficial than intended so we're increasing the damage per projectile slightly.
- Spread reduced from 8 to 6
- Damage per projectile reduced from 7 to 5.5
Developer Comment: Reaper's shotguns have a high damage potential but require close range or large targets to fully utilize. We're smoothing this out by extending the range at which he can consistently deal damage while lowering the maximum damage of each shot.
General
- Shotgun patterns no longer apply random rotation. This will affect the following heroes:
- Ashe
- Doomfist
- D.Va
- Reaper
- Roadhog
- Torbjörn
We’re making weapons that utilize shotgun patterns more reliable by removing the random rotation applied to each shot. Individual pellets within the shot will still have a tiny amount of variance to their firing angle for the sake of the shotgun weapon feel, but this change will provide significantly more control over aiming these weapons.
- Life Steal reduced from 40% to 30% of damage dealt
- Reverted edge-placement change for ground targeted abilities (Reaper's Shadowstep, Mei's Icewall, Symmetra's Teleporter, etc)
- Ground targeted abilities (Reaper’s Shadowstep, Mei’s Icewall, Symmetra’s Teleporter, etc) will now more heavily prefer edges over placing as far away as possible.
- Can now be used in air
- Time to exit Shadow Step reduced from 1.0 second to 0.5 of a second
- Reaper is now invisible for the entire time it takes to exit shadow step
- Railings and other breakable objects no longer block teleporting
- Disabled by Zarya’s Graviton Surge and Junkrat’s Steel Trap
Developer Comments: Shadow Step was originally intended to be purely an out-of-combat mobility tool to traverse the map, since Wraith Form was already a great tool for disengaging. However, this made Shadow Step very situational, so we’re increasing its flexibility to make it a better, less niche ability. This will enable Reaper to use Shadow Step in more offensive situations.
- Life steal reduced from 50% to 40% of damage dealt
Developer Comments: A recent change that increased Reaper’s healing while he dealt damage was a bit too strong, sometimes making opponents feel like Reaper was unstoppable.
- Life steal increased from 30% to 50% of damage dealt
Developer Comments: Reaper’s passive enables him to play aggressively when near enemies. This change allows him to keep the pressure up while he’s dishing damage to his enemies. The added life steal is particularly effective against tanks, as they tend to do less damage than other heroes, and also take more damage from his Hellfire Shotguns due to their larger hit volumes.
- Spread randomization reduced by 50%
- Spread pattern adjusted
- Life steal increased from 20% to 30% of damage dealt
Developer Comments: Reaper's specialty is fighting at a very close range. The more consistent spread pattern and increase in healing from his passive ability will make him more capable of standing toe-to-toe with his enemies.
- Reloads Hellfire Shotguns after use
- Move speed bonus increased from 25% to 50%
- You can now cancel the ability by pressing the Shift or Primary Fire hotkey
Developer Comments: These changes help Reaper use Wraith Form more consistently as an escape, but they also open up new options, such as chasing down key targets.
Sound effect and VO distance has been reduced by 50%
Developer Comment: Even though Shadow Step wasn't intended to be used as a way for players to teleport right next to an enemy without their knowledge, the sound effects were audible from distances that made teleportation difficult from nearly anywhere. This change allows Reaper to be a bit more sneaky with his flanking options.
- Removed health orbs
- Now regains 20% of all damage done to heroes as Health
Developer Comment: Reaper’s old healing passive was useful if you could kill a bunch of enemies in a row. But since enemies needed to be dead for it to work, it wasn’t very helpful unless the situation was already in your favor. His new passive lets him get immediate benefit from it, especially when fighting Tank heroes, which tend to be larger targets that deal lower damage.
- Ammo is now entirely refilled when Wraith Form is used
Developer Comments: Wraith Form is typically used as an escape ability after firing. This change gives Reaper a fighting chance if an enemy chases him down as he uses it.
References
- ↑ A Great Day
- ↑ 2.0 2.1 Code of Violence
- ↑ 2015-08-06, GamesCom 2015 – Overwatch Life-Size Statues by FX Deco Studio. Blizzplanet, accessed on 2015-08-20
- ↑ 4.0 4.1 The Art of Overwatch
- ↑ 2017-04-17, Michael Chu's Twitter. Twitter, accessed on 2018-10-17
- ↑ 2017-03-30, Michael Chu's Twitter. Twitter, accessed on 2018-10-17
- ↑ 2019-11-03, BlizzCon 2019 Q&A. YouTube, accessed on 2020-01-20
- ↑ 8.0 8.1 Overwatch 2, Reaper Quotes
- ↑ 2015-07-07, Fading Glory: On the Trail of Jack Morrison. Blizzard Entertainment, accessed on 2015-07-07
- ↑ January, 2018, Jeff Kaplan on Morrison and Reyes. Reddit, accessed on 2018-02-08
- ↑ 2024-03-28, Venture | New Hero Gameplay Trailer | Overwatch 2. YouTube, accessed on 2024-03-28
- ↑ 2015-11-06, Overwatch: Origins Edition (PC) Pre-Orders have Begun. Blizzplanet, accessed on 2015-11-07
- ↑ 2016-02-26, Pre-Order FUNKO Overwatch POP Vinyl Figures. Blizzplanet, accessed on 2016-03-11
- ↑ 2016-11-26, Overwatch’s newest premium collectible is a badass Reaper statue. Polygon, accessed on 2016-11-28
- ↑ Figma Reaper, Blizzard Store. Accessed on 2018-05-17
- ↑ Blizzcon 2017, Overwatch: Archives
- ↑ 2016-04-22, The Story of Overwatch: Return of the 90s Shooter. YouTube, accessed on 2016-09-08
- ↑ 2015-05-27, BlizzCon 2014 – Overwatch Origins Panel Transcript. Blizzplanet, accessed on 2015-05-30
- ↑ Forging Worlds: Stories Behind the Art of Blizzard Entertainment
- ↑ 2015-12-19, Overwatch's two failed progression systems explained. Polygon, accessed on 2015-12-19
- ↑ 2021-02-20, BlizzConline 2021 | Behind the Scenes of Overwatch 2 | Overwatch. YouTube, accessed on 2021-03-13
External links
| Heroes in Overwatch
| ||||||||
|---|---|---|---|---|---|---|---|---|
Tank |
 Bruiser |
|||||||
 Initiator |
||||||||
 Stalwart |
||||||||
Damage |
Flanker |
 Reaper |
||||||
 Recon |
||||||||
 Sharpshooter |
||||||||
 Specialist |
||||||||
Support |
 Medic |
|||||||
 Survivor |
||||||||
 Tactician |
||||||||


[[Category: Reaper|]